How To Make A Gamepass On Roblox Mobile
Ever dreamed of becoming a Roblox millionaire from your phone? Well, hold onto your virtual hats, because making a Gamepass on Roblox mobile is easier than ordering pizza (and probably faster too!). Let’s dive in!
Step 1: Unleash Your Inner Creator (Aka, Go to Roblox)
First things first, grab your phone and fire up the Roblox app. Yep, the one you already spend half your life on. You’re practically halfway there already!
Now, don't get overwhelmed. You are not trying to build the next big game (yet!). Look for the three dots, usually at the bottom of your screen. Tap them – that's your gateway to creativity!
Step 2: Journey to Creation Central (The Website)
A menu should pop up with all sorts of options. Ignore the impulse to check your avatar or buy more Robux (tempting, I know!). Scroll down, down, down, until you see
“Create”. Tap it!
Here's a little secret: This button will teleport you to the Roblox website in your phone’s browser. Don’t panic if it looks a little different from the app – it’s still Roblox, just dressed up for a fancy online party.
The website version might try to lure you back to the app. Don't fall for its tricks! Find the tiny text at the bottom that says something like "Continue in browser". We want the website experience, so tap on the tiny text!
Step 3: Finding Your Place (Games and Experiences)
Now you're on the Creator Dashboard. Think of it as your personal command center for all things Roblox-y. See that section labelled Experiences? Awesome! That's where your (or a friend’s) games live.
If you don’t have a game of your own yet, don’t sweat it! You can create a simple one for free – Roblox usually gives you a default "starting place".
Tap the picture of your game, or the name of your game. Let the adventure begin!
Step 4: The Treasure (Gamepasses Await!)
On the left side of the screen, look for the menu again. This is like the secret menu only true Roblox creator knows.
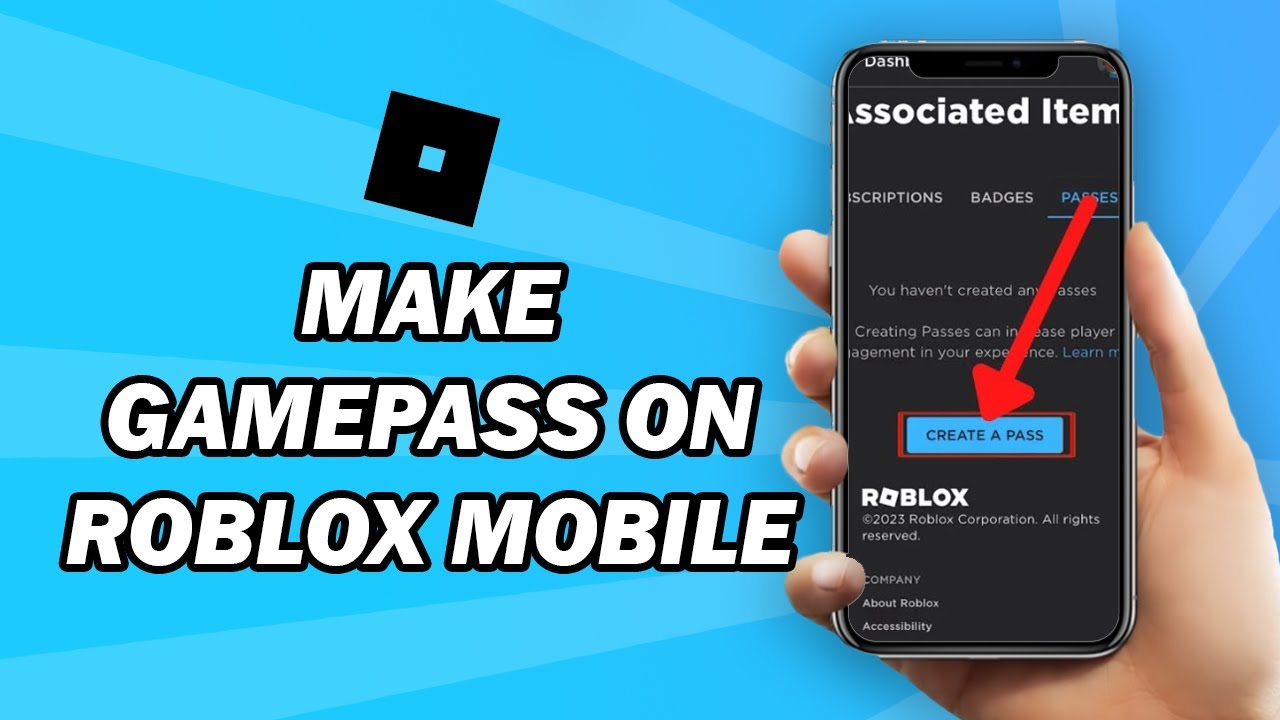
A new window should pop up. Are you ready? Finally, tap on "Passes".
BOOM! You are now on the place to create Gamepasses. Look for the big blue button that says something along the lines of "Create a Pass". This is it! Tap it like you're striking gold!
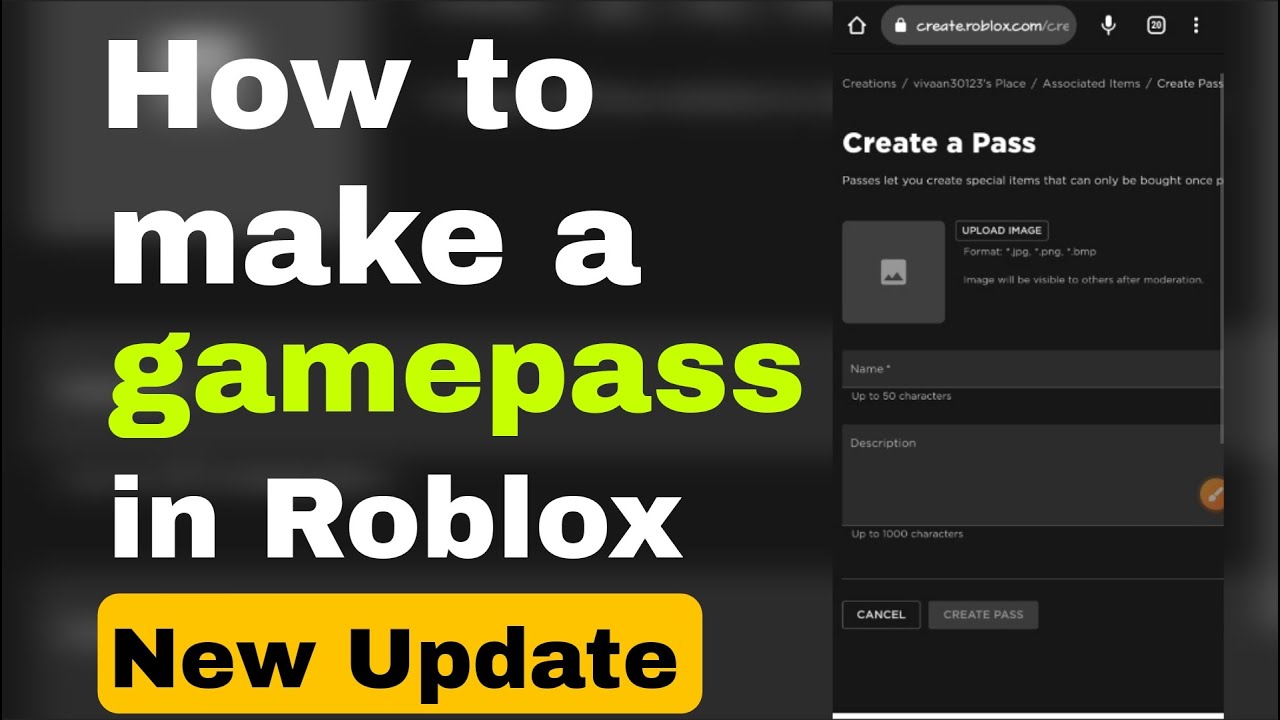
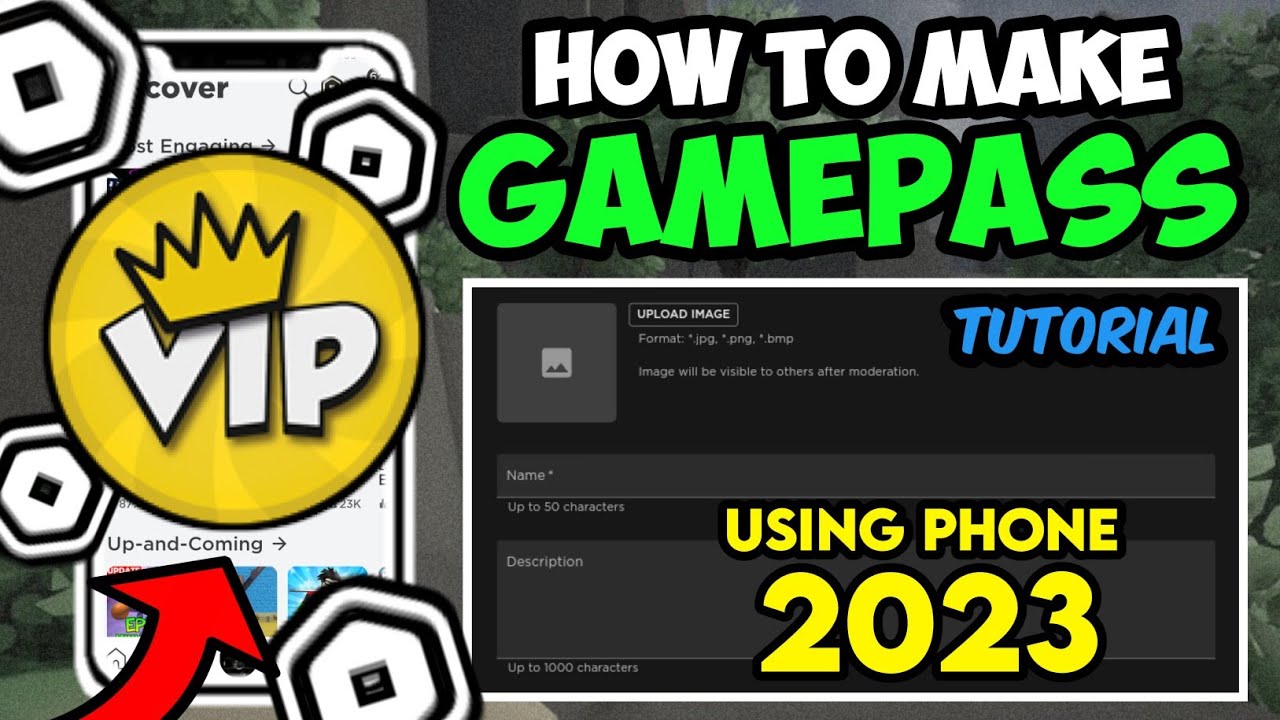
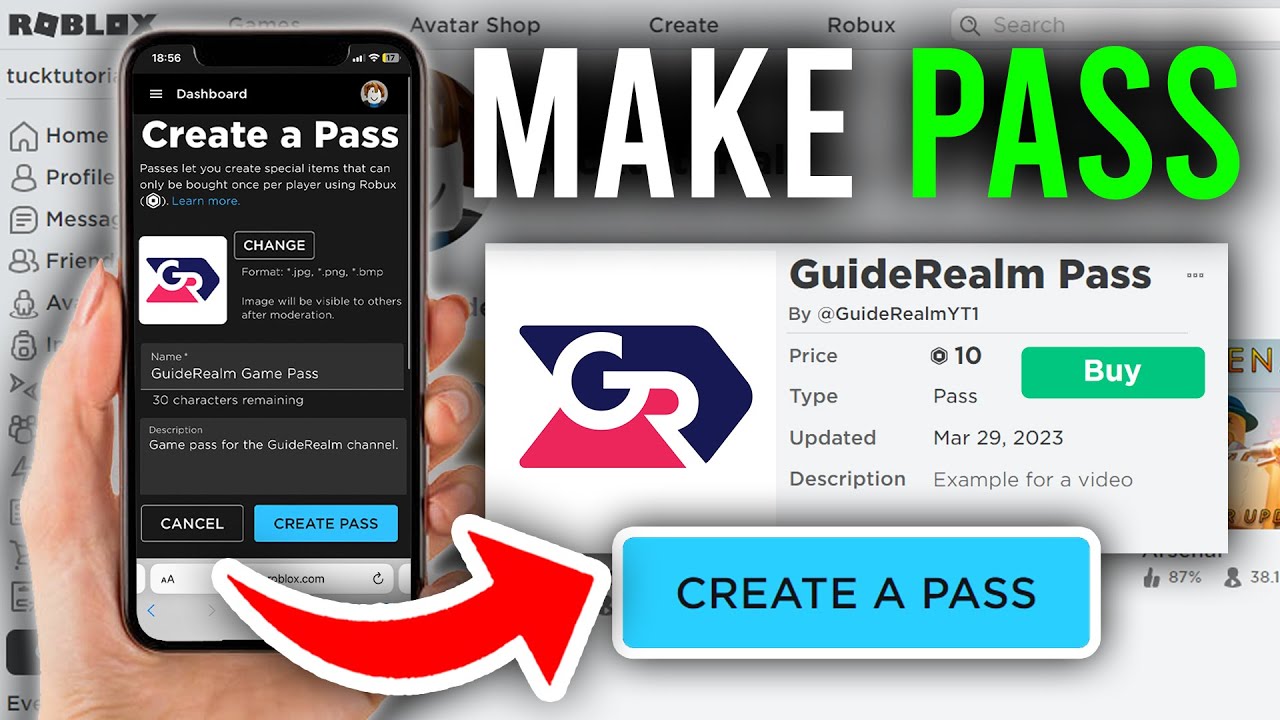
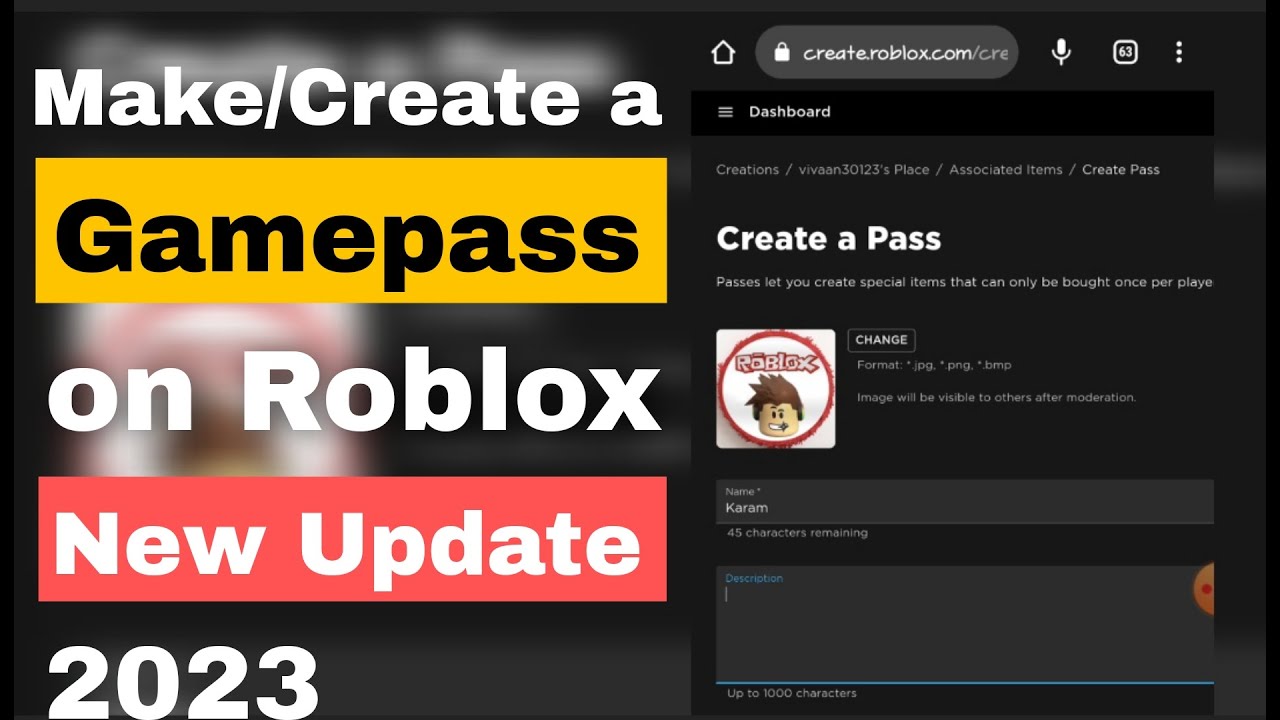
Step 5: Design and Details (Make it Shine!)
Here's where you get to let your creativity run wild. You'll be prompted to upload an image for your Gamepass. It could be anything – a picture of your pet hamster, a slice of pizza, a glorious sunset… the possibilities are endless!
Give your Gamepass a name. “Super Speed Boost”? “Unlimited Bacon”? The catchier, the better!
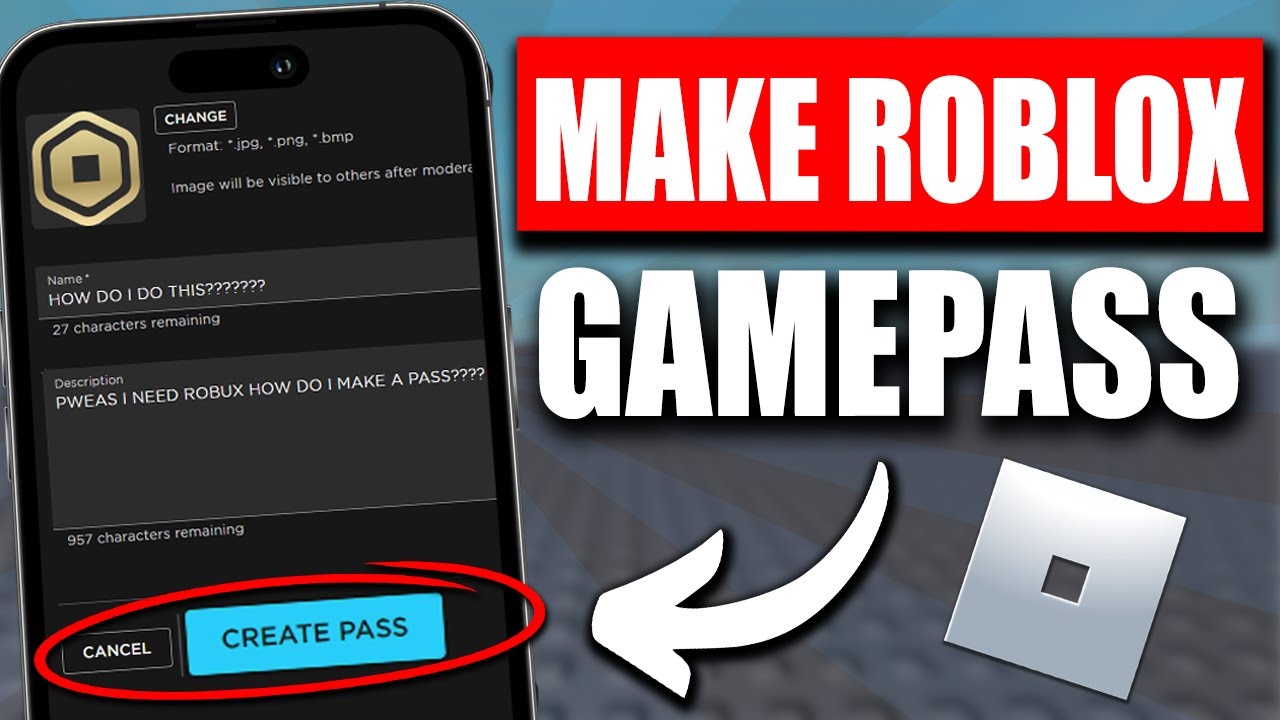
Add a description, too. This is your chance to tell players exactly what amazing power or item they'll get. After that, tap “Create Pass” at the bottom. The gamepass is now created!
Step 6: Set a Price (Cha-Ching!)
Your Gamepass is born, but it's not quite ready to make you rich. You need to give it a price tag! Click on the Gamepass image you just created.
Once again, on the left side of your screen, find menu that you are already familiar with. Tap on “Sales”.
You’ll see an option that says "Item for Sale". Toggle that switch to the "on" position. Now you can set your price.
Choose a price in Robux. Remember, Roblox takes a cut, so price accordingly! Tap “Save Changes,” and BAM! Your Gamepass is officially for sale.
Step 7: Spread the Word (Become a Marketing Genius!)
Congratulations! You've made a Gamepass. Now you have to let everyone know it exists. Tell your friends, promote it in your game, shout it from the virtual rooftops! (Okay, maybe don't *actually* shout).
The most important things are the quality of your game and the attractivity of your gamepass. Remember that!
You’re now on your way to becoming a Roblox Gamepass tycoon. Good luck, and may the Robux be ever in your favor!