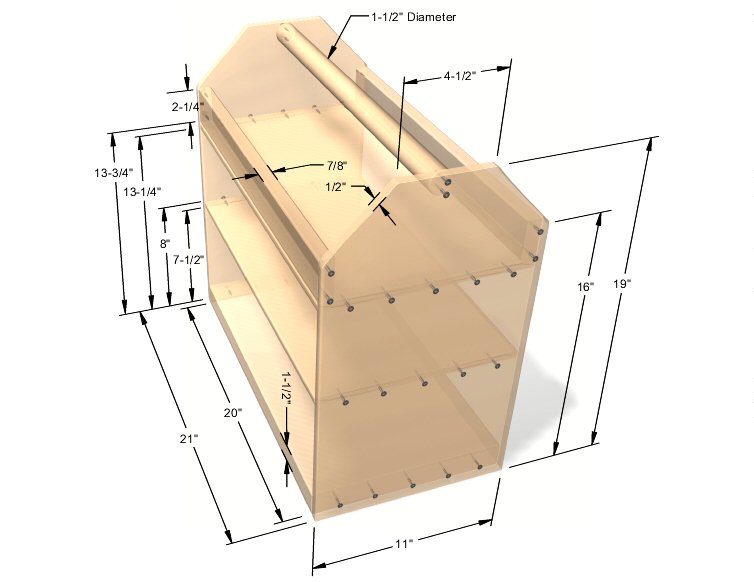
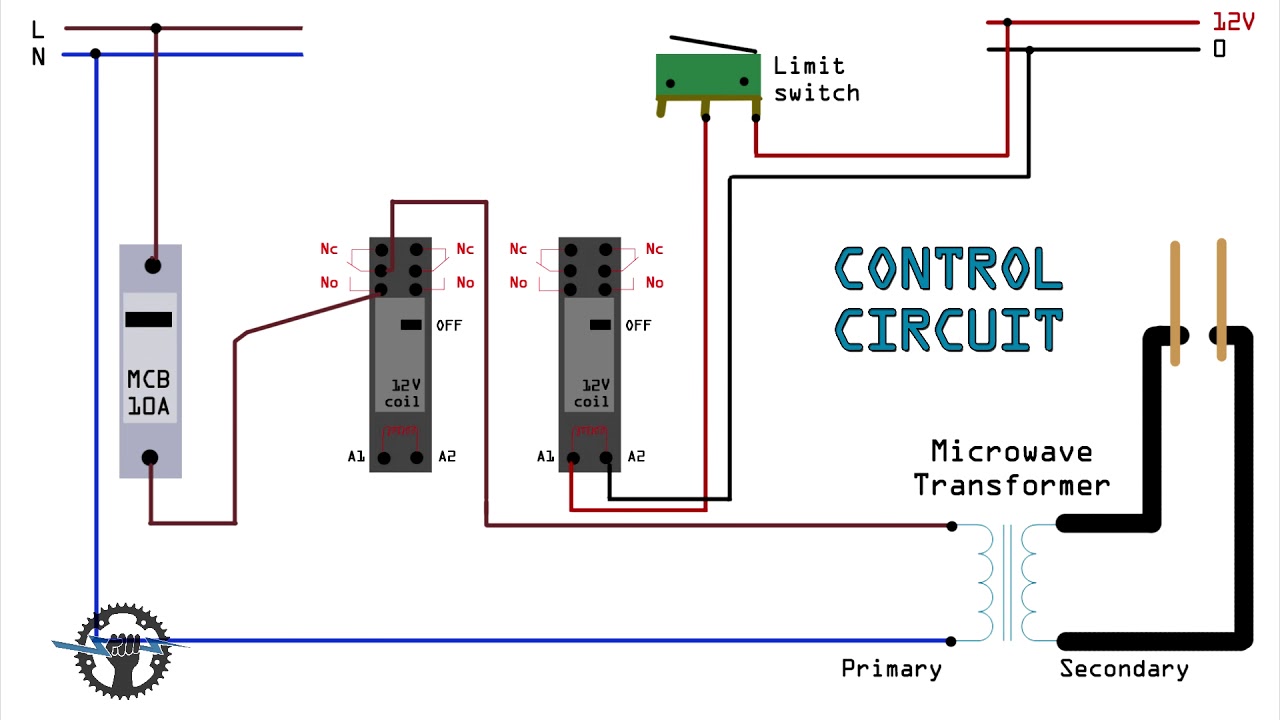
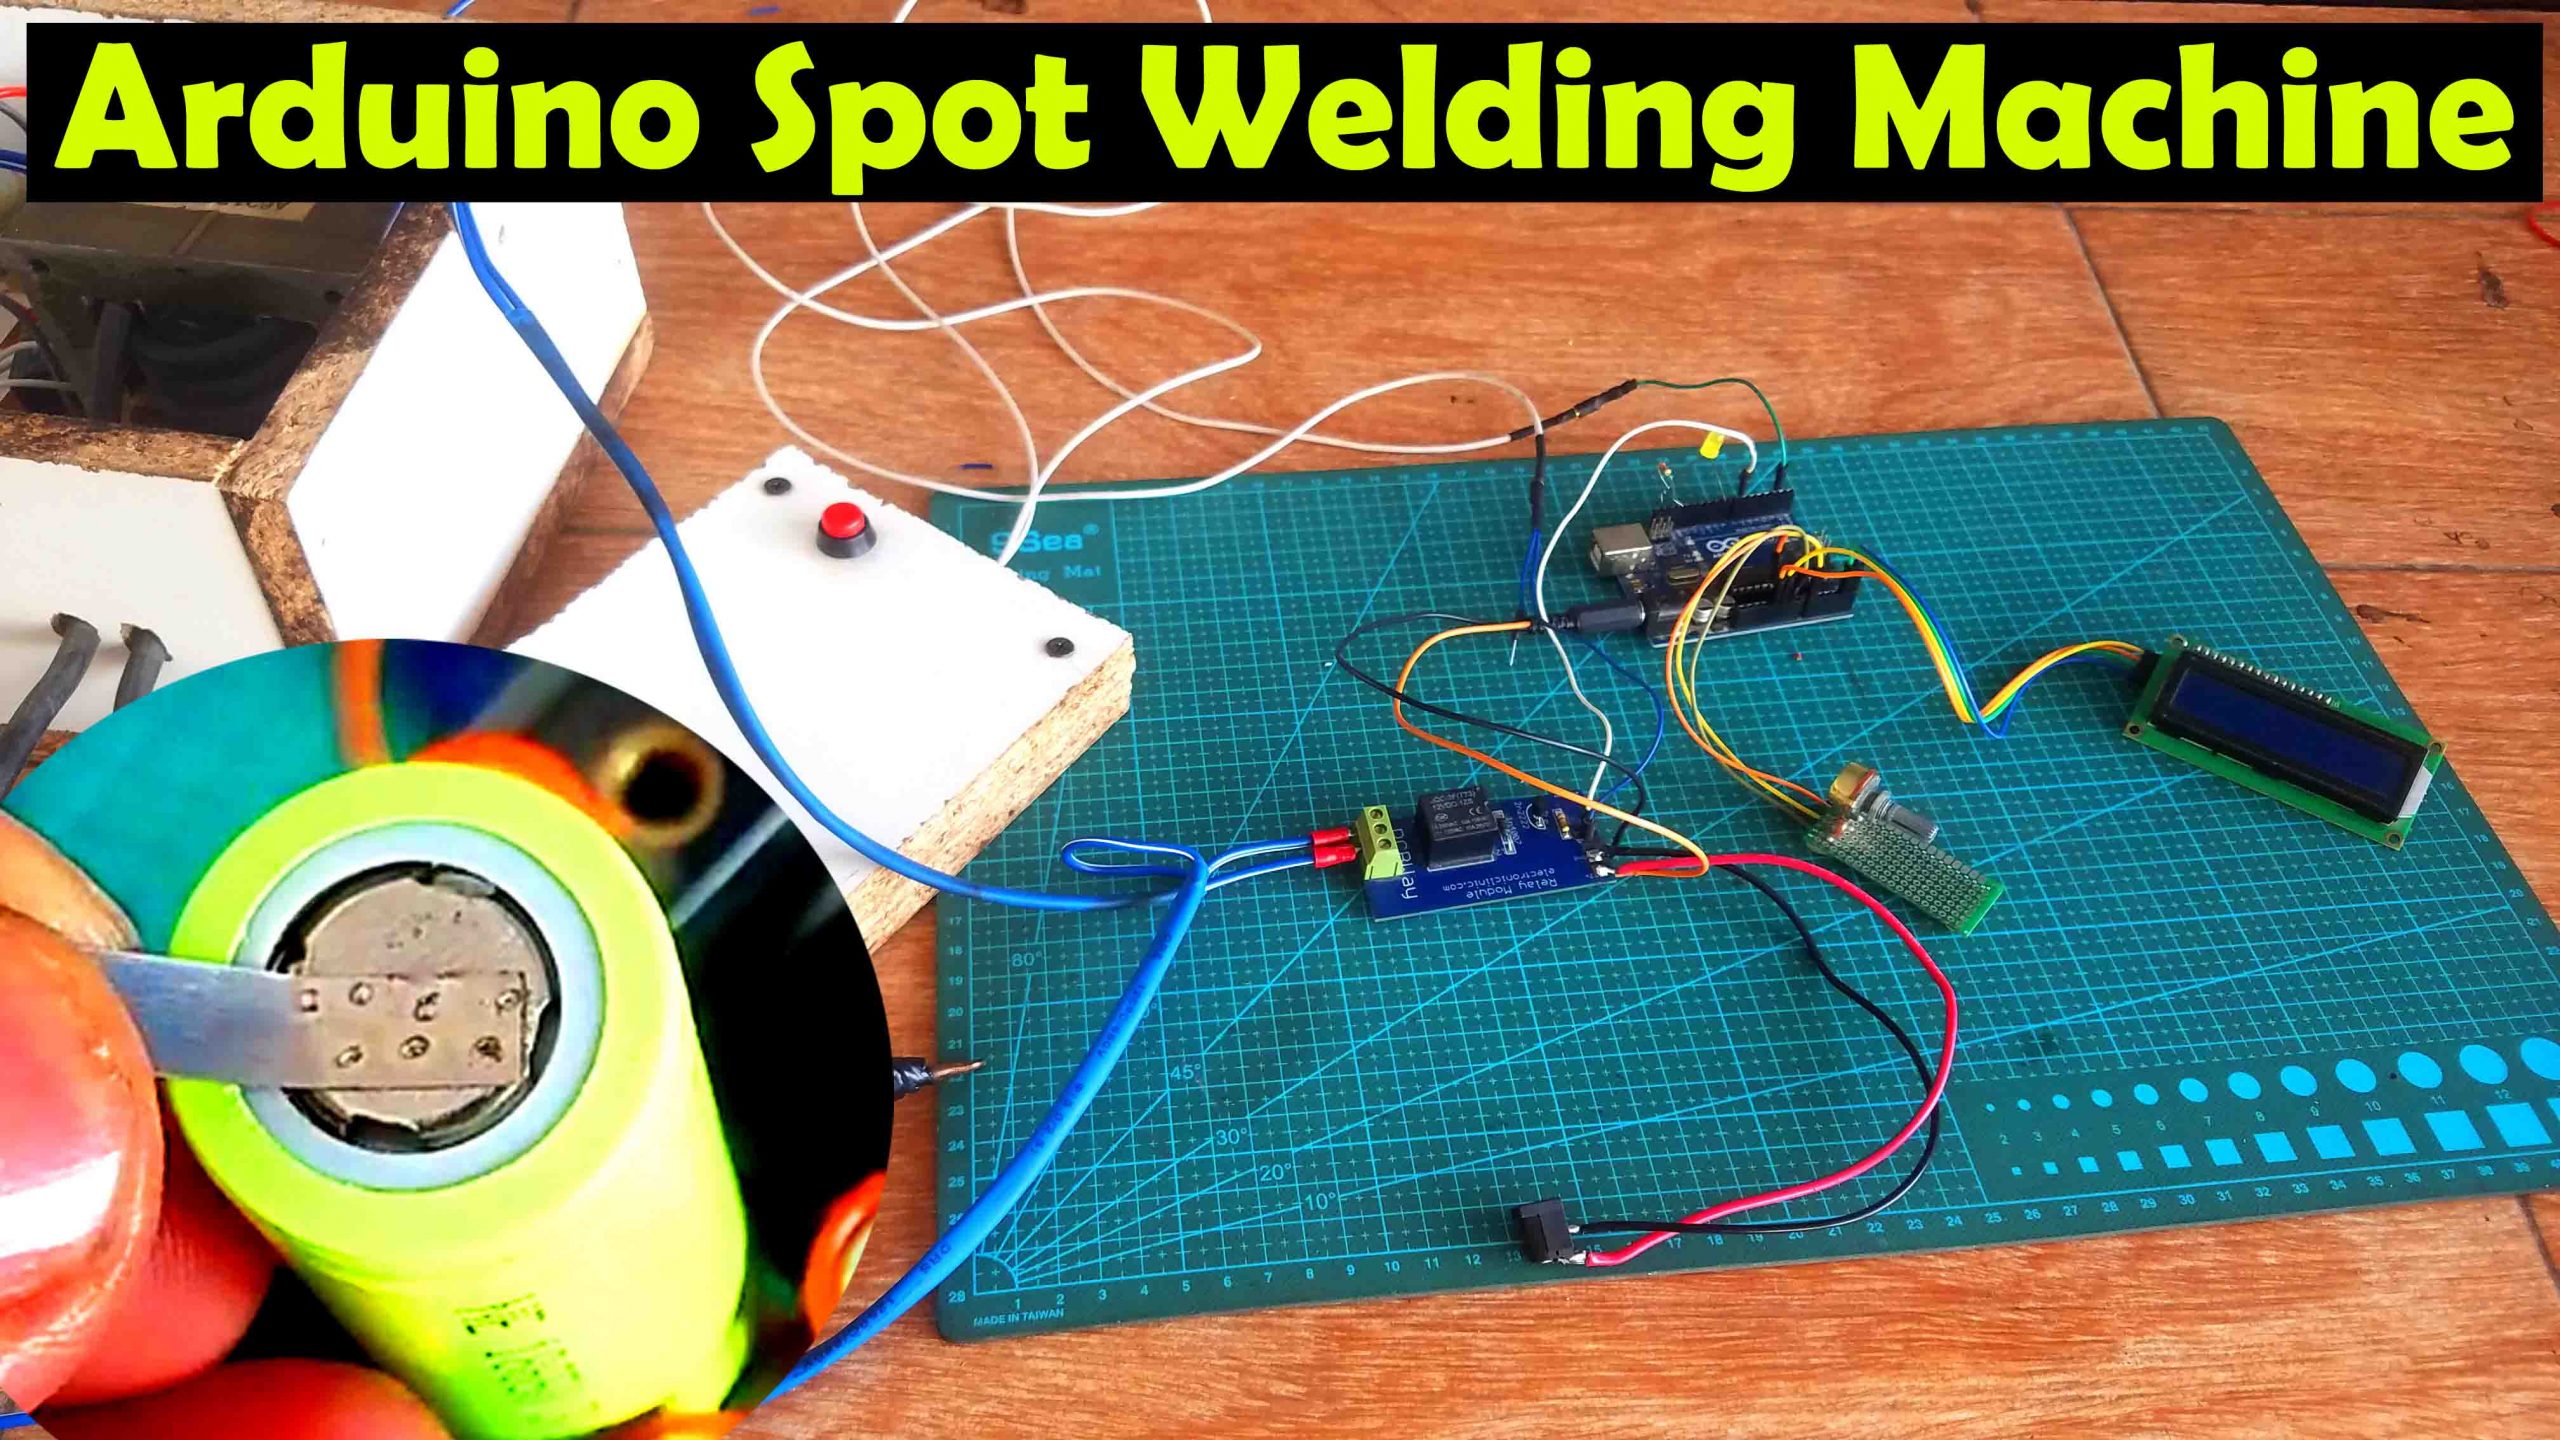
How To Make A Homemade Welder Diagram

Ever feel the urge to, oh, I don't know, build something? Like, really BUILD it with sparks and molten metal? Well, hold on to your helmets because we're about to dive into the surprisingly not-so-scary world of homemade welders!
First, Gather Your Loot (and a Diagram!)
We're making a map! Think of it like a treasure map, except instead of buried gold, you're finding the route to awesome welding power.
Grab a piece of paper (graph paper is your friend!), a pencil, and maybe a rubber ducky for moral support. We're about to become electrical Picasso!
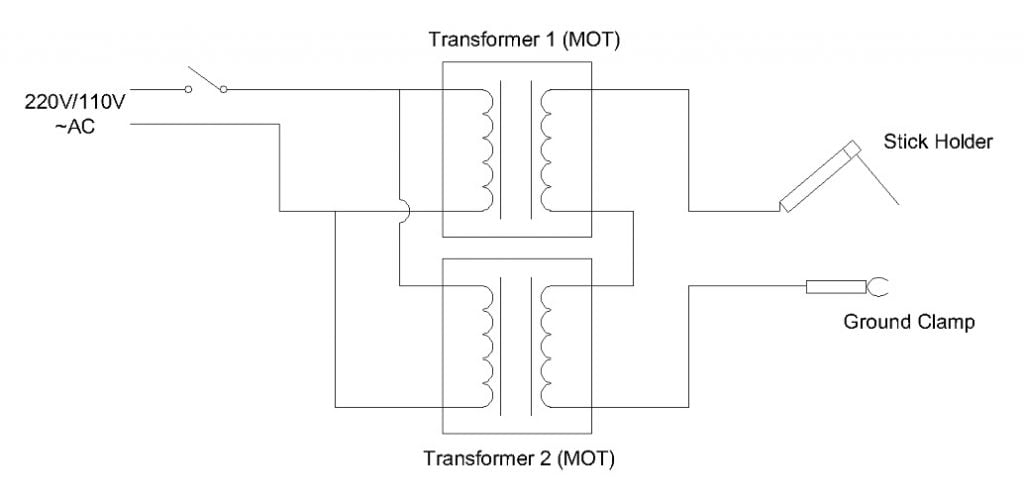
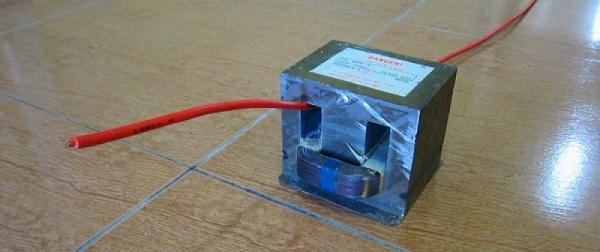
The All-Important Transformer
Let's start with the heart of our beast: the transformer. It's like the Hulk of your welder – big, powerful, and transforms energy.
Draw a big rectangle and label it "Transformer." Fancy? Add some squiggly lines inside to represent the coils of wire.
Think of it as the giant battery charger you might see in a cartoon, but for welding!
Electrode Holder & Ground Clamp
Now, let's add the arms of our welding warrior: the electrode holder and the ground clamp. These are where the magic happens, where the arcs fly and metal sings!
Draw two smaller rectangles on either side of the transformer. Label one "Electrode Holder" and the other "Ground Clamp."
These are connected to the transformer through a positive and negative terminal.
The Wiring: It's All About the Flow
Time to connect the dots! Or, in this case, the rectangles. This is where the electricity flows, so let's draw some nice, thick lines (think garden hose, not dental floss).
Connect one side of the "Transformer" rectangle to the "Electrode Holder." Connect the other side of the "Transformer" to the "Ground Clamp."
These lines are the path where the electrons will dance to create your weld.
Adding an Ammeter (For the Control Freaks!)
Feeling fancy? Want to know *exactly* how much welding power you're unleashing? Let's add an ammeter.
Draw a circle somewhere on one of the lines. Label it "Ammeter." This little gadget tells you how much current (amps) is flowing.
It's like a speedometer for your weld, letting you know how fast (or hot) things are getting. It is a useful tool for controlling the amount of heat you are applying to your work.
Don't Forget the Fine Print!
Label everything! Seriously. The more you label, the less likely you are to accidentally wire things backward and create a spectacular (but not in a good way) light show.
Write down the voltage and amperage ratings of your transformer. Note the type of wire you're using.
Consider adding safety notes as well, like "Wear Proper Eye Protection" and "Don't Weld in the Bathtub."
Admire Your Masterpiece (and Double-Check Everything!)
Congratulations! You've created a homemade welder diagram! Isn't it beautiful? Frame it! Put it on your fridge!
But before you start plugging things in and melting metal, take a deep breath. Now triple-check everything. Safety first, always!
Use this diagram with extreme caution and if you are inexperienced please do not attempt this without the supervision of a professional. You have been warned!