How To Make A Id Card In Microsoft Word

Ever felt the sudden urge to become a super-important, official-looking individual? Well, grab your mouse and prepare for a wild ride, because we're diving into the surprisingly fun world of ID card creation using… Microsoft Word!
Getting Started: Word is Your Canvas
Open up Microsoft Word. It’s time to unleash your inner artist (or at least, your inner office supply enthusiast). Think of that blank document as your canvas.
Start by messing around with shapes! Insert a rectangle – this will be the basic shape of your ID card. Don’t worry about perfect dimensions just yet; we’re just getting warmed up.
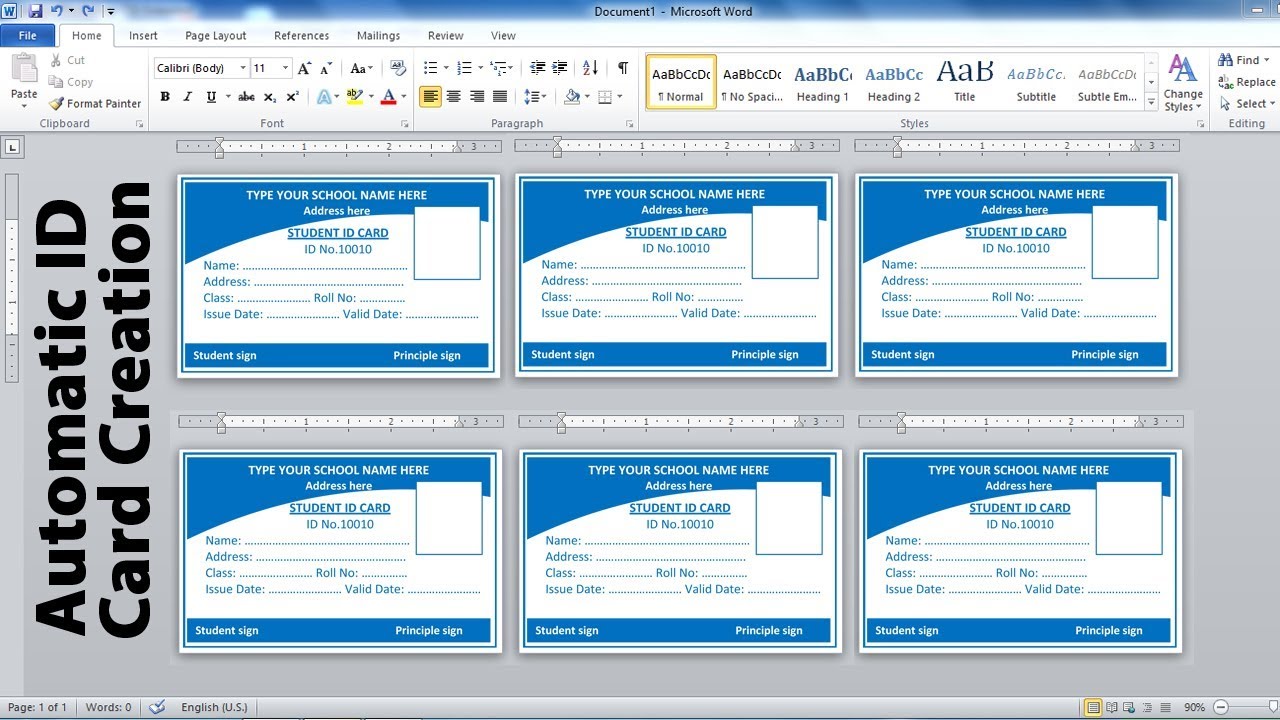
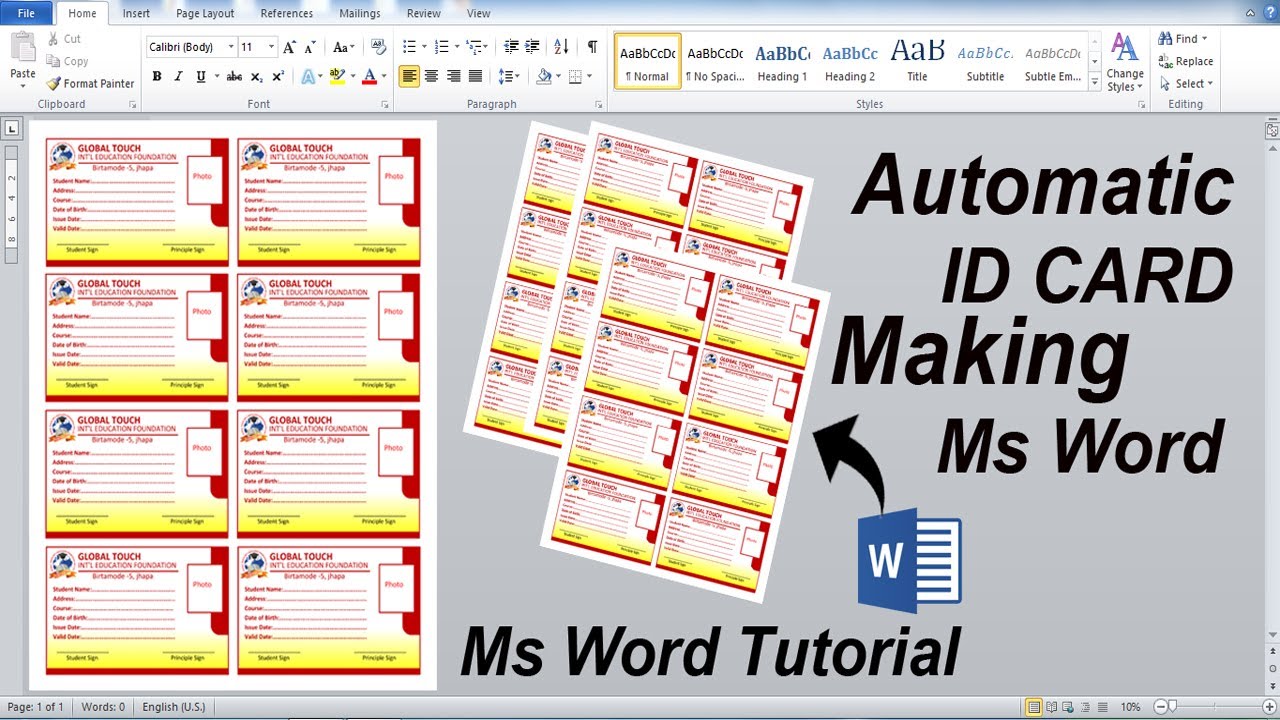
Picking a Template (Or Not!)
Word offers templates that can save you some time. But where's the fun in that? Let’s do it from scratch! Embrace the chaos!
Adding the “Official” Stuff
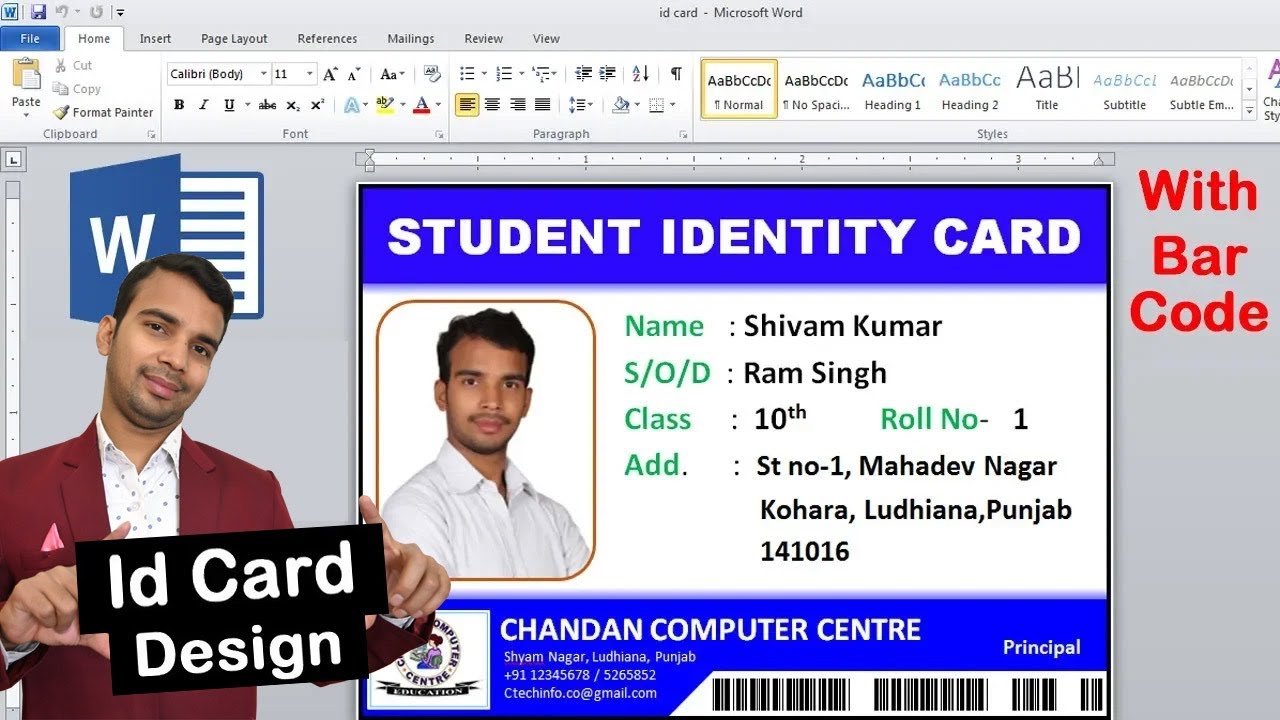
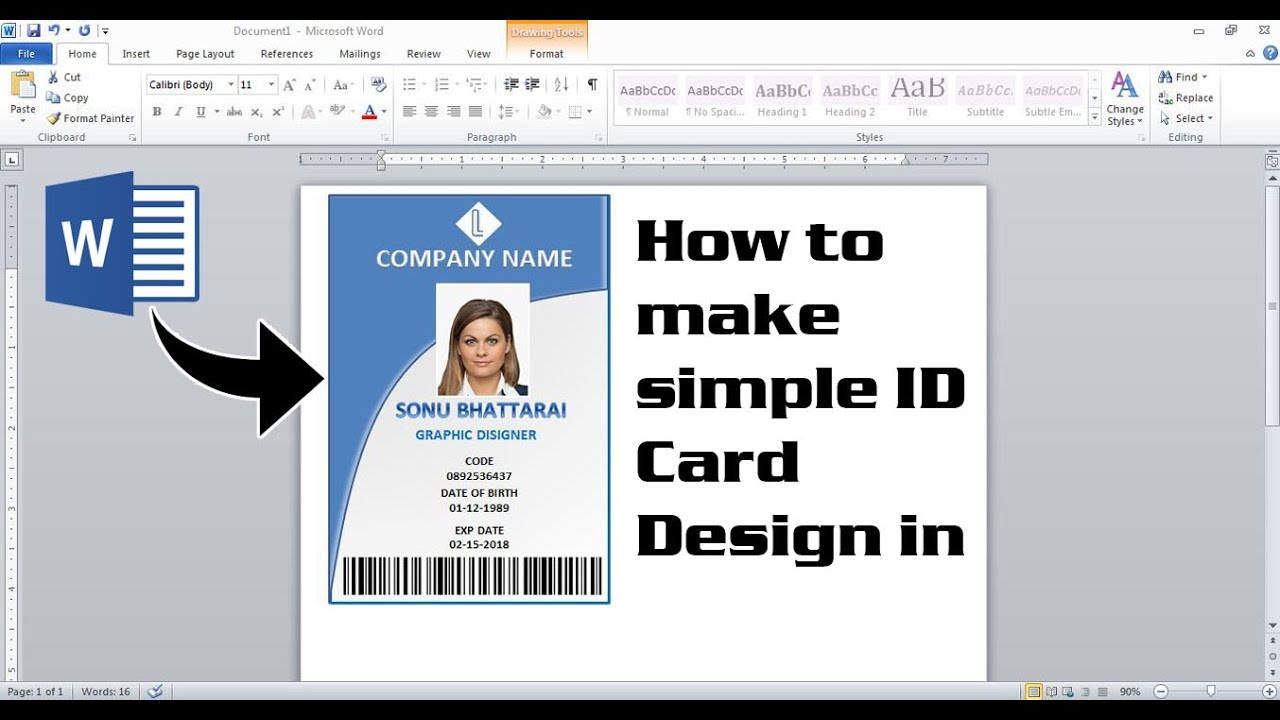
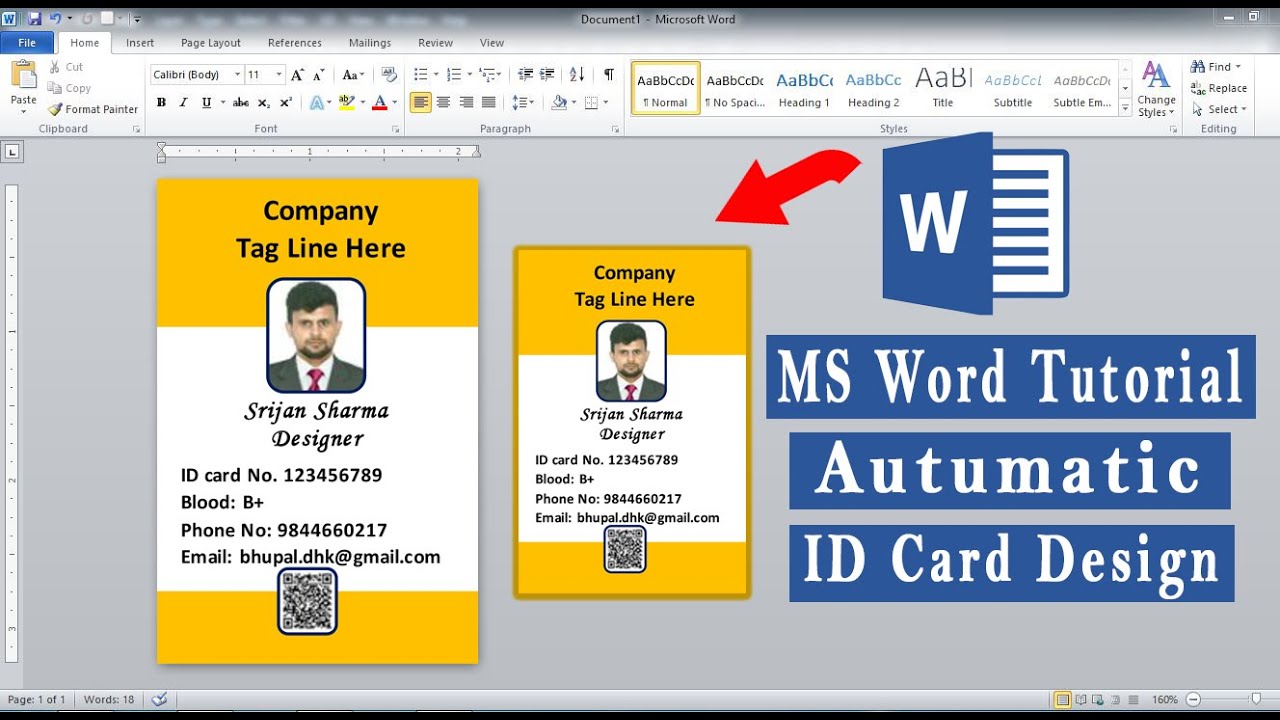
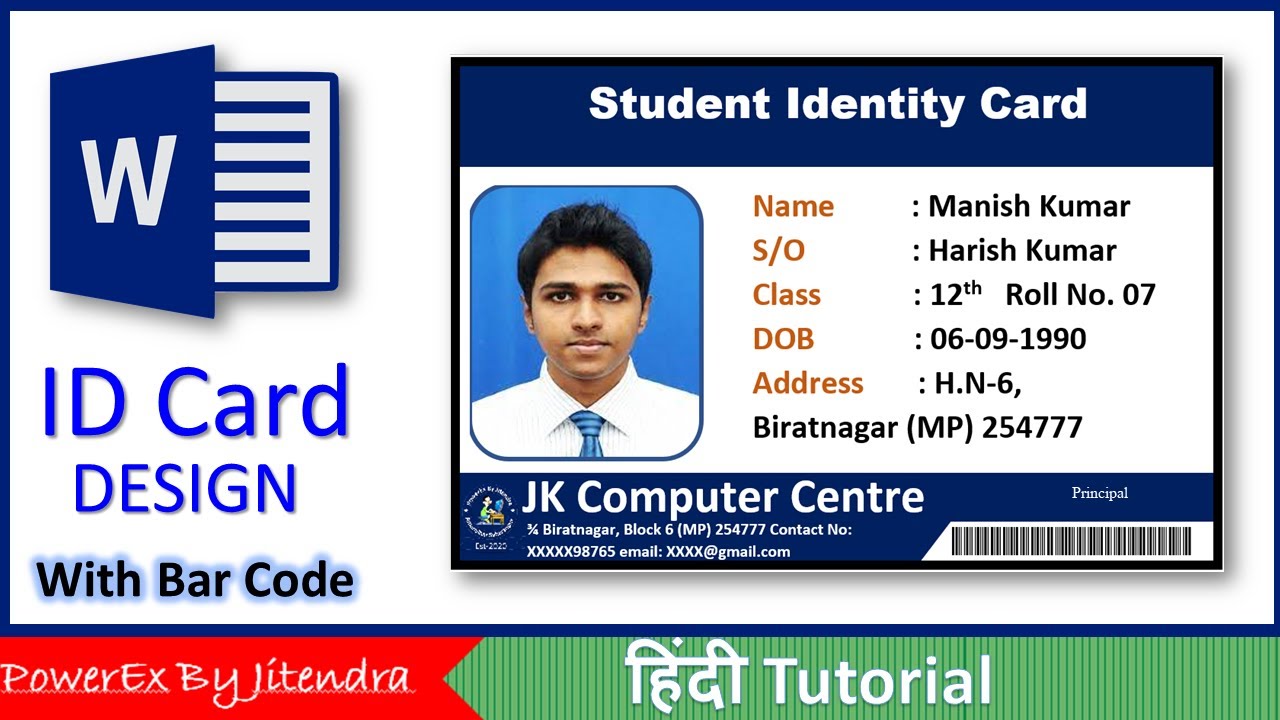
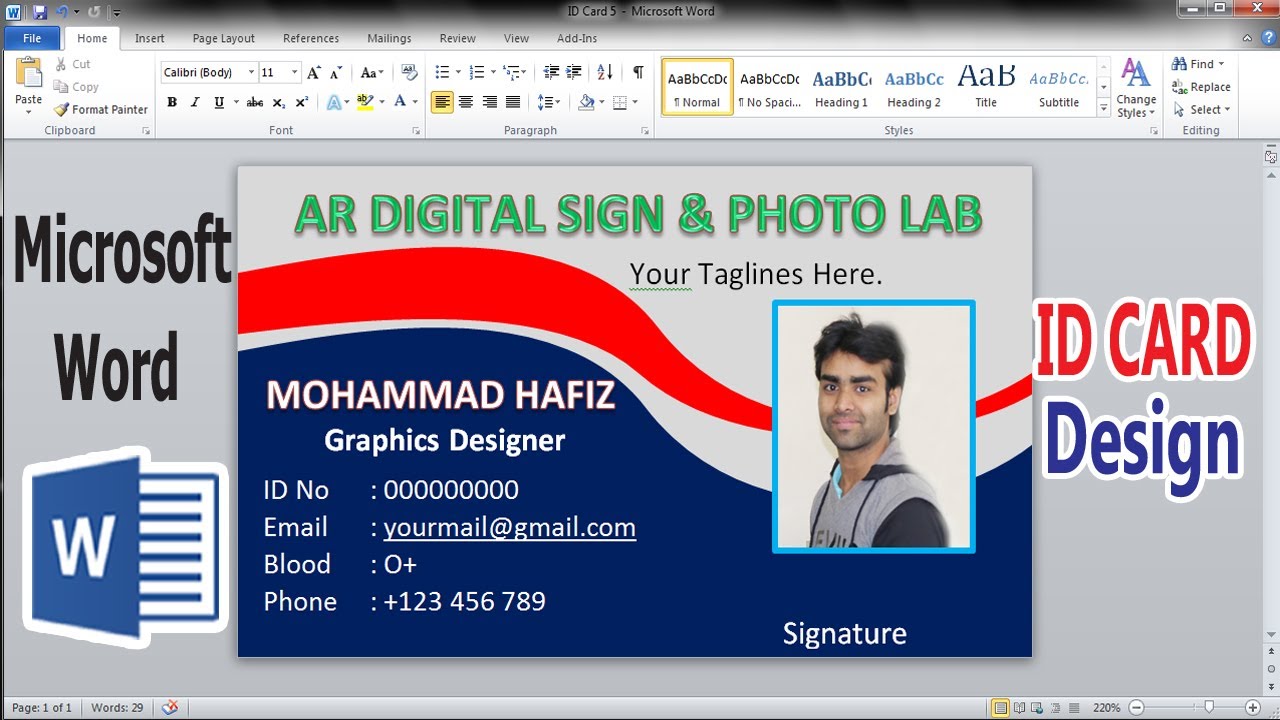
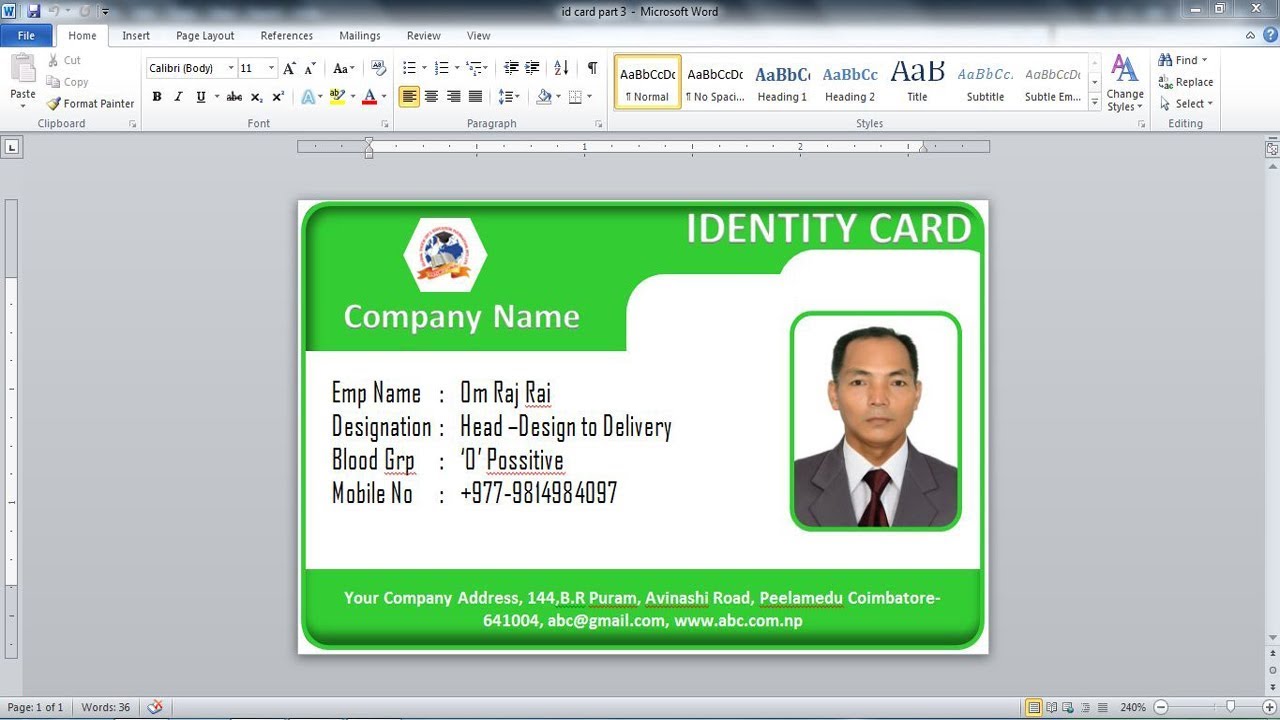
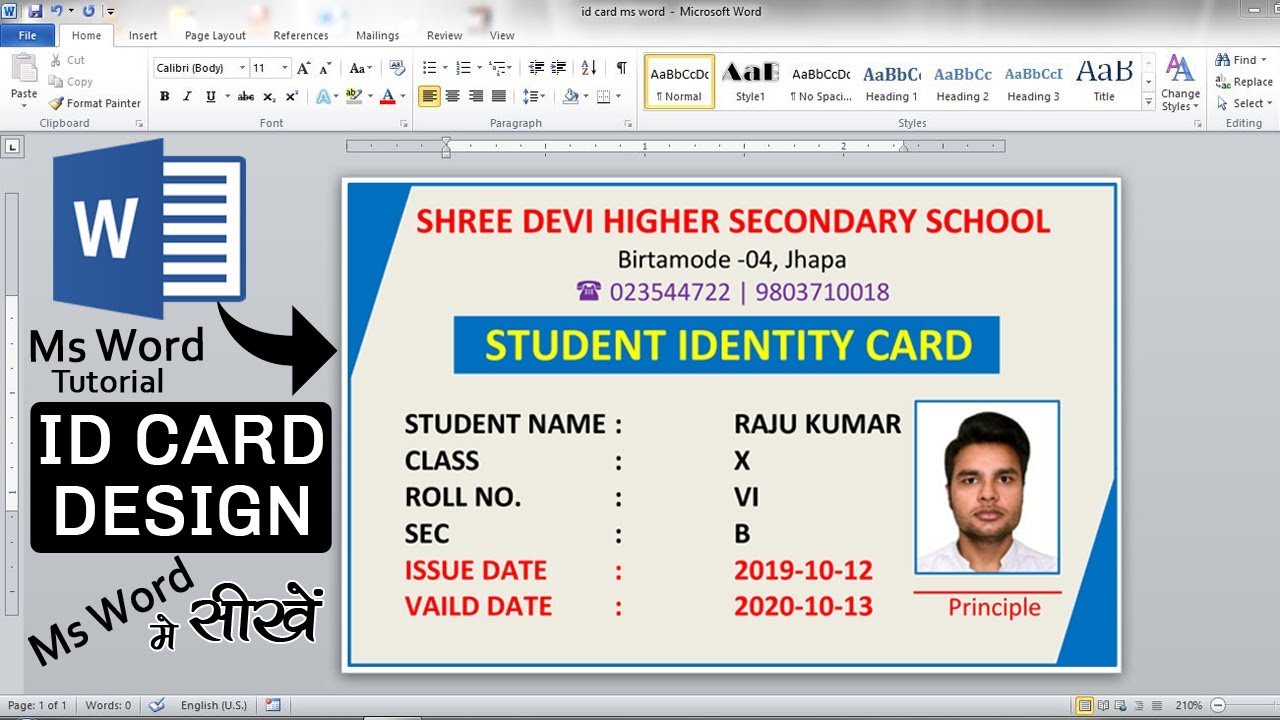
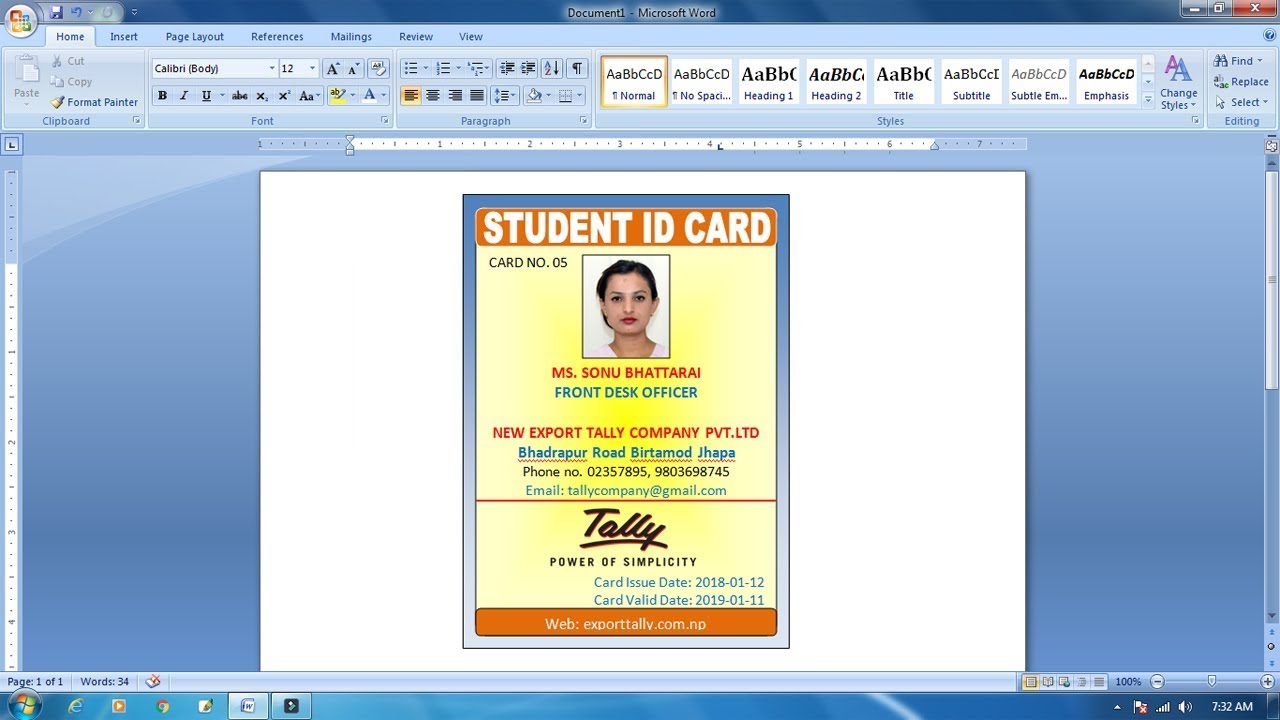
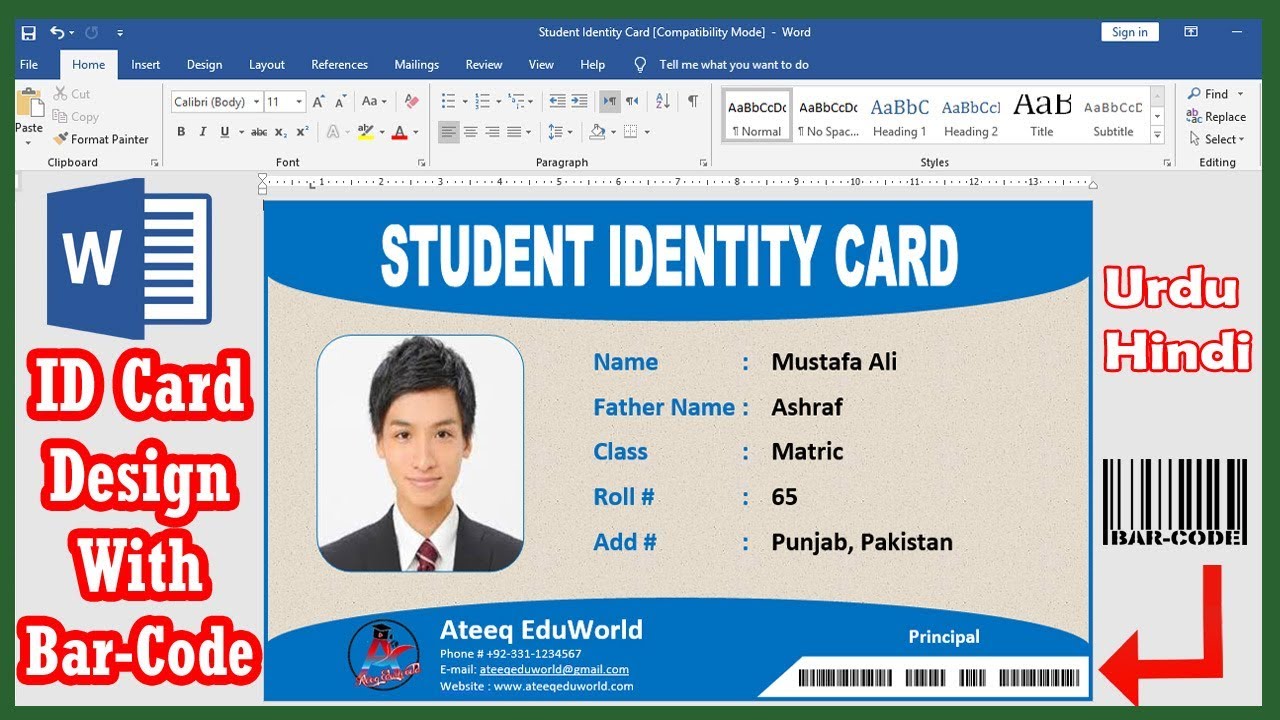
Now for the important details! Insert text boxes to hold the name, title, and any other official-sounding designations you want. "Supreme Ruler of Snacks," perhaps? The possibilities are endless!
Play around with fonts and sizes. A bold, imposing font for the name? Absolutely. Something a little more whimsical for the title? Go for it! It's your ID card; make it memorable.
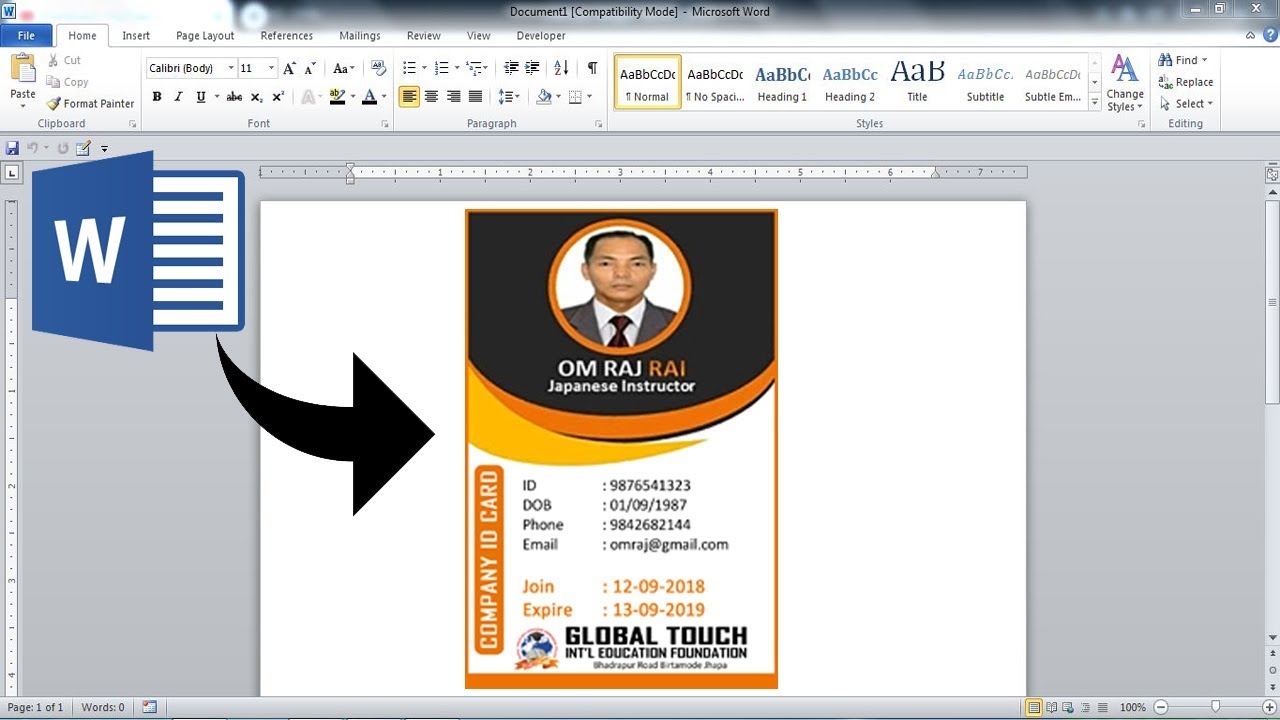
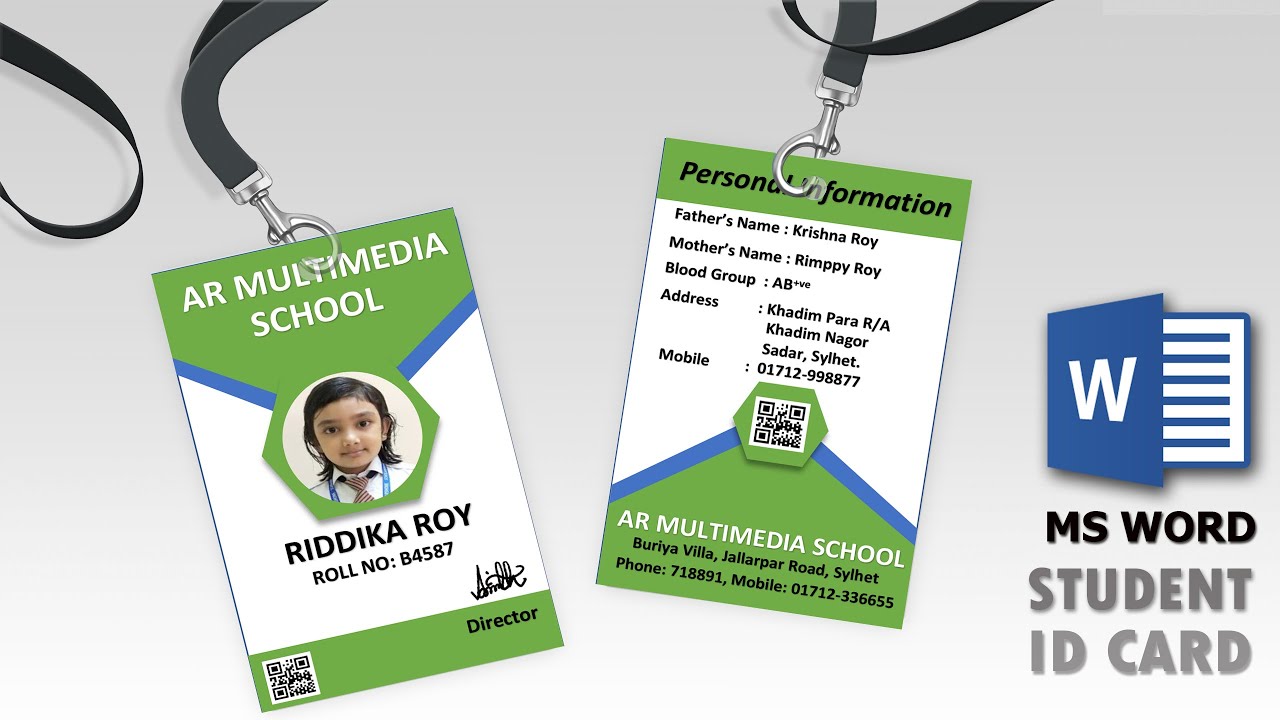
Next, the picture! Insert a picture placeholder and then, well, insert a picture. A professional headshot? A hilarious selfie? The choice is yours. Just make sure it screams "This is me, and I’m important!"
Design Time: Make it Pop!
Colors! Don’t be afraid to experiment. A splash of vibrant color can instantly elevate your ID card from mundane to magnificent.
Consider adding a logo. Even if it's just a clip art image of a smiling pineapple, it adds a touch of professionalism (sort of). Who wouldn't trust a person with a pineapple logo?
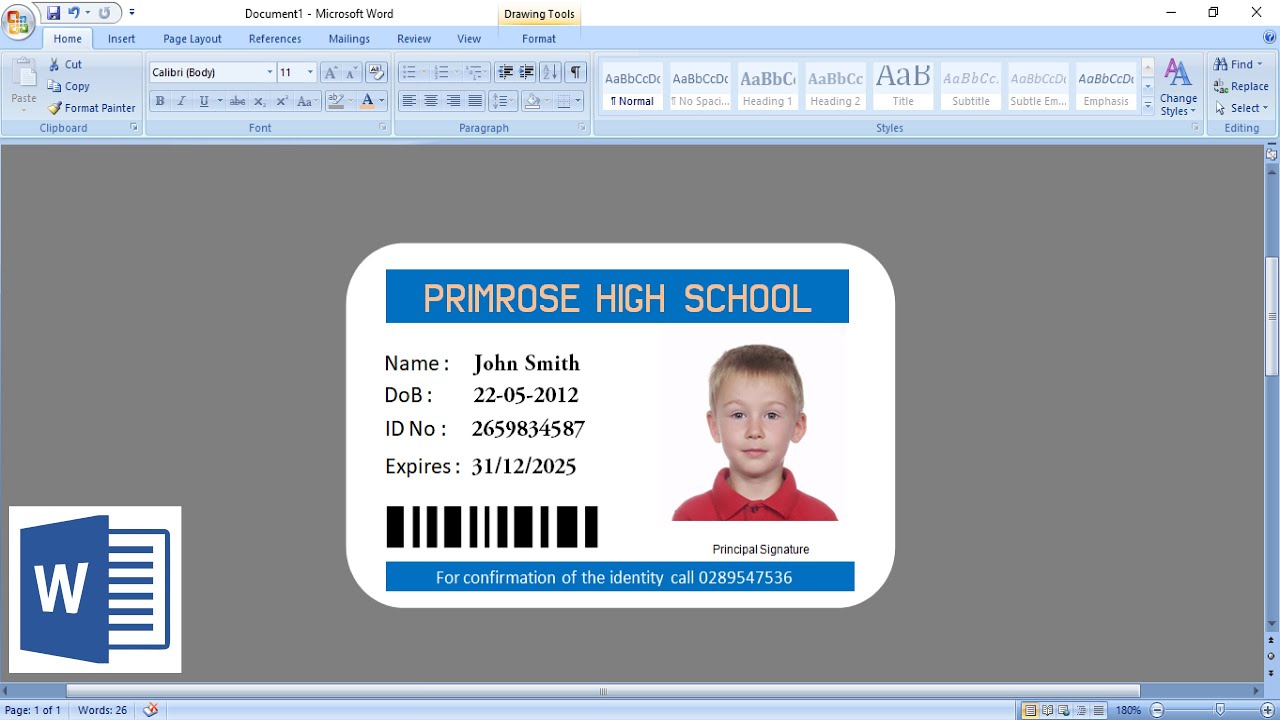
Adding a background can make it look more professional. Just make sure the colors of the background and the information on the card are not too similar, this way you will ensure a professional look.
The Fine Print (Optional, But Fun)
Consider adding a barcode or QR code. It doesn't have to actually *do* anything. It just *looks* impressive. This adds a nice touch to the ID card.
Include an "expiration date." Because even "Supreme Rulers of Snacks" have term limits, apparently. This gives your ID card a professional feel.
Printing and Laminating (The Grand Finale!)
Time to print! Make sure your printer is loaded with paper. (This is a pro-tip that I learned the hard way.)
Laminating is key. It gives your ID card that official, durable feel. Plus, it protects it from spilled coffee and rogue potato chips.
If you don't have a laminator, clear packing tape works in a pinch. It might not be pretty, but it gets the job done. Remember, presentation matters!
A Word of Caution (Mostly Kidding)
While creating fun ID cards is a harmless pastime, please remember that official identification documents are serious business. Don’t try to use your "Supreme Ruler of Snacks" ID card to get discounts or access to restricted areas. It won't end well.
But, if you’re looking for a creative way to pass the time and unleash your inner designer, making ID cards in Microsoft Word is surprisingly rewarding. So, go forth and create! Just don’t blame me if you start demanding special privileges based on your newly acquired official status. Good luck creating the perfect ID card!