How To Make A Paper Pistol At Home

Ever feel the urge to channel your inner action hero? Or maybe you just need a little something to liven up a dull afternoon? Well, hold onto your hats, because we're about to embark on a thrilling journey into the world of paper pistols!
That’s right, folks! We're not talking about anything dangerous or illegal here. Just good, old-fashioned, paper-folding fun. Get ready to unleash your inner origami master (or at least a semi-competent paper folder) because we're about to make something awesome!
What You'll Need
So, what do you need for this top-secret mission? Gather your supplies. This might be the easiest supply run you've ever done!
Your Arsenal of Choice
First, grab some paper! Regular printer paper works great. Think about it like this: each sheet is a single bullet of fun!
Next, you'll need a flat surface. Your kitchen table, your desk, the floor – whatever works. A clear space is a happy space, especially when paper folding is involved.
Finally, bring along your fingers! Your nimble digits are going to be doing all the heavy lifting here. They're the real MVPs of this operation.
Let The Folding Frenzy Begin!
Okay, agent! Time to get to work. Hold your paper horizontally. Now, fold it in half lengthwise. Make sure it's a crisp fold – we want this baby looking sharp!
Unfold it, and then fold each side into that center crease. It's like you're making paper airplane wings, but this time, we are building the ultimate paper weapon.
Now, fold it in half again, along the original center crease. You should now have a long, skinny rectangle. This is the starting point of our soon-to-be paper pistol.
Fold that rectangle in half. This creates a crease in the center, that we will use later! Now unfold it.
Next, fold each end of that rectangle to the center crease we just made. Think of it like a tiny book closing. It should look like two small doors!
Fold the entire thing in half again, using the very first crease we made. You now have what resembles a smaller, thicker rectangle. The plot thickens! That's the hard part over.
Let's shape the handle! Hold your folded rectangle in one hand, pinch about an inch from the bottom, and start bending backwards and outwards. This is the handle. Be creative!
Now, the rest of the paper becomes the barrel of our paper pistol. Play around with it, shape it, mold it to the way you want it to look.
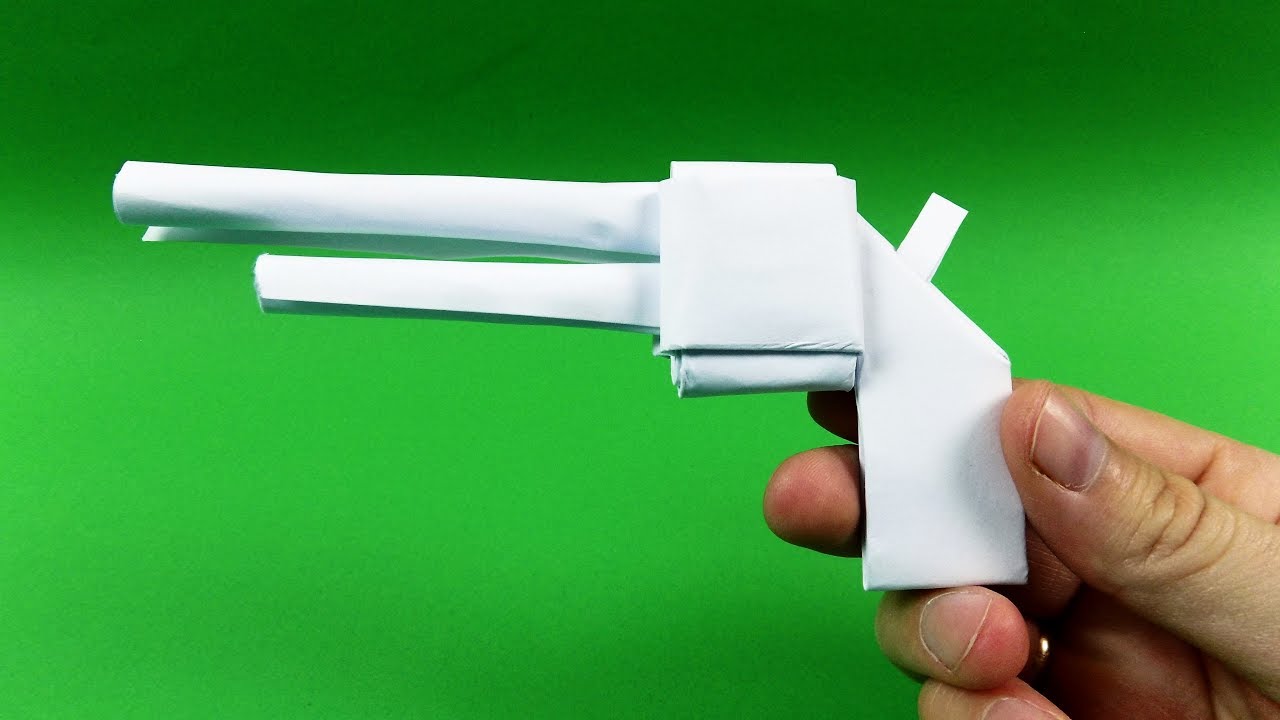
Congratulations! You have built a paper pistol! Go show off your new paper pistol to your friends.
Paper Pistol Pro Tips
Want to take your paper pistol game to the next level? I thought so. Let's talk about upgrades.
Use different colored paper to build your weapon. Camouflage is key. Or maybe go full neon – whatever suits your style!
Experiment with different paper sizes. A larger paper makes a beefier gun. Smaller paper means a stealthier, more pocket-friendly option.
Add some details with markers or pens. Draw on sights, grips, or even a fancy logo. Let your imagination run wild! You can even use tape to make it look super fancy.
And remember, the most important thing is to have fun! This is all about unleashing your creativity and enjoying the simple pleasure of making something cool with your own two hands. So go forth, paper pistol master, and create something truly awesome! Feel free to make a bunch for your friends!