How To Make A Parallel Circuit On A Breadboard

Ready to become a breadboard bandit and conquer the parallel circuit? Fear not, intrepid inventor! We're about to embark on a journey so simple, so electrifyingly fun, that you'll be building circuits like a seasoned pro in no time.
Gather Your Gear
First, assemble your tools. We're not talking scalpels and micro-welders here! Think more along the lines of readily available stuff.
You'll need: a breadboard (the circuit builder's best friend), some jumper wires (colorful spaghetti for electronics!), resistors (little electronic speed bumps), an LED (a tiny lightbulb that's super cool), and a power source (like a battery and battery clip).
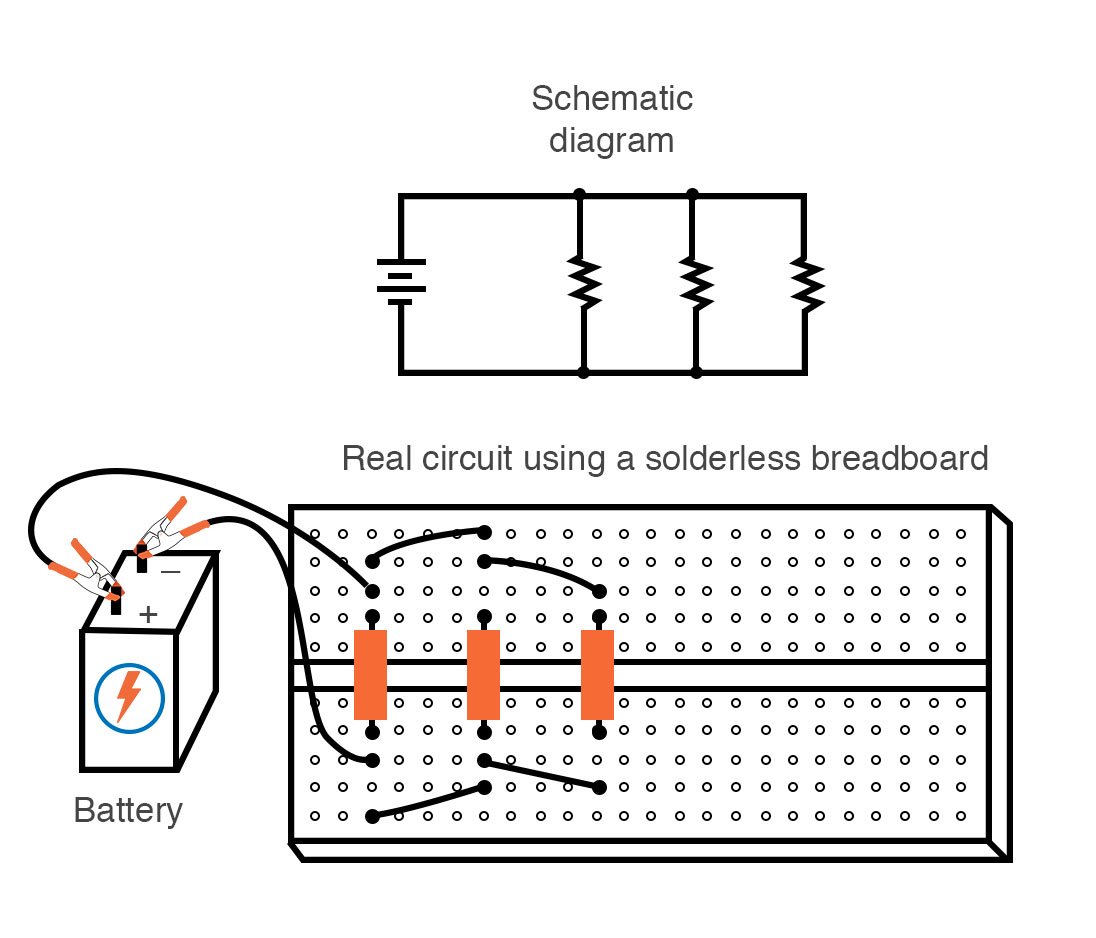
Understanding the Breadboard
Behold, the breadboard! This magical rectangle is riddled with holes that connect internally. The long rows are usually for power – marked with + and – (or red and blue lines).
The short rows (the ones running perpendicular to the power rails) are where the real action happens. Components plugged into the same row are electrically connected. Imagine it like sharing a tiny, invisible bus route.
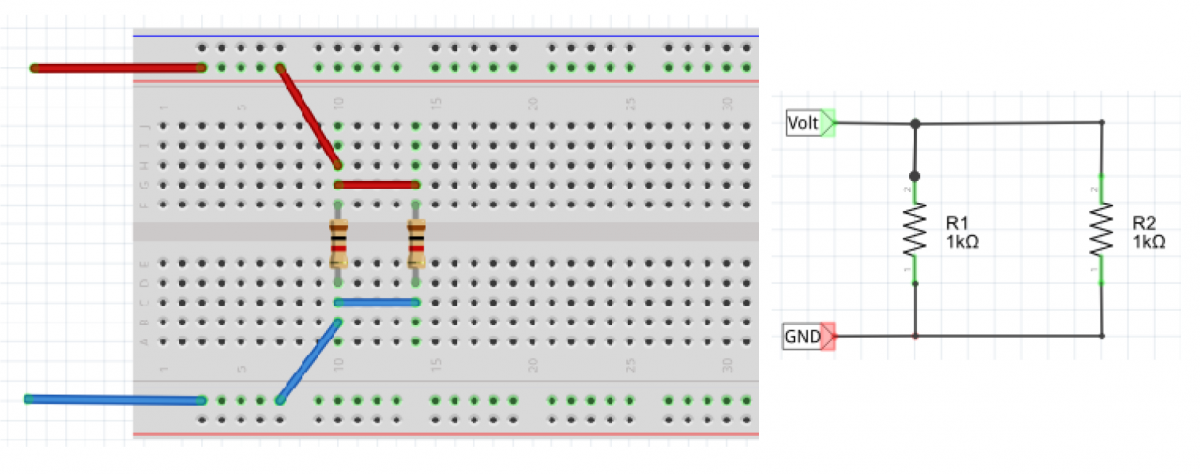
Building the Parallel Paradise
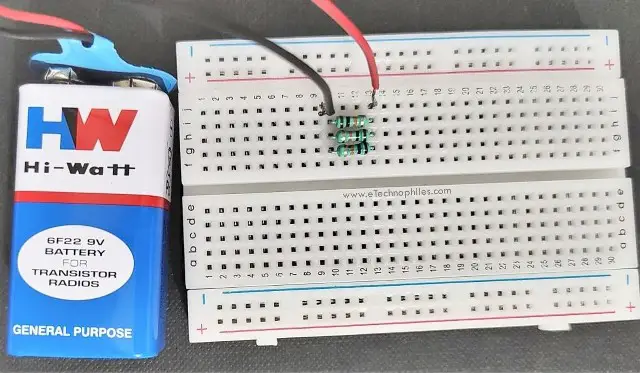
Let's get started! Plug your battery clip's red wire into the breadboard's + rail and the black wire into the – rail. Boom, you've got power!
Resistor Road
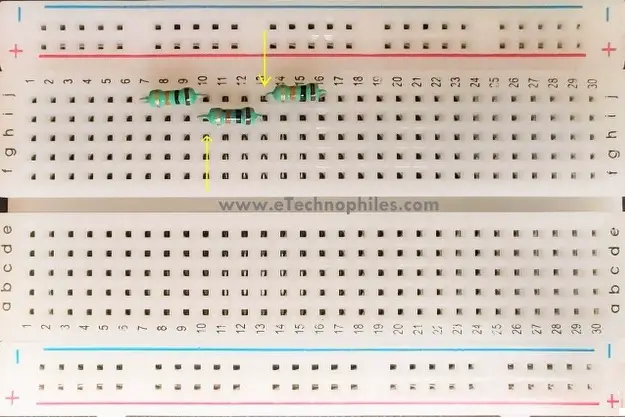
Grab a resistor. Shove one end into a row on the breadboard, away from the power rails.
Now, take another resistor and plug one of its legs into a different row, also away from the power rails. These are your resistor avenues.
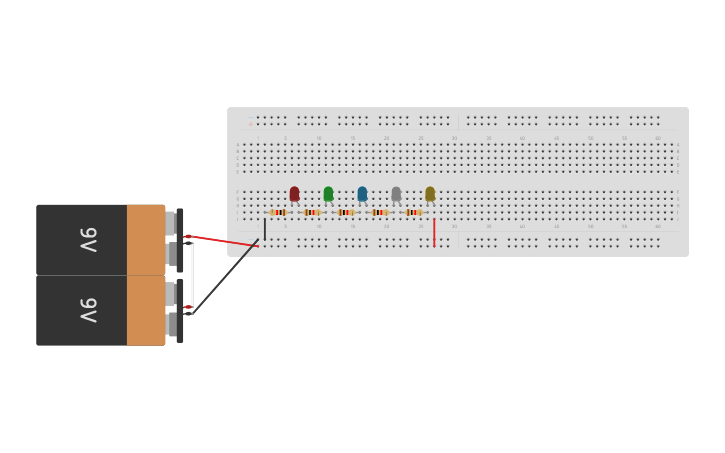
Lighting the Way
Let's add some light! An LED, or Light Emitting Diode, has two legs: a longer one (the anode, or positive side) and a shorter one (the cathode, or negative side).
Place the LED's longer leg in the same row as one of your resistors. Its shorter leg needs its own row. Think of it as an exclusive VIP parking spot.
Repeat the process with a new LED, placing its longer leg in the same row as the other resistor, and its shorter leg in a new free row. We now have two LED routes!
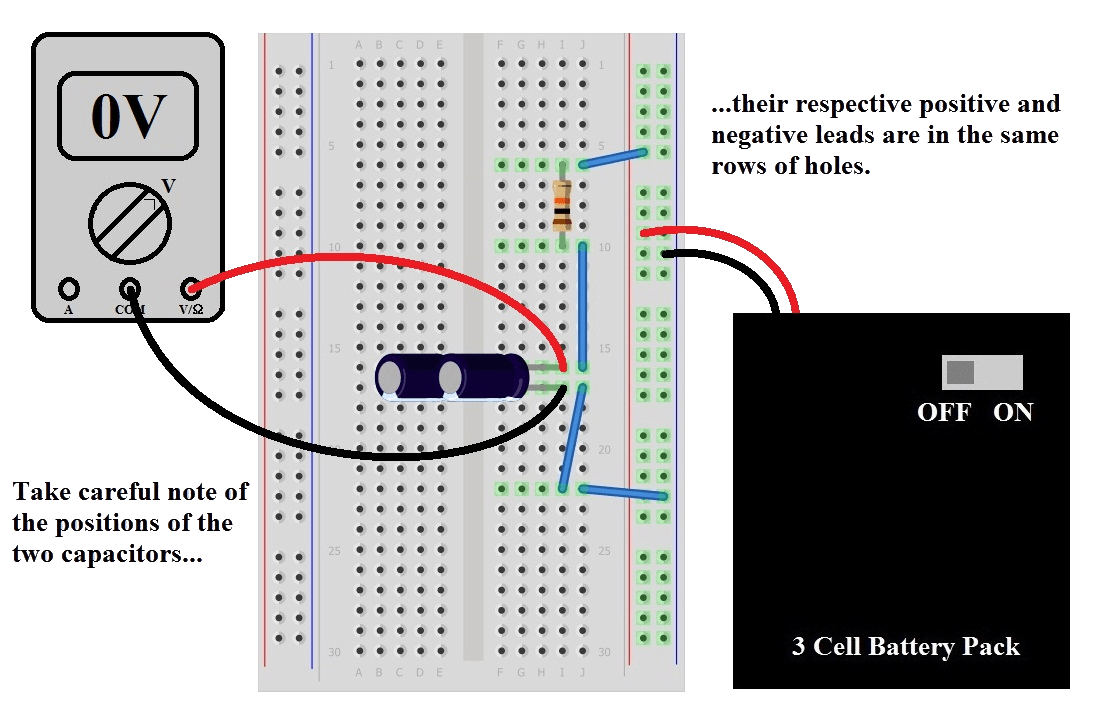
Jumper Junction
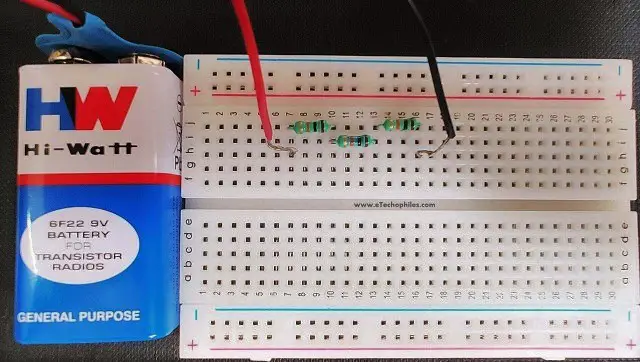
Time to make some connections! Grab a jumper wire and connect the positive (+) power rail to the row where one end of your first resistor is located.
Do the same thing with your second resistor, connecting it to the (+) power rail. Now, connect another jumper wire from the row with LED’s longer leg to the (+) power rail.
Now, for the other side. Take another jumper wire and connect the negative (-) power rail to the row with LED’s shorter leg.
Prepare for Illumination!
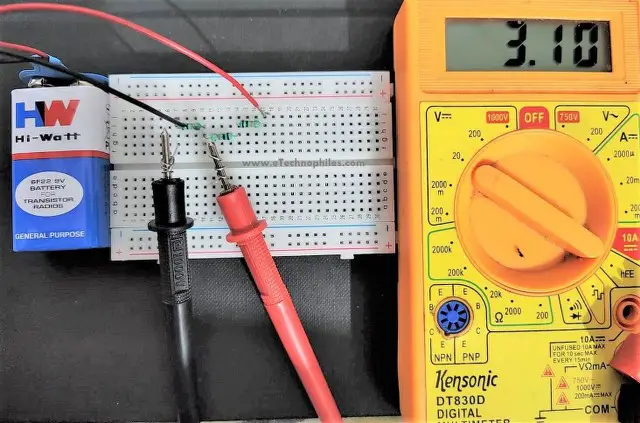
Now, the moment of truth! If all goes according to plan, your LEDs should light up like tiny beacons of breadboard brilliance!
If they don't, don't panic. Double-check all your connections and make sure your battery is good. Sometimes, even the best of us have a wire out of place.
Parallel Power!
Congratulations, circuit commander! You've successfully built a parallel circuit on a breadboard. You are now officially a breadboard boss.
Remember, this is just the beginning of your electronic adventures. There is an entire universe of circuitry to explore.
So, keep experimenting, keep building, and keep having fun. The world of electronics awaits your ingenious creations! Maybe your next invention will power the world.