How To Make A Proxy Website For School

So, You Wanna "Study" (Yeah, Right)
Okay, let's be real. You're not here because you suddenly developed an insatiable thirst for ancient history. You need a workaround. A digital escape hatch.
Building a proxy website? It’s like building a tiny, secret fort on the internet. A fort made of code and dreams (mostly dreams of cat videos).
Don't worry, we're not going to get all technical. We'll keep it simple. Like, peanut butter and jelly sandwich simple. But with more internet!
The "Borrowing" Method (Shhh!)
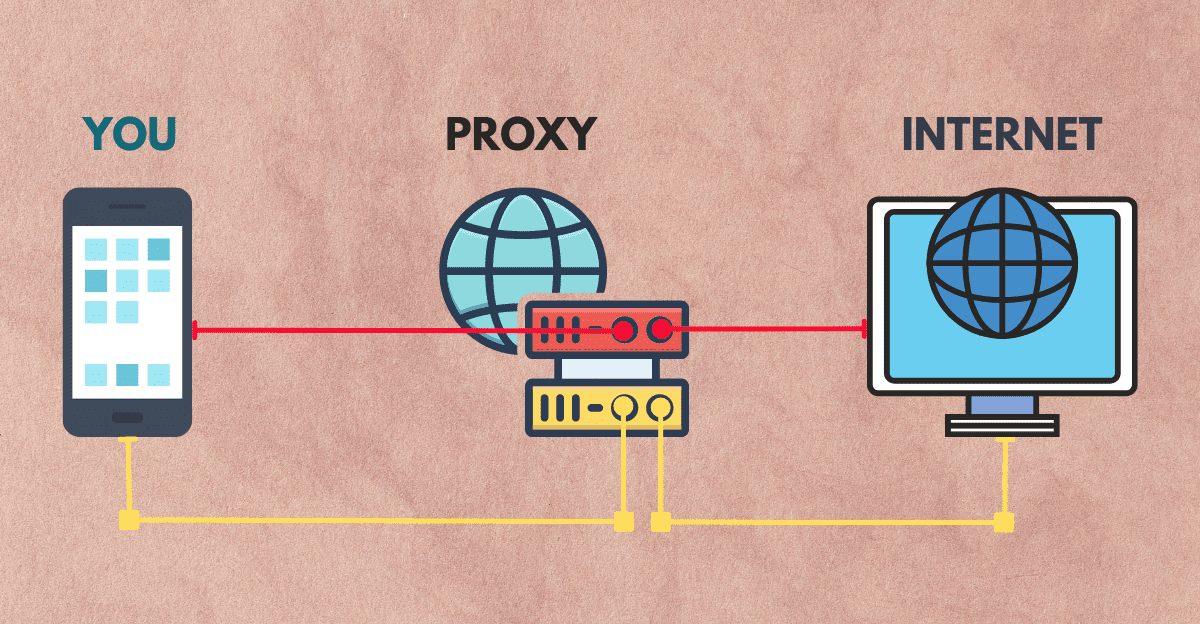
This is the easiest route. Think of it as "ethical borrowing." From the internet. Okay, maybe not ethical. But definitely efficient.
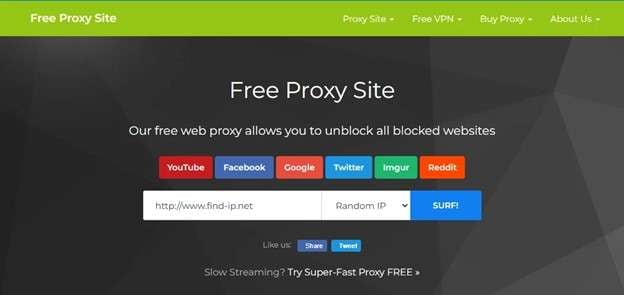
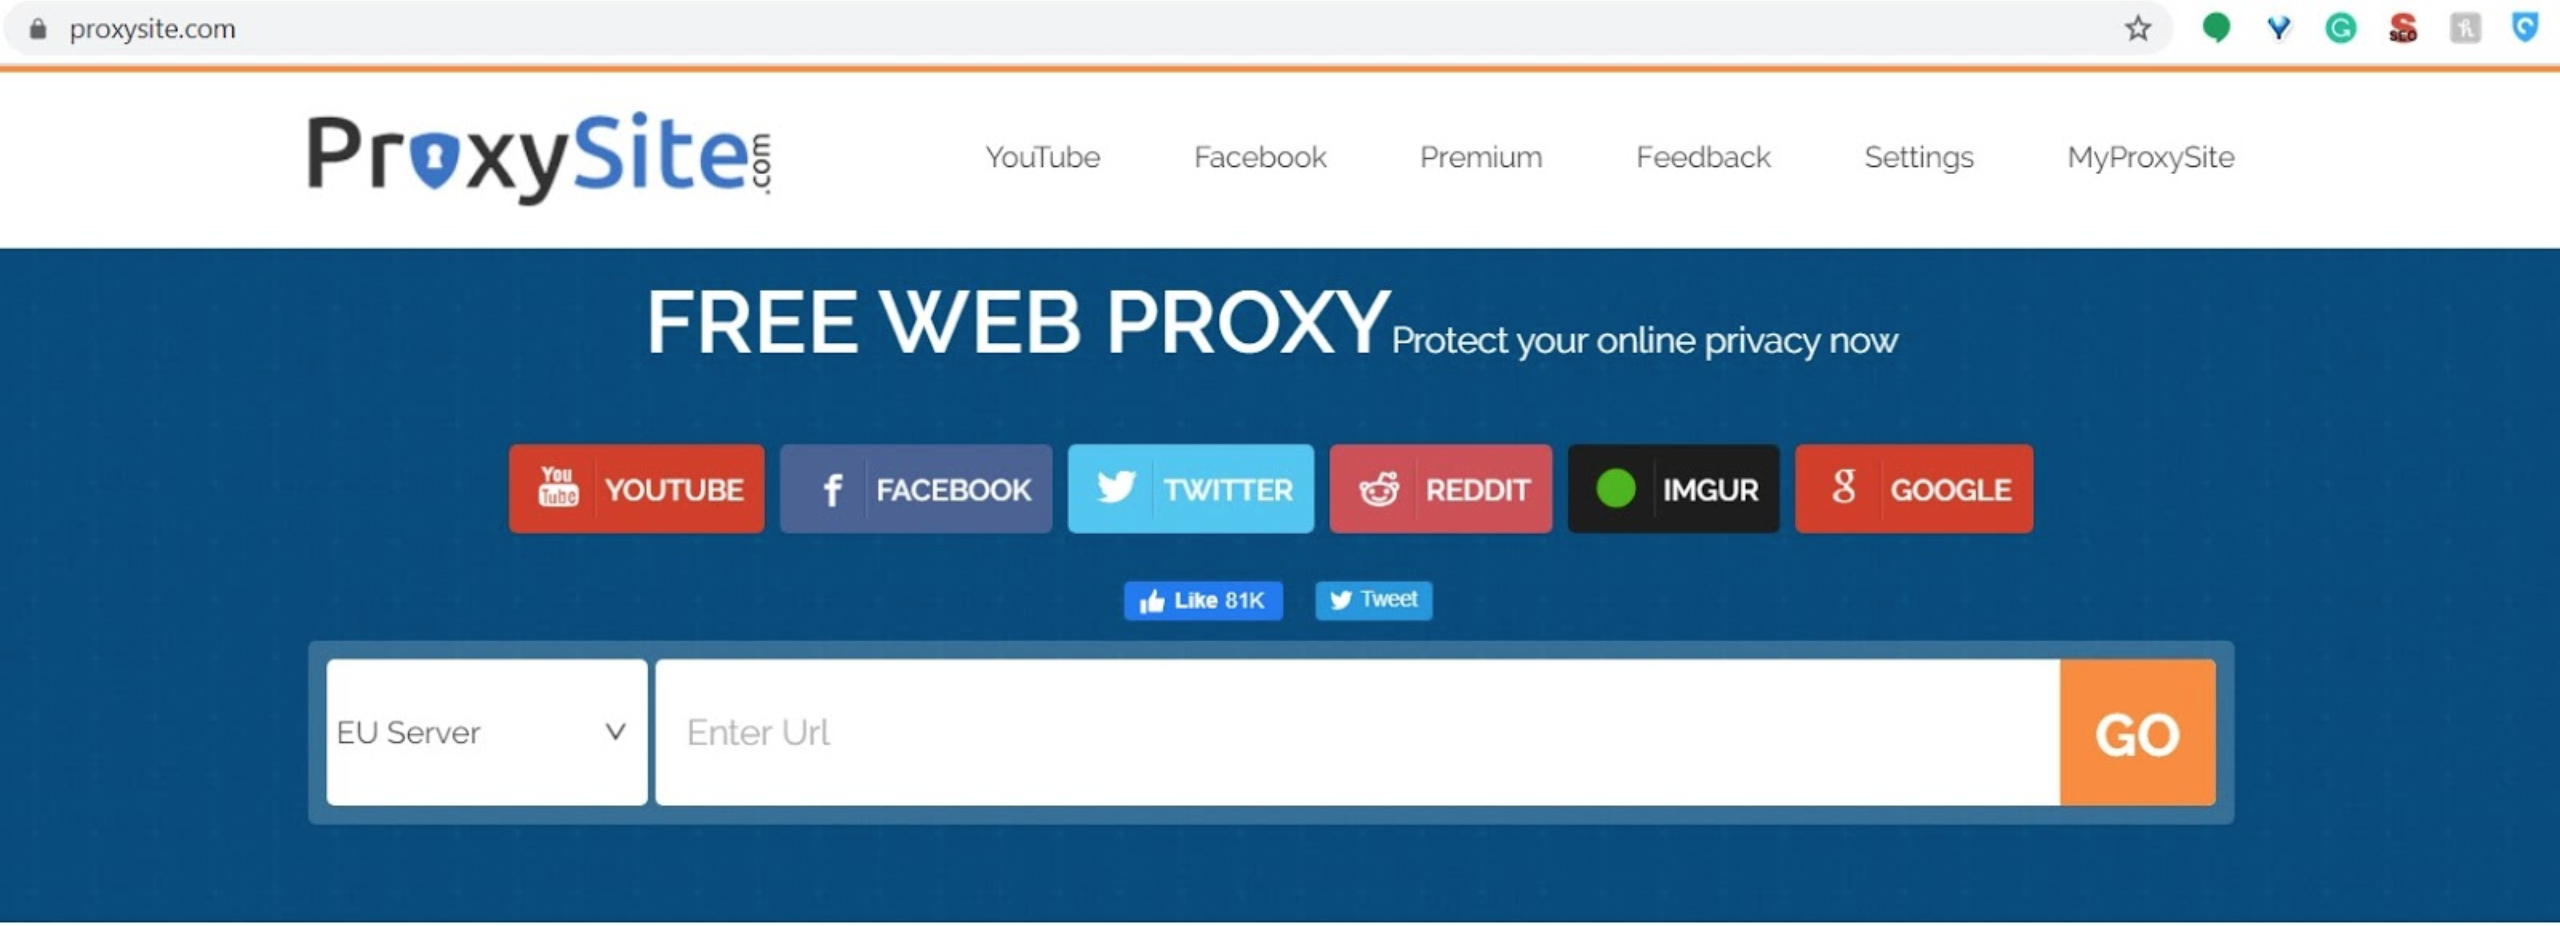
Find an existing proxy website. There are tons of them out there. Just Google "free proxy website." (Maybe not on the school computer, though. Just a thought.)
Then, "borrow" its code. Usually, you can view the page source. Right-click on the page and select "View Page Source" or something similar. Ctrl+U also works.
Copy all that mess of letters and symbols. It's code. Don't be scared. Paste it into a text editor like Notepad (on Windows) or TextEdit (on Mac). Save it as an HTML file (like "my_study_tool.html"). Make sure to select "All Files" for save as type!
Open that HTML file in your browser. Boom! Instant proxy! (Well, almost. It might need tweaking. See the next section.)
Tweaking is Key (Like Adding Sprinkles)
Okay, the "borrowed" code might be a little… rough. It might have the original website's name plastered all over it. Or it might just look ugly.
Time for some tweaking! Open that HTML file in your text editor again. Look for anything that says the name of the original website. Change it to something else. Something… innocuous. Like "Advanced Learning Portal".
You can also change the colors and fonts. Make it your own! Or, you know, make it look less suspicious. Avoid neon pink.
Test, test, test! Make sure everything works. Try searching for different websites. See if it actually bypasses the school's filters. If not, back to the drawing board (or, you know, Google).
The "Hosting" Hurdle (Just a Little Jump)
Now, you need to put your fancy new proxy website online. This is where "hosting" comes in. It's like renting a tiny piece of the internet to store your website.
There are free hosting options out there. Look for something that offers HTML hosting. Some popular options include GitHub Pages or Netlify.
Follow their instructions to upload your HTML file. It might involve creating an account and using some command-line tools. But don't worry, there are plenty of tutorials online. Just don't get caught watching those during class.
Once your website is uploaded, you'll get a special address (a URL). This is the address you'll use to access your proxy website. Bookmark it! Share it with your "study group."
A Word of Warning (Don't Get Busted!)
Look, I'm not going to tell you what to do. But I will say this: schools are getting smarter. They have ways of detecting proxy websites.
So, be careful. Don't get greedy. Don't spend all day on YouTube. Maybe actually do some studying. Just a little. For appearance's sake.
And if you do get caught? Blame it on the Russians. Just kidding! (Don't do that.) Good luck, and may the odds be ever in your favor. Remember, with great power comes great responsibility. And great cat videos.
Just kidding, good luck with the studying. (wink)


![How To Make A Proxy Website For School 20 Best Proxies For School [Proxy Websites for Schools] in 2024](https://i.pinimg.com/originals/9c/b7/29/9cb729188aead7cda0d44ee32b57c817.jpg)