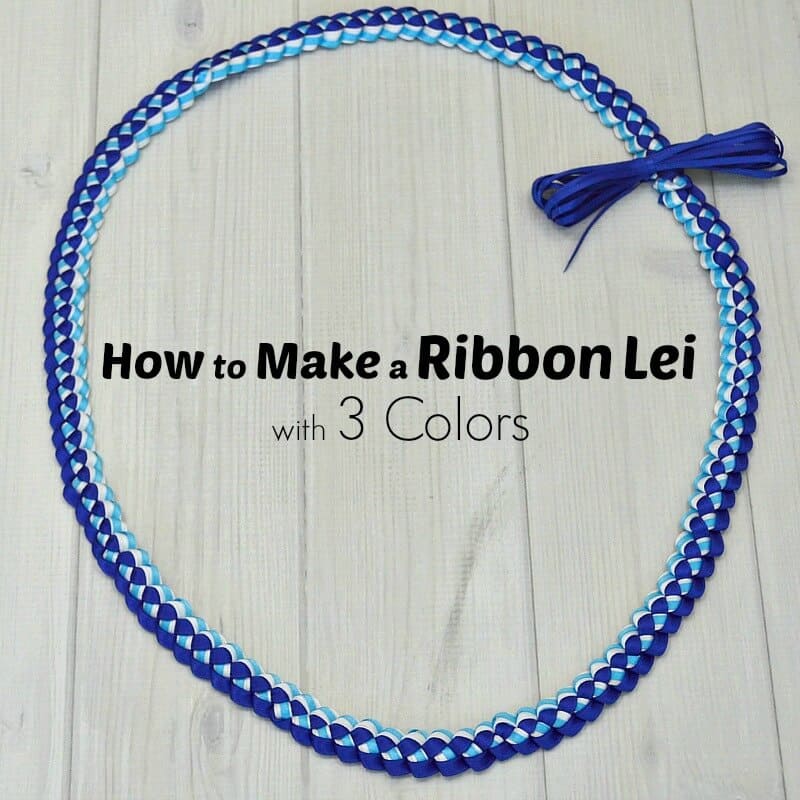
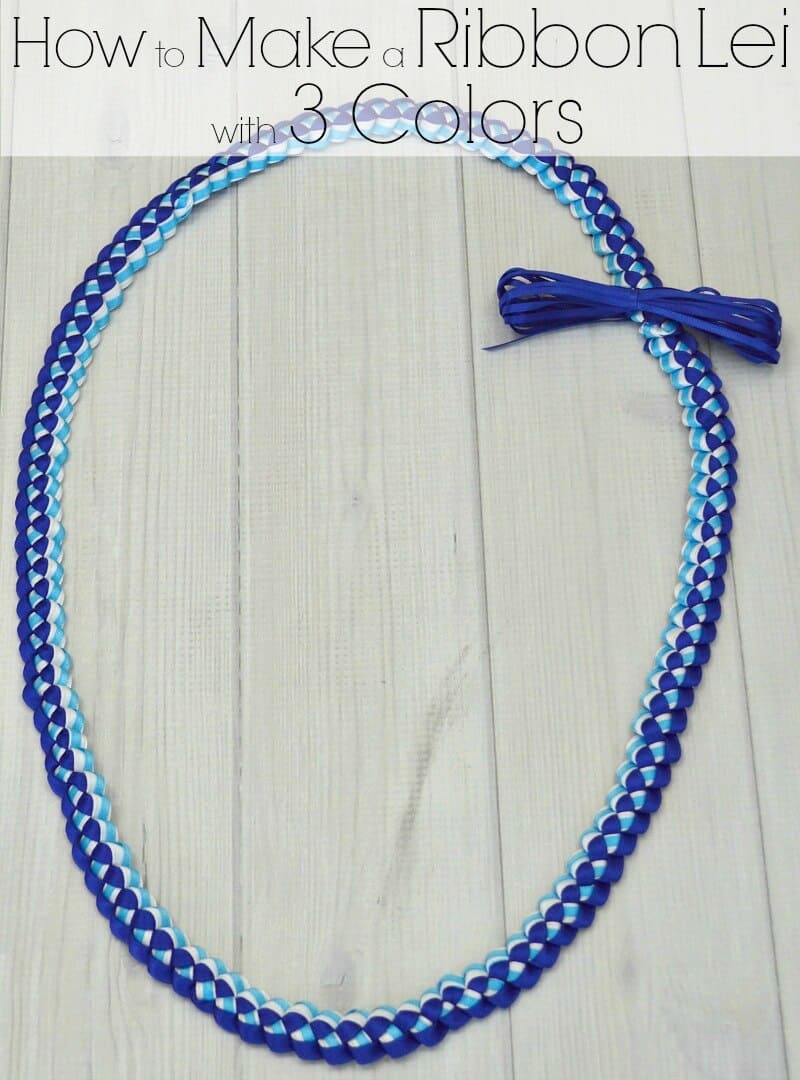
How To Make A Ribbon Lei With 3 Colors
Okay, let's get real. Ribbon leis. They look amazing, right? Like a vibrant, wearable hug. We are going to explore how to make one with three colors.
My unpopular opinion? They're way easier to make than they look. Don't let those crafty experts intimidate you. We got this.
Gather Your Supplies
First things first, you need ribbon. Shocking, I know. Pick three colors that make your heart sing. I'm partial to a good tropical vibe.
Think sunshine yellow, ocean blue, and maybe a pop of hibiscus pink. We will also need scissors, a ruler and string.
And a healthy dose of patience. Because let's be honest, even pros need a little.
Cutting the Ribbon
Now, cut, cut, cut! This is where things can get a little… repetitive. But hey, think of it as therapy.
Each ribbon will need to be cut into 3-4 inch pieces, don't worry if the sizes aren't perfectly exact. Remember, this is supposed to be fun!
Aim for around 100 pieces of each color. Or more, if you're feeling ambitious (or have a really big neck).
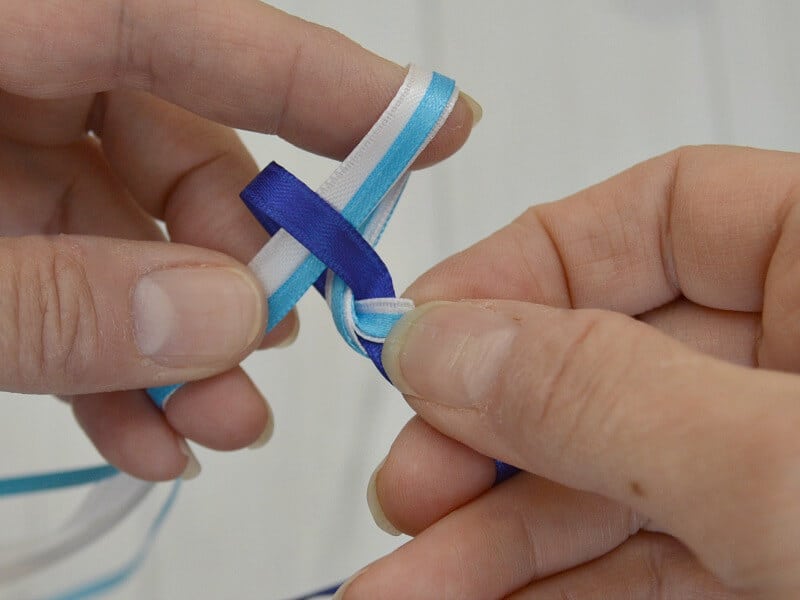
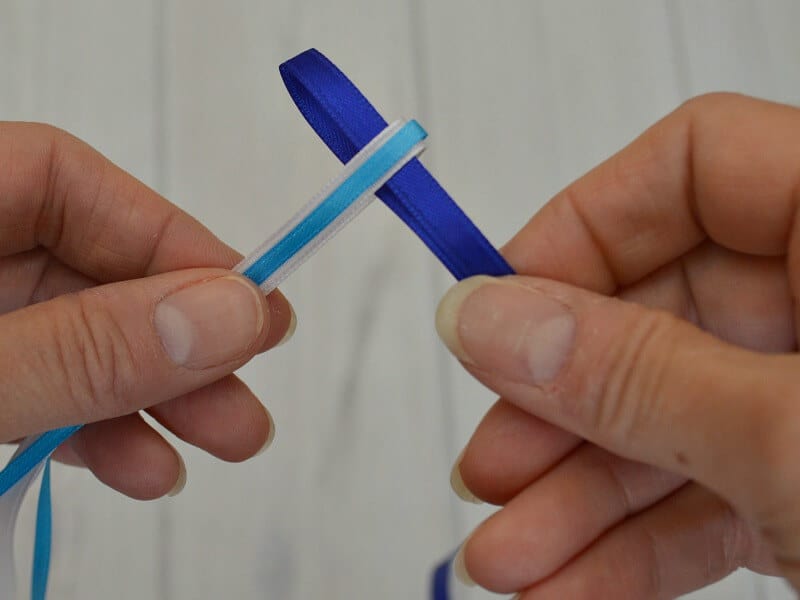
The Folding Fiasco (Just Kidding!)
Okay, "fiasco" might be a bit dramatic. But folding is definitely the core of the process. Here we go!
Take one piece of ribbon and fold it in half, creating a loop. Simple, right? Do that one million more times.
Repeat for all three colors. You'll end up with a mountain of colorful loops. Admire your handiwork for a moment.
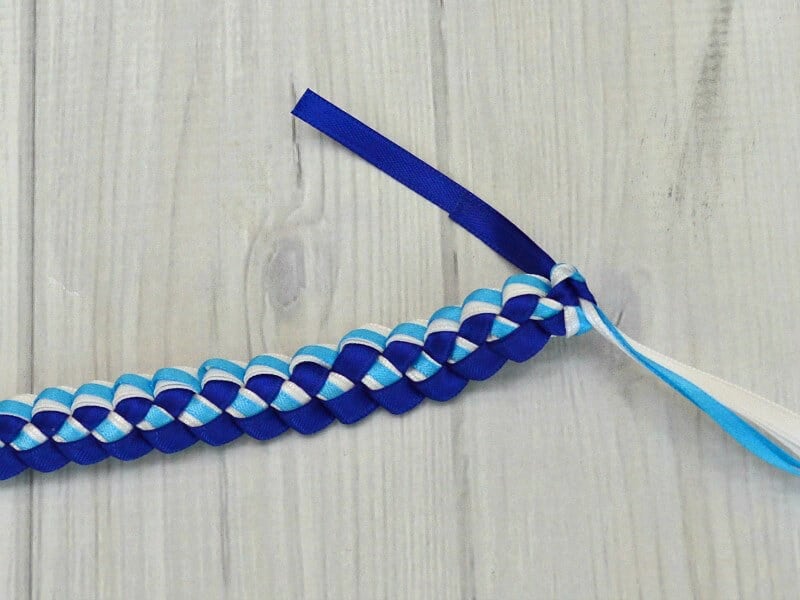
Stringing It All Together
Grab your string. Time to start building your masterpiece! I like to use fishing line. It is strong and clear.
Thread a needle (optional, but highly recommended). This will make your life infinitely easier. Trust me.
Now, start stringing those loops! Alternate the colors however you like. There's no right or wrong way to do this.
Go color, color, color, until you reach your desired length. I am using a classic 1-2-3 color combo.
A tip: push the ribbon as close as you can to make it look fluffy. You want to fill in as much space as possible.
Tying It Off (The Grand Finale!)
Once your lei is the perfect length, tie off the ends securely. Double knot it, just to be safe. We don't want any lei casualties.
Trim the excess string. And there you have it! A beautiful, handmade ribbon lei.
Now, go forth and spread the Aloha spirit! Wear it proudly, give it as a gift, or just admire your handiwork.
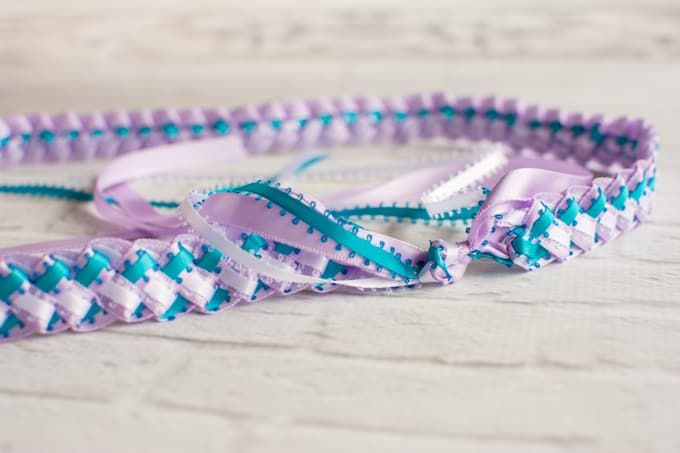
Adding a Little Extra Flair
Want to take your lei to the next level? I have ideas. Consider adding little charms or beads.
Small seashells or wooden beads can add a natural, earthy touch. Think about your theme!
Or, use different types of ribbon for added texture and visual interest. Mix it up! Try satin, grosgrain, or even velvet.
The most important part? Have fun. Because that's what crafting should be all about. No pressure, no stress, just colorful ribbon goodness.
My final, possibly controversial, thought? Ribbon leis are way more thoughtful than store-bought ones. They might not be perfect, but they're made with love. And that's what really matters. So get crafting and aloha!