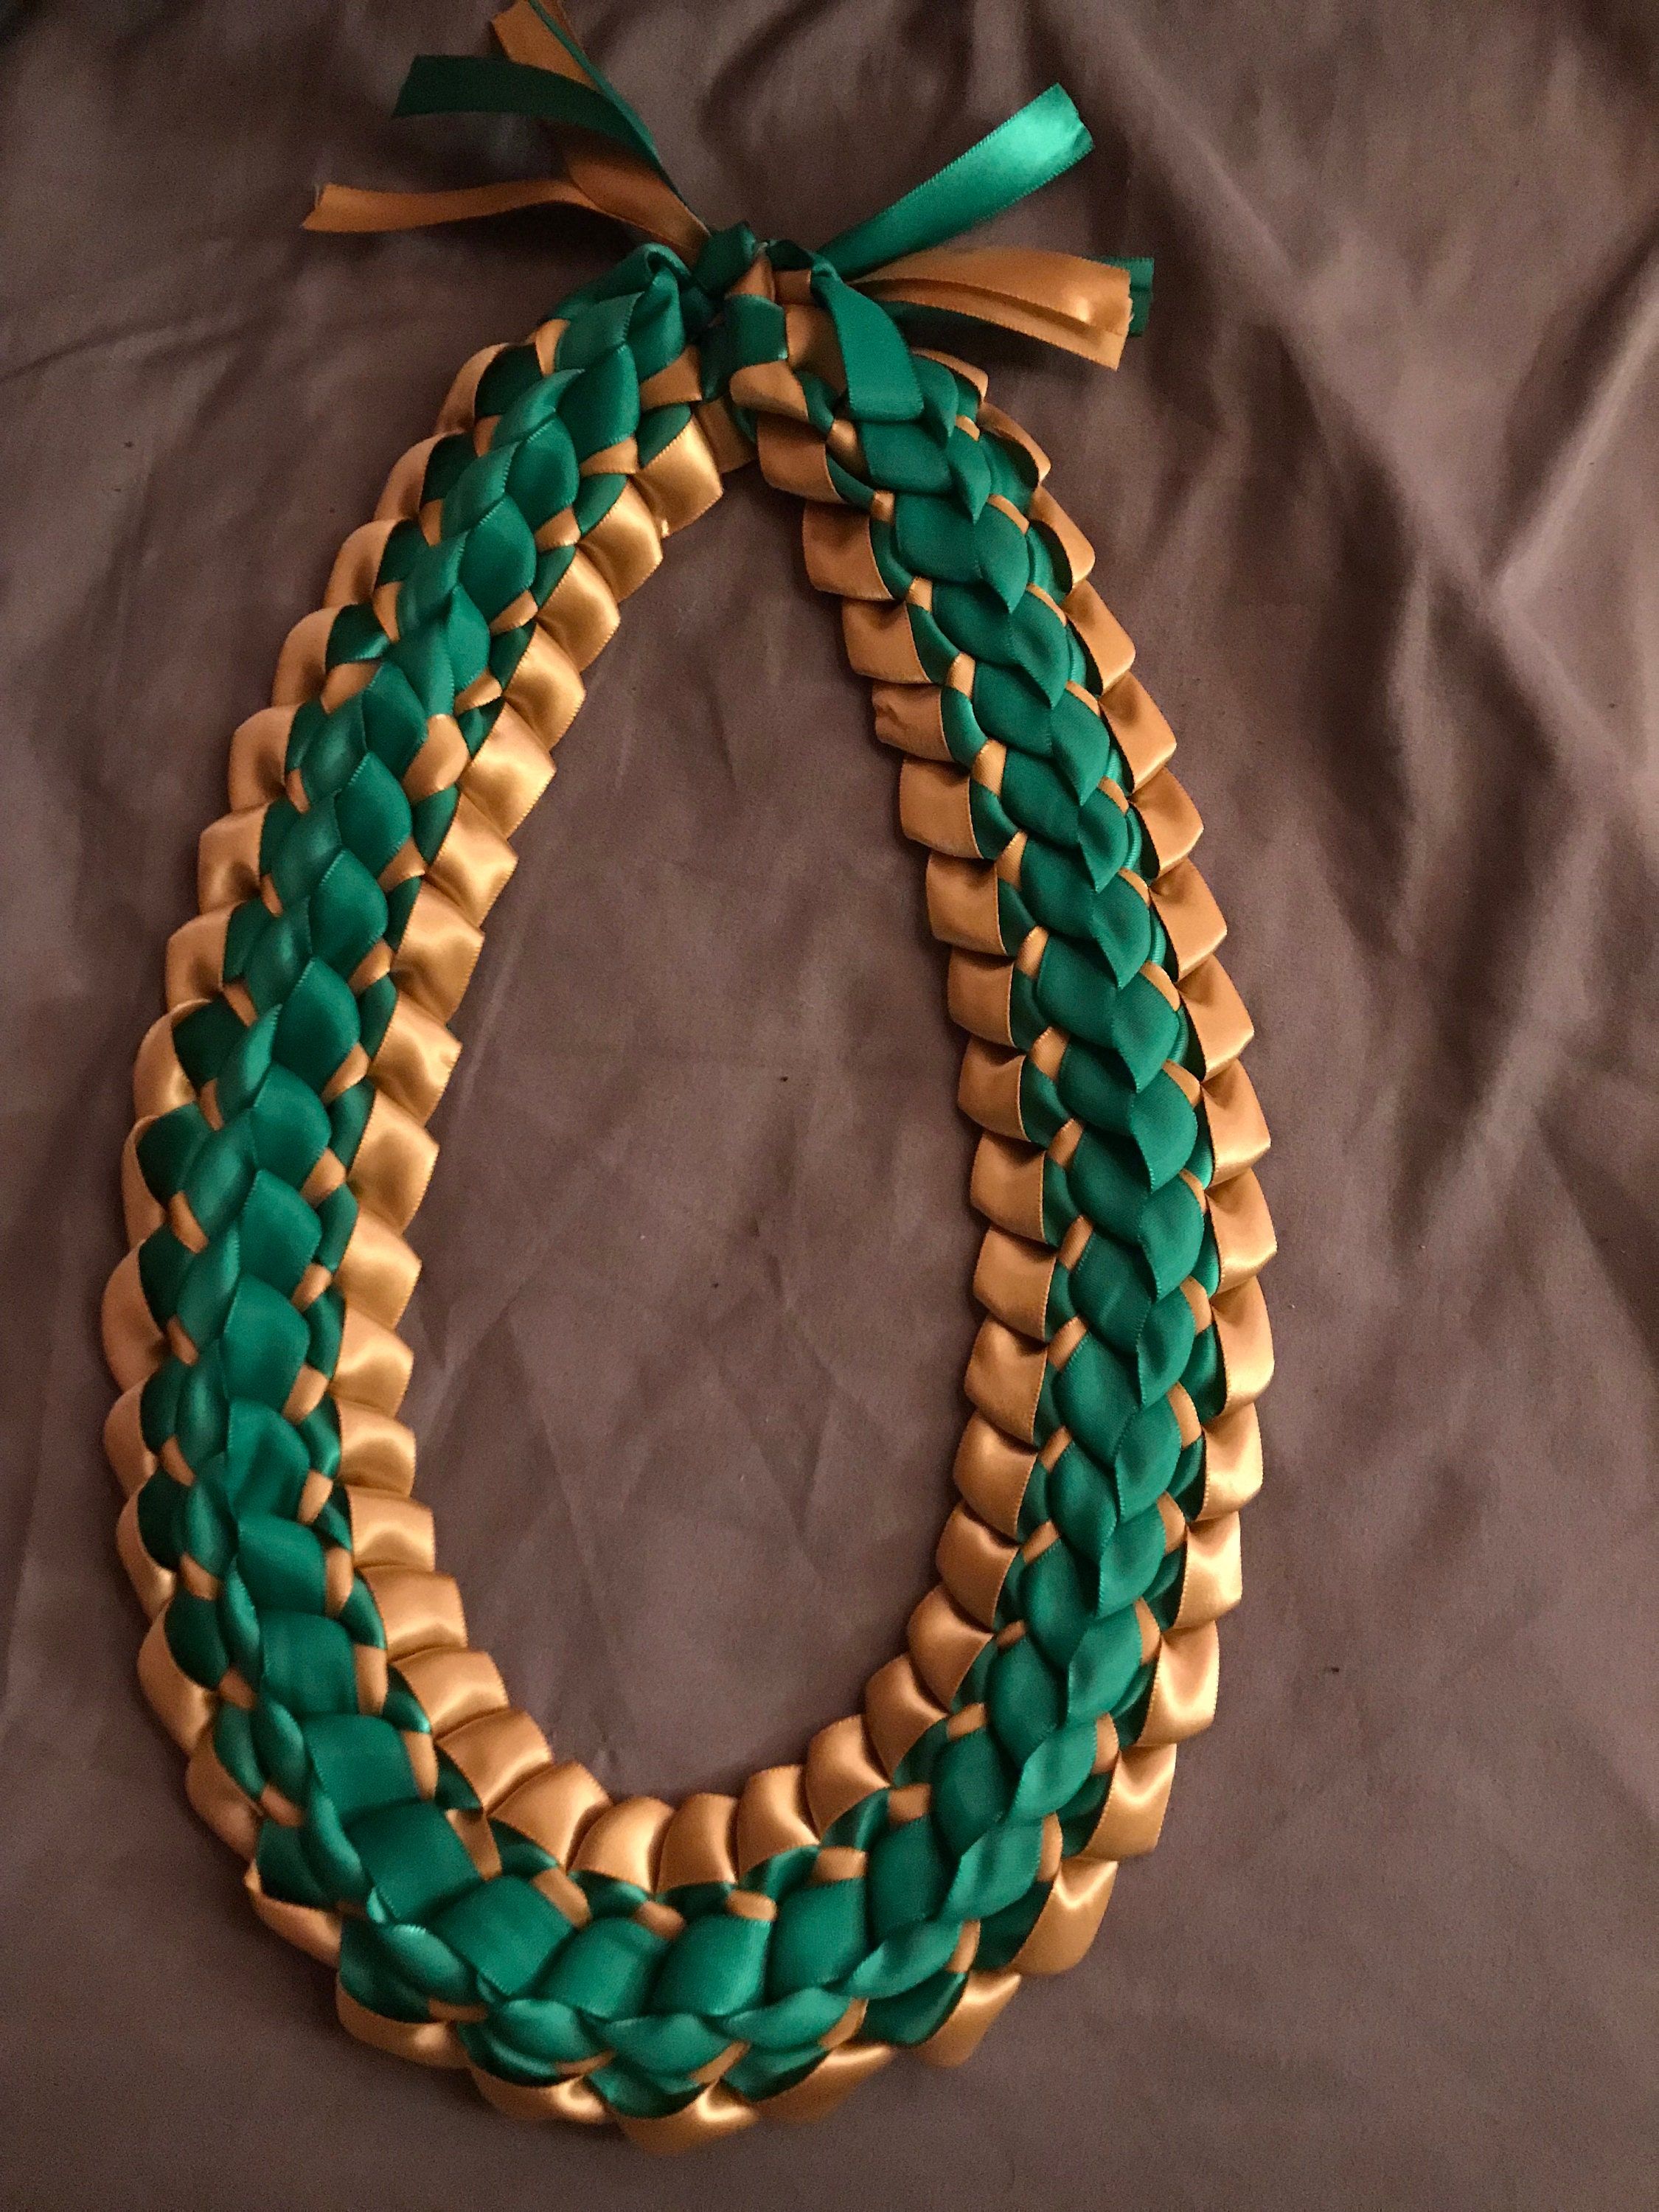
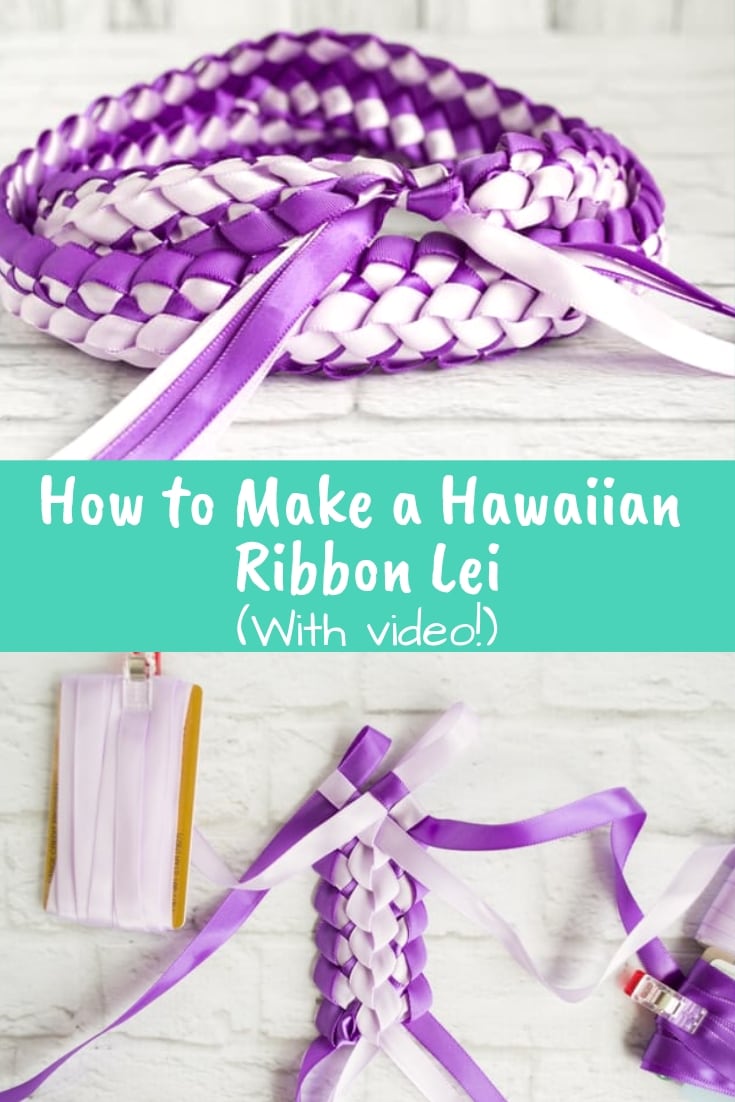
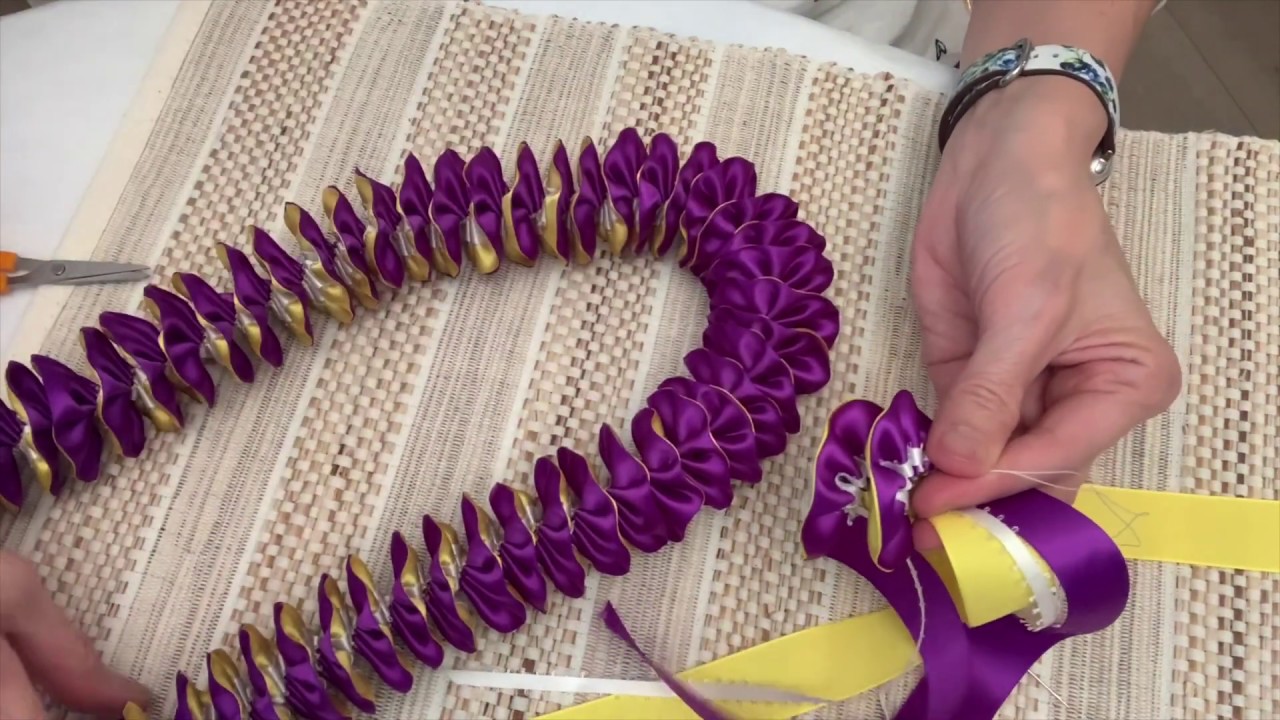
How To Make A Ribbon Lei With 4 Ribbons

Ever feel the urge to create something beautiful, something that screams "celebration" louder than a kazoo at a birthday party? Let's ditch the store-bought stuff and dive headfirst into making our own ribbon lei. Yes, you heard right! And we're using four ribbons, because why settle for ordinary?
Gather Your Supplies (and Your Patience)
First, you'll need four ribbons. Choose colors that make your heart sing! We're talking sunshine yellow, ocean blue, fiery red, or even a wacky combination of all three. Let your inner artist loose!
You'll also need a trusty pair of scissors, a ruler (optional, we're eyeballing this!), and a whole lotta staples. And a stapler, of course. Unless you're planning to glue everything together which is not going to work that well.
The Chopping Spree
Cut your ribbons into equal lengths. Aim for around 10-12 inches each, but honestly, who's measuring? Just make sure they're all roughly the same size. You want a lei, not a bizarre ribbon sculpture with an identity crisis.
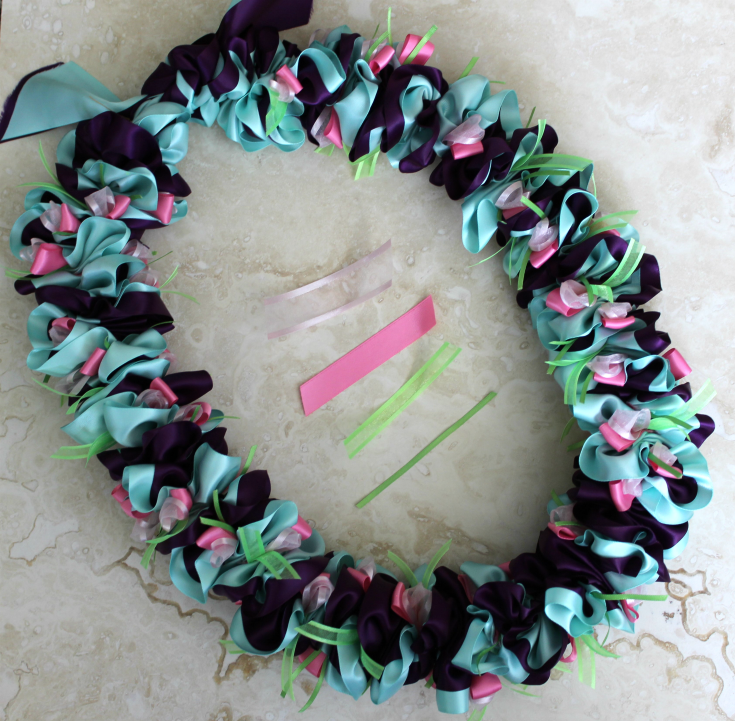
Now, stack your ribbons. It's like building a colorful sandwich, but edible only in your dreams. Arrange them in a way that pleases your eye; there's no wrong answer here, unless you secretly hate rainbows.
The Fold and Conquer
Fold the stack in half, creating a loop at the top. This is the future 'neck hole' of your glorious creation. Imagine the adulation when you bestow this upon someone!
Now for the folding! Take the ends of your ribbons and fold them over the loop. You're essentially creating a little packet. Do this to both sides of your stacked ribbons.
The Staple Showdown
Staple that fold down! One staple in the middle should do the trick, like a tiny metal hug holding everything together. Don't be shy, but also don't go overboard; you're making a lei, not a metallic fortress.
Repeat the fold and staple process. Remember those ribbon pieces? You’re going to fold and staple them all the way down the length of the ribbon creating a continuous beautiful chain. This is where the rhythm kicks in, and you might find yourself humming along to an imaginary soundtrack.
If you mess up? Don't sweat it! It adds character, or so we tell ourselves. Just rip it out and start again. It's like a ribbon do-over.
Connecting the Ends (and the Hearts)
Keep going until you've used up all your ribbon pieces. You'll have a growing chain of colorful, stapled goodness. The end is near!
Once you're done, it's time to connect the ends. Form a circle and staple the two loose ends together. Congratulations, you've created a lei!
Presenting Your Masterpiece
Now, find someone to give it to. A graduate, a birthday celebrant, or even just a friendly neighbor. The joy on their face will be worth all the stapled fingers (hopefully not!).
And there you have it: a beautiful, handmade ribbon lei that's bursting with love (and a whole lot of staples). Go forth and spread the Aloha!
Consider adding embellishments to personalize your lei. Little trinkets, flowers, or even miniature rubber ducks – the possibilities are endless. Just be prepared for the stares.
Most importantly, have fun! This is about creating something special, not achieving perfection. Embrace the imperfections and celebrate the joy of making. Now go forth and lei!