How To Make A Rose Out Of Sticky Notes

Ever feel like your desk is screaming for a little... pizzazz? Like it's staged a silent protest against the beige monotony? Well, my friend, I have the answer, and it involves the most unassuming hero of the office supply world: the sticky note!
Gather Your Arsenal
First, round up your supplies. You'll need a pad of sticky notes (any color, though pink or red really screams "rose"), scissors (because, safety first, mostly!), and a pen or pencil (for a tiny bit of secret agent work).
Now, before you begin, take a moment to appreciate the humble sticky note. Think of all the brilliant ideas, grocery lists, and passive-aggressive reminders it's faithfully served.
Let the Folding Frenzy Begin!
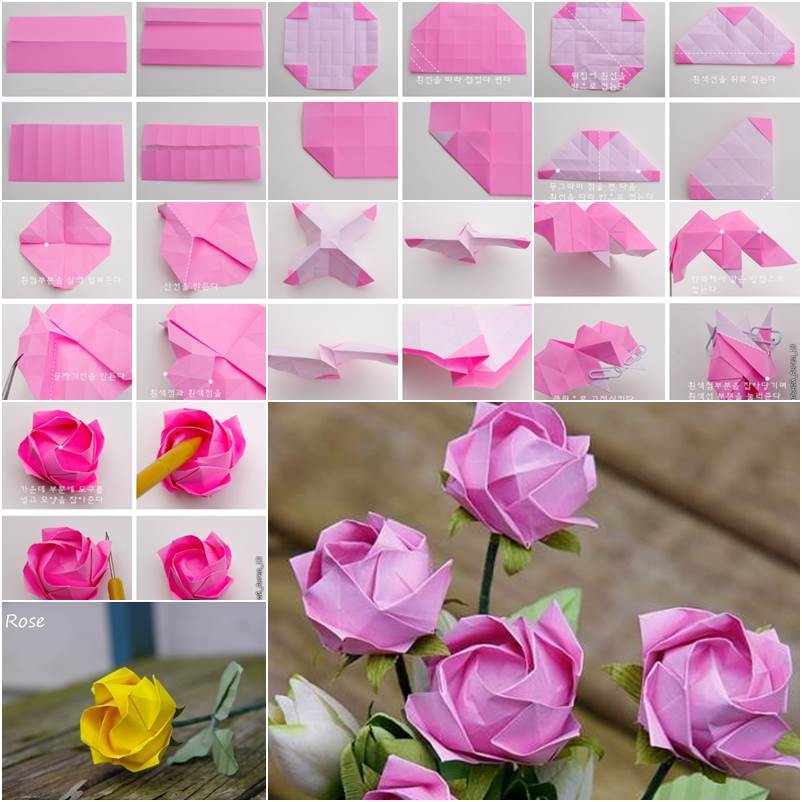
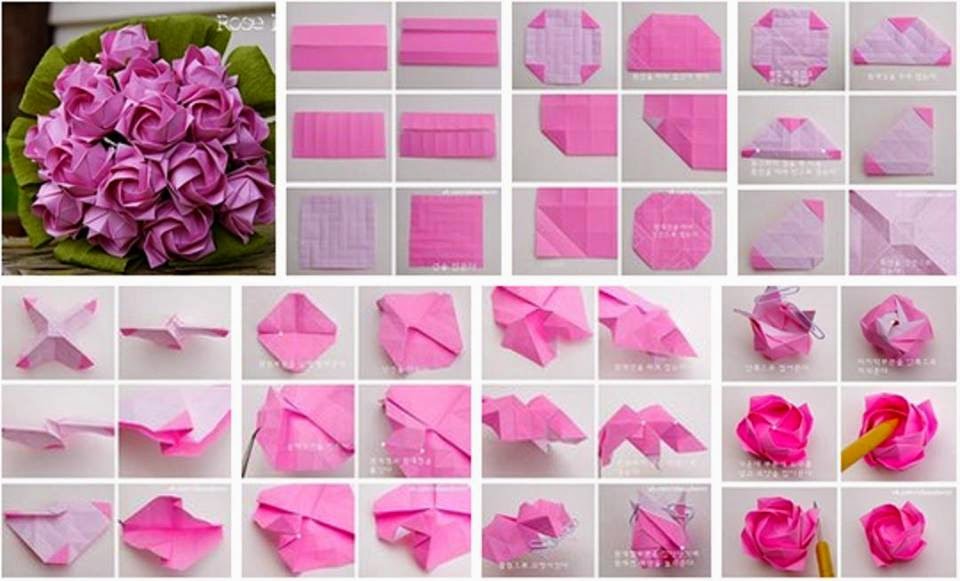
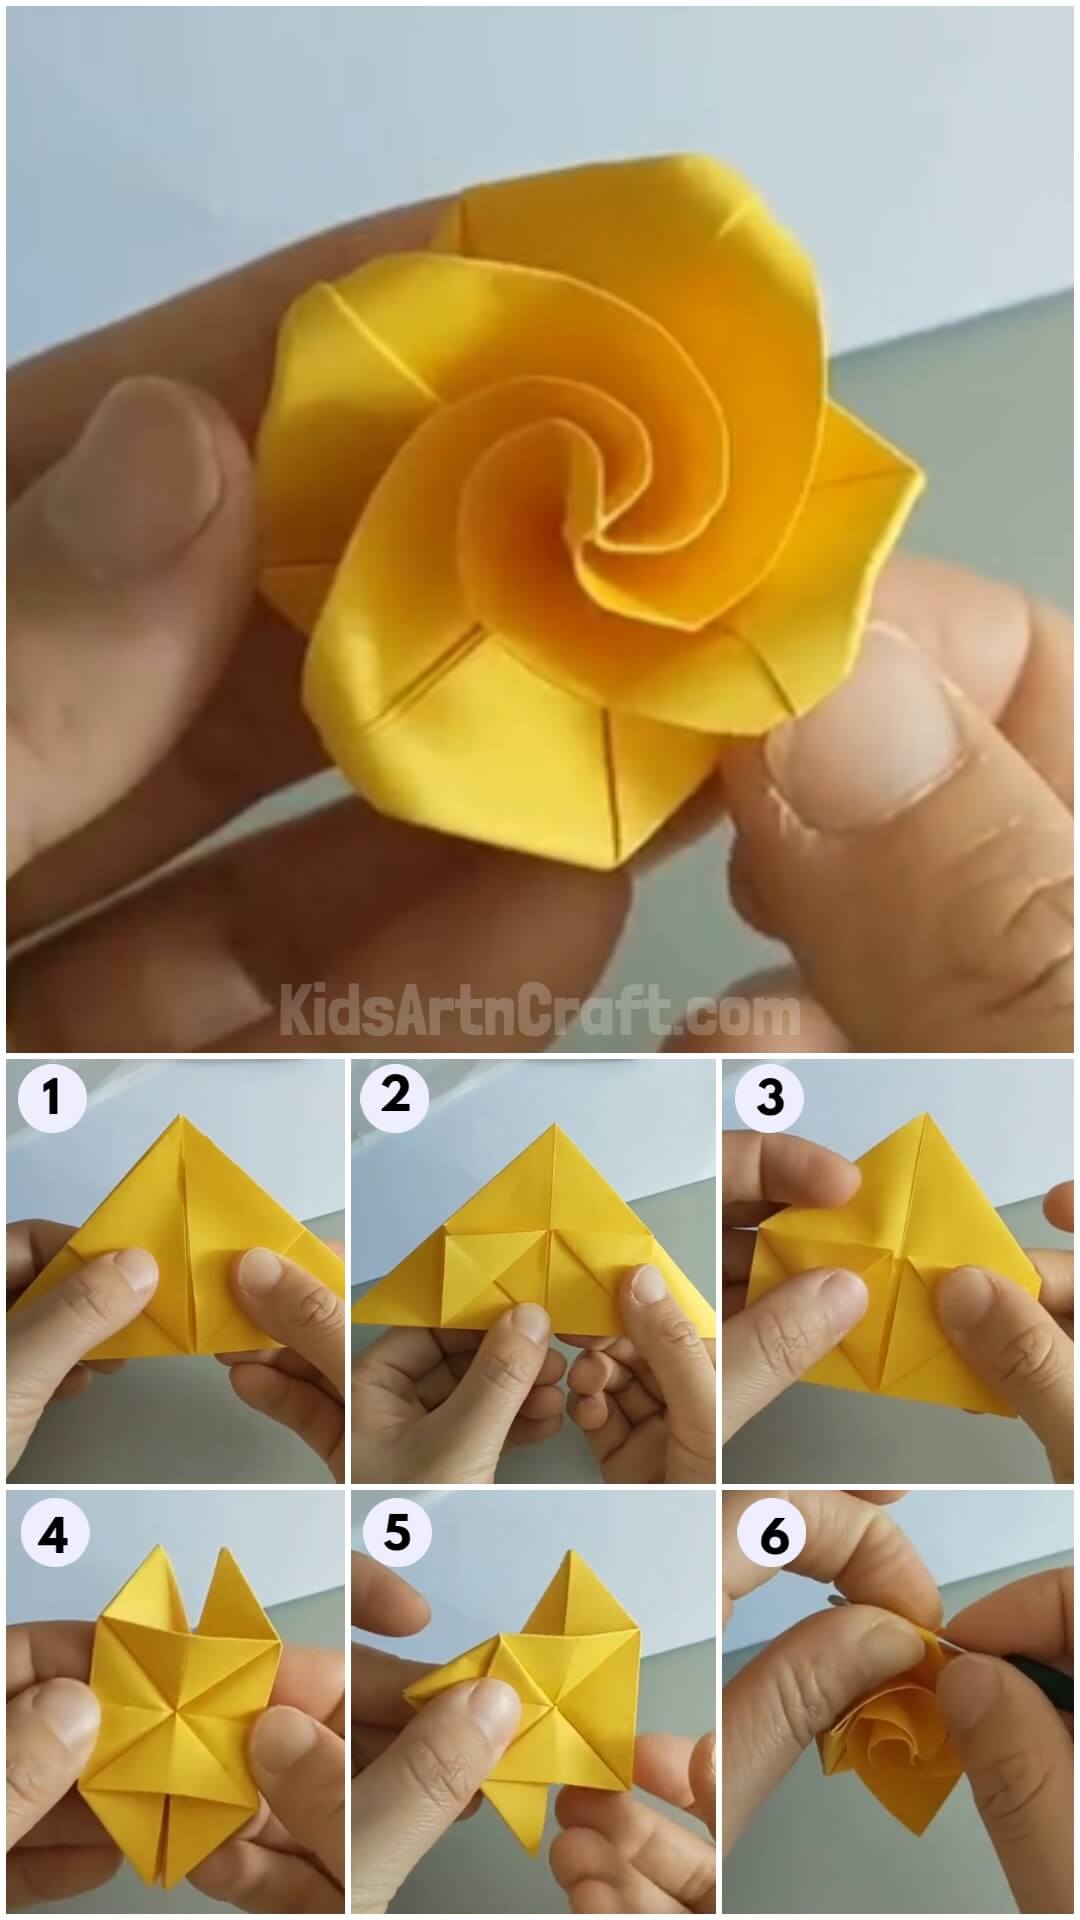
Grab a sticky note. Peel it off like you're revealing a winning lottery ticket. Now, fold it diagonally, corner to corner, to make a sweet little triangle. Give it a good crease – we want commitment, not wishy-washiness!
Open it back up. You should see a lovely crease running from one corner to the other. Now fold each of the other corners to the center crease that you already have.
You should now have something that resembles a kite. Repeat this with 5-7 sticky notes, depending on how full you want your rose to be.
Crafting the Heart of the Rose
Take one of your folded sticky notes and fold it in half to form a triangle. This is going to be the very center of the rose, its innermost secret!
Grab another folded sticky note and wrap it around the center one. Overlap the edges slightly and secure it with a tiny piece of tape or a dot of glue.
It's starting to look like something, right? I know, I'm practically a floral designer, too.
Adding the Petals: The Fun Part!
Now the real fun begins. Continue adding folded sticky notes around the center, overlapping them to create the petals. Remember, nature isn't perfect, so don't stress about making everything identical!
Think of it as giving your rose character. The more uniquely imperfect, the better!
Keep adding petals until you're happy with the size and shape of your rose. Don't be afraid to experiment! This is your masterpiece in sticky note form!
The Finishing Touches
For the grand finale, consider adding a stem. You can use a green pipe cleaner, a twig, or even a rolled-up piece of green paper. Attach it to the bottom of the rose with tape or glue.
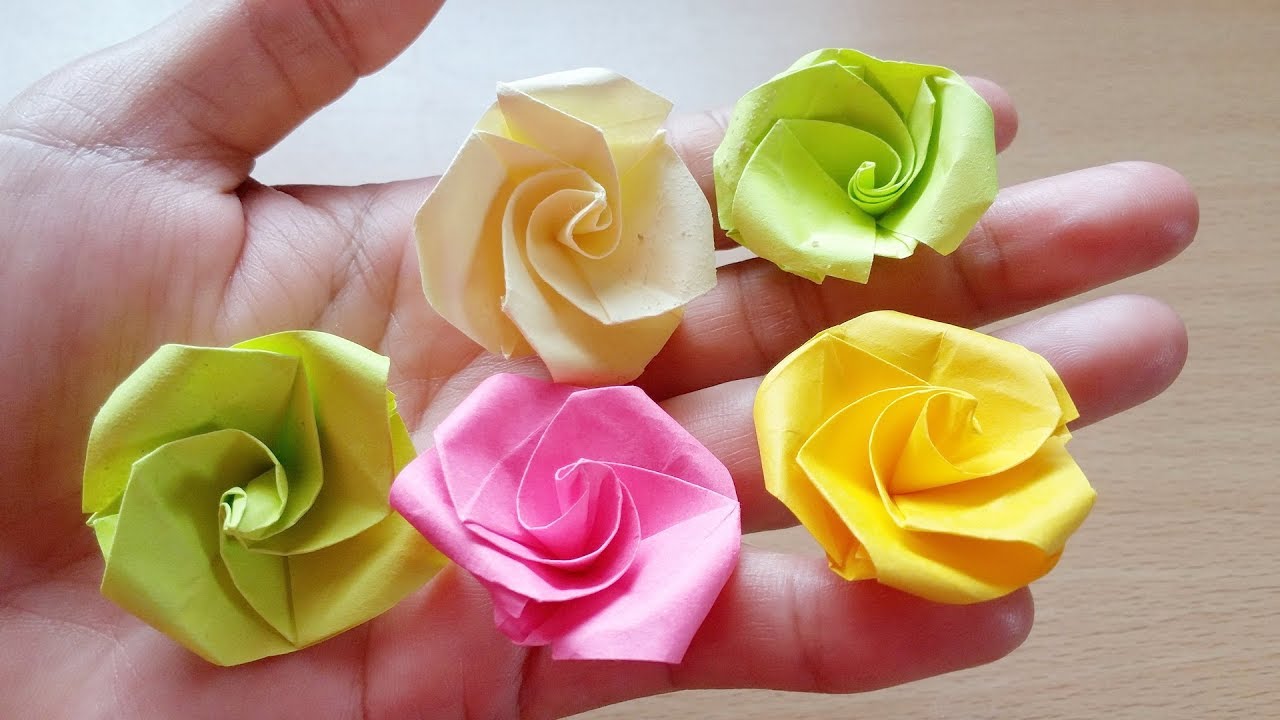
Boom! You've just created a sticky note rose. Behold your creation, a testament to your crafting prowess.
The Display
Display your sticky note rose proudly! Pop it in a tiny vase, stick it to your computer monitor, or present it to a coworker as a token of appreciation (or mild amusement).
Warning: May cause uncontrollable smiles and a sudden urge to cover your entire office in sticky note roses.
Level Up Your Rose Game
Feeling adventurous? Use different colored sticky notes for a rainbow rose. Or try layering smaller sticky notes on top of larger ones for a more dimensional effect. The sticky note world is your oyster!
Remember, the best part about this project is that it's fun and easy! Don't be afraid to get creative and experiment. And most importantly, enjoy the process of transforming humble office supplies into a beautiful work of art!
Congratulations, you are now a certified Sticky Note Rose Artisan!