How To Make A Series Parallel Circuit On A Breadboard

Alright, buckle up buttercup, because we're about to dive headfirst into the dazzling world of series-parallel circuits! Don't worry, it sounds way more intimidating than it actually is. Think of it like building with LEGOs, but instead of plastic bricks, we're using electricity!
First Things First: Gather Your Gear!
You'll need a few things for this electrifying adventure. Grab a breadboard (the circuit builder's playground), some resistors (little electronic speed bumps), jumper wires (the circuit's superhighways), and a power supply (your battery!).
Oh, and maybe a multimeter if you want to be a super-sleuth and measure voltages and currents, but that's totally optional for this first quest.
Laying the Groundwork (Literally!)
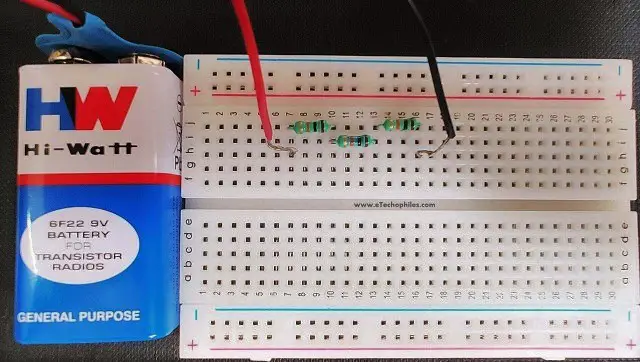
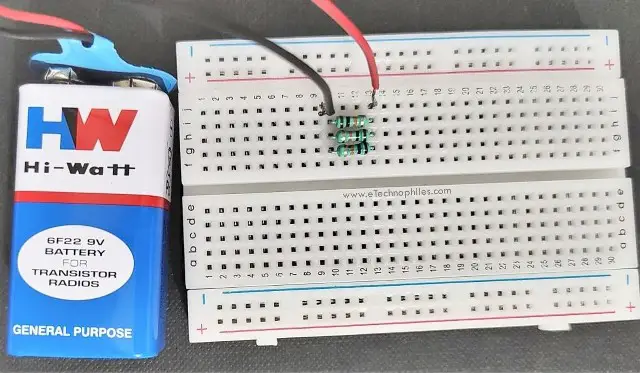
Let's start by setting up our power supply on the breadboard. Usually, breadboards have marked rows for positive (+) and negative (-) connections. Plug your positive wire into the positive row and your negative wire into the negative row.
Bam! You've just powered up your mini city.
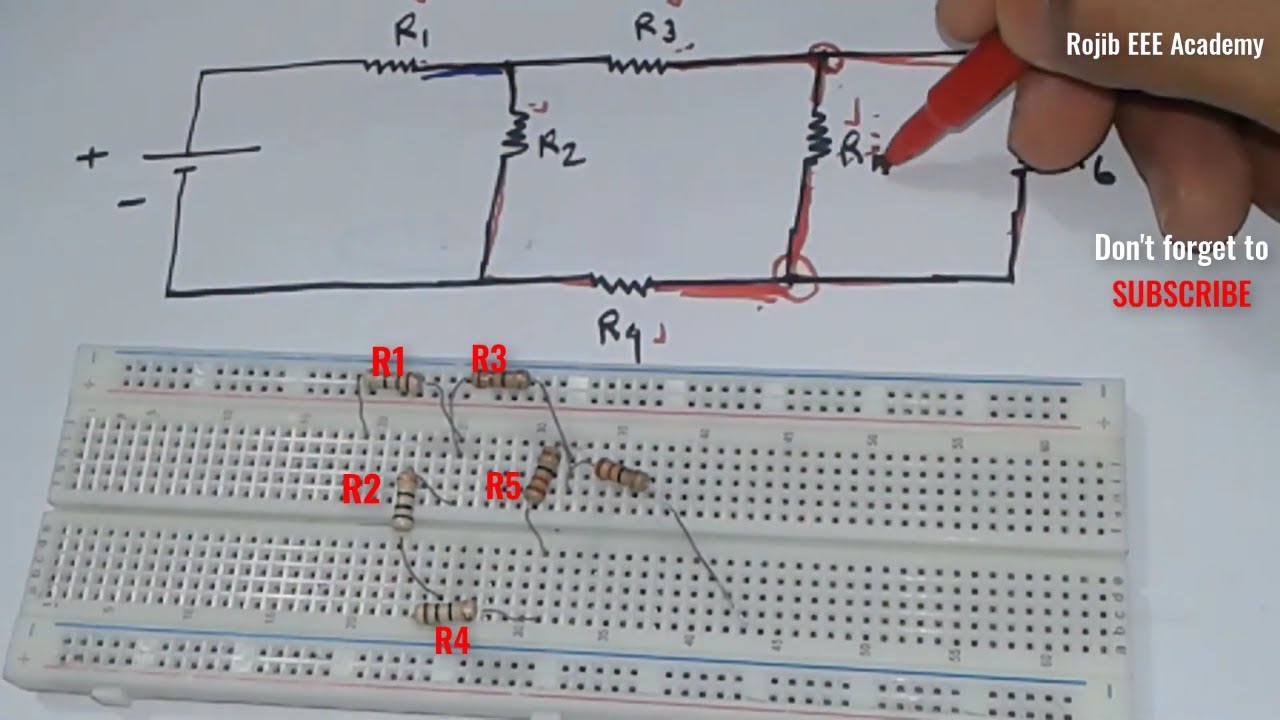
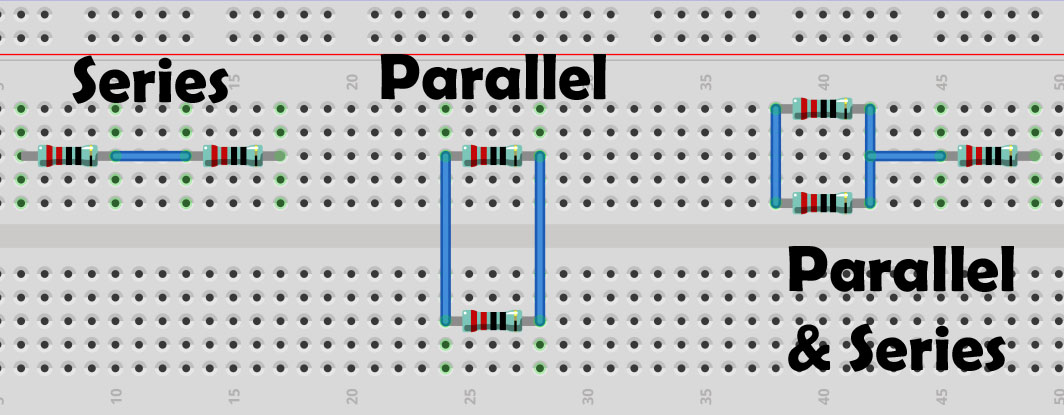
Building the Series Part: The Train Ride
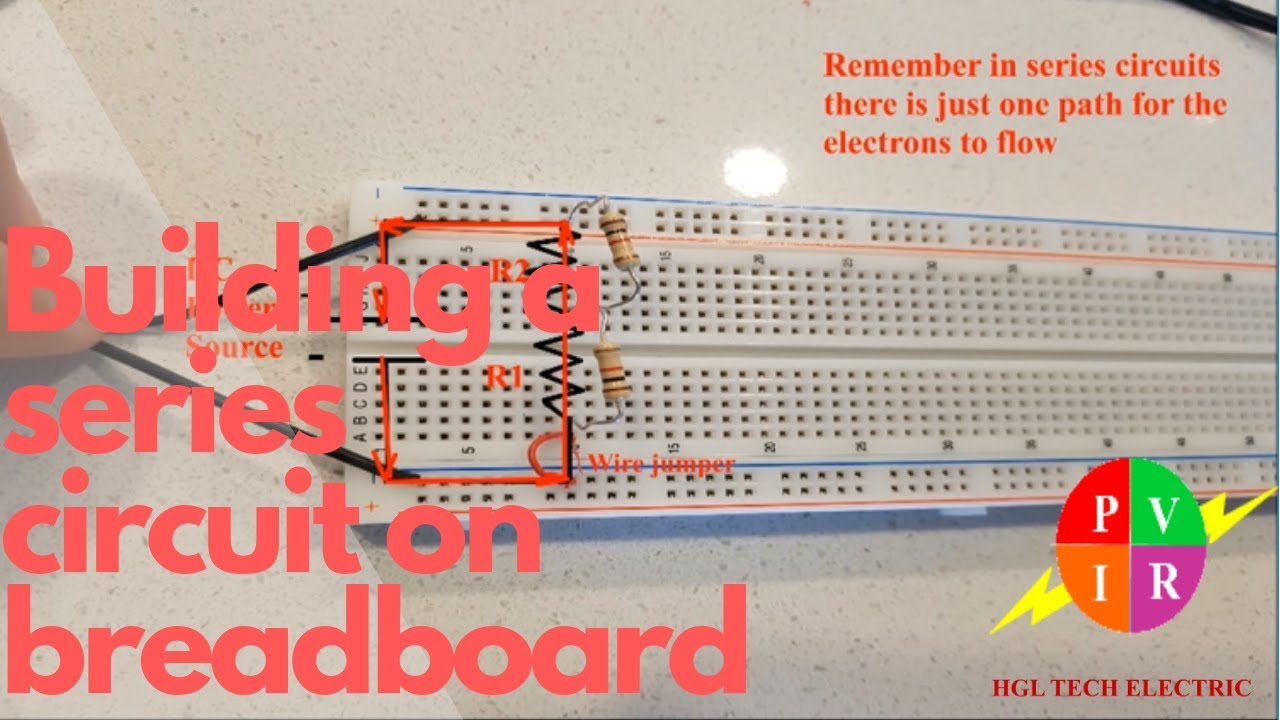
Think of a series circuit like a train. The electricity has to travel through each "car" (resistor) one after the other.
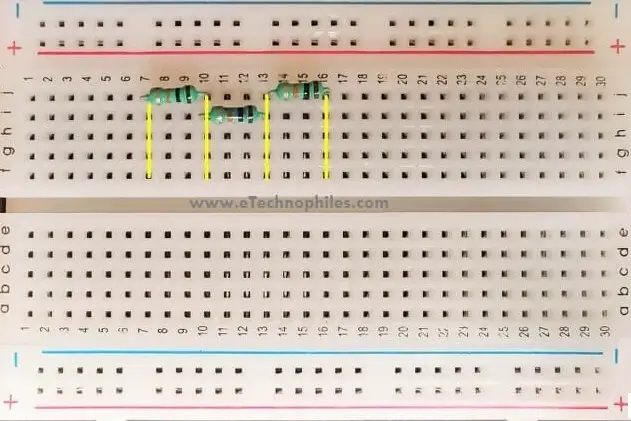
Plug one end of a resistor into a breadboard row. Then, plug the other end of that resistor into a *different* row.
Now, grab another resistor. Plug one of *its* ends into the same row as the *previous* resistor's end. And plug the other end into a *new* row again. You've now connected two resistors in series!
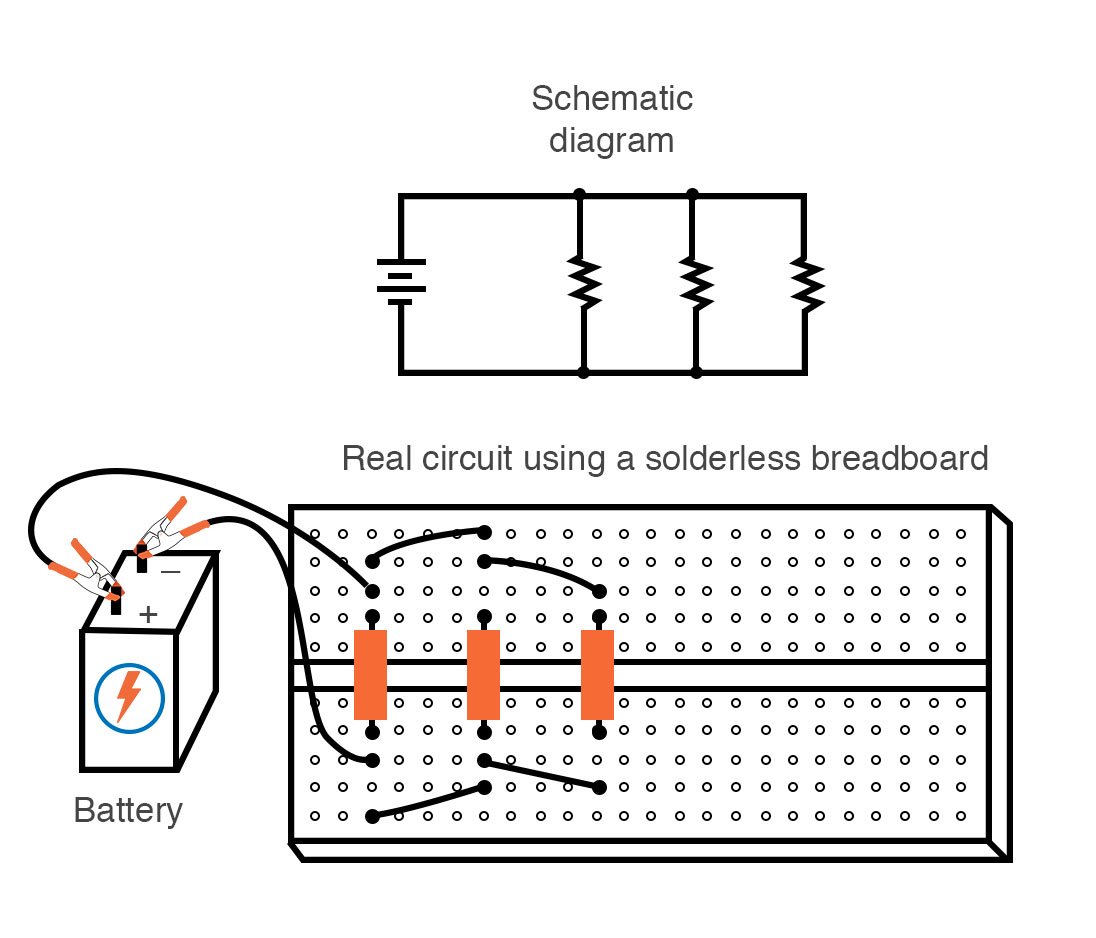
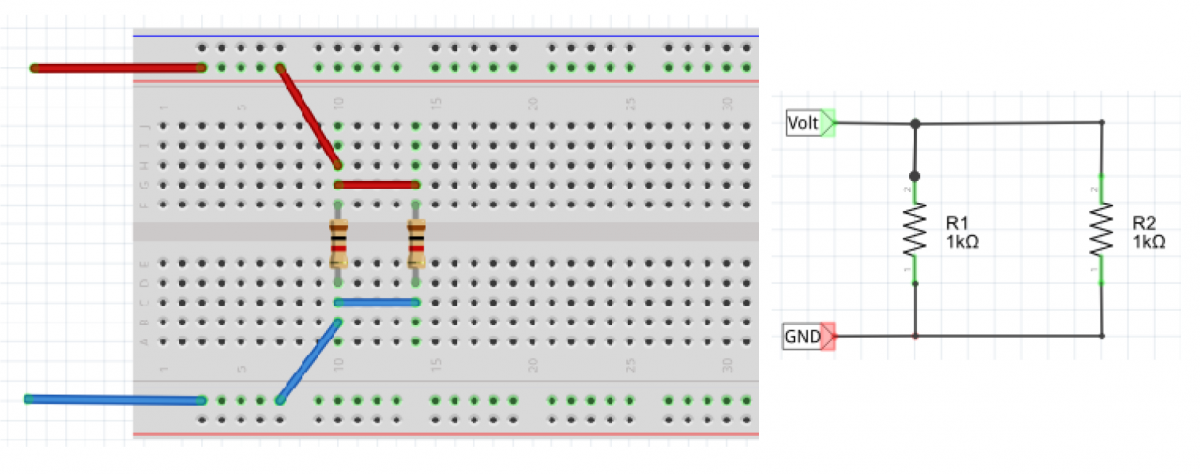
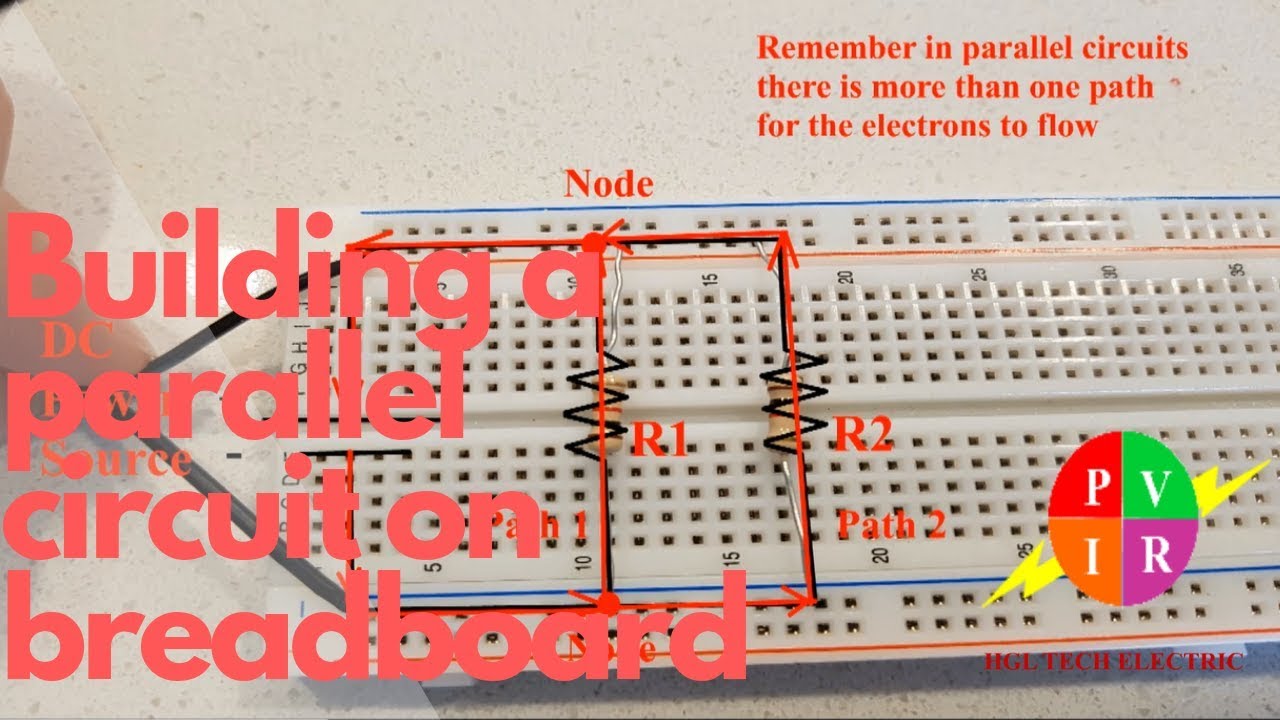
Branching Out: The Parallel Playground!
A parallel circuit is like a playground with multiple slides. The electricity gets to choose its path!
Take another resistor and plug one end into the same row as the first resistor. Now plug the other end into a totally different empty row.
Do the same thing with a fourth resistor. Plug one end into the same row as the *second* resistor. Then plug the other end into the same row as the *third* resistor.
Connecting it All: The Grand Finale!
Now, we need to connect the series and parallel parts together. It's like connecting a train station to a playground!
Use a jumper wire to connect the beginning of your series circuit (the first resistor's free end) to the positive (+) power rail on your breadboard.
Then, use another jumper wire to connect the end of your parallel circuit (the ends of the two parallel resistors) to the negative (-) power rail on your breadboard.
BOOM! You've just built a series-parallel circuit! Give yourself a pat on the back, you magnificent maker!
Troubleshooting (Because Things Happen!)
If something isn't working (don't panic!), double-check your connections. Make sure everything is snug and secure in the breadboard.
Breadboards can be a little finicky sometimes. A loose connection is the usual suspect.
And don't worry if it takes a few tries. Even seasoned electrical wizards make mistakes sometimes!
You're a Circuit Superstar!
Congratulations, you've taken your first steps into the fascinating world of electronics! Now go forth and build more circuits! The possibilities are as endless as your imagination.
Remember: Always be careful when working with electricity and have fun! Keep experimenting and keep learning.
You've got this!