How To Make A Smeltery In Minecraft

So, you wanna build a Smeltery in Minecraft? Awesome! You're about to unlock some serious crafting power. It's like going from a bicycle to a rocket ship in the world of metalworking. Trust me, it's way easier than building a rocket ship in real life!
Getting Started: You Need the Right Stuff
First things first, gather your materials. Think of it like prepping for a super-sized Lego project. You'll need Seared Bricks, and lots of 'em!
How do you get Seared Bricks? Easy peasy. Combine Clay and Netherrack and then bake them in a furnace. It's like making cookies, but instead of delicious treats, you get super-strong bricks.
Building the Foundation: It's Like Minecraft Legos
Time to build! Start by making a hollow rectangle of Seared Bricks on the ground. This is the base of your Smeltery, like the foundation of a delicious metal-melting castle.
Make sure it's at least 3x3 blocks on the inside. You don't want to build a Smeltery so small that it can't melt more than one item.
Next, stack more Seared Bricks on top of the foundation to make walls. Imagine you are building a tiny brick house for your precious melted metals.
The height is important. Make the walls at least 3 blocks high. This keeps all the molten goodness safely inside.
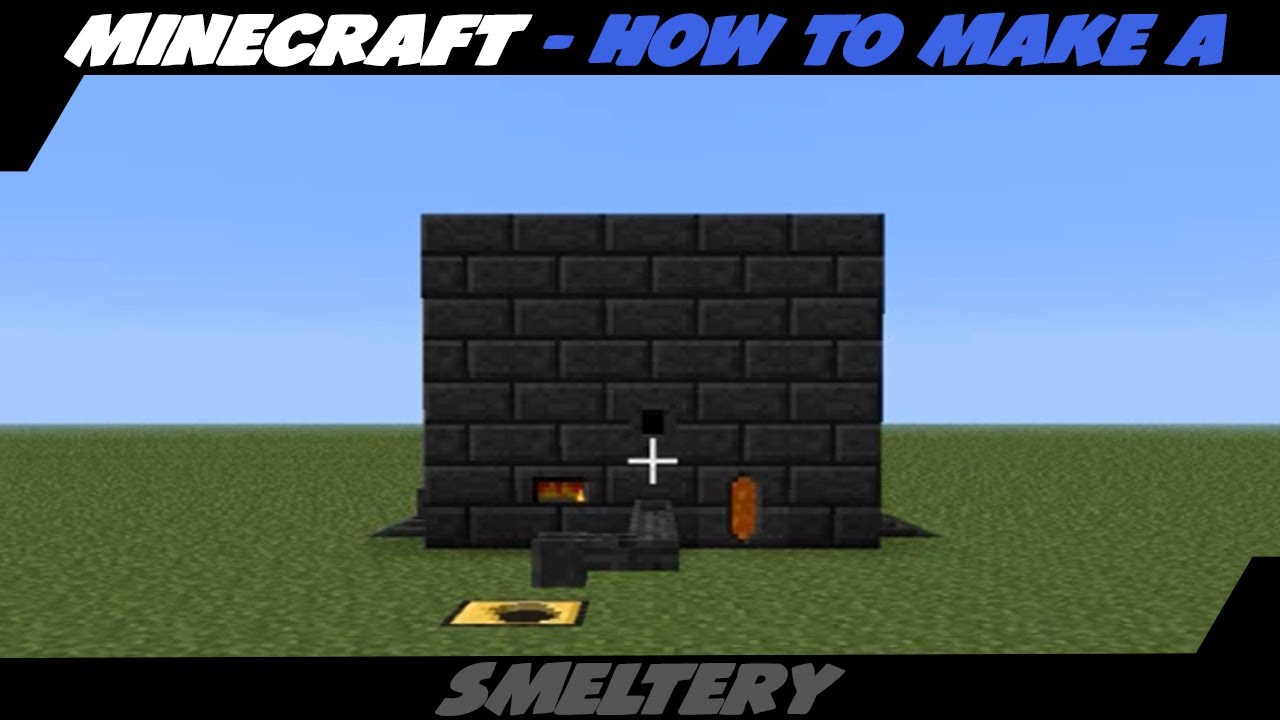
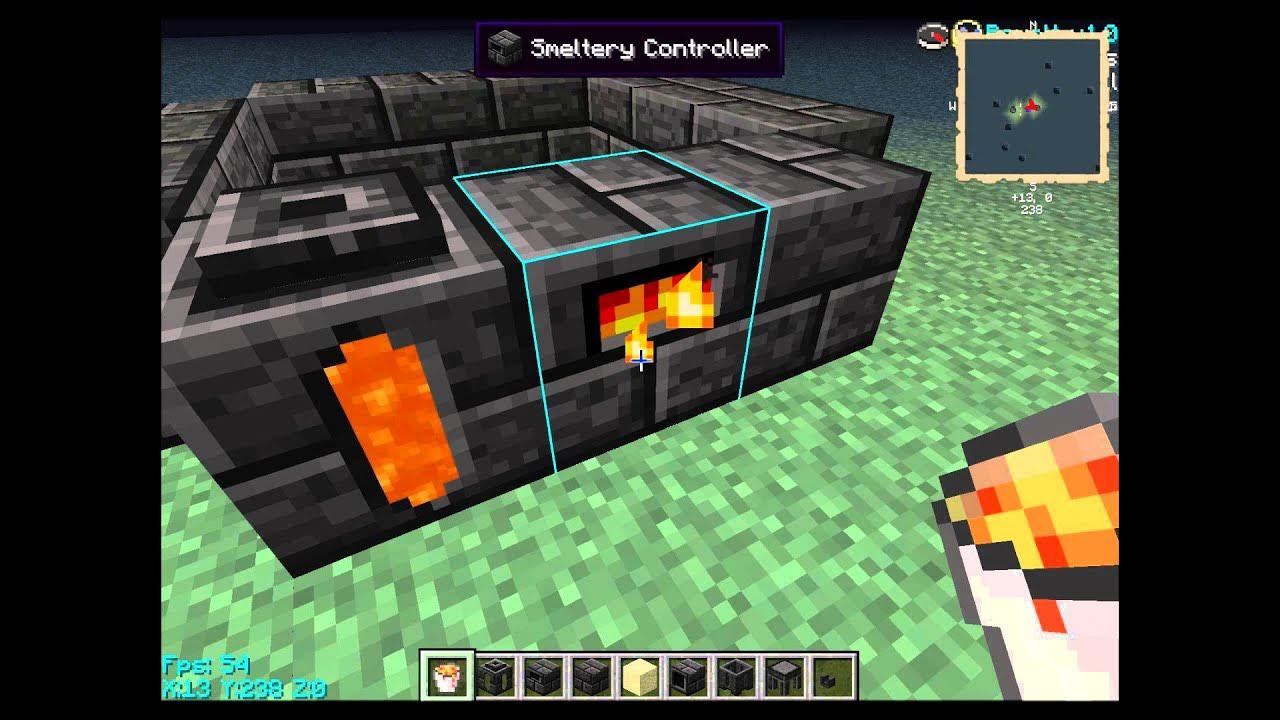
Adding the Controller: The Brain of the Operation
Now for the brain of the Smeltery: the Smeltery Controller! This block is crucial; without it, you're just building a pretty brick box.
Place the Smeltery Controller anywhere along the walls of your structure. Think of it as the "On" switch for all your metal-smelting dreams.
The Drain: Where the Magic Happens
Time to add the Smeltery Drain! This is where the molten metal will flow out, ready for casting.
Place the Smeltery Drain anywhere on the walls, just like the controller. It is important, so don't forget this step.
Adding a Faucet: To get those Ingots
Now that the molten metal is flowing out, you need a Faucet! Connect it to the drain to be able to extract the metal.
The Faucet should be easy enough to use, just right click it to extract the metal.
The Tank: To store some liquid metal
If you have a large smeltery, you might want to make a tank to store molten metal.
The Seared Tank is the perfect option. It has a very large capacity, and should be enough to store all the molten metal you need.
Adding the Input/Output: Getting Stuff In and Out
You'll need a way to get ore *into* the Smeltery. That's where the Smeltery Input comes in. It's like the mailbox for your metal.
Place the Smeltery Input on the walls too! Notice a pattern here?
You might want a Smeltery Output, but this is optional. It's a fancy way to automatically extract any waste products from the Smeltery.
Adding the Fuel Tank: For the Lava!
To fuel your Smeltery, you'll need a Seared Tank. It's like the gas tank for your metal-melting machine, but it holds lava!
Attach the Seared Tank to the side of your Smeltery. Now you have somewhere to store lava to power your contraption!
Firing It Up: Let the Metal Flow
Pour some lava into the Seared Tank. This is the fuel that powers the whole operation.
Now, toss in your ores and watch the magic happen! The Smeltery will melt them down into glorious, liquid metal.
Casting Time: From Liquid to Awesome
With your molten metal, you can now create ingots and other things! It's like being a medieval blacksmith, but in a blocky world.
Congratulations! You've built your very own Smeltery. Go forth and create amazing things! You are now a master of metal!