How To Make A Sticky Note Rose

Okay, friends, let's get real for a second. You know those sticky notes that are just... sitting there? Waiting? Yearning for a purpose beyond reminding you to buy milk (again)? Well, I'm here to tell you they can be so much more!
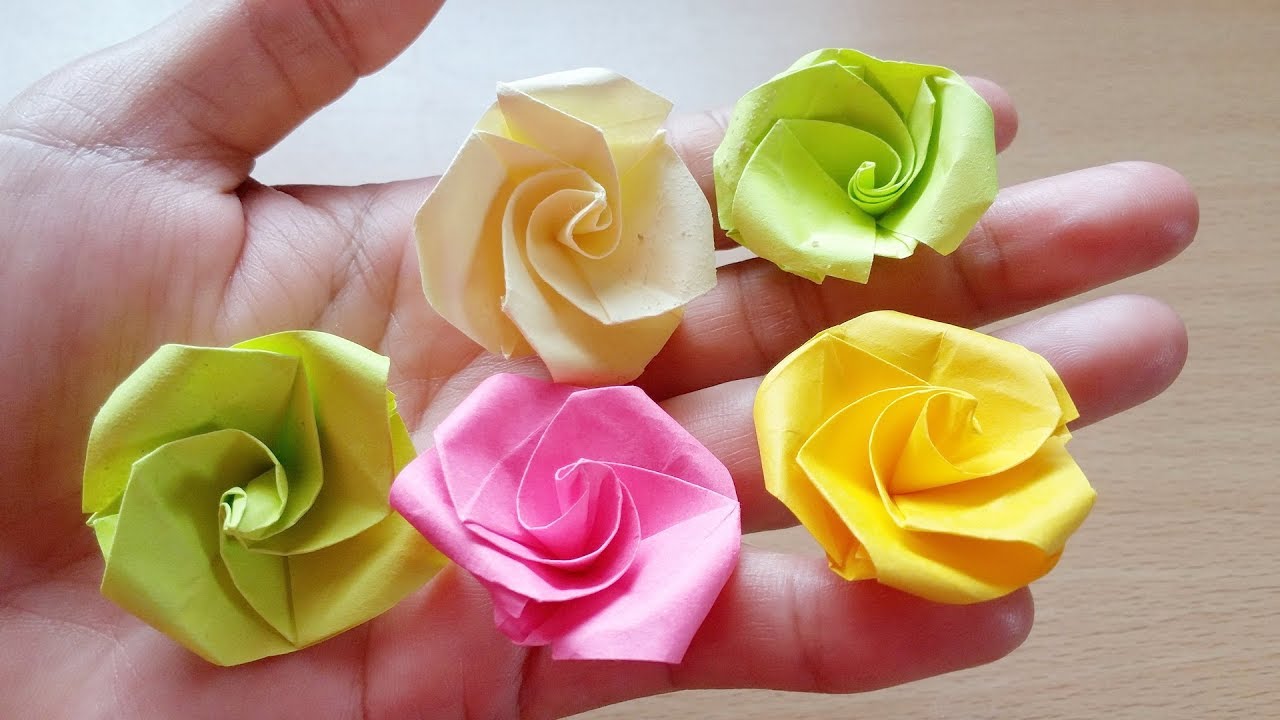
We're talking sticky note roses, people! Yes, you read that right. Prepare to be amazed (and maybe slightly addicted, but that's a risk I'm willing to take).
Gather Your Supplies (The Easier the Better!)
First things first, you'll need sticky notes. Any color will do, but personally, I'm a sucker for pink or red for that classic rose vibe. Think of it as channeling your inner florist... but with paper that sticks.
You'll also need scissors. Safety scissors are totally fine if you're feeling extra cautious (or have particularly rambunctious cats around, no judgment).
And finally, something to use as a stem! A pencil, a pen, a skewer, even a spare chopstick – anything long and relatively thin will work. Don't overthink it! We're going for "charmingly rustic" here, not "perfectly sculpted."
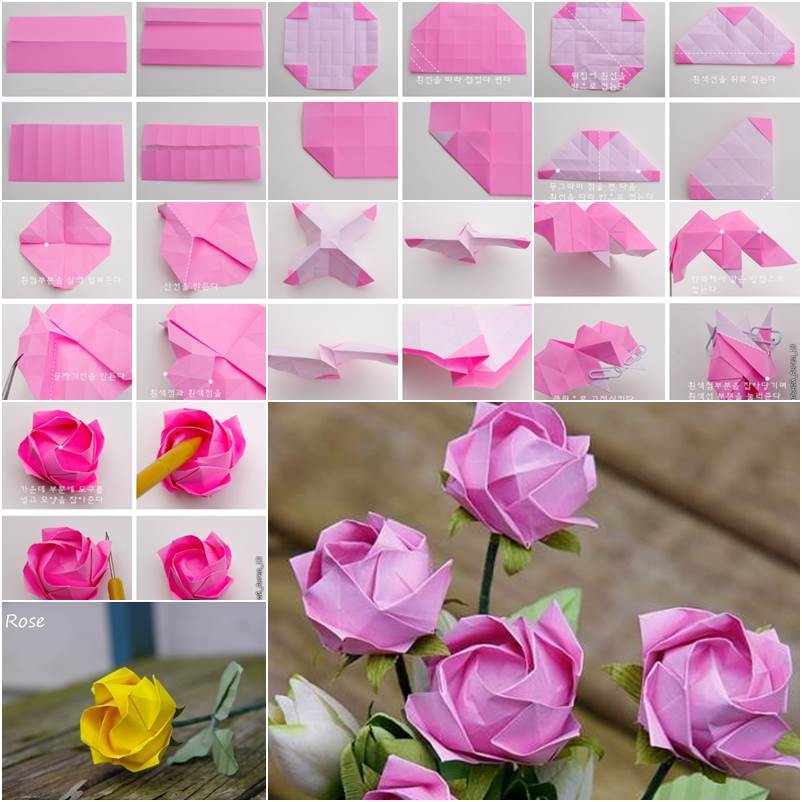
Let the Folding Frenzy Begin!
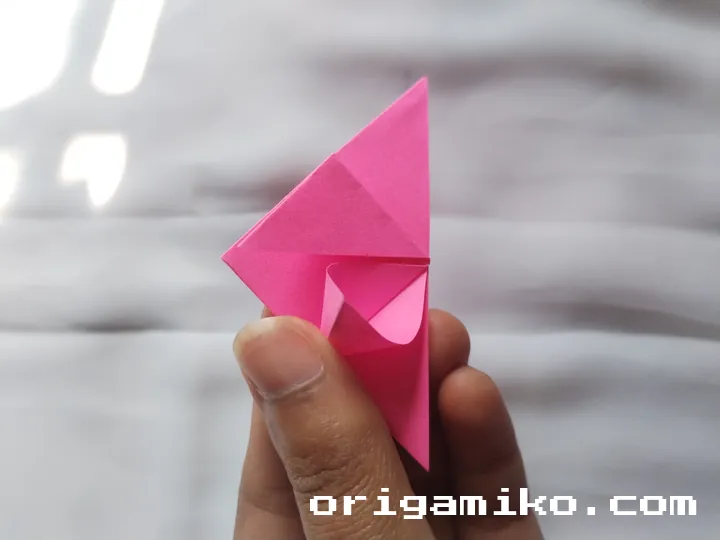
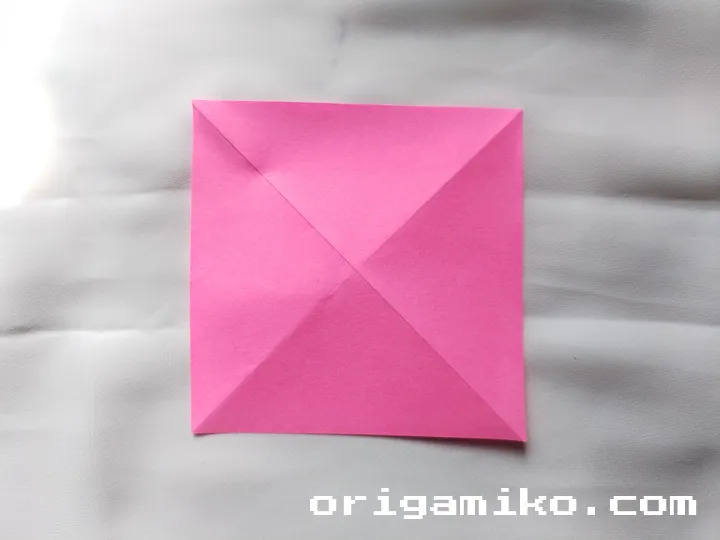
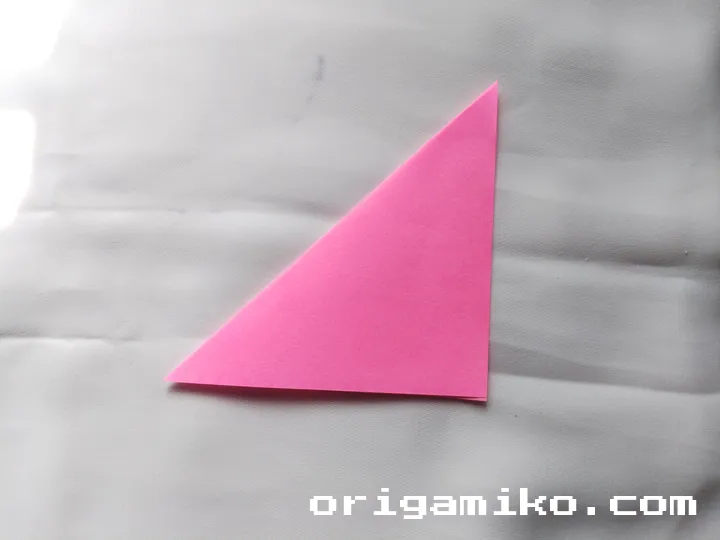
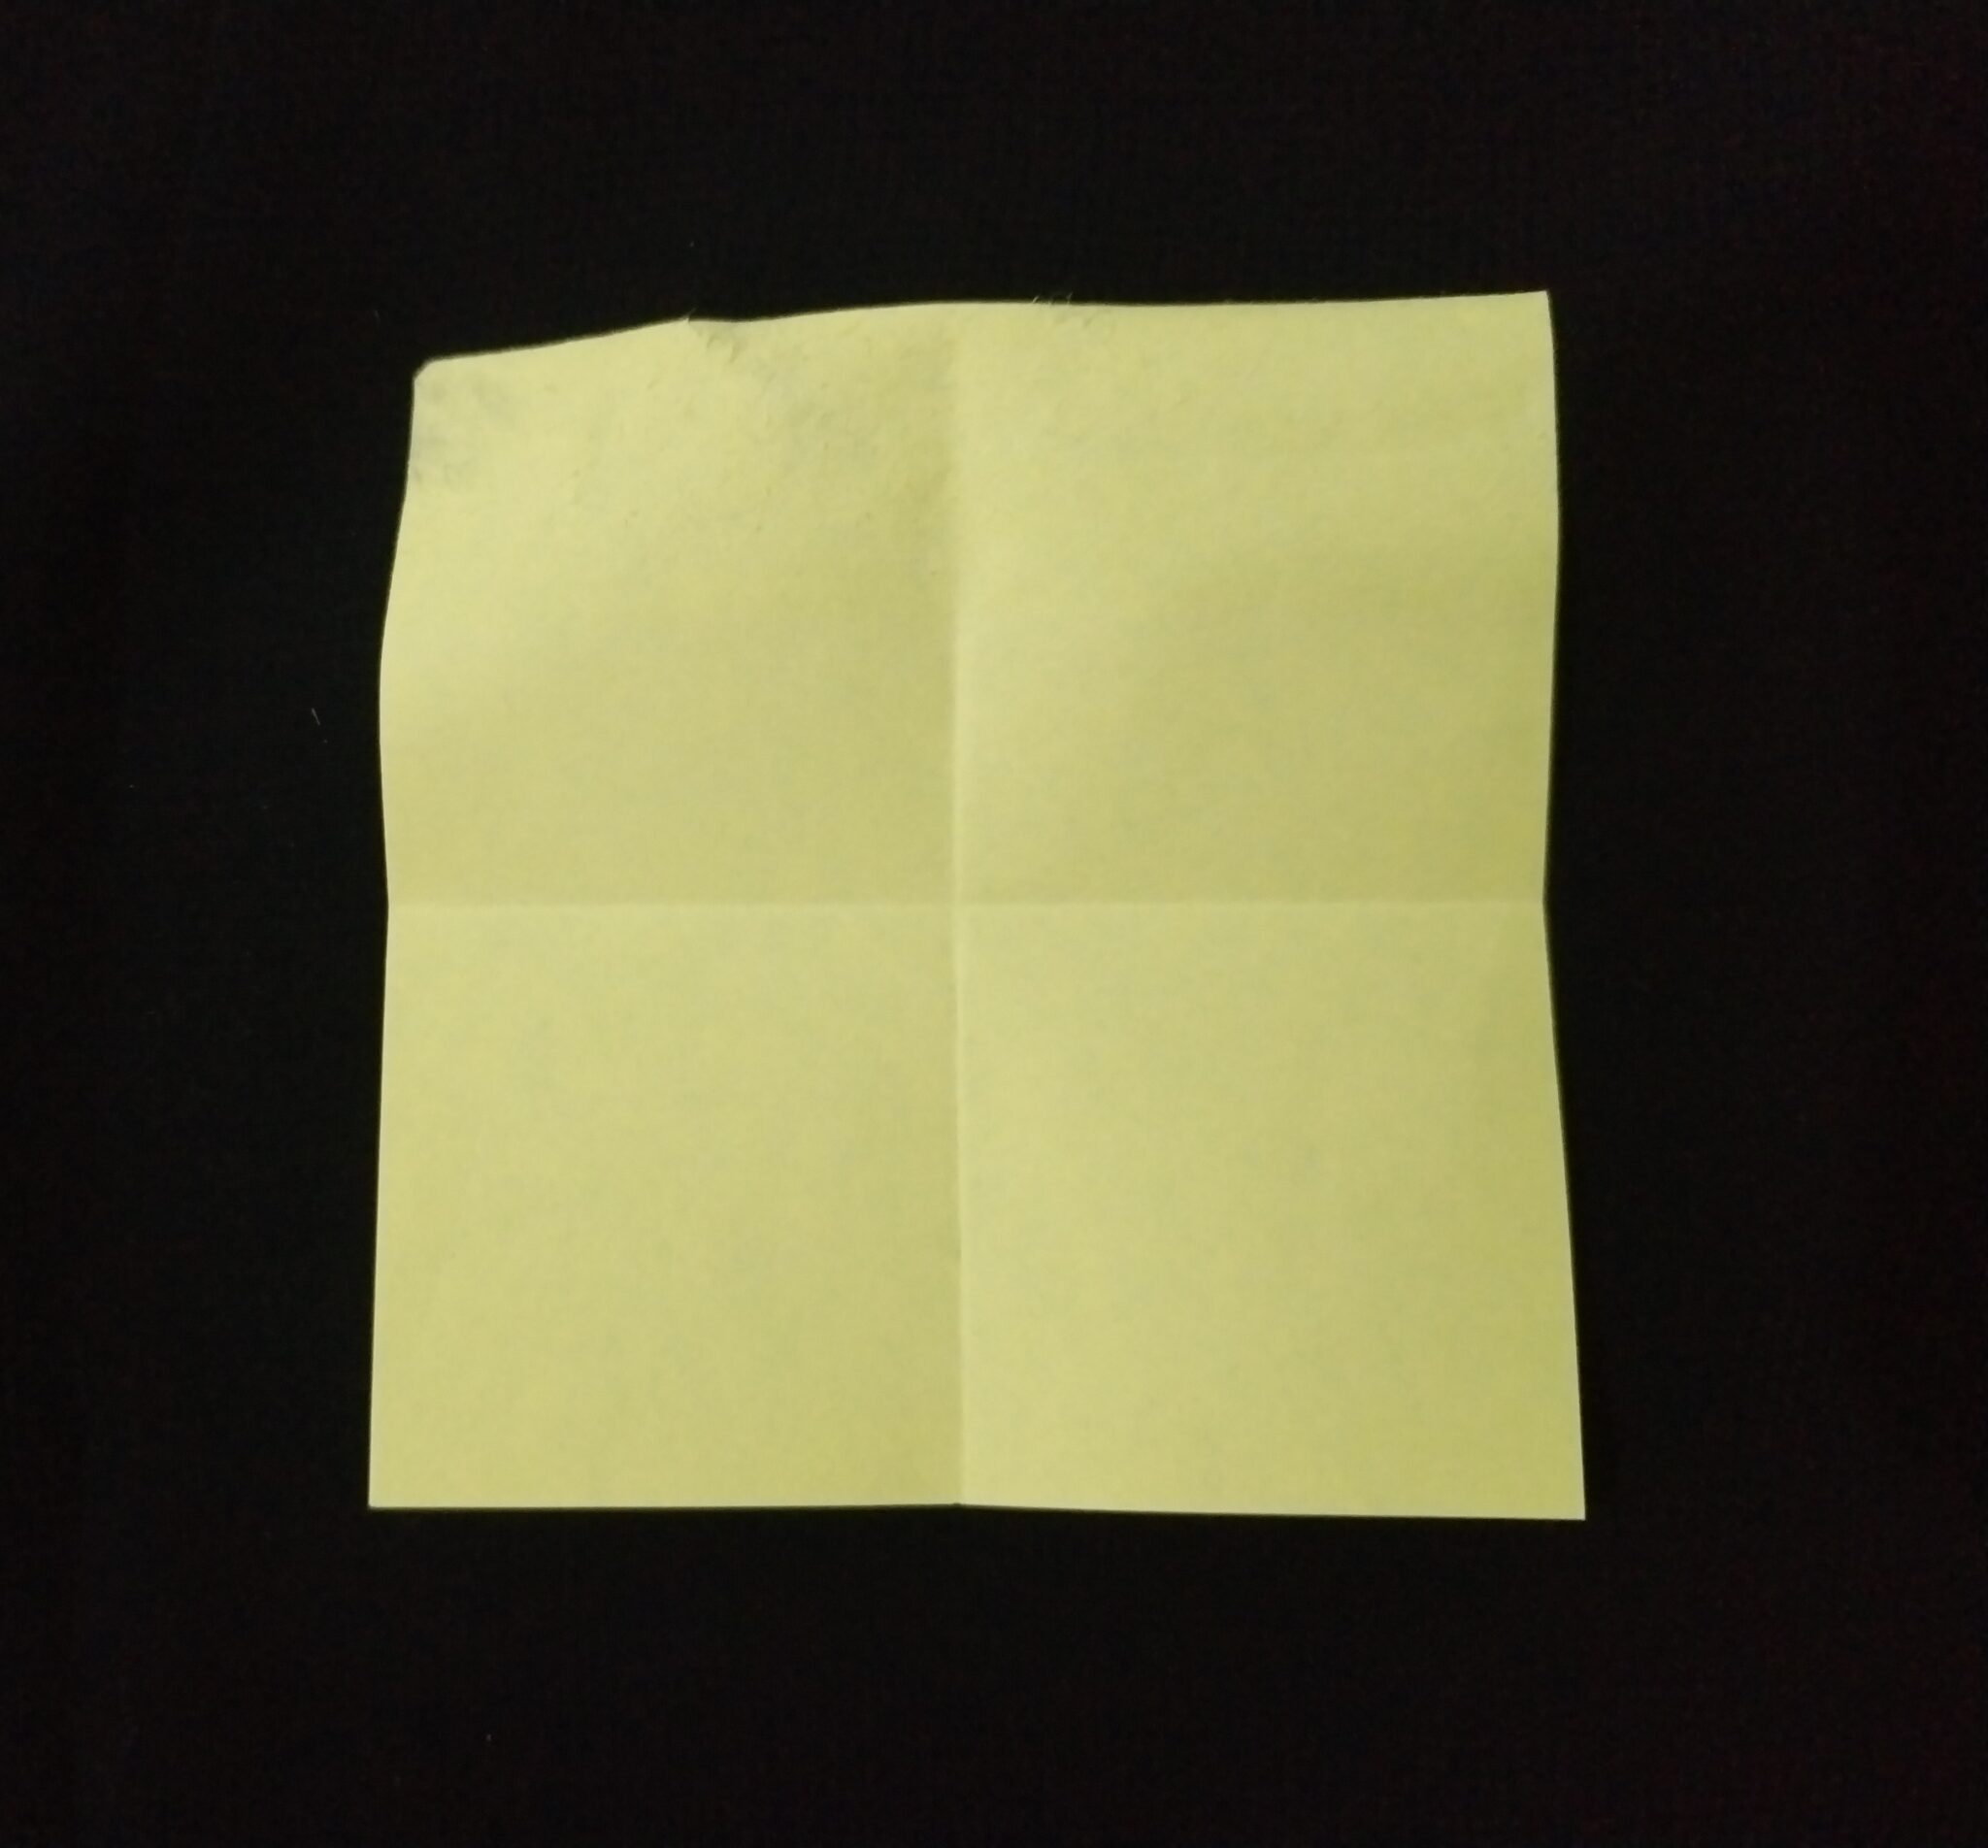
Grab a sticky note and fold it diagonally, corner to corner. Crease it nicely! Like you're ironing out the wrinkles in your day with sheer origami power.
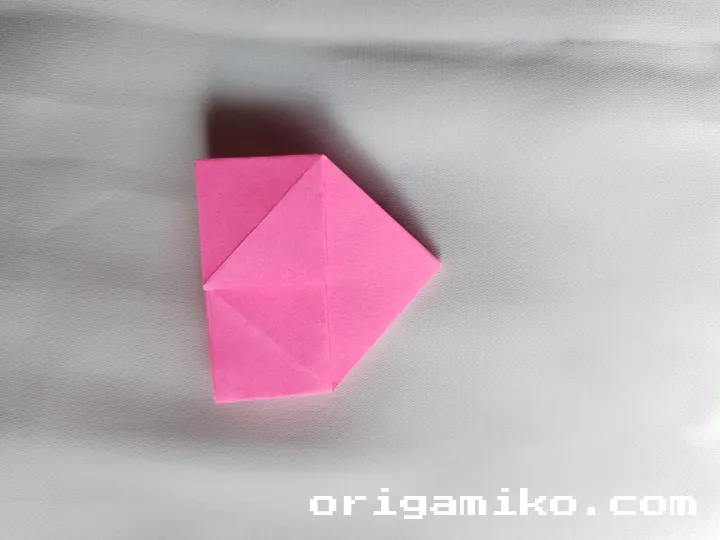
Now, unfold it. See that lovely crease you just made? Good. We're going to fold the top corners down to meet that crease. Like you're making a tiny, sticky note airplane!
Flip the sticky note over. Fold the top point down. This doesn't need to be perfect. In fact, a little imperfection adds character! Think of it as your rose having a unique personality, rather than just being another generic flower.
Forming the Bud (The Super Important Part)
Wrap your first folded sticky note around the top of your stem. This is your rosebud! Secure it tightly with, well, the stickiness of the sticky note. If you're feeling extra secure, you can add a tiny dab of glue. But generally, the stickiness is enough.
Repeat the folding process. Wrap each new sticky note petal around the bud, slightly overlapping the previous one. Remember to fold and stick!
Keep going! The more petals you add, the bigger and more beautiful your rose will become. Don't be afraid to experiment with different angles and overlaps. This is where your artistic flair really shines through!
Finishing Touches (Because Details Matter!)
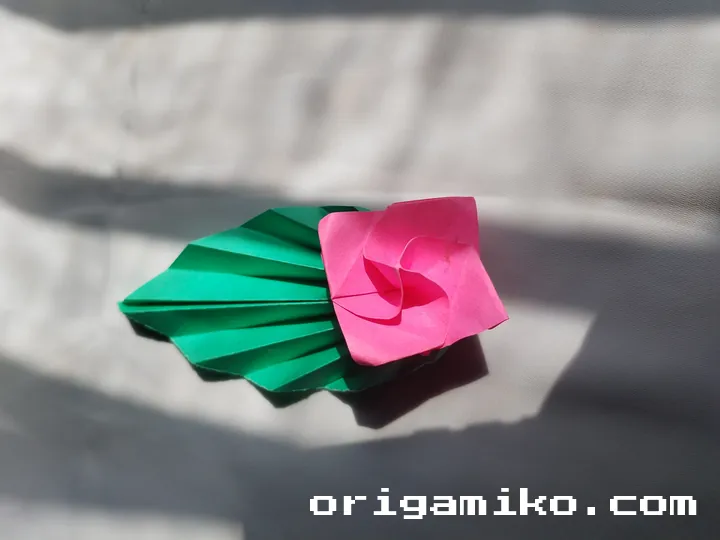
Once you're happy with the size of your rose, take a few extra sticky notes and fold them lengthwise. These will be your leaves!
Attach the leaves to the stem near the base of the rose. A little glue might be helpful here, or you can just cleverly tuck them in. Whatever works best for you!
Voila! You've created a stunning, handcrafted sticky note rose. Bask in the glory of your crafting prowess. You're practically a paper flower genius!
Display Your Masterpiece (And Bask in the Compliments!)
Now comes the fun part: showing off your creation! Pop it in a vase, stick it on your desk, or give it to someone special. Prepare for the "oohs" and "aahs."
I guarantee this will brighten someone's day. And who knows, maybe you'll even start a sticky note rose revolution!
So there you have it! A fun, easy, and surprisingly satisfying way to turn those neglected sticky notes into something truly special. Happy crafting!