How To Make An Outboard Motor Stand
So, you've got yourself an outboard motor. Fantastic! You’re practically a modern-day Magellan! But now what? Are you just going to leave it leaning precariously against the garage wall, whispering sweet nothings of spilled oil and accidental bumps in the night? Absolutely not!
We need a stand, a glorious pedestal, a throne fit for a (small but mighty) king! Let's embark on this DIY adventure with the enthusiasm of a caffeinated squirrel.
The "I Can Do This!" Method
First, gather your royal tools. You’ll need some lumber (think 2x4s, maybe some plywood scraps), a saw (hand saw is fine, power saw makes you feel like a professional lumberjack!), screws (deck screws are your friend), and a drill (because who wants to screw things in by hand?).
Sketch out a basic rectangle frame. Think of it as the base of your glorious motor-holding empire. Measure the width of your motor's mounting bracket – this is KEY.
Cut your lumber according to your sketch. Two longer pieces for the sides, and two shorter ones for the ends. Four pieces, easy peasy!
Assembling the Base: The Foundation of Awesomeness
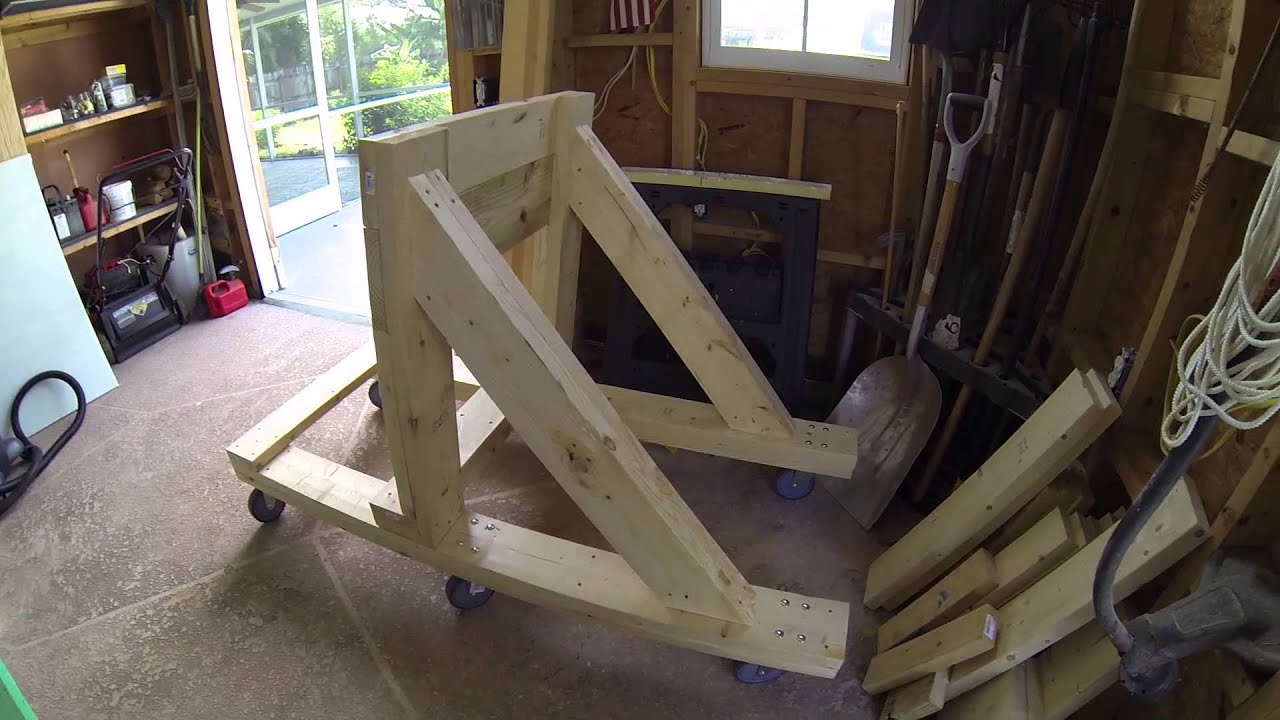
Time to assemble that rectangular frame. Use your drill and screws to attach the corners. Think of it as building a tiny, very sturdy wooden picture frame... except way more important.
Now, let's get those upright supports in place! Cut two more pieces of lumber. These are going to be your vertical posts, holding the motor aloft like a champion.
Attach these to the inside of your rectangular frame, using more screws. Make sure they’re nice and secure! Wobbly supports are the enemy of a happy outboard motor.
The Mounting Magic: Where the Motor Rests
Next, you'll need a horizontal piece to connect those upright supports. This is where your motor will actually sit. Cut another piece of lumber and attach it to the top of the uprights.
Make sure the height is right for your motor! You want it to be comfortable to work on, not crouching like a gargoyle every time you need to tinker.
Reinforce everything! Add some extra screws, maybe some corner braces, whatever makes you feel like you've built a fortress of motor-holding strength.
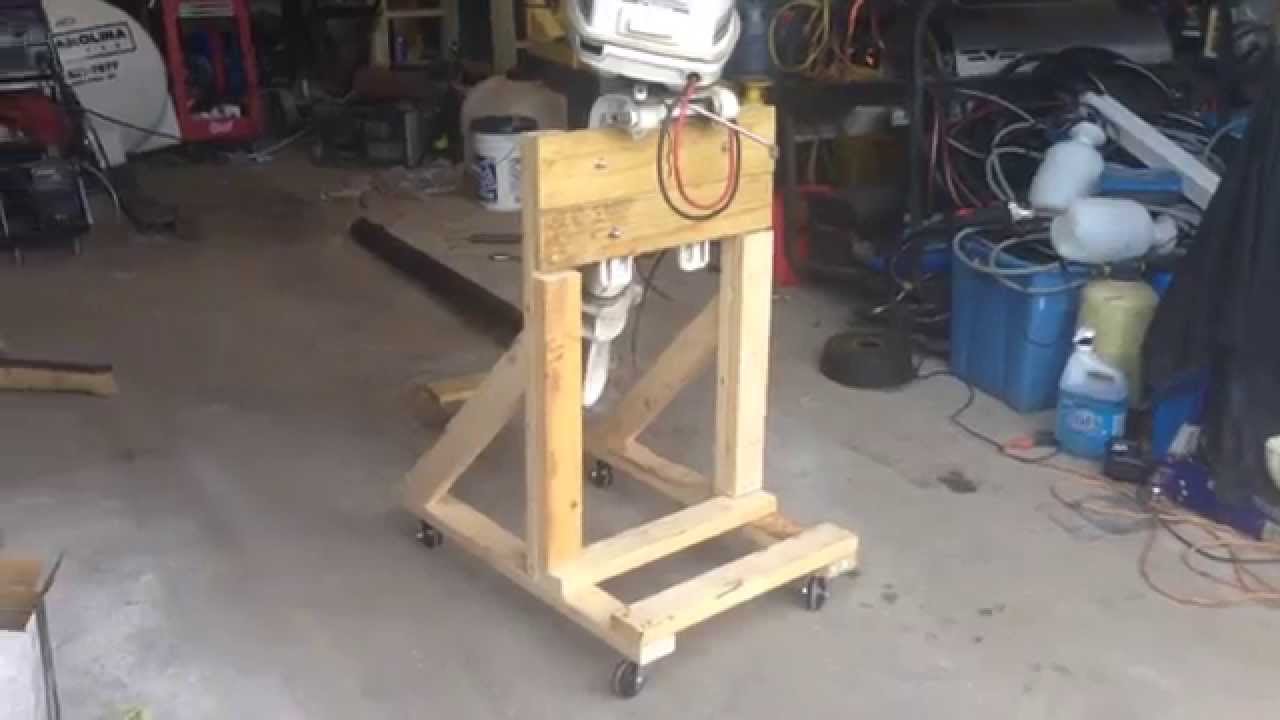
The "I Like It Sturdy!" Method
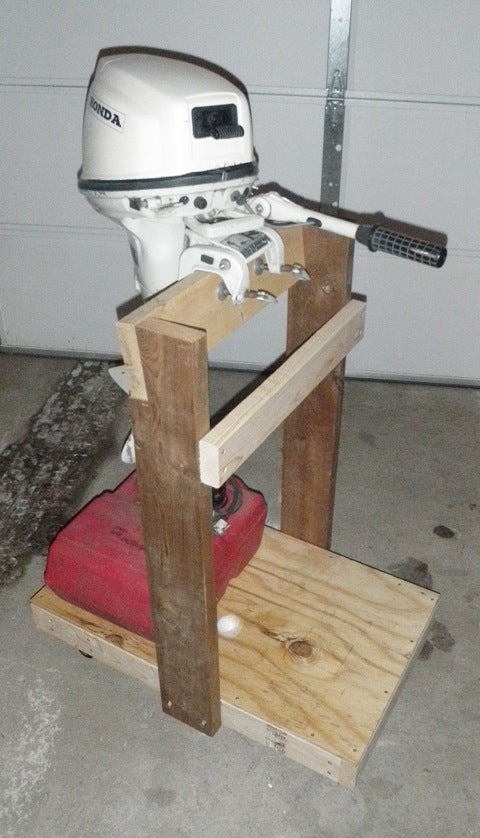
If you’re feeling particularly ambitious, you can add a plywood shelf at the bottom. Perfect for storing oil, tools, or maybe a secret stash of snacks (important for long days on the water!).
Sand any rough edges. Nobody wants splinters, especially not when dealing with the majestic outboard motor!
Consider painting or staining your stand. It’s not strictly necessary, but a little color never hurt anyone. Plus, it’ll look way more professional.
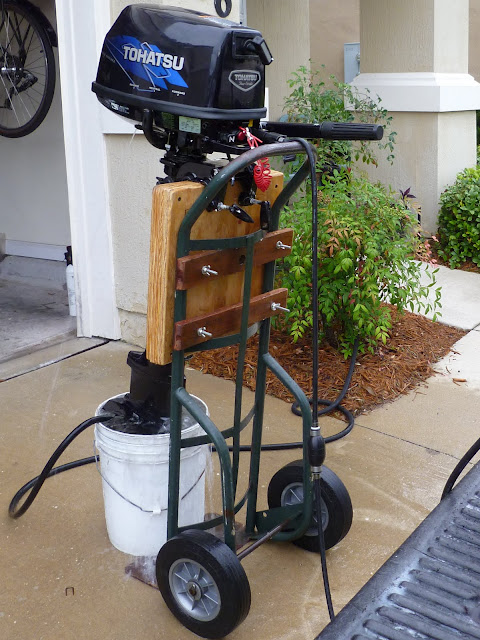
Pro Tip: If you’re feeling particularly fancy, add some wheels to the base. This turns your stand into a mobile motor-holding machine!
The "I'm Basically a Boat Builder!" Method
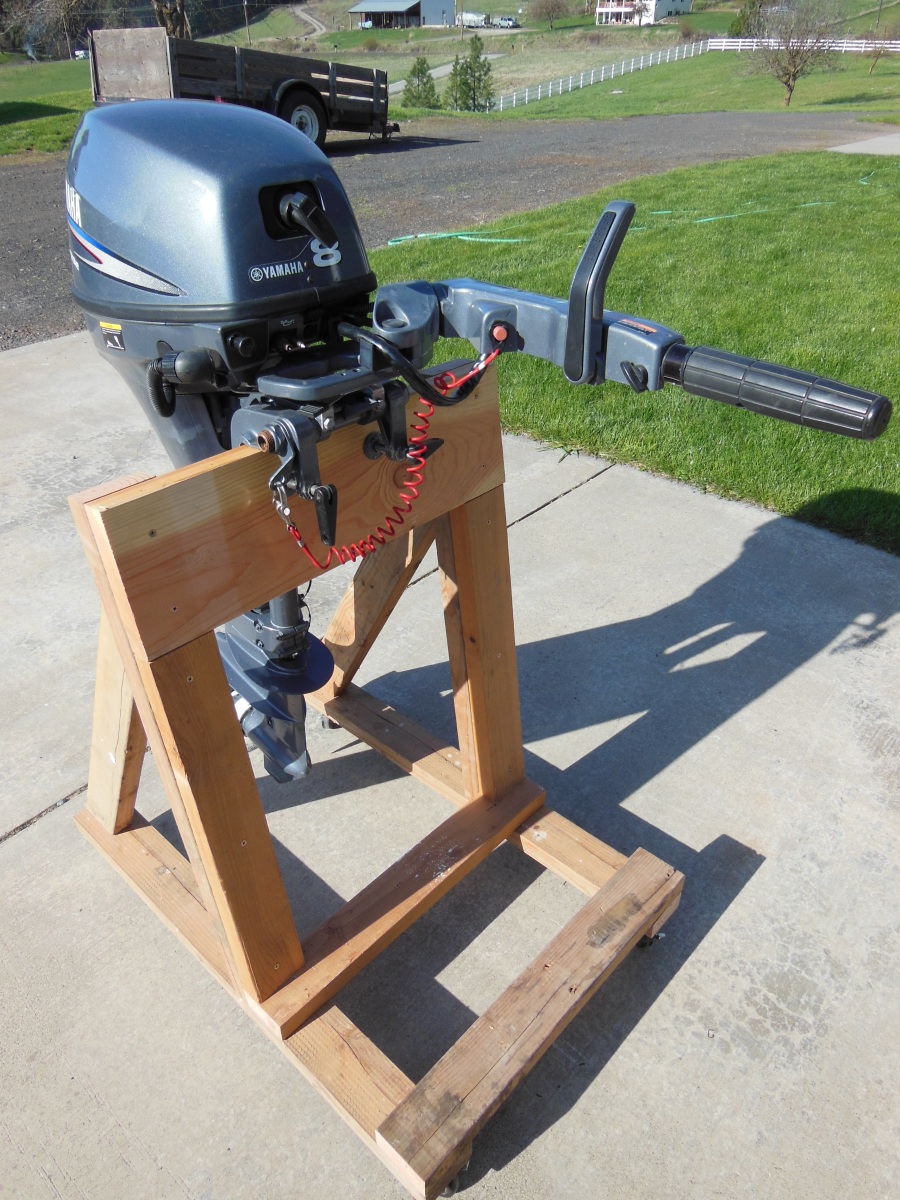
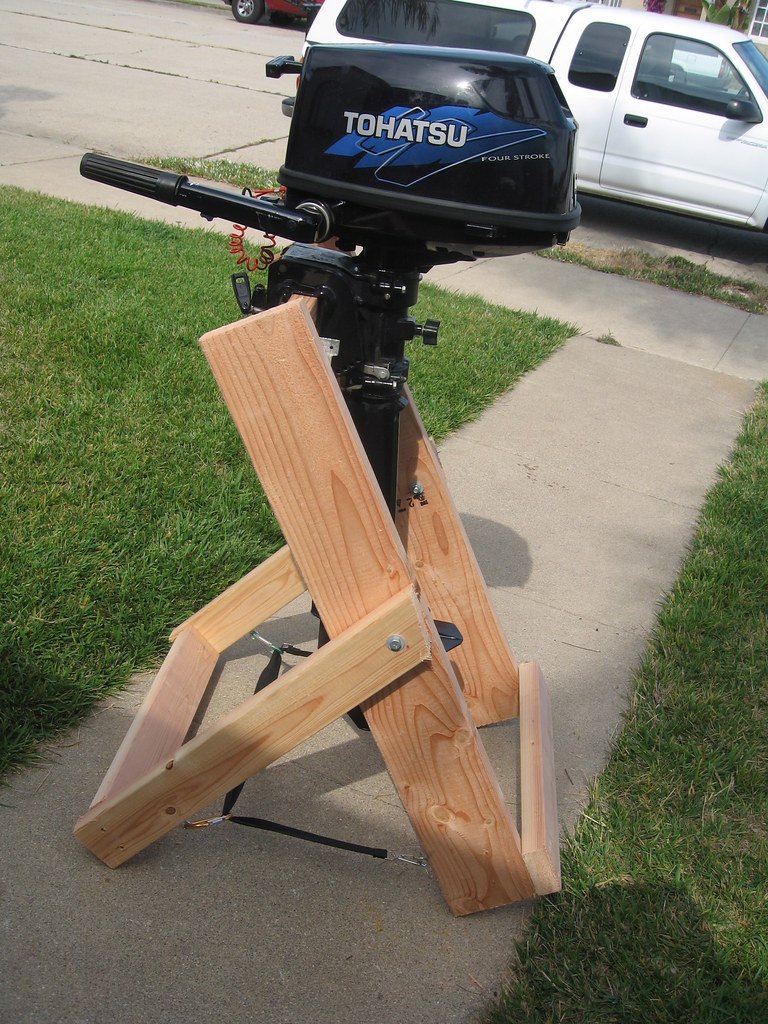
Test it out! Carefully mount your outboard motor onto its new throne. Admire your handiwork.
Doesn’t it look magnificent? You, my friend, are a DIY superstar!
Now go forth and conquer the waters, knowing your outboard motor has a safe and stylish place to rest when it's not busy propelling you to adventure! Remember to always prioritize safety.
![How To Make An Outboard Motor Stand The Best DIY Outboard Stand And Dolly Ideas [Video] –, 53% OFF](https://cimg1.ibsrv.net/gimg/www.thehulltruth.com-vbulletin/1500x2000/outboard_stand_af897171478a1409f50efcdb130860a33bc8e2b1.jpg)