How To Make Anklets At Home Step By Step

Ever feel like your ankles are missing something? Want to add a little sparkle to your step? Well, guess what? You can totally make your own anklets! It's way easier than you think, and seriously fun.
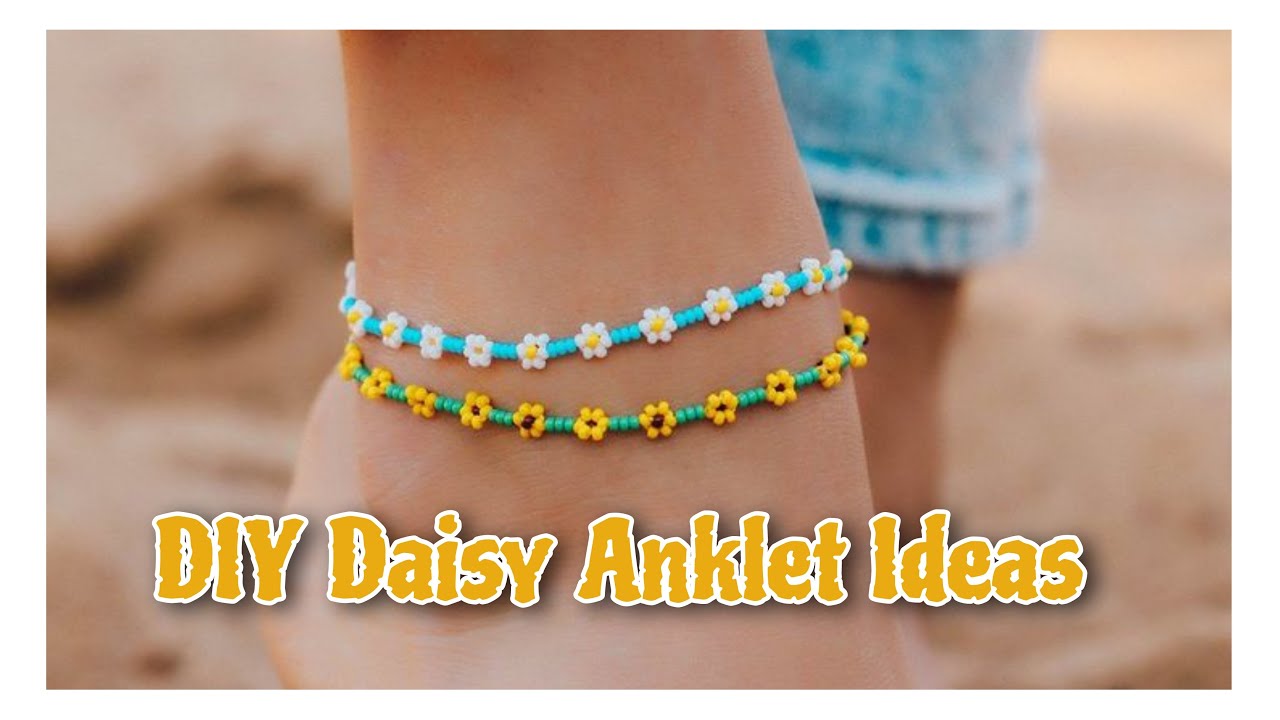
Imagine rocking a custom anklet you made yourself. How cool is that?
Gather Your Supplies
First, you'll need some supplies. Don't worry, nothing too crazy! Think of it like a little treasure hunt around your house (or a quick trip to the craft store).
Essential Materials
Grab some string or cord. Embroidery floss, hemp cord, or even sturdy fishing line work great. Then, find some beads! Seed beads, glass beads, even those cool alphabet beads from your childhood.
You'll also want scissors and some tape. A ruler or measuring tape can be super helpful, too.
Optional Extras
Want to get fancy? Add charms! Tiny shells, little metal pendants, anything goes. Clasps and jump rings can make your anklet adjustable and easier to take on and off.
Consider using crimp beads and crimping pliers for a secure finish, especially with thinner cords. Get creative with your collection!
Let's Get Crafting!
Okay, time to make some magic! Cut your string. Make it longer than you think you need. You can always trim off the excess later.
Tape one end of the string to a table. This helps keep everything in place while you work.
Basic Beaded Anklet
Start stringing your beads! Follow a pattern, or just go wild! It's totally up to you. Let your inner artist shine.
Keep going until your anklet is long enough to comfortably fit around your ankle. Remember to leave a little extra room for movement!
Securing Your Anklet
Once you're happy with the length, it's time to tie it off. A simple overhand knot works well. Make it tight! You don't want your precious beads escaping.
For extra security, add a dab of glue to the knot. Let it dry completely before trimming the excess string. Congrats, basic anklet complete!
Adding a Clasp (For Extra Security!)
Want a more professional finish? Attach a clasp! Use jump rings to connect the clasp to each end of the anklet.
Crimp beads can also be used to secure the ends of the string to the jump rings for added durability. Just make sure you're using the right tools.
Level Up Your Anklet Game
Feeling confident? Try some more advanced techniques!
Braided Anklets
Braiding is a fun way to create a sturdy and stylish anklet. Use three or more strands of string. Braid them together tightly.
Add beads by threading them onto the strands before you start braiding. Experiment with different braiding patterns!
Macrame Anklets
Macrame involves knotting cords together to create intricate designs. It's a bit more challenging, but the results are stunning. Watch some tutorials online to learn the basic knots.
Incorporate beads into your macrame patterns for a truly unique and bohemian look. Mastering macrame is a super power.
Show Off Your Creations!
You did it! You made your own anklet! Now, rock that ankle bling with pride. And don't forget to show off your creations to your friends!
Making anklets is a super fun way to express your creativity and add a personal touch to your style. Why not create a collection?
So, grab your supplies and get crafting! Who knows, you might just discover your new favorite hobby. It's time to unleash your inner jewelry designer.
Making anklets is not just about the result; it's about the joy of creating something beautiful with your own two hands. So, enjoy the process and happy crafting!