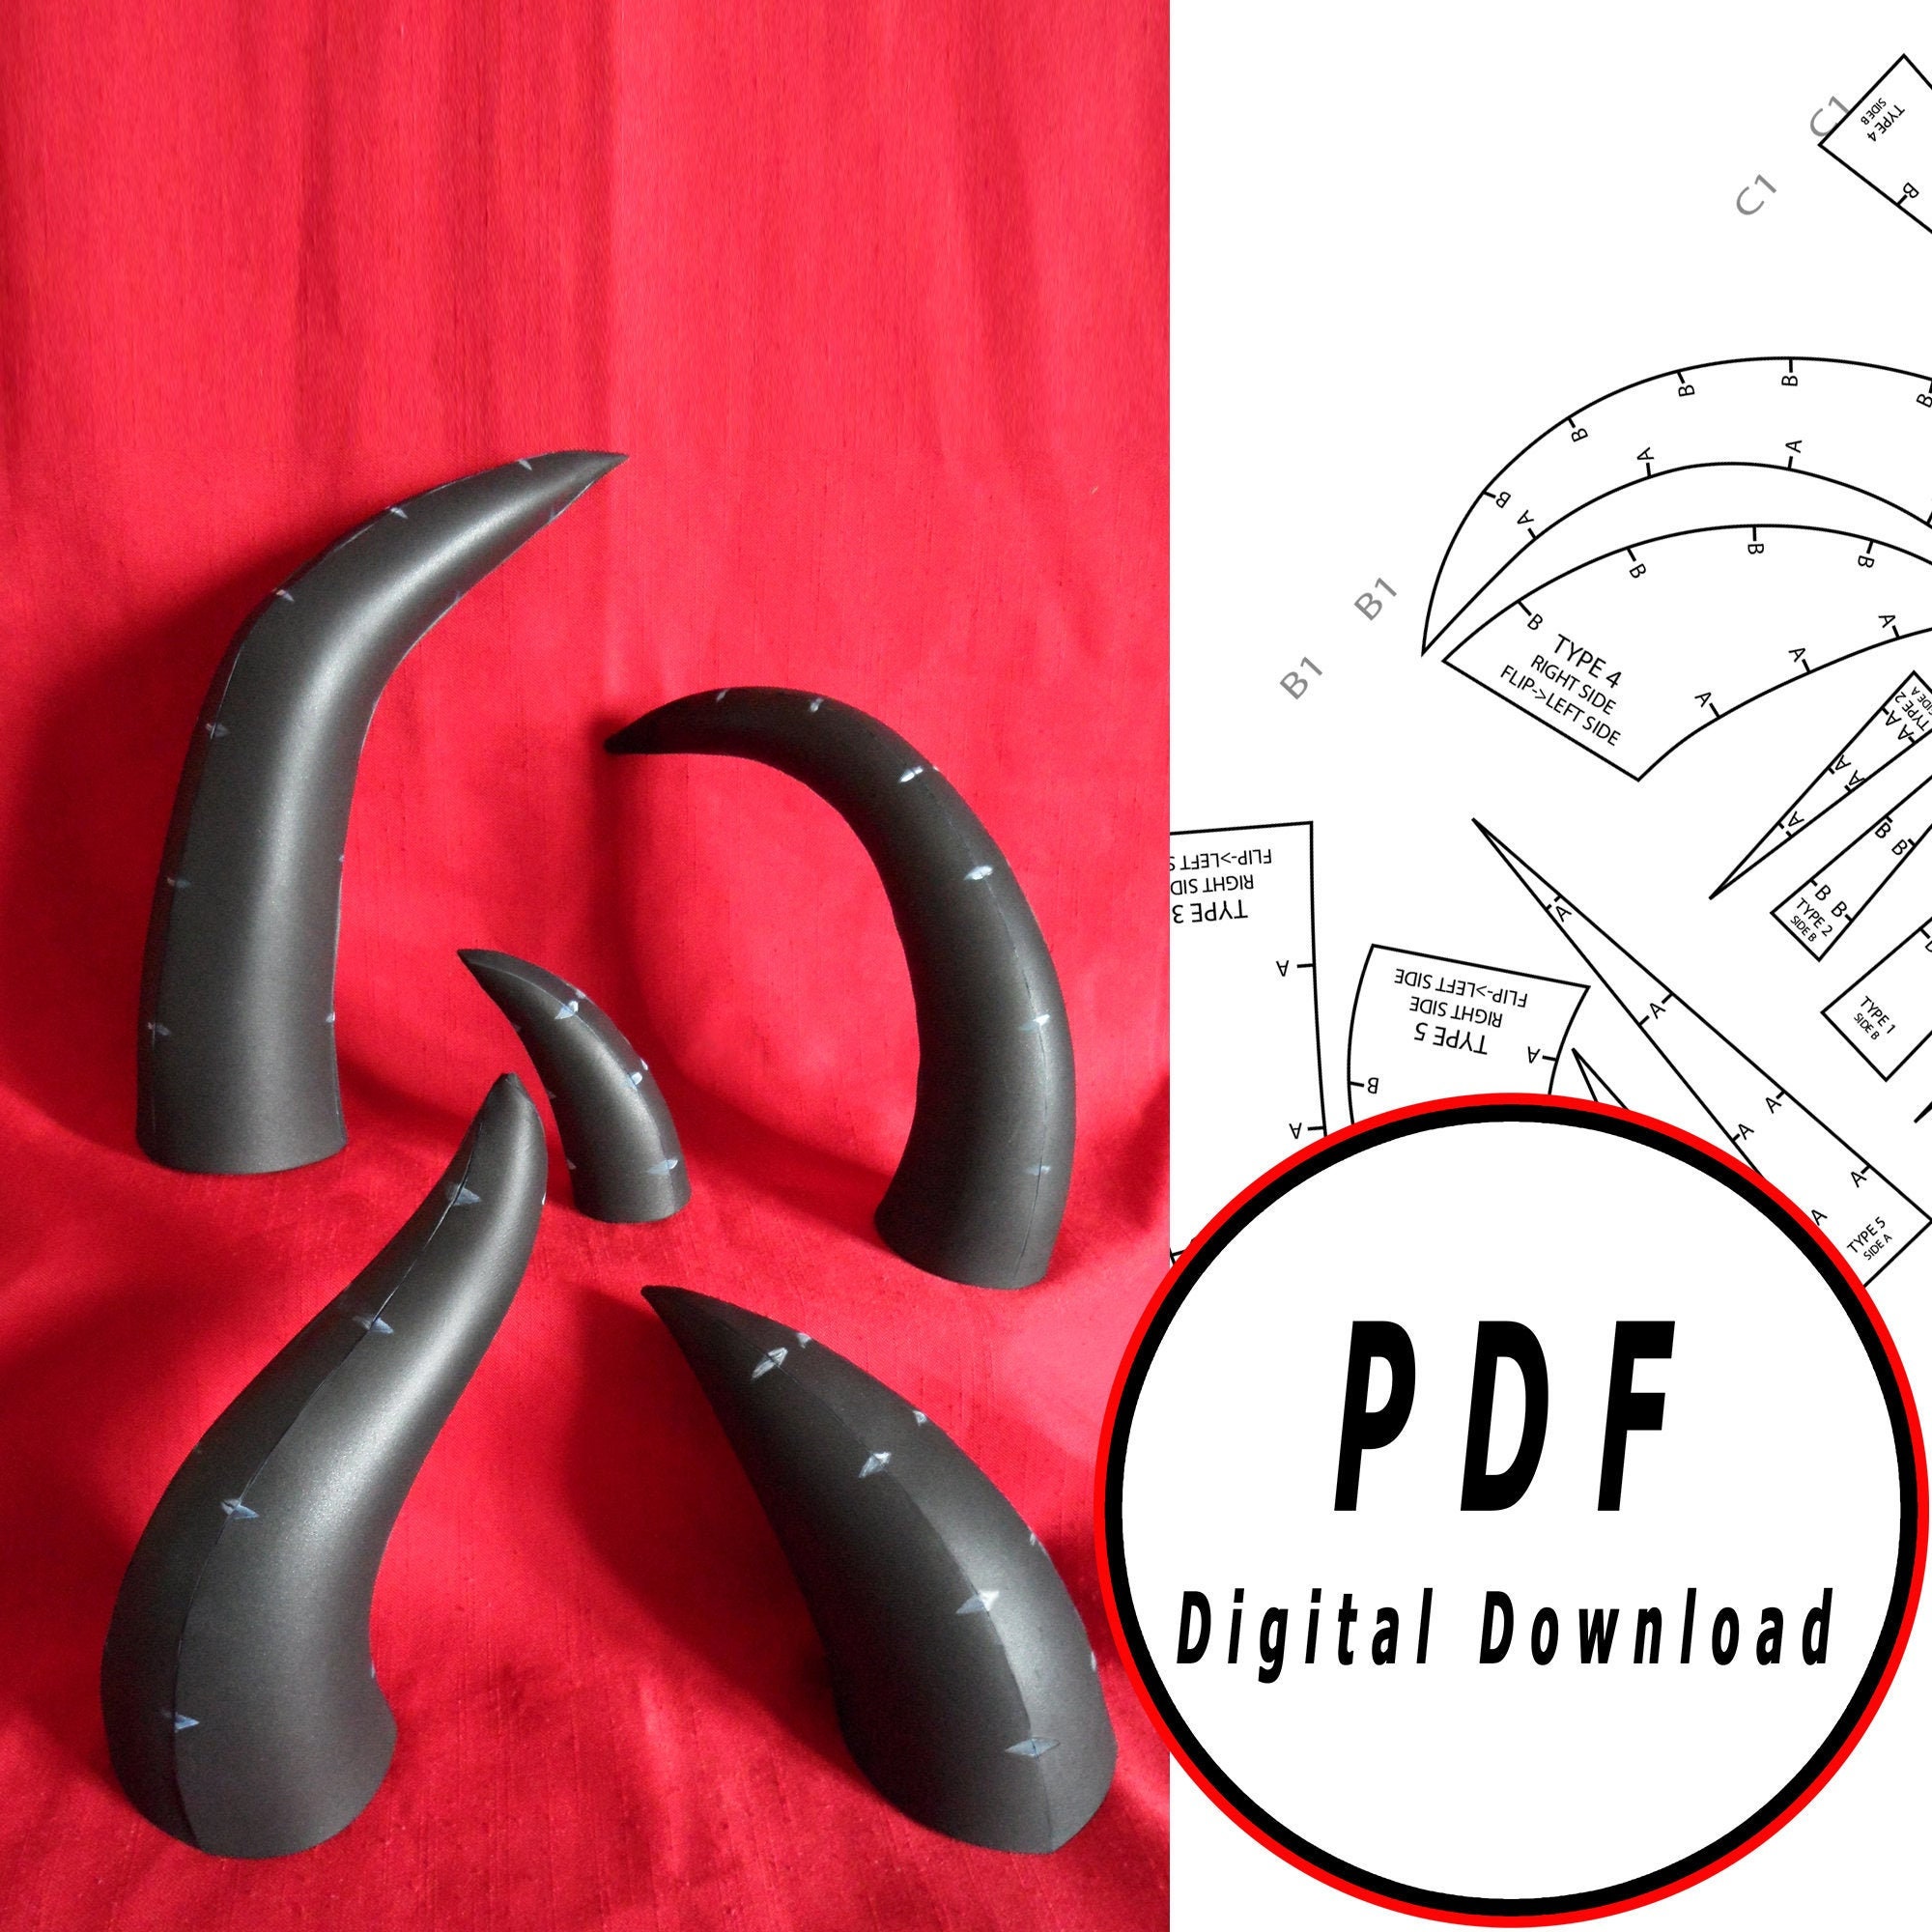
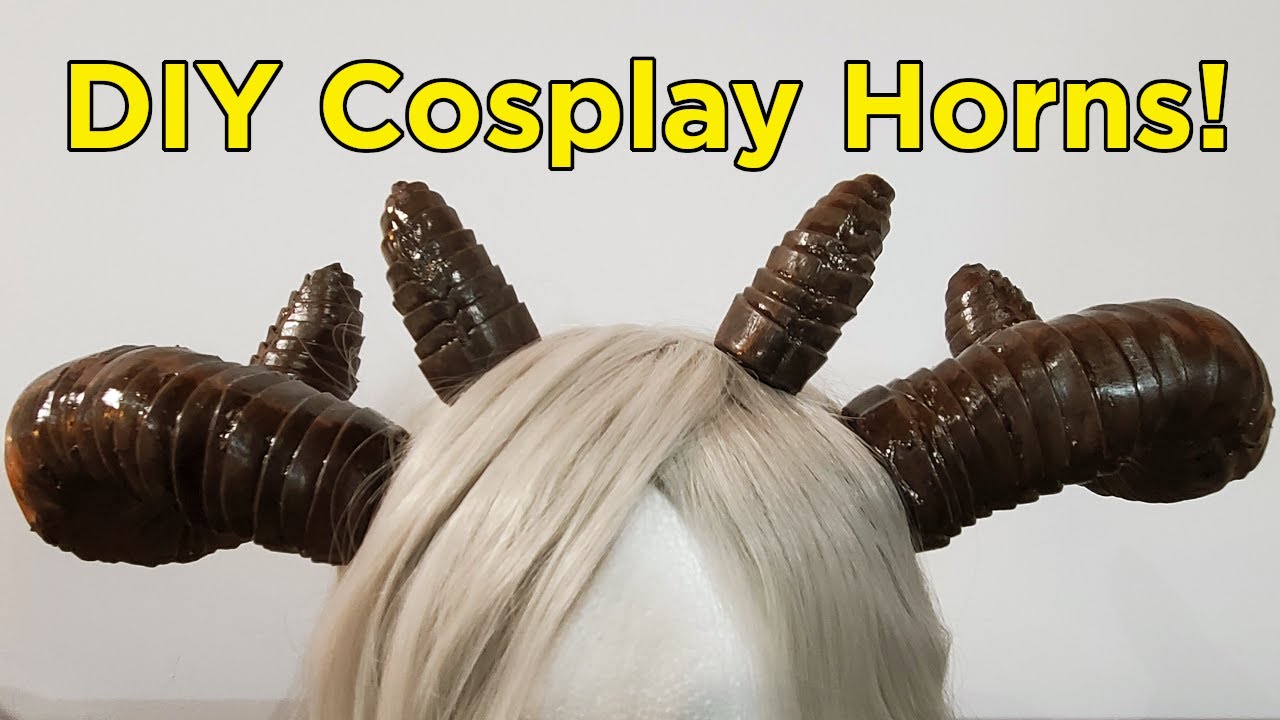
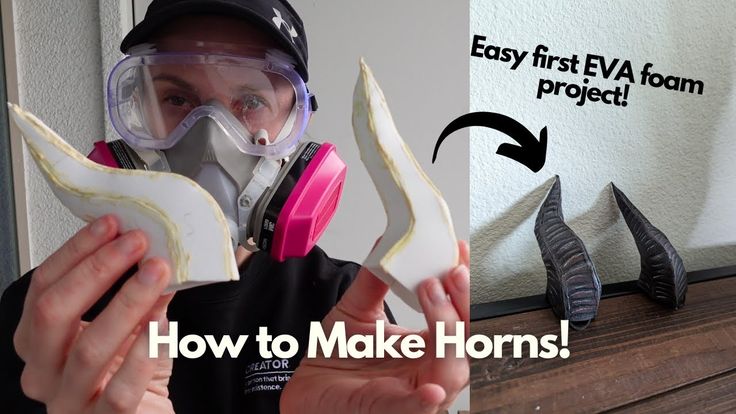
How To Make Horns Out Of Eva Foam
Ever thought about adding a little… something… to your look? Maybe a touch of the fantastical? Then you've GOT to hear about making horns from EVA foam! Seriously, it's way easier (and more fun) than you think.
Unleash Your Inner Demon (or Unicorn!)
Let's talk EVA foam. This stuff is basically crafting magic. It's lightweight, easy to cut, and you can mold it with heat. Plus, it takes paint like a champ. Think of it as the Play-Doh of the cosplay world, but, you know, way cooler.
So, grab some EVA foam sheets. You can find it at most craft stores. Or online, if you're feeling extra comfy in your pajamas. A heat gun is also essential. You will also need a sharp knife or box cutter and strong glue.
The Horn-Making Adventure Begins
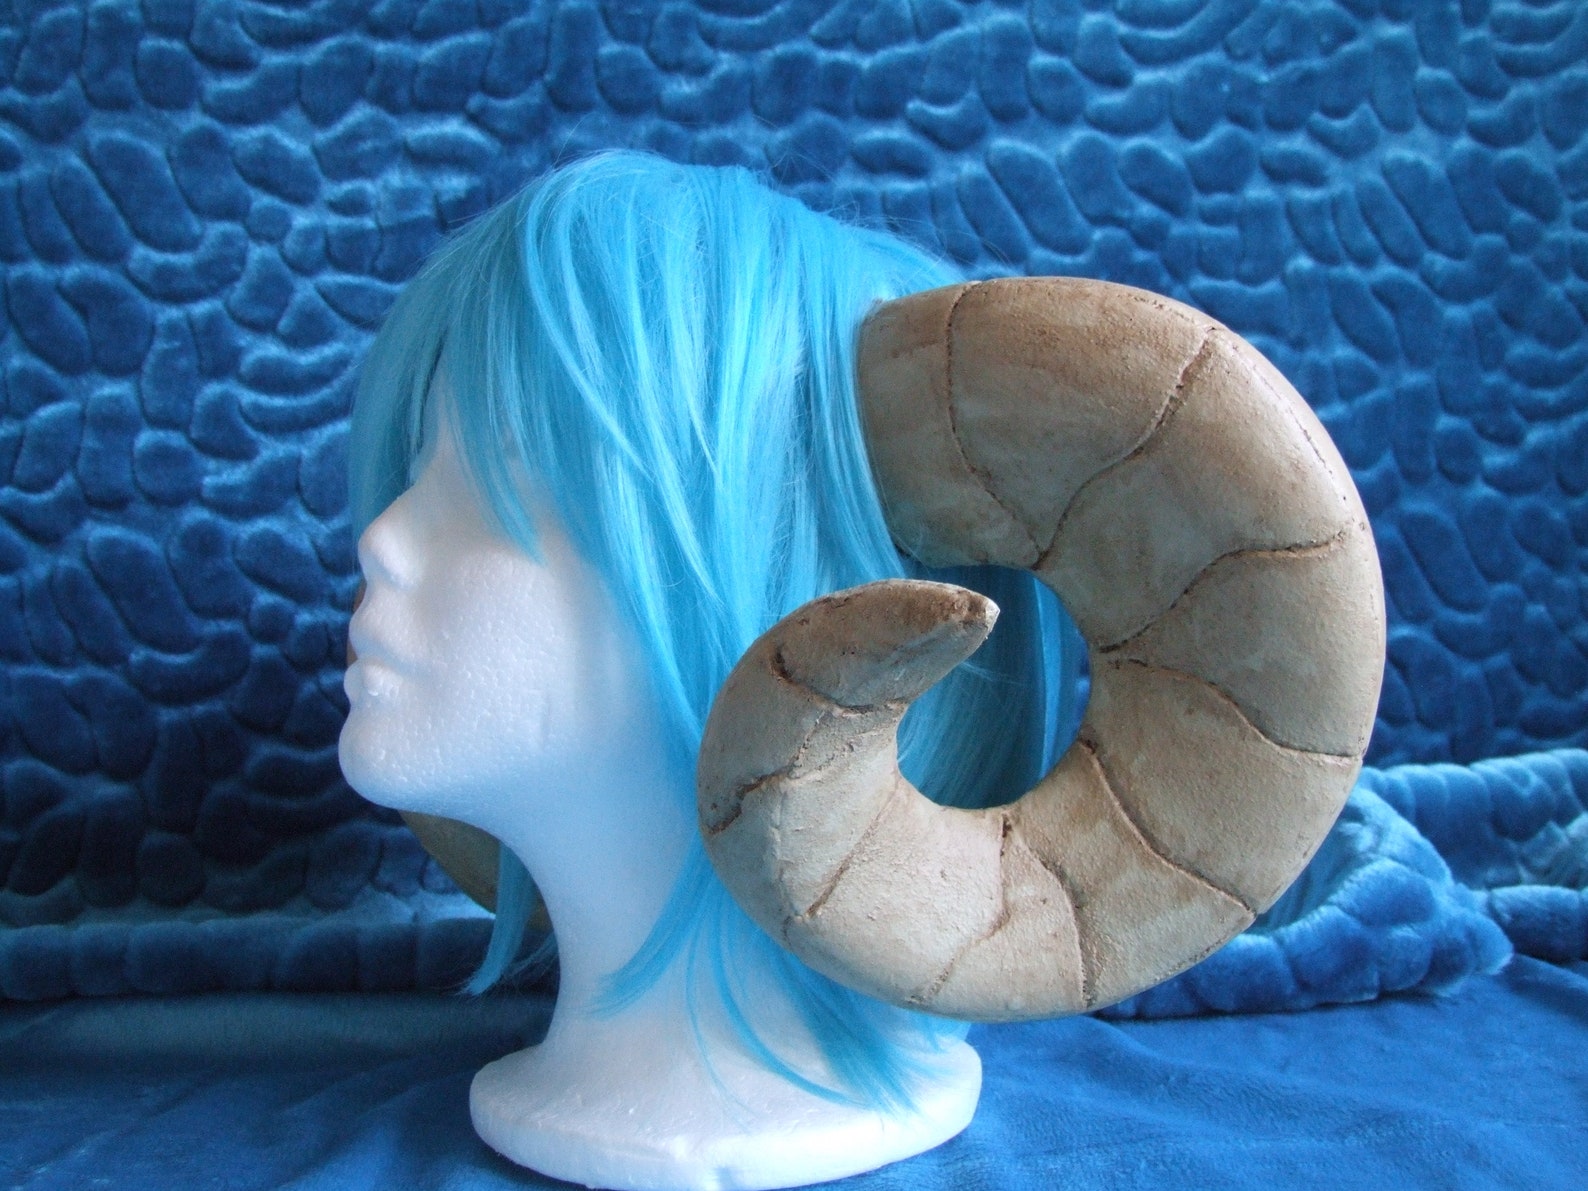
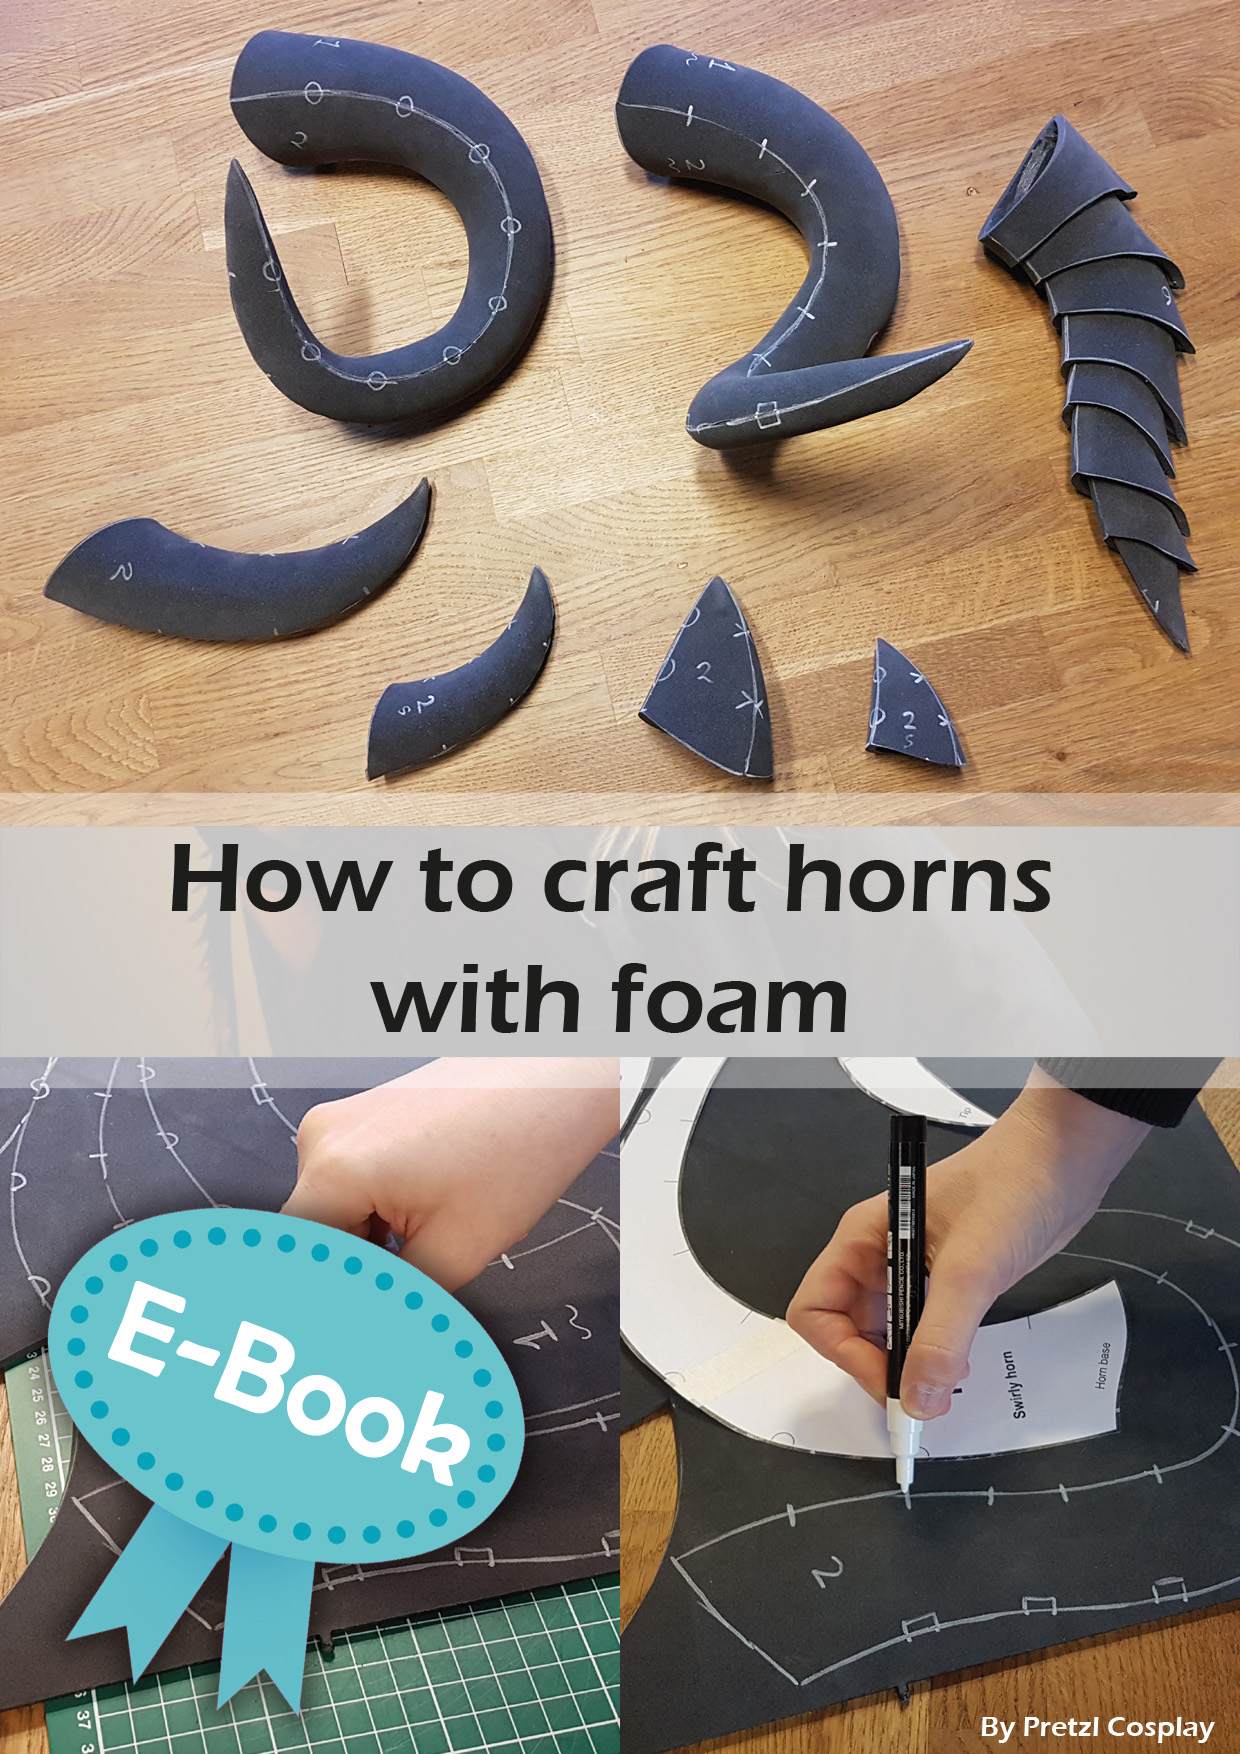
First, sketch out your horn design. Do you want sleek devil horns? Or maybe whimsical unicorn swirls? It's your chance to get creative. Don't be afraid to experiment and go wild with your design!
Next, transfer your design onto the EVA foam. Cut out two identical shapes. You'll want two halves to form each horn. Think of it like building a 3D puzzle.
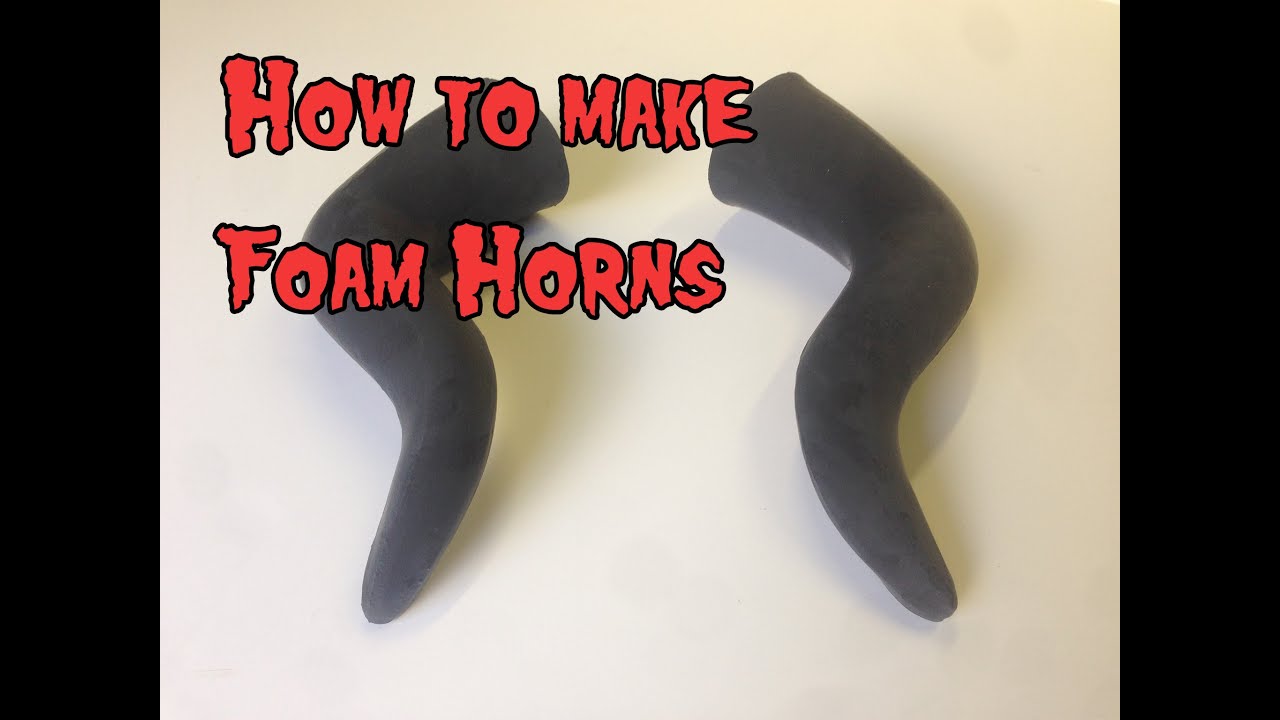
Now, the fun part: shaping! Use your heat gun to gently warm the EVA foam. Be careful not to burn it. Slowly bend and mold the foam into the desired curve.
Hold the shape until it cools. This helps the foam keep its new form. Patience is key here. Remember, you're creating something awesome!
Gluing Your Masterpiece
Once you're happy with the shape of your two horn halves, it's time to glue them together. Apply a strong adhesive along the edges. Press the two pieces together firmly.
Hold them until the glue sets. Clamps can be super helpful. Especially for tricky curves.
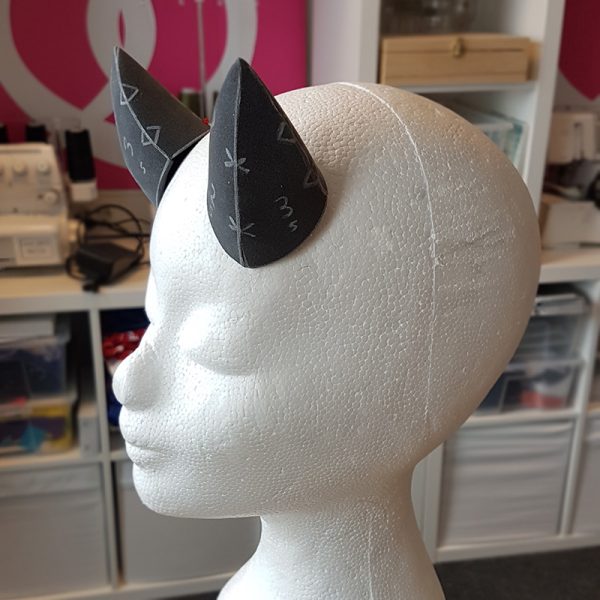
And just like that, you've got a horn (or at least half of one)! Repeat the process to create a matching horn. Or don't! Maybe asymmetrical horns are your thing. Own it!
Adding the Finishing Touches
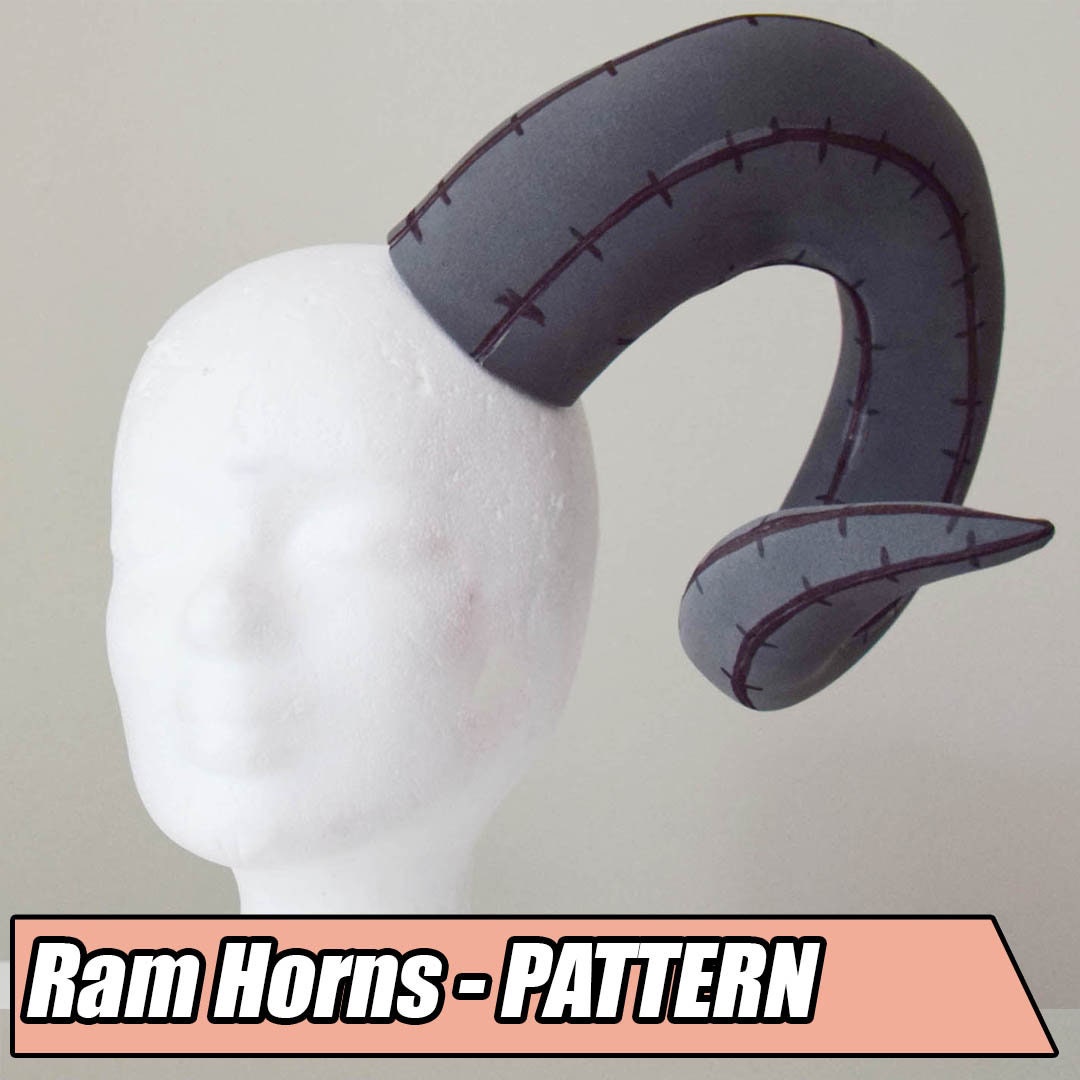
Okay, so you've got your basic horn shape. Now it's time to make it pop. Sand down any rough edges for a smooth finish. This will make your paint job look even better.
Apply a few coats of primer. This will help the paint adhere to the foam. Plus, it creates a nice, even base color.
Now comes the *really* fun part: painting! Choose any color you want. Metallic? Glittery? Go for it! Let your imagination run wild.
Once the paint is dry, consider adding details. This is where you can really personalize your horns. Add shading, highlights, or even texture.
Pro Tip: Use acrylic paints for the best results. They're flexible and won't crack easily.
Attaching Your Awesome Horns
So, you've got these amazing horns. How do you attach them? There are a few options. Headbands are a classic choice.
You can also use elastic straps or even attach them directly to a wig. Experiment to find what works best for you. Comfort is key, especially if you're planning on wearing them for a while.
And there you have it! You've just created your own set of EVA foam horns. Ready to unleash your inner mythical creature? Whether you're hitting up a comic con, a Halloween party, or just feeling a little bit extra on a Tuesday, these horns are sure to turn heads. Seriously, prepare for the compliments to roll in. You've earned them, you magnificent horned being!
The beauty of EVA foam horns lies in their versatility. They're perfect for cosplay, costumes, or just adding a touch of whimsy to your everyday life. So grab some foam, unleash your creativity, and get ready to rock those horns!