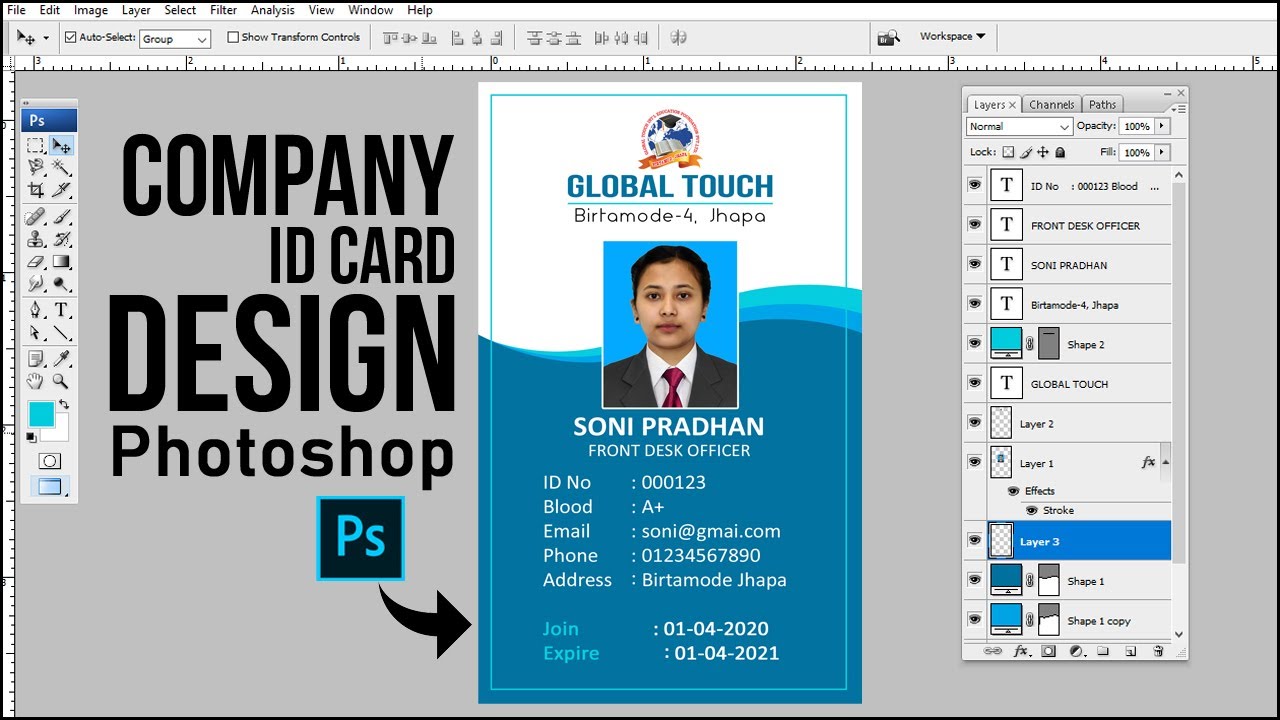
How To Make Id Card In Photoshop
Ever dreamt of being a secret agent? Or maybe you just want a super cool ID card for your "Official Pizza Tester" club? Well, buckle up, buttercup, because we're diving headfirst into the wacky world of creating ID cards with Photoshop!
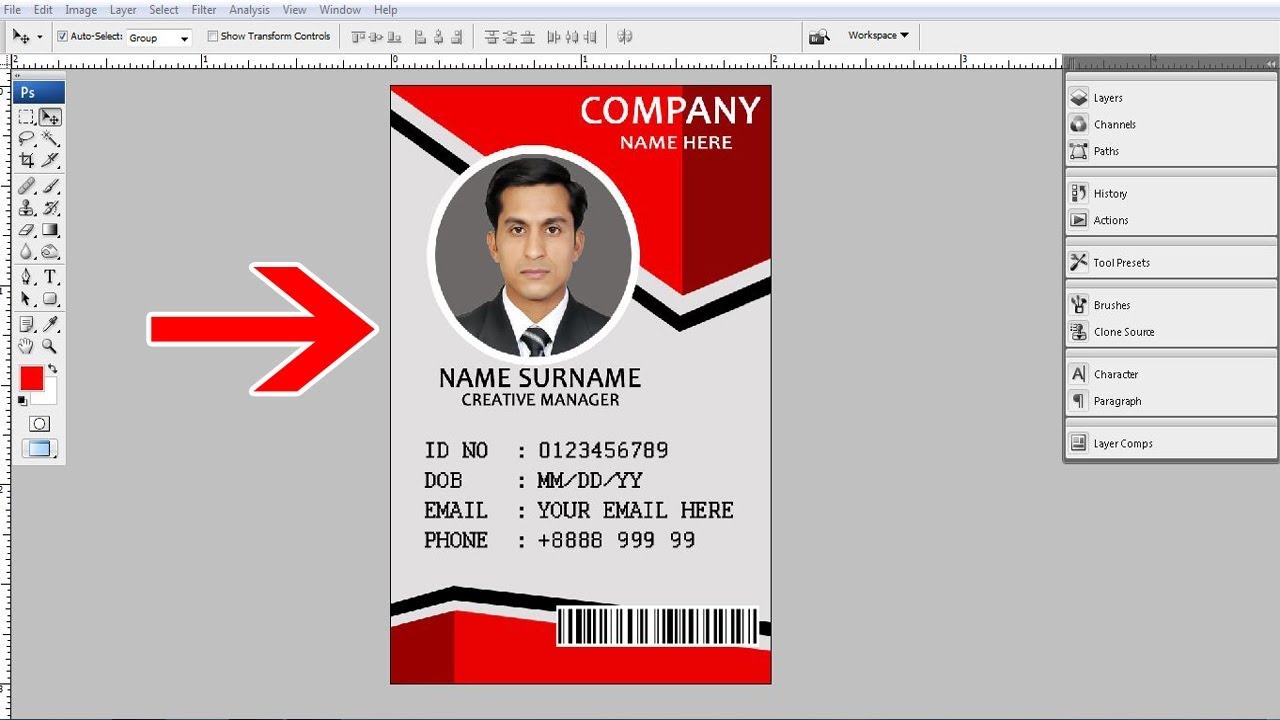
First things first, fire up Photoshop. It's like your digital playground, only instead of swings and slides, we've got layers and filters. Don't worry, it's way more fun than it sounds, trust me!
Step 1: The Blank Canvas Beckons!
Create a new document. Think of it as your blank slate, your digital Da Vinci moment, except instead of painting the Mona Lisa, we're crafting a super awesome ID card.
Set the dimensions. Something like 3.375 x 2.125 inches usually does the trick, but hey, if you want a gigantic, wallet-busting ID, who am I to judge?
Step 2: Background Shenanigans
Now, let's jazz up that background. A solid color? A gradient that screams "professional"? Maybe even a picture of kittens? The possibilities are endless!
Use the Paint Bucket Tool to fill the background with your chosen color. Boom! Instant background magic.
Or, for extra pizzazz, try a gradient! Click on the Gradient Tool and drag across your canvas. Prepare to be amazed by the swirling colors!
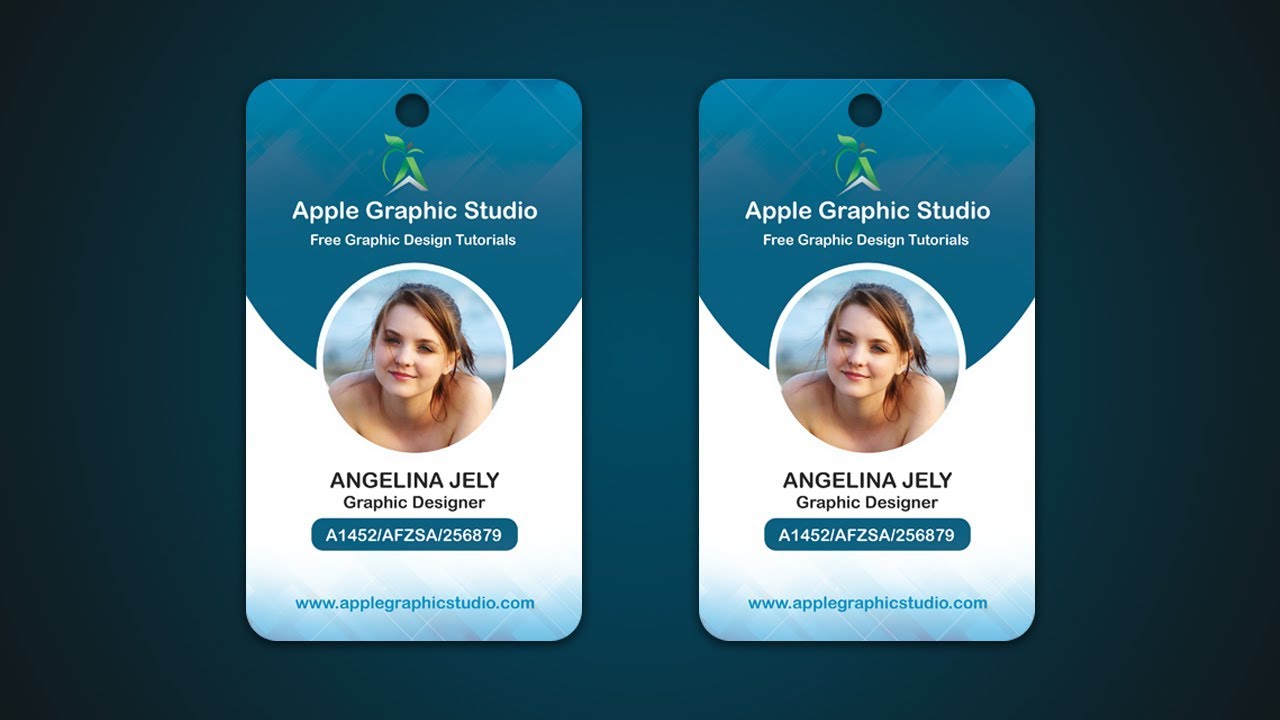
Step 3: Photo Op!
Every good ID needs a mug shot, or a really cool selfie, depending on the vibe you're going for. Insert your picture into the document.
Resize and position it. You want to look approachable, yet authoritative. Like a friendly librarian who also happens to be a black belt in origami.
Pro Tip: Remove background!
If your photo has a distracting background, use the Magic Wand Tool or the Background Eraser Tool to get rid of it. Poof! You're now floating in a sea of pure awesomeness.
Step 4: Text Time!
Time to add the important stuff: Name, title (Supreme Ruler of the Snack Drawer, perhaps?), and any other vital info. Use the Text Tool.
Choose a font that screams "official," or, you know, whatever font you think looks cool. Arial? Times New Roman? Comic Sans (if you dare!).
Add the necessary info. Name, rank, and serial number (or your favorite pizza topping). The world is your oyster, go crazy!
Step 5: Logo Mania!
No self-respecting ID card is complete without a logo! Whether it's a company logo, a club emblem, or a picture of your pet hamster, slap it on there!
Import your logo and resize it. Make sure it doesn't overpower the rest of the design, unless you want it to. Then, by all means, go for it!
Step 6: Fancy Finishing Touches
Add some extra flair! Maybe a border, a drop shadow, or a subtle pattern. The key is to experiment and have fun. Photoshop is your playground!
Use the Layer Styles for things like shadows and strokes. Right-click on the layer and select "Blending Options." It's a treasure trove of effects!
Step 7: Save the Day!
Once you're happy with your masterpiece, save it as a high-resolution JPEG or PNG file. You want your ID to look crisp and professional, even if it's for a "Professional Nap Taker" association.
And there you have it! You've just created your very own ID card using Photoshop. Now go forth and conquer the world, one officially-identified adventure at a time!
Remember, practice makes perfect. So, keep experimenting, keep creating, and most importantly, keep having fun! The possibilities are endless, and who knows, maybe you'll even become the next Photoshop master!