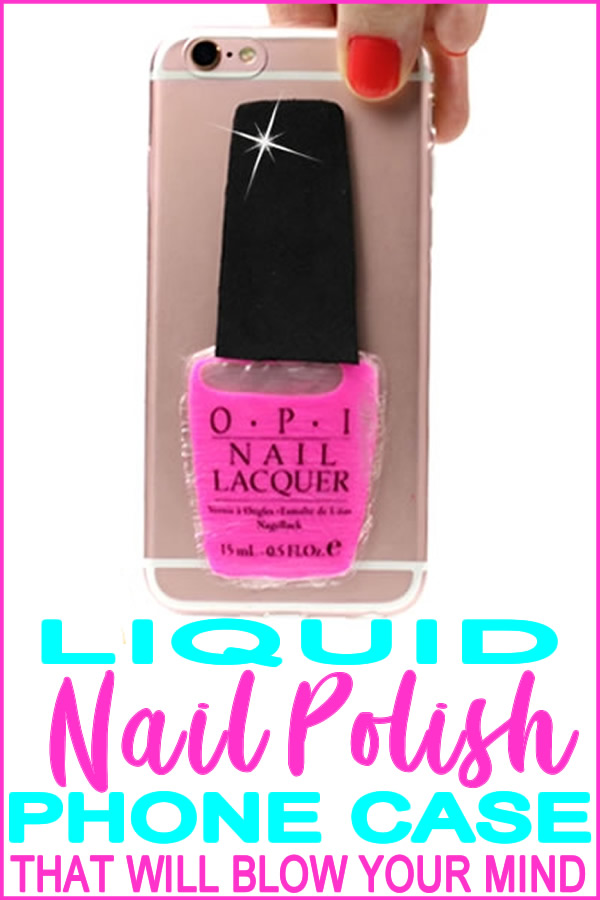
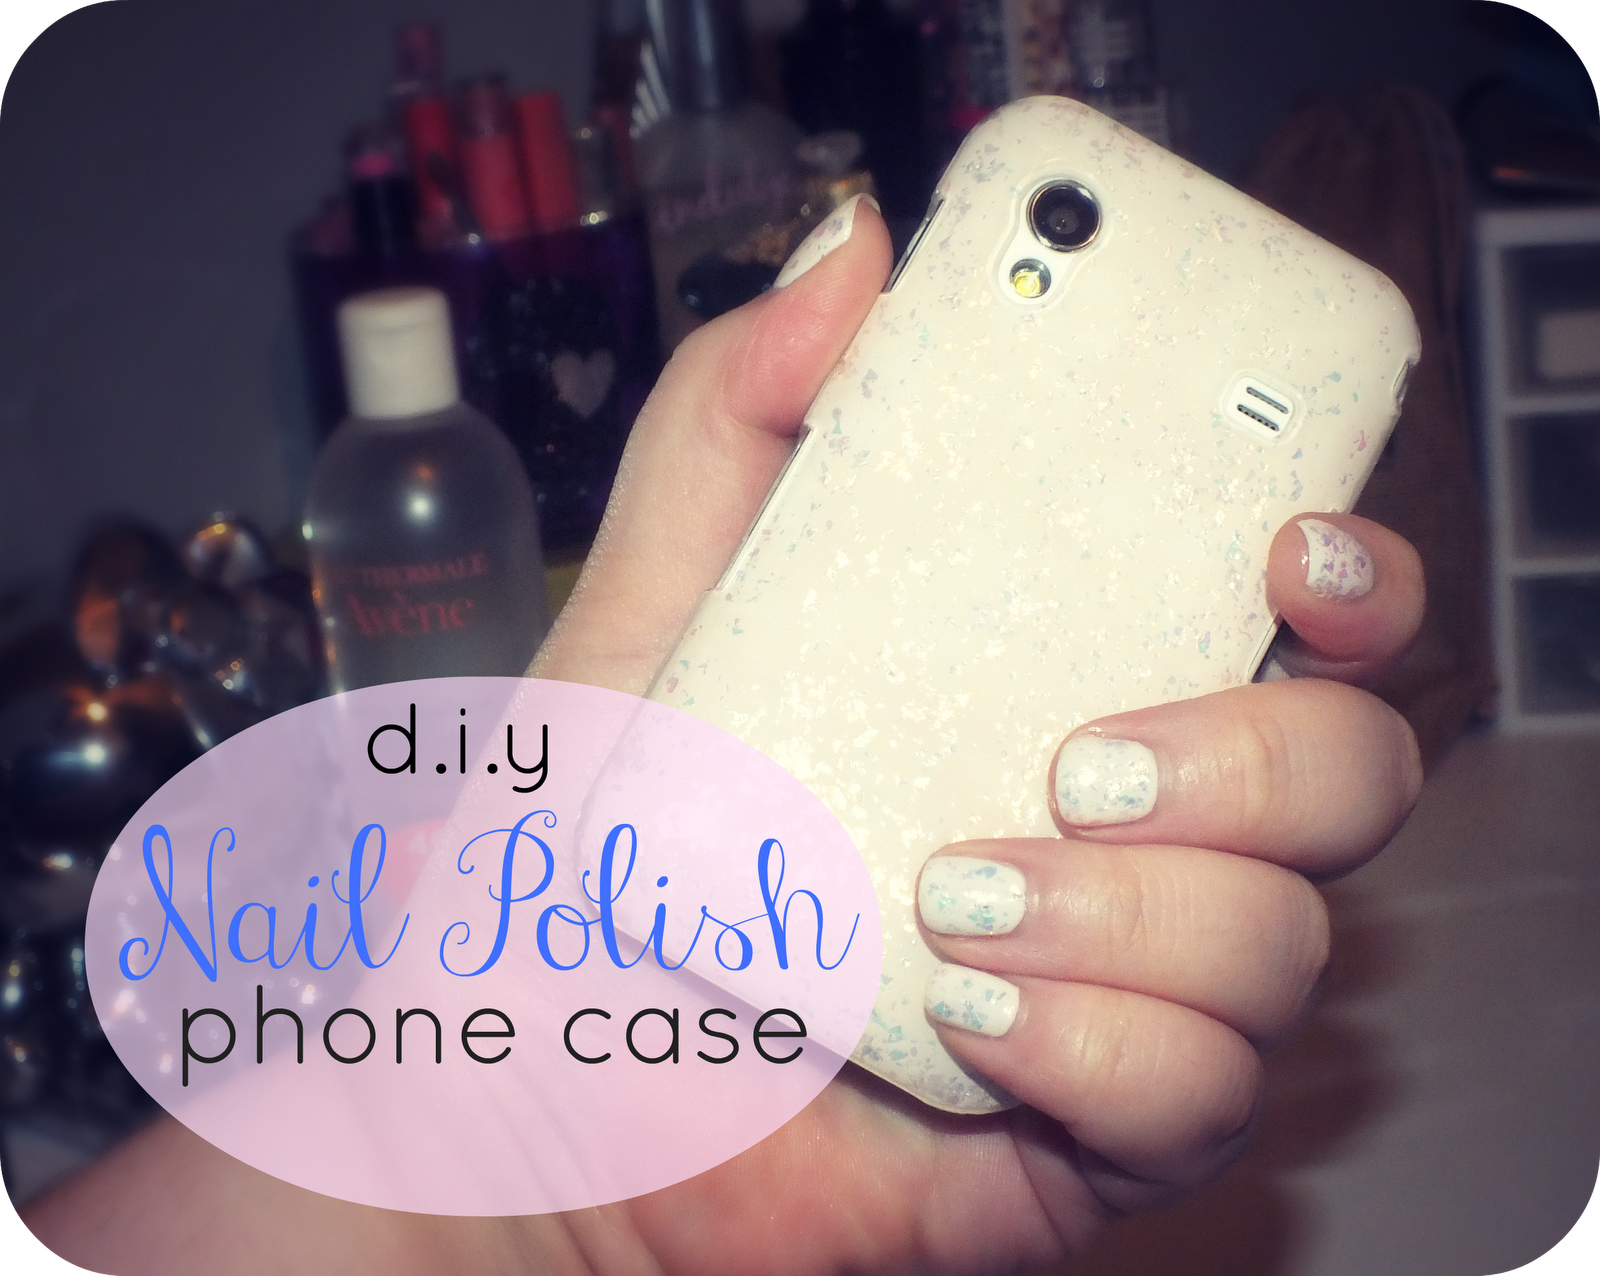
How To Make Phone Cover With Nail Polish

Ever stared at your phone case and thought, "This needs more…me"? Well, put down the glitter glue (maybe) and grab your nail polish! It's time for a phone case makeover, the DIY way.
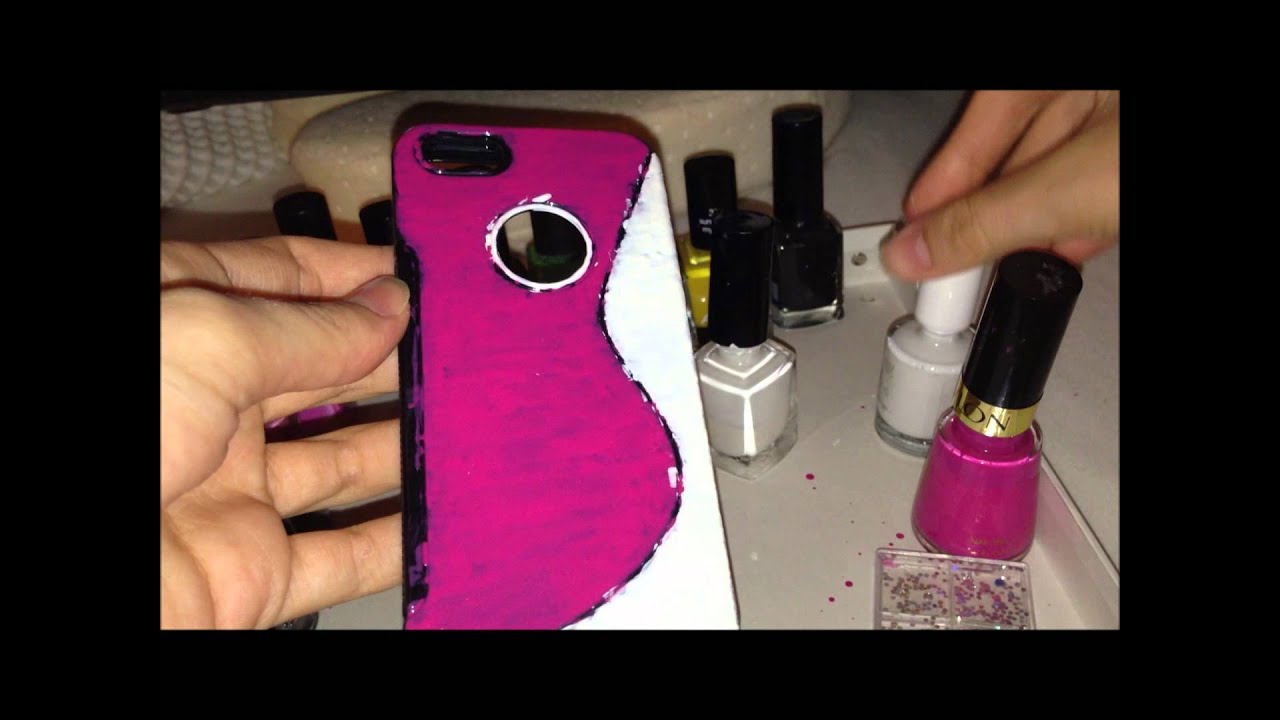
Gather Your Supplies
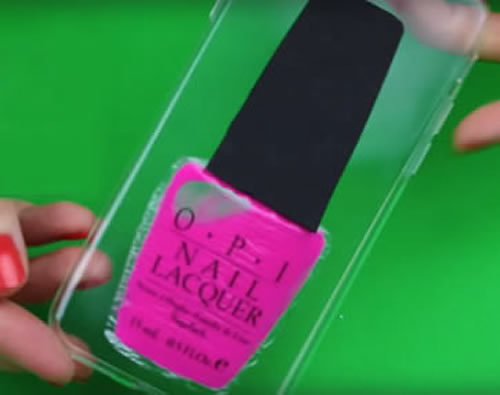
First, you'll need a clear phone case. Think of it as your blank canvas, just waiting for its artistic debut. Dig through your nail polish collection. The more colors, the merrier!
Grab some cotton swabs and nail polish remover too, for those "oops" moments that are practically guaranteed. A small dish of water might also be helpful if you're feeling ambitious.
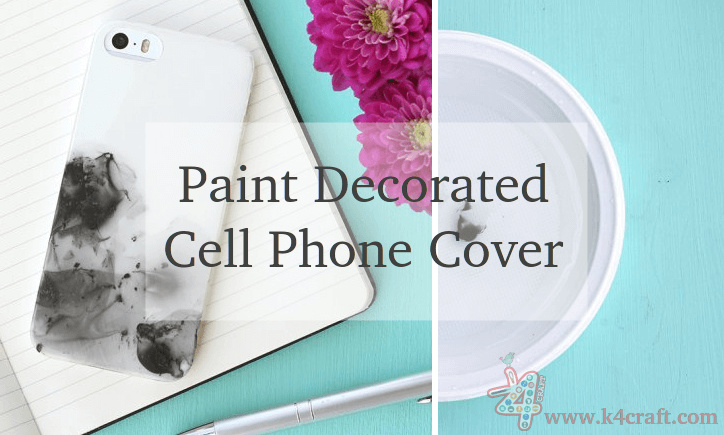
The Swirl Technique
Let's start with a classic: the swirl. Drop blobs of different nail polish colors into the dish of water. Don't be shy, let them mingle!
Quickly dip your phone case into the swirling colors. Lift it out, and behold! A mesmerizing, abstract design now graces your phone. Let it dry completely. It might take a while, so be patient. Impatience is the enemy of a good manicure and a good phone case!
Polka Dot Mania
Feeling dotty? Time for polka dots! Choose your base color and paint your entire phone case. Wait for it to completely dry. We're talking bone-dry here.
Then, using a toothpick or the end of a small paintbrush, carefully dot on your contrasting colors. Vary the sizes for a more playful look. Imagine your phone case is a ladybug, but, like, a really stylish ladybug.
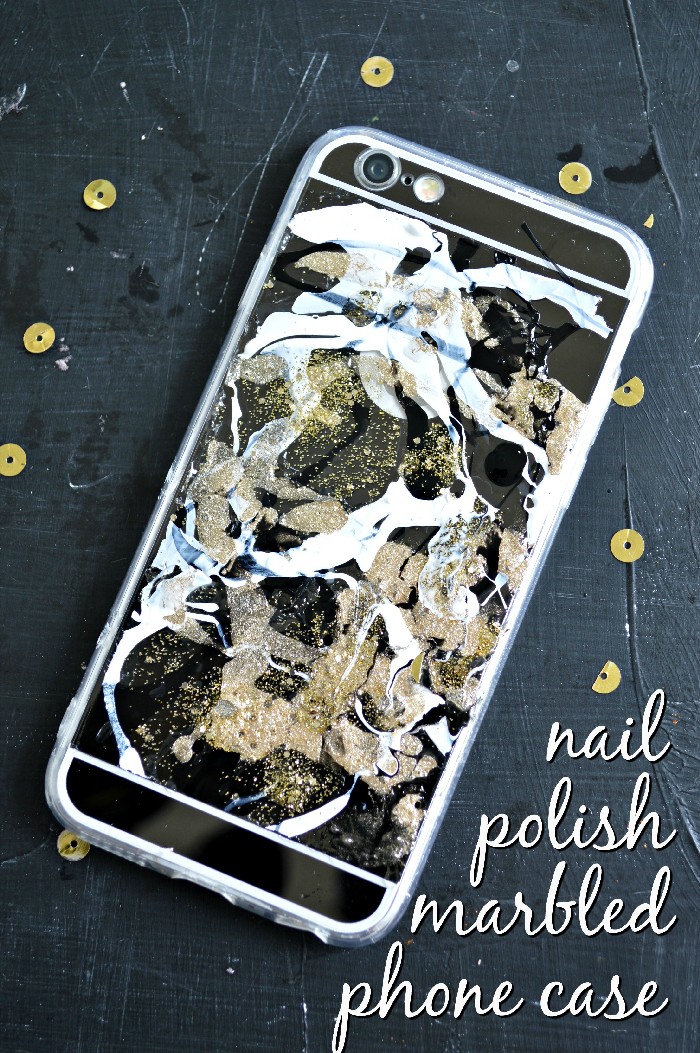
The Drip Effect
For the daring and slightly chaotic, there's the drip effect. Simply apply a thick coat of your base color. Then, drip different nail polish colors from the top, letting them run down.
It's like a Jackson Pollock painting, but on your phone! Experiment with different angles and speeds to achieve your desired look. Just remember to put something down to protect your work surface!
Adding Details and Finishing Touches
Once your design is dry (and we mean *really* dry), you can add finer details. Use a thin brush or nail art pen to draw lines, shapes, or even tiny portraits of your favorite pets.
A top coat of clear nail polish is a must. This will protect your design and give it a glossy finish. It's like putting a tiny force field around your artwork.
Important Considerations
Ventilation is key! Open a window or work in a well-ventilated area. Nobody wants to get lightheaded from nail polish fumes.
Be prepared for mistakes. That's what the nail polish remover is for! Don't get discouraged if your first attempt isn't perfect. Practice makes perfect, or at least, practice makes a slightly less messy phone case.
Show Off Your Creation!
Now that your phone case is a work of art, it's time to show it off! Take some photos and share them with your friends. Prepare for the compliments. You're now a certified phone case artist!
Remember, this isn't just about decorating a phone case; it's about expressing yourself and having fun. So go ahead, unleash your inner artist, and give your phone the makeover it deserves. Happy crafting, you magnificent, nail-polish-wielding artist!