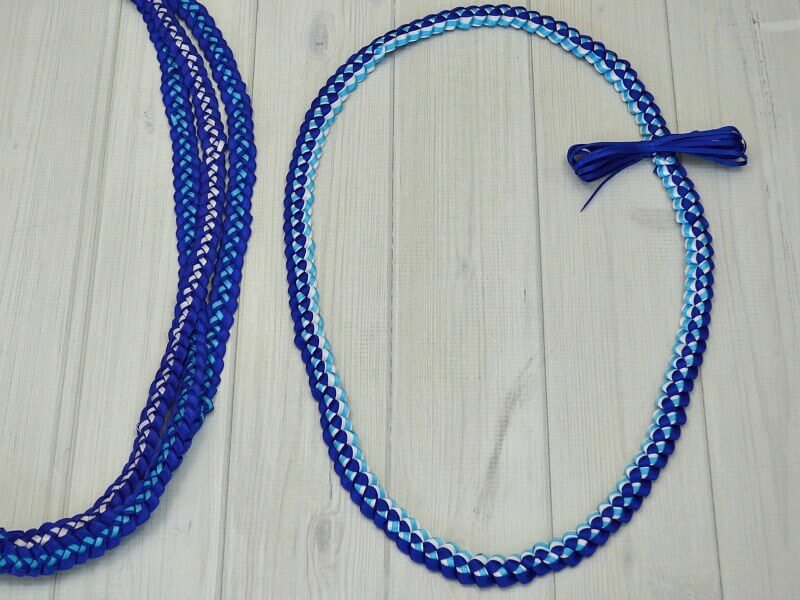
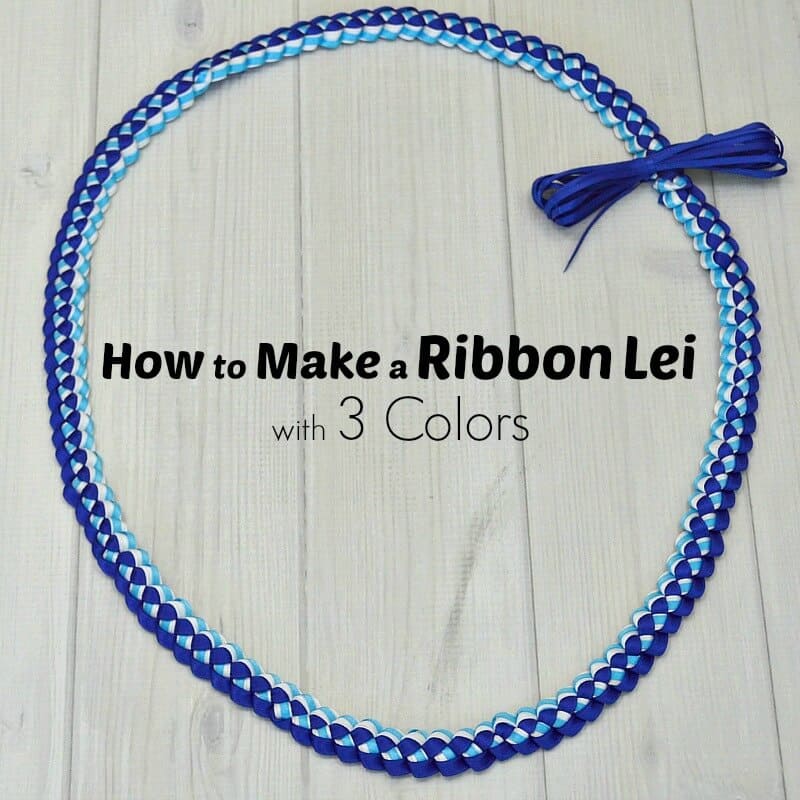
How To Make Ribbon Leis With 3 Colors
Ever tried making a ribbon lei? It's easier than parallel parking on a busy street, and way more colorful! Trust me, even if your crafting skills peaked in kindergarten with glitter glue explosions, you can nail this.
Gathering Your Rainbow
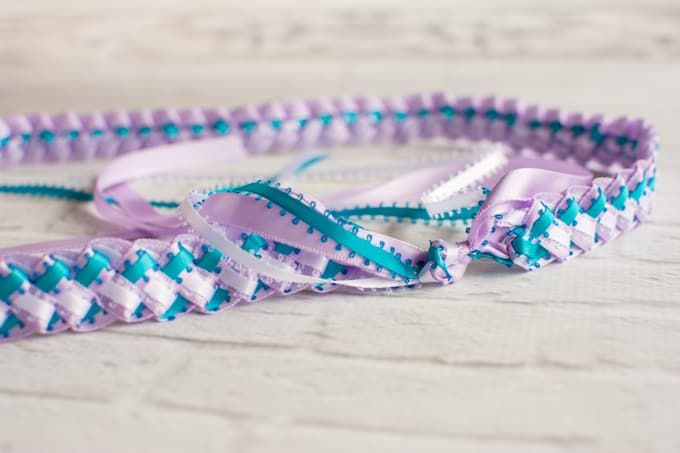
First, you'll need your ribbons. Imagine your favorite flavor combinations. Now, find those colors in ribbon form. Three colors work like a charm, think sunset vibes or a tropical smoothie.
You'll also need scissors that aren't duller than a week-old donut. A ruler helps, but eyeballing it totally works too. And don't forget some string or yarn to tie it all together.
The Chopping Spree
Cut your ribbons into strips. About 4-6 inches long is a good starting point. Don't stress about perfection, wonky ribbons add character! Just think of them as artistically challenged.
Now, make a neat little stack of your cut ribbons. Each stack should have one of each color. Pretend you're building miniature ribbon skyscrapers.
The Fold-and-Stitch Tango
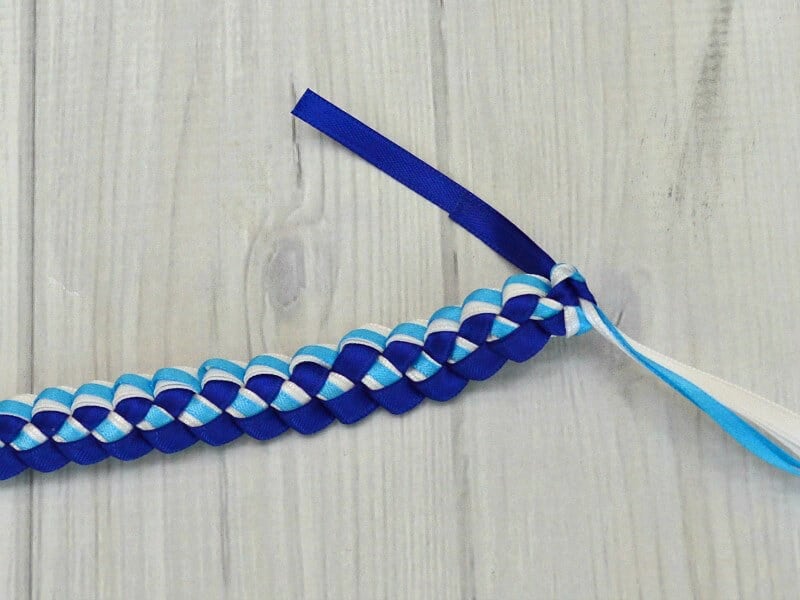
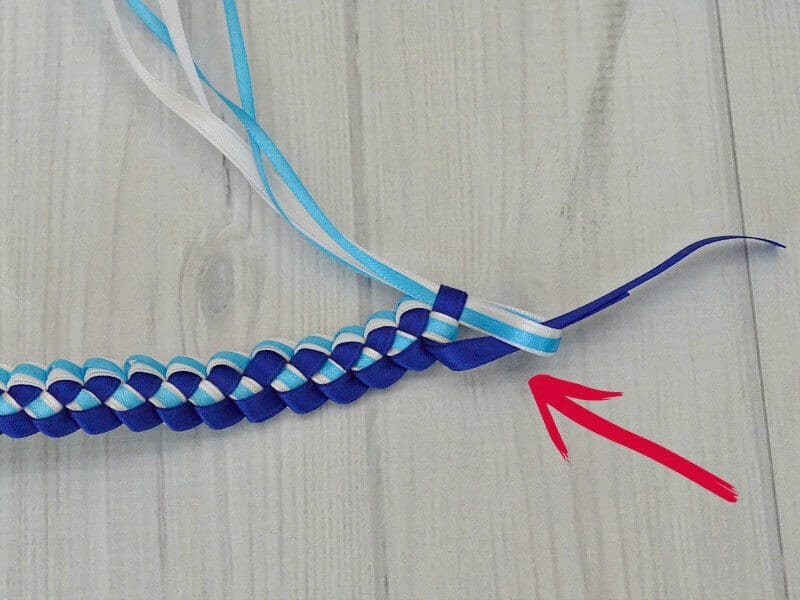
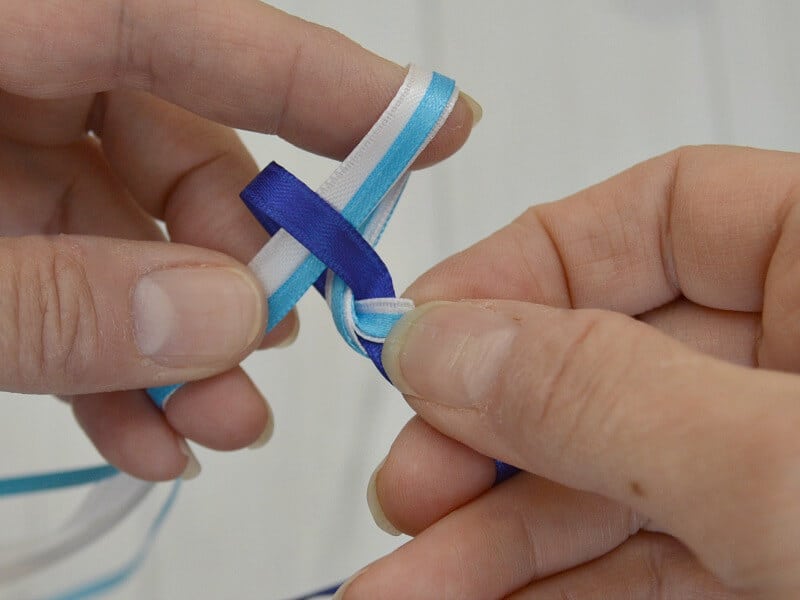
This is where the magic happens. Take a ribbon stack and fold it in half, length-wise. Like you're giving each ribbon a tiny hug. Do this with all the stacks.
Thread your needle with the string. Time to pierce those folds! Push the needle through the folded end of one stack. Try not to stab yourself. (Band-aids are optional, but encouraged.)
Keep adding stacks, one after the other, onto the string. It's like threading tiny, colorful origami cranes onto a line. See how it starts to bunch up? That's the lei taking shape!
Bunching, Puffing, and General Fluffiness
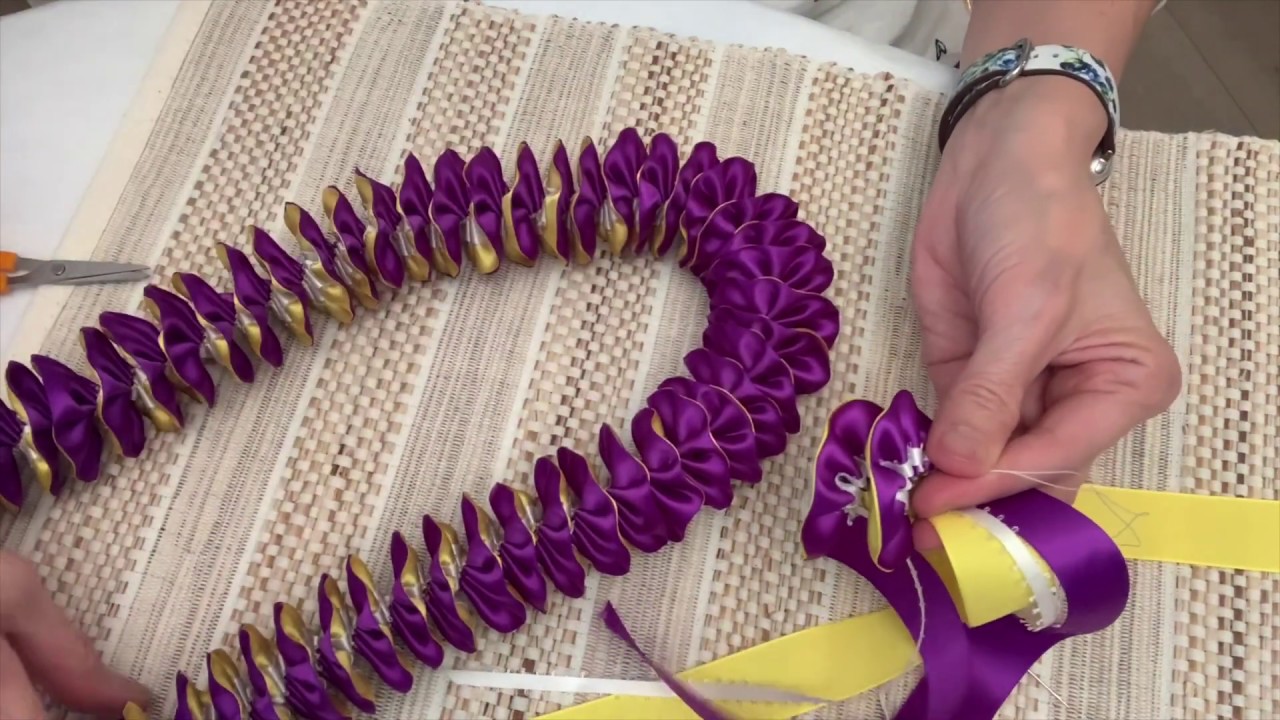
This is the secret ingredient: bunching! Once you've got a good length of ribbons on the string, gently push them together. Think of it as giving them a little pep talk to get closer.
The ribbons will poof out, creating that lovely, full lei effect. If they don't, don't panic. A little gentle persuasion usually does the trick. Maybe whisper some compliments to them.
Dealing with Disaster (Because, Let's Be Real)
Ribbon fraying? Embrace the fringe! Or carefully trim with those not-so-dull scissors. A little fraying never hurt anyone (except maybe that one particularly sensitive ribbon).
String breaking? Simply re-thread and keep going! Think of it as a minor detour on your path to lei-making glory. It happens to the best of us.
Tie It All Up (Literally)
Once your lei is long enough to comfortably drape around your neck (or your cat's neck, if they're feeling festive), it's time to tie it off.
Carefully remove the needle and tie the ends of the string together in a secure knot. Double knot it, just to be safe. You don't want your masterpiece unraveling mid-party!
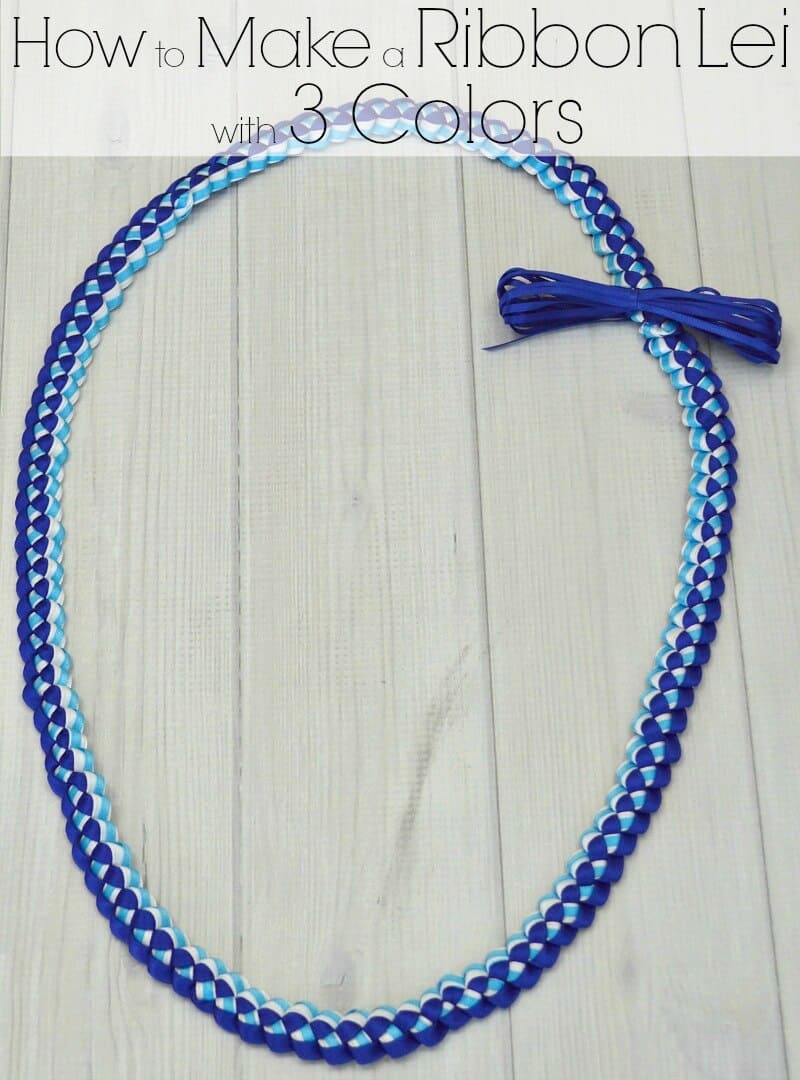
Behold! Your Ribbon Masterpiece
Ta-da! You've created a ribbon lei. Admire your handiwork. Feel the sense of accomplishment. Consider entering it in the county fair (maybe).
Wear it with pride, gift it with love, or simply hang it up as a reminder of your newfound crafting prowess. Congratulations!
Remember: there's no such thing as a "wrong" color combination. Go wild, experiment, and have fun! After all, crafting is supposed to be enjoyable, not a stressful perfection-seeking mission. Now go forth and spread the ribbon lei love!