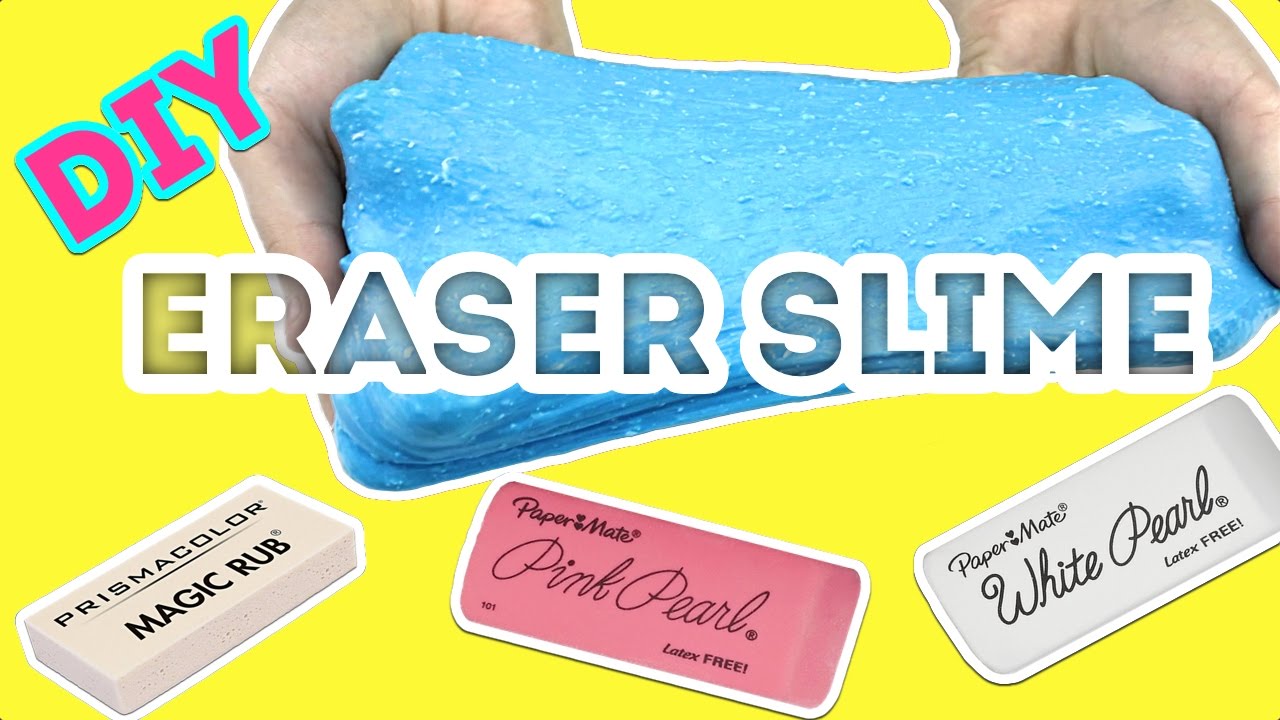
How To Make Slime Out Of An Eraser

Alright, buckle up buttercups, because we're about to embark on a journey. A journey... into the very heart of school supplies. Prepare to be amazed, possibly bewildered, and definitely a little bit sticky.
Gathering Our Arsenal
First things first, you'll need your weapon of choice: an eraser. But not just any eraser! We're talking about those big, pink, almost suspiciously squishy erasers you find everywhere. The bigger, the better, trust me on this.
Next, we need our trusty sidekicks: a craft knife (ask a grown-up to help with this, please!), a microwave-safe bowl, and some baby oil. Baby oil? You'll see!
The Great Eraser Chop
Now comes the slightly therapeutic, slightly terrifying part. Using your craft knife, carefully chop your eraser into teeny-tiny pieces. Think eraser confetti. It should be small enough to fit in the bowl easily.
This is where patience is key. Put on some music, binge-watch your favorite show, and chop, chop, chop. Before you know it, you'll have a mountain of pink eraser shavings.
Microwave Magic (with Supervision!)
Pop your bowl of eraser bits into the microwave. Set it for short bursts, like 10-15 seconds at a time. Keep a close eye on things! We're aiming for melted, not exploded.
After each burst, stir the mixture. It'll start to get gooey and, dare I say, slime-like. Keep microwaving and stirring until it's mostly melted. Don't overcook it, or you'll end up with a hard, rubbery mess.
The Baby Oil Secret
This is where the baby oil swoops in to save the day. Add a few drops to your melted eraser goo. Stir, stir, stir! The oil will help make it smooth and stretchy.
Knead the mixture with your hands (once it's cool enough, of course!). If it's too sticky, add a bit more baby oil. If it's too oily, well, you're on your own there. Just kidding! Add a tiny bit of eraser shavings.
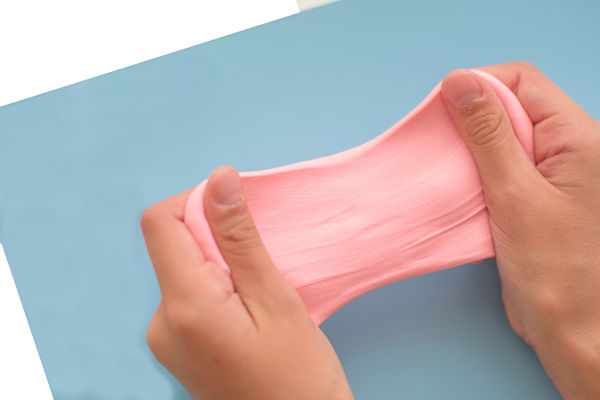
Behold! Eraser Slime!
Congratulations, you've done it! You've transformed a humble eraser into a squishy, stretchy ball of pure, unadulterated fun. Play with your new slime! Stretch it, squish it, roll it into a ball.
Just maybe don't try using it to erase anything. I have a feeling it won't work quite as well as it used to. This project is all about the fun not functionality.
Important Tips & Tricks
Always supervise children when using a craft knife or microwave. Safety first, slime second! Don't eat the slime! As tempting as that pink hue might be, it's definitely not edible.
Store your slime in an airtight container to keep it from drying out. If it does get a bit stiff, add a few more drops of baby oil and knead it back to life.
And there you have it! A fun, quirky way to recycle those old erasers. Who knew that the key to awesome slime was hiding in your pencil case all along? Happy sliming!
Remember to have fun and experiment! Maybe try different colored erasers for a rainbow effect. The possibilities are endless!