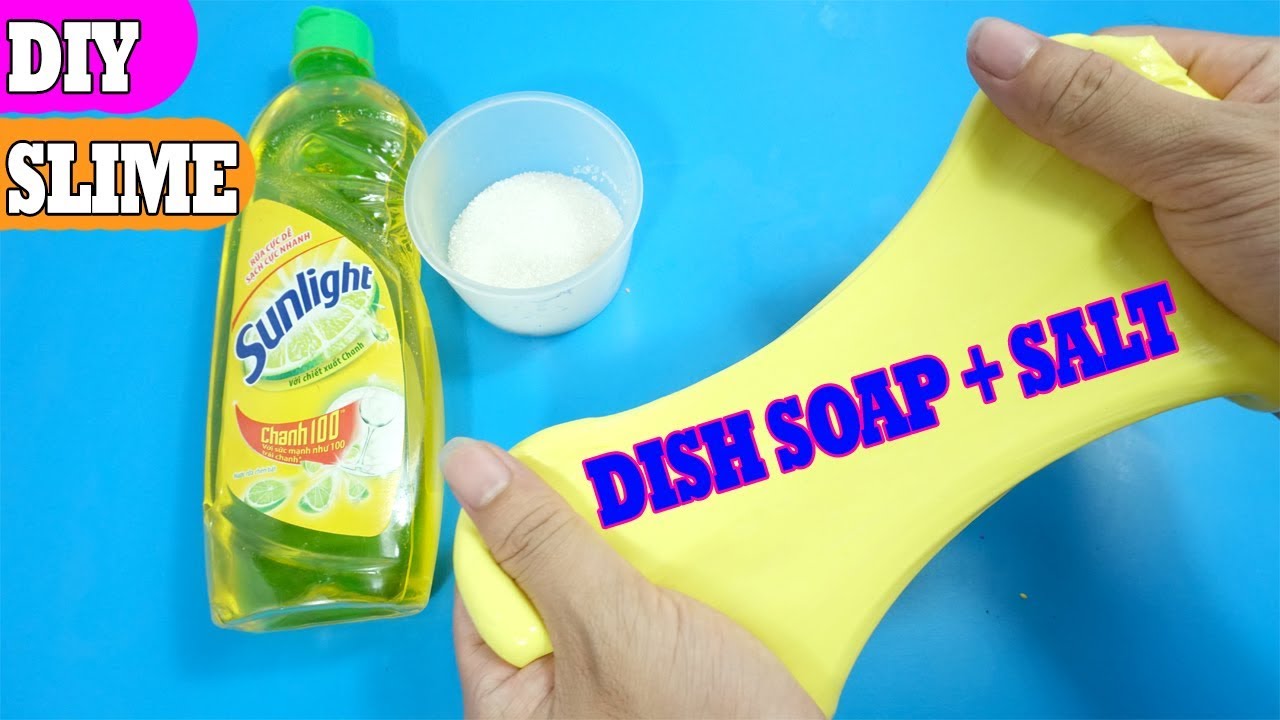
How To Make Slime With Dish Soap And Salt

Okay, friends, let's talk slime! We're not talking about the stuff that accumulates in the back of your fridge (ew!), but the kind that’s delightfully gooey, squishy, and oh-so-satisfying to play with. And guess what? You don't need a chemistry degree or a trip to a specialty store to whip up your own batch.
I'm about to spill the beans on the easiest slime recipe ever: dish soap and salt! That's right, you probably already have the ingredients sitting under your kitchen sink. Get ready for some serious fun!
Gather Your Supplies (The Bare Minimum!)
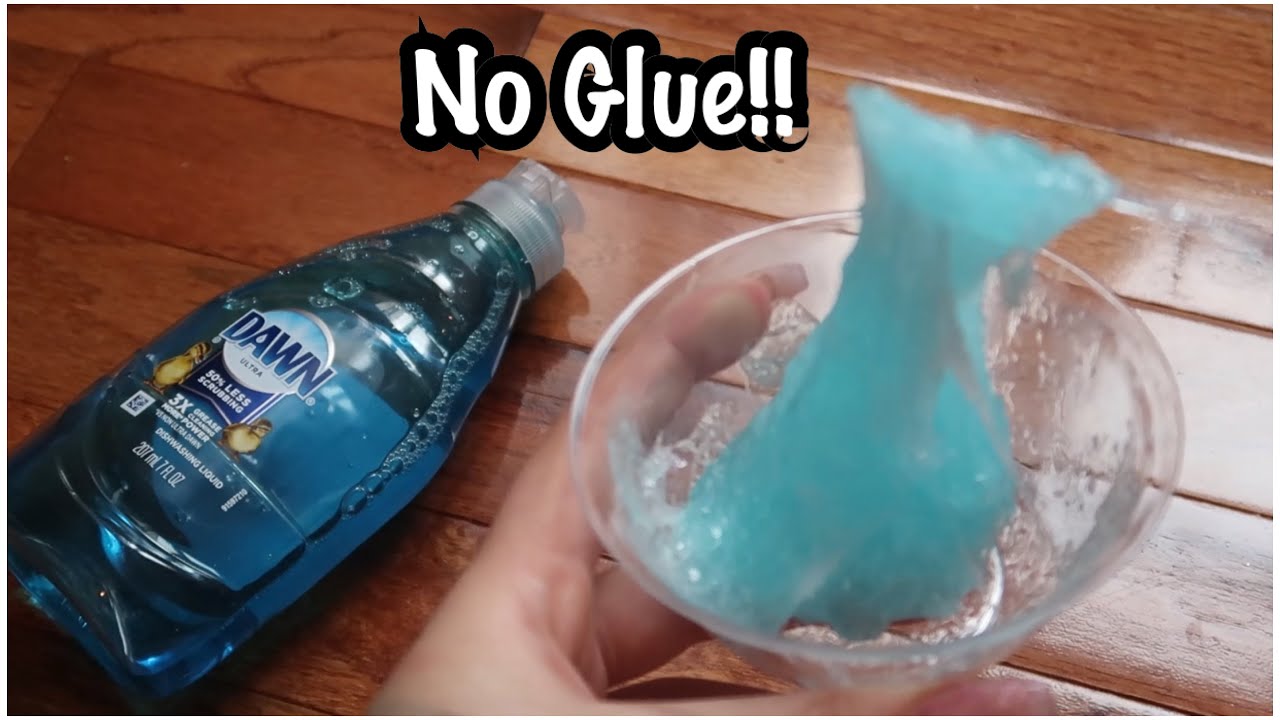
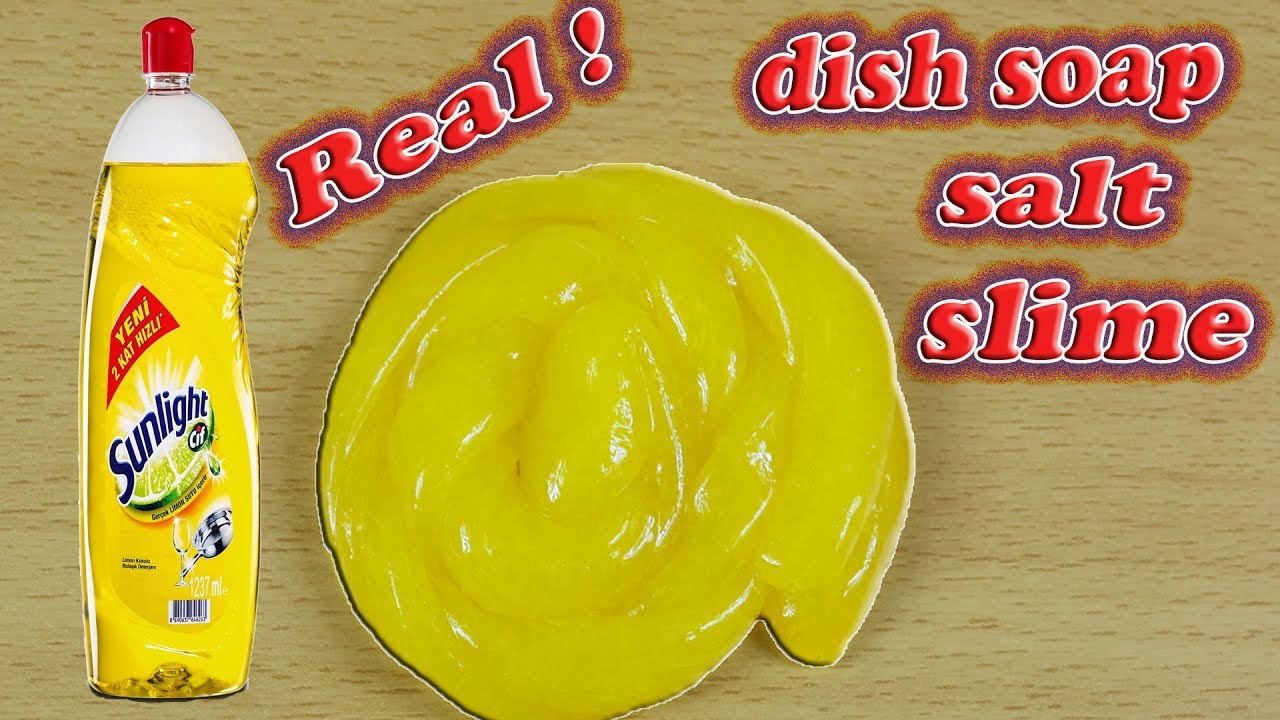
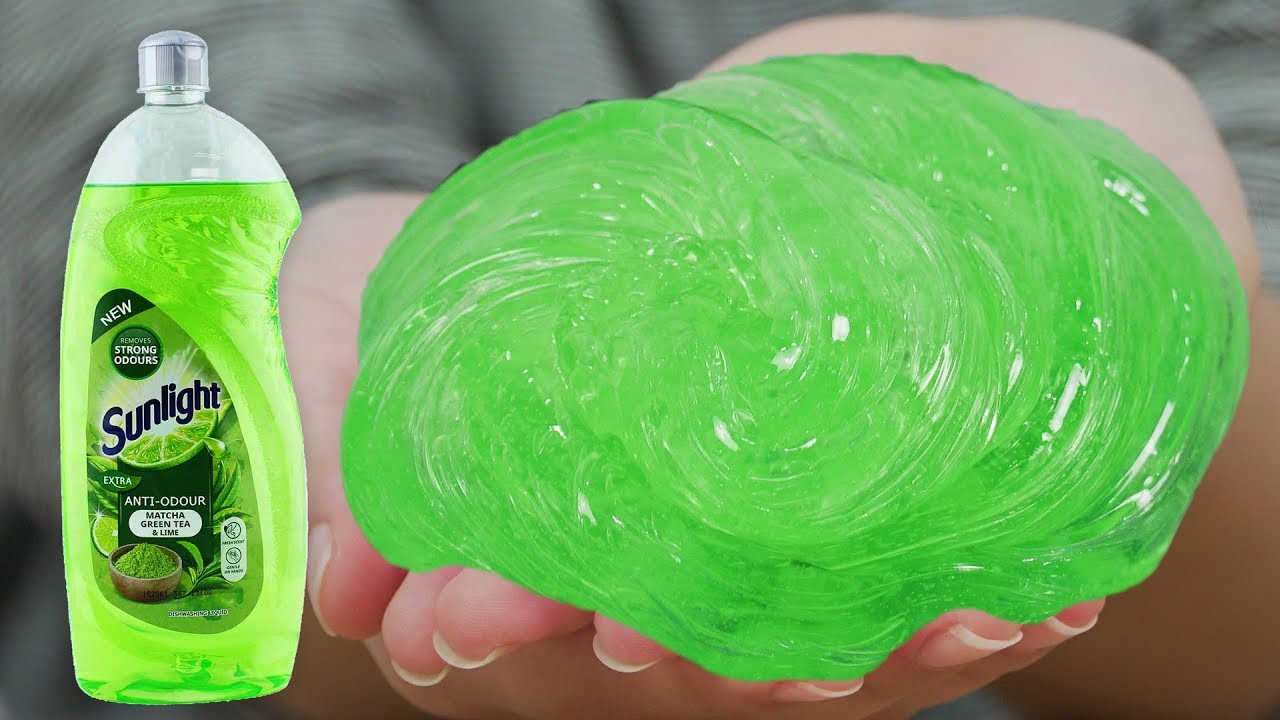
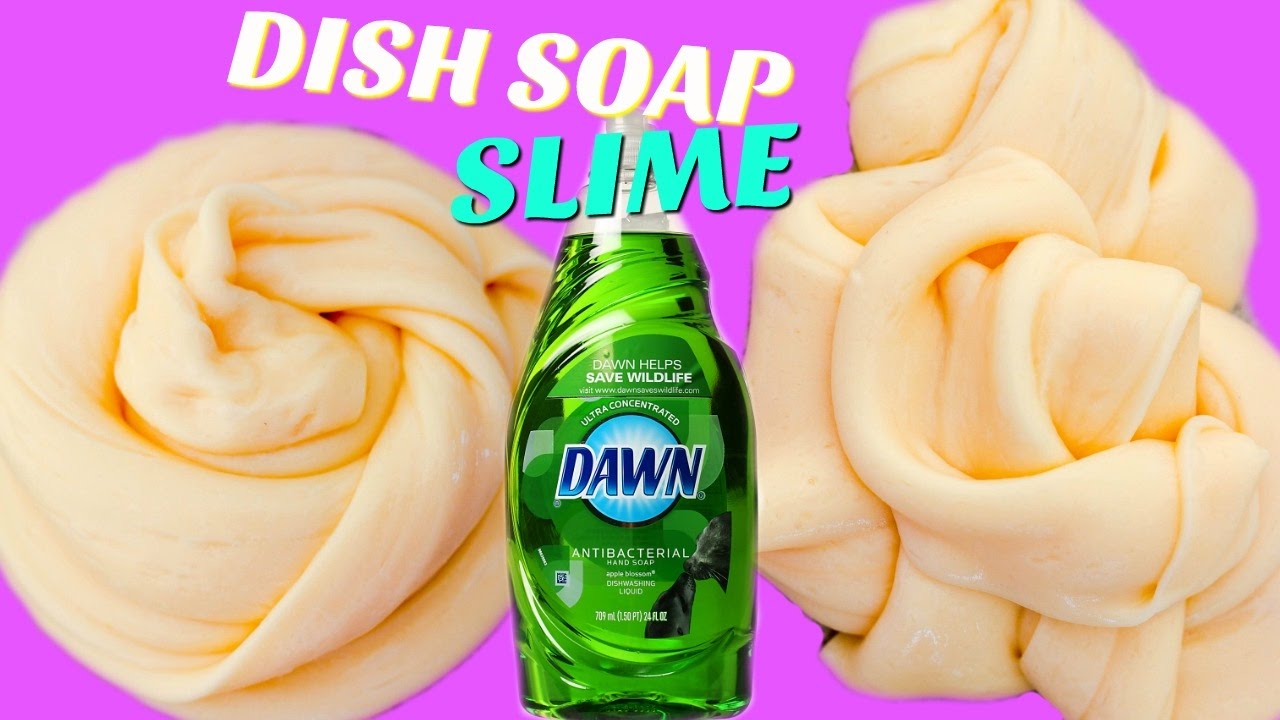
First, raid your pantry! You'll need some dish soap – any kind will do, but clear or lightly colored ones work best if you want to add food coloring later. Think blue raspberry or electric green!
Next, grab some ordinary table salt. Nothing fancy here, folks! And finally, you'll need a bowl and something to stir with – a spoon, a popsicle stick, whatever floats your slime-making boat.
Step 1: Dish Soap Delight
Pour some dish soap into your bowl. How much? Well, that depends on how much slime you want! Start with a couple of tablespoons and adjust from there. Remember, you can always add more, but you can't un-soap!
Step 2: A Pinch of Patience (and Salt!)
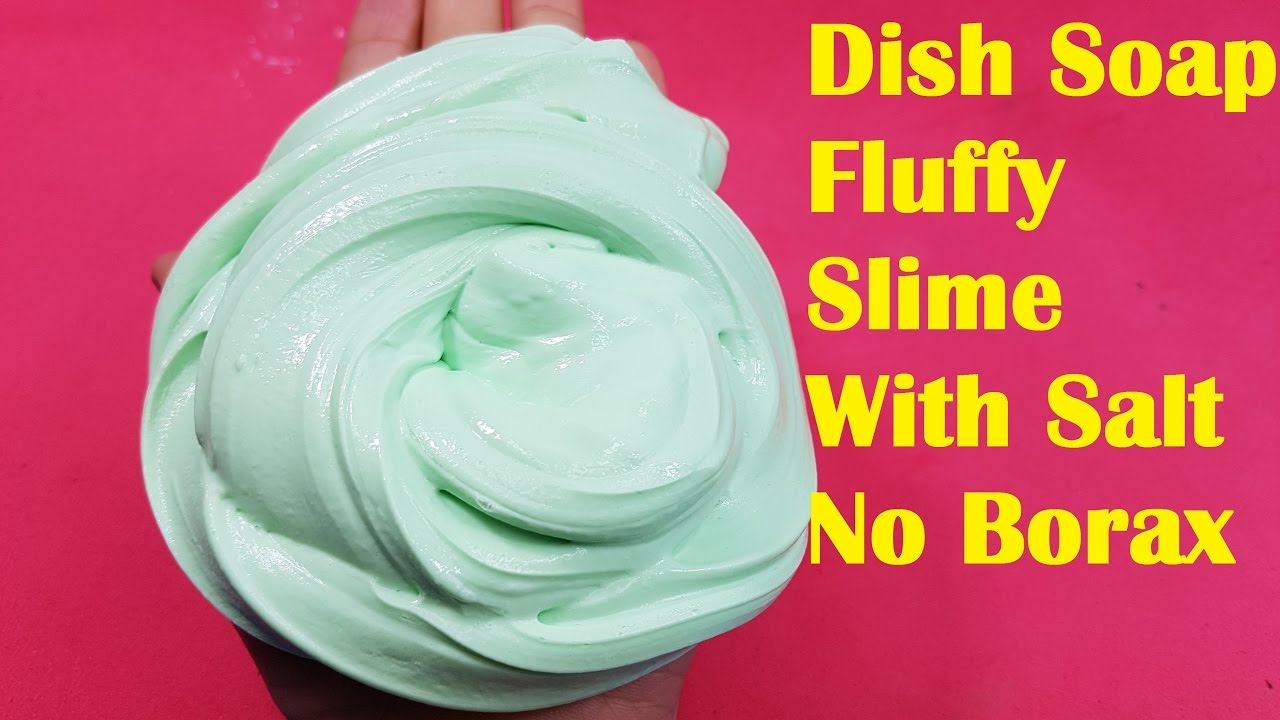
Now, for the magic ingredient: salt! Sprinkle a tiny pinch of salt into the dish soap. I'm talking a teeny, tiny pinch here. Think of it as seasoning your slime!
Stir it all up! Gently, please. We're not trying to whip up a meringue here. Keep stirring for like 15-20 seconds. That's enough!
Step 3: The Waiting Game (Oh, the Anticipation!)
This is the hardest part: patience! Pop your bowl into the freezer. Yes, the freezer! Let it chill for about 10-15 minutes. You might get antsy, but trust me, it's worth the wait.
While you're waiting, maybe dance a little jig, binge-watch a funny video, or contemplate the mysteries of the universe. Just don't open the freezer every two seconds to check on your slime!
Step 4: Squish Test (The Moment of Truth!)
Take your bowl out of the freezer. Now, poke it. Gently! Is it starting to thicken up? Awesome!
If it's still too runny, add another tiny pinch of salt and stir. Back into the freezer for another 5-10 minutes. Repeat this process until you reach your desired slime consistency. If your slime getting too hard, add a little more dish soap. You will find your perfect balance!
Level Up Your Slime Game
Want to get fancy? Add a drop or two of food coloring to your dish soap before you add the salt. Ooh la la, customized slime!
Glitter! Who doesn't love glitter? Stir in a sprinkle (or a mountain, I'm not judging) of glitter for some extra sparkle.
Experiment with different types of dish soap. Some work better than others. Don't be afraid to get creative! Remember that Palmolive dish soap might produce a different outcome comparing to Dawn soap!
Troubleshooting Tips (Because Life Happens!)
Too runny? More salt! But remember, a tiny pinch at a time.
Too hard? A little more dish soap will do the trick.
Still not working? Some dish soaps just don't play nicely with this recipe. Try a different brand. Don't give up!
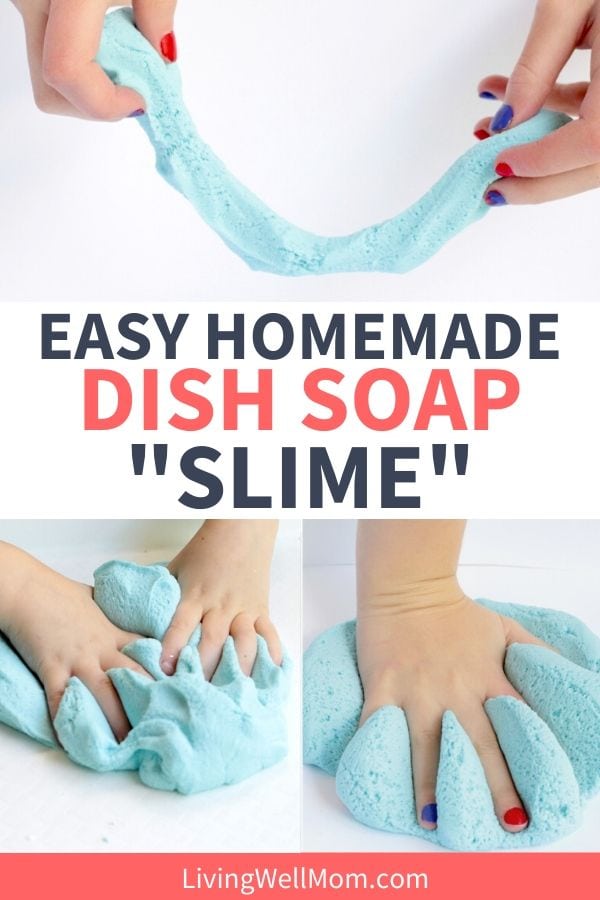
This slime might not be as long-lasting or stretchy as some of the more complex slime recipes out there. But hey, it's super easy, super cheap, and super fun! The key is to experiment. This DIY experiment is more about a recipe, it's about science!
So, go forth and slime, my friends! May your creations be gooey, glittery, and gloriously imperfect. If your kids like this experiment, make sure to supervise them!