How To Paint Clouds Easy Step By Step

Get Your Head in the Clouds (Without the Jet Lag!)
Ever looked up at the sky and thought, "Wow, I wish I could paint that?" Well, guess what? You totally can!
Let's ditch the complicated art jargon and get straight to creating some fluffy masterpieces. We're talking clouds so good, they'll make you want to take a nap on them.
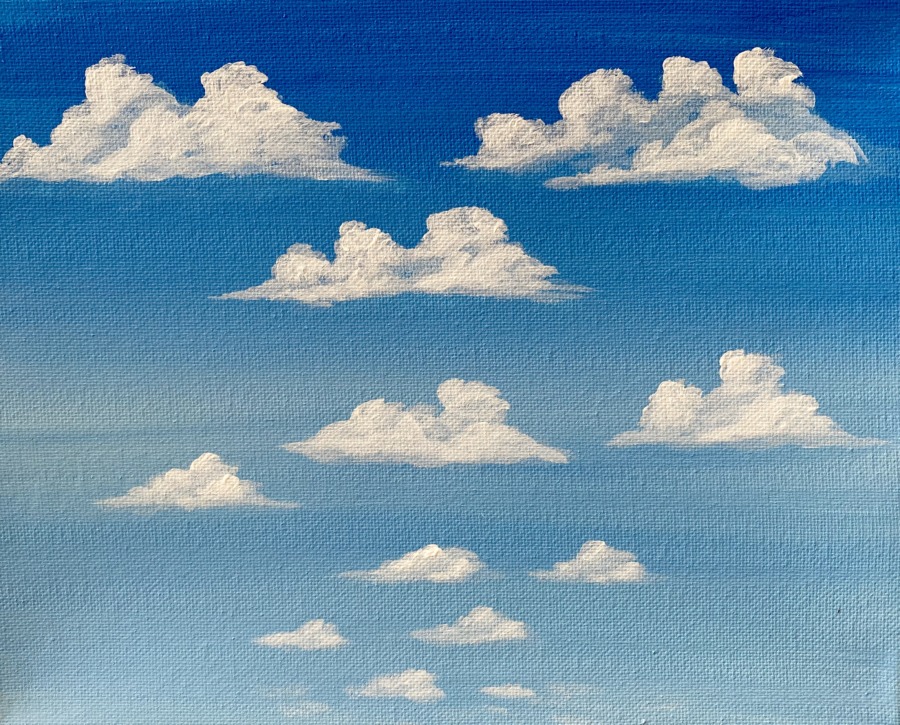
Step 1: Blue Skies Ahead!
First, grab your canvas (or even a piece of sturdy paper). Slap on a base coat of light blue. Don't worry about being perfect; clouds aren't perfect either! It's more important than the details.
Think of it like setting the stage for our celestial drama. It doesn't even have to be perfect, some variations is more beautiful.
Step 2: White Fluffy Goodness
Now, for the fun part! Grab some white paint. And gently start dabbing, swirling, pushing it onto the canvas.
Imagine you're spreading marshmallow fluff. Resist the urge to eat your brush!
Step 3: Shape Up! (Kind Of)
Clouds don't have hard edges, so avoid sharp lines. Instead, focus on soft, blurry shapes. Try different shape to make it more interesting. Like a cat, or a house.
Think about cotton balls being gently pulled apart.Don't overthink it! Some of the best clouds are happy accidents.
Step 4: The Gray Area (Literally)
Add a *tiny* bit of gray or light blue to your white. This will give your clouds some dimension. Don't overdo it; we want fluffy, not stormy!
Put some shadow. Remember, this is not about making it perfect, but to give it some character.
Step 5: Blend, Baby, Blend!
Use a soft, dry brush to gently blend the edges of your clouds. This will create a smooth, dreamy effect. The goal is to make the clouds look soft and fluffy.
Go with the flow and don't worry about messing up!
Step 6: Layer Up!
Want even more realistic clouds? Add more layers of white and light gray. The more layers you add, the more depth your clouds will have. This is where you experiment.
It's like adding toppings to an ice cream sundae; the more, the merrier! And this is the fun part.
Step 7: The Finishing Touch (Or Not!)
Step back and admire your handiwork! Add any final touches. If you want, you can add birds!
Remember, there are no rules in art, only happy little accidents, as Bob Ross said.
Don’t be afraid to experiment with different colors and techniques. Maybe add a touch of pink or purple for a sunset effect.
Important Considerations
Paint: Acrylic paint is great for beginners because it's easy to use and dries quickly. But feel free to experiment with other types of paint.
Brushes: Soft, fluffy brushes are ideal for blending clouds. Experiment with different sizes and shapes to see what works best for you.
Patience: Rome wasn’t built in a day, and neither are perfect cloudscapes. Be patient with yourself and enjoy the process.
So go forth and paint some clouds! Who knows, maybe you'll discover your inner Claude Monet.
Happy painting! And remember, if your clouds don't turn out perfect, just tell everyone they're abstract. No one will ever know.
The joy is in the journey, not the destination!