How To Remove A Background In Photopea

So, You Wanna Ditch That Background? (Photopea Edition)
Okay, let's be honest. We've all been there. You've got this amazing picture. But that background? Yikes.
Don't worry, friend. We're diving headfirst into the world of background removal with Photopea.
The Magic Wand Tool: Point and Click (Maybe)
First up, the Magic Wand Tool. Sounds impressive, right?
You just click on the background, and *poof*! Supposedly gone. Sometimes. If you're lucky.
Here's my unpopular opinion: The Magic Wand is kinda… temperamental. It either grabs way too much or not enough. We've all been there.
Lasso-ing Your Way to Freedom
Next! The Lasso Tool. Think of it as digital roping.
You carefully, meticulously, trace around the object you want to keep. It's like a digital coloring book, but with more stress.
If you have the steadiest hand in the world, congratulations! For the rest of us mere mortals, this can get a little… wobbly.
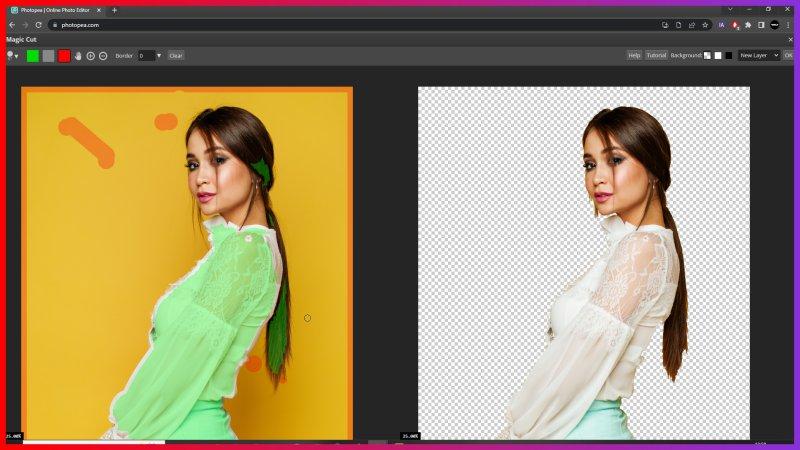
The Quick Selection Tool: A Speed Demon
Ah, the Quick Selection Tool. Promising speed and precision.
You paint over the object, and it (mostly) figures out what you want to keep. It’s pretty smart! Most of the time.
It can sometimes get a little overzealous, selecting bits you definitely didn't want selected. Tiny details? Forget about it.
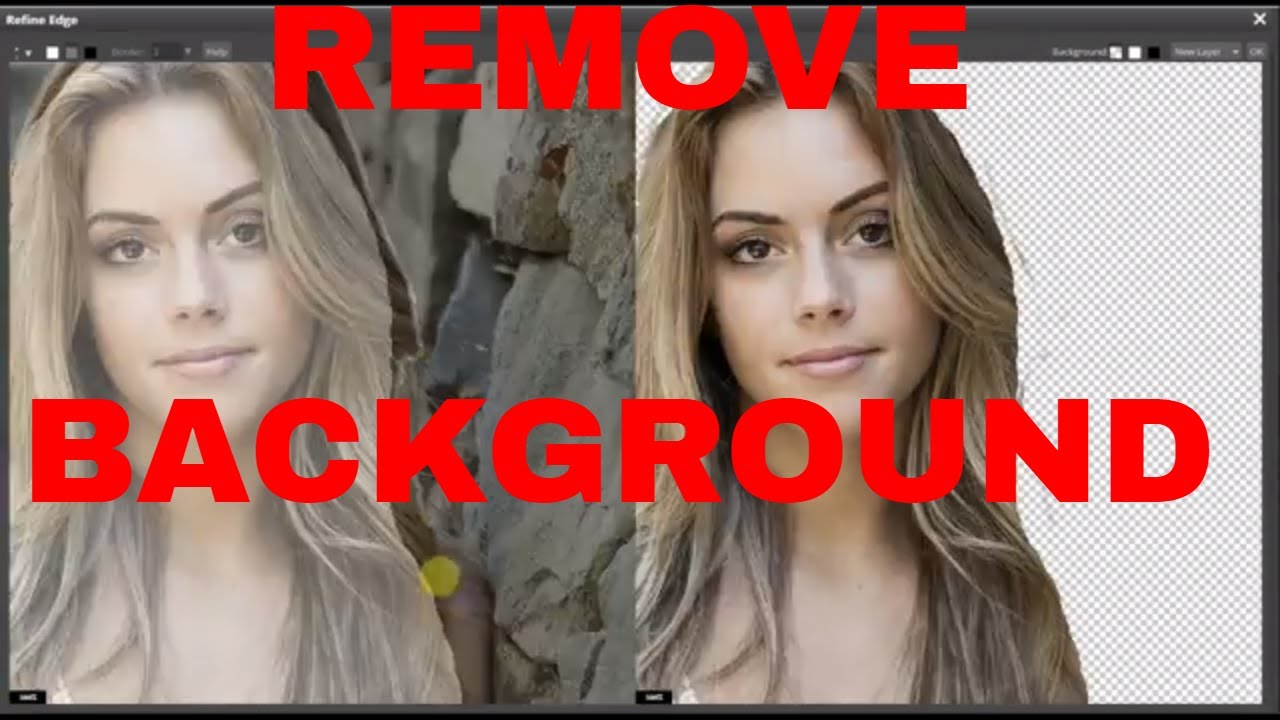
Refine Edge: The Secret Weapon
Okay, pay attention. This is where things get fancy. It's located under the Select and Mask option.
After using one of the selection tools, this option allows you to clean up the edges.
This is where you can make your subject look like it actually belongs in its new background. No more fuzzy halos!
The Pen Tool: For the Patient Perfectionist
Alright, the Pen Tool. This is for the truly dedicated.
It involves placing anchor points and creating paths around your subject. Think of it as a connect-the-dots for adults. A very tedious connect-the-dots.
But the results? Oh, the results! Super clean, super precise. If you have the patience of a saint, that is.
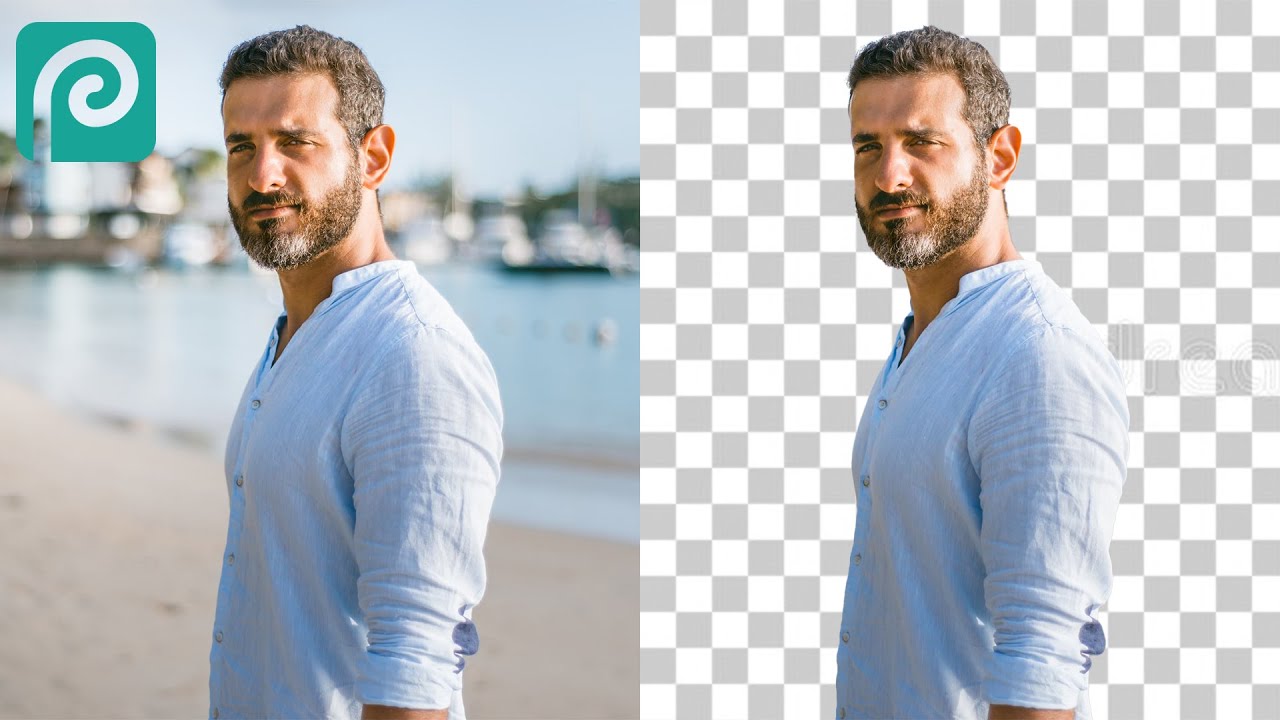
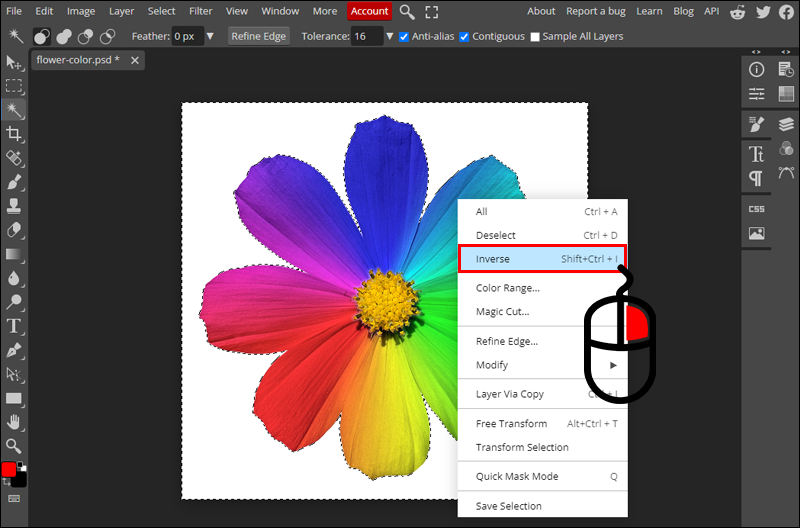
Deleting the Background: The Grand Finale
Once you've got your selection, it's time for the moment of truth. Hit that delete key!
Behold! Your object, free from its former background. You did it!
Of course, you might need to do a little cleanup. But hey, that's what the eraser tool is for.
A Little Bit of Practice Makes… Slightly Less Imperfect
Let's be real. Background removal isn't always easy.
It takes practice. Lots and lots of practice. Don't be discouraged if your first few attempts look a little... rough.
Experiment with different tools. Find what works best for you. And don’t be afraid to embrace the imperfections. After all, nobody's perfect. Except maybe those Pen Tool wizards.
And Finally… The Truth
Here's another unpopular opinion: Sometimes, the background is just fine. Seriously.
Maybe, just maybe, you don't need to spend hours wrestling with Photopea.
Perhaps embrace the chaos, the realness, the slightly-less-than-perfect backdrop. Food for thought, isn't it?