How To Remove Supports From 3d Prints
The Great Support Liberation!
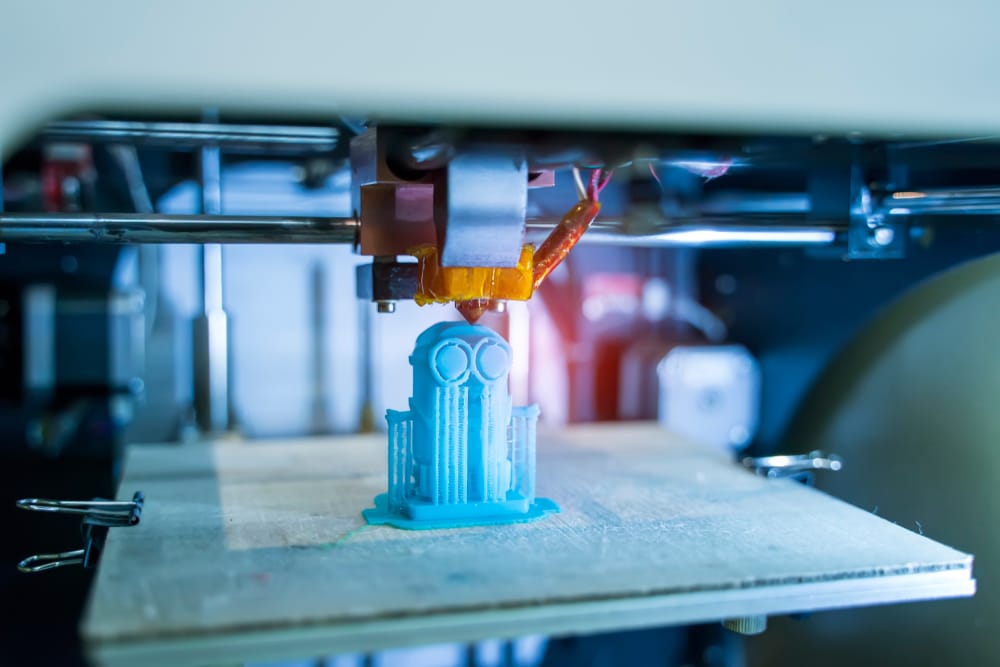
Alright, you magnificent maker, your 3D printer has churned out a masterpiece! But wait... what's this sticky-outy business clinging to your prized possession? Ah yes, the dreaded supports!
Fear not, intrepid creator! Removing supports is like a mini-archaeological dig, except instead of unearthing fossils, you're liberating your gorgeous print from its temporary scaffolding.
The Tools of Freedom
First, gather your weapons! We're talking about tools that will make your life easier. It's time to raid your toolbox or kitchen drawer!
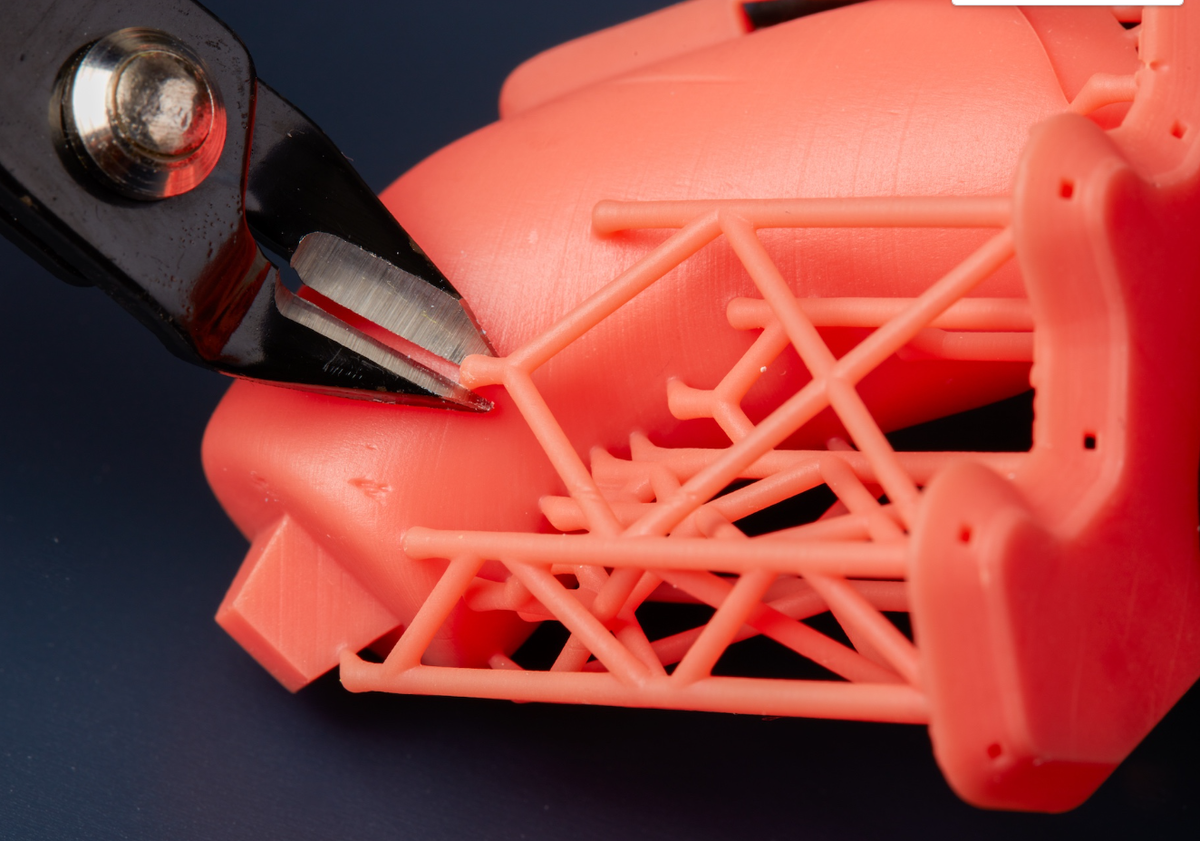
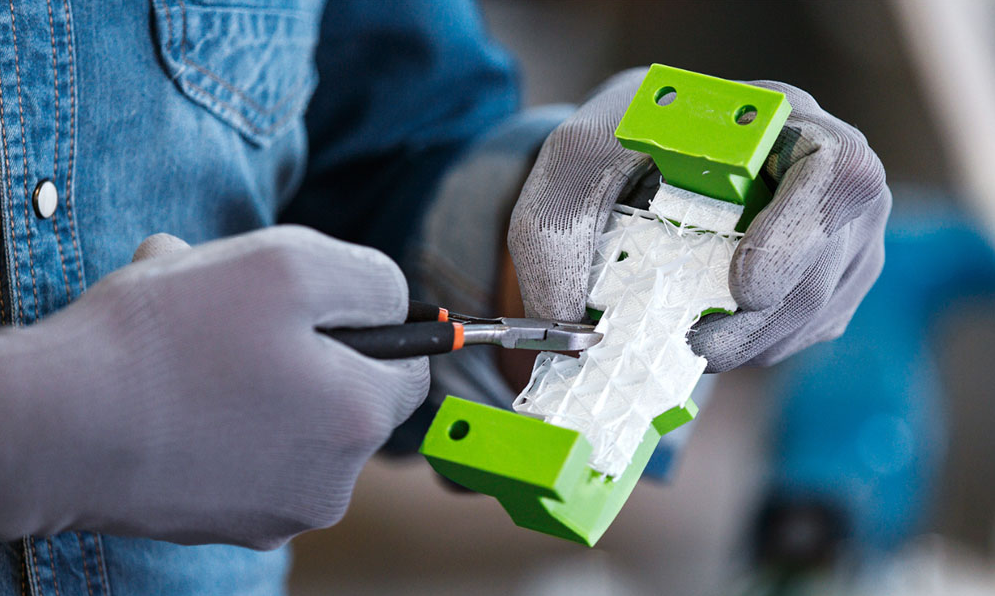
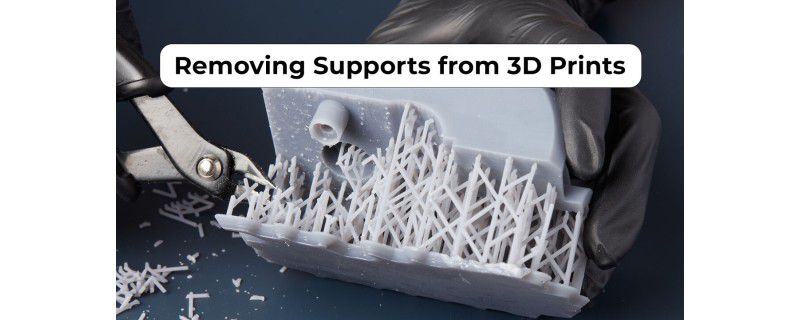
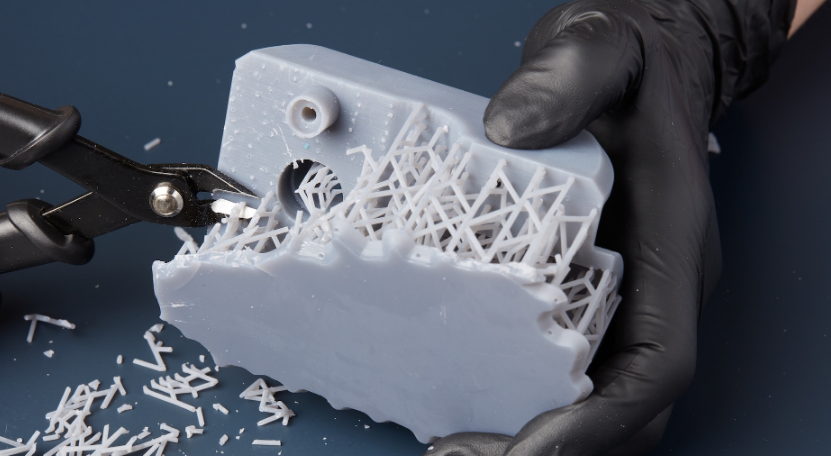
You'll need: Flush cutters (these are your primary support-snipping sidekicks), needle-nose pliers (for grabbing and twisting), and maybe a hobby knife (for those extra-stubborn bits). Think of it as a surgical team for plastic!
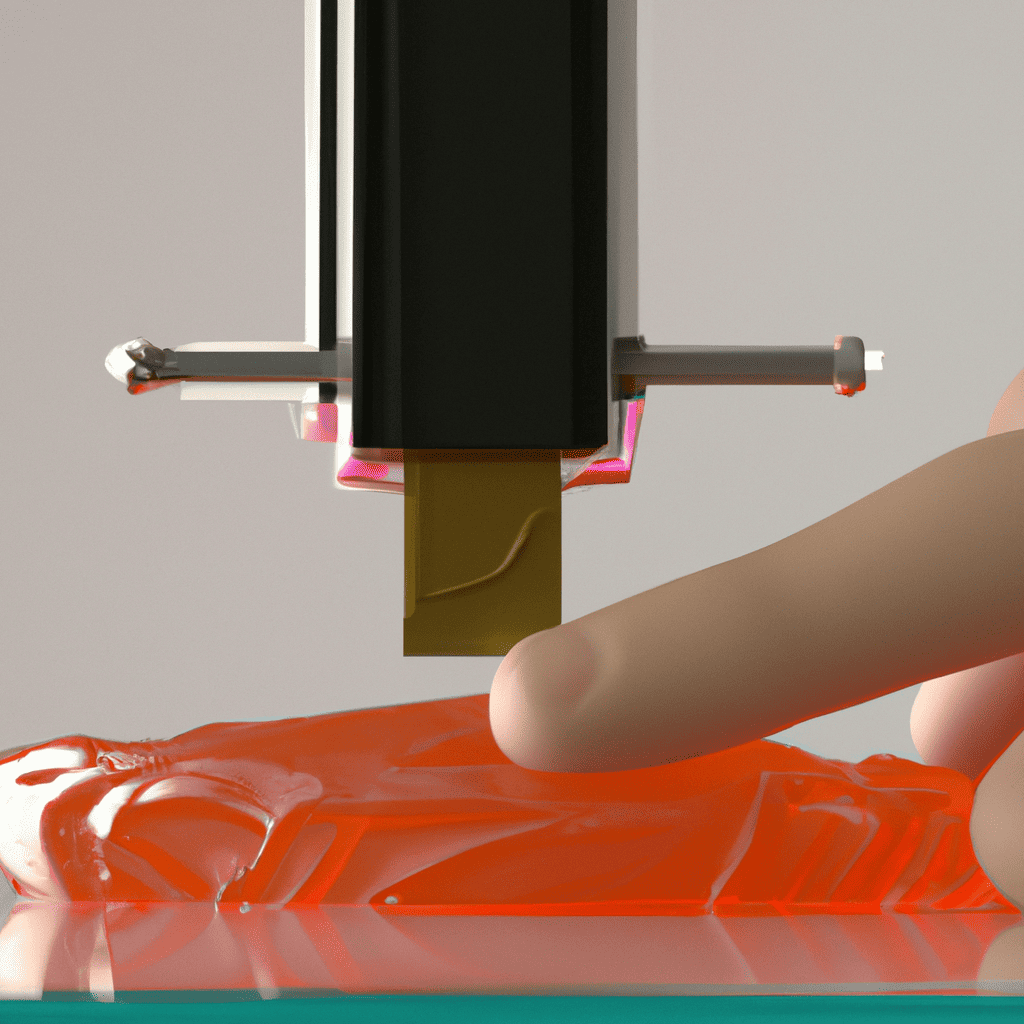
Bonus points if you have a heat gun or hairdryer! It softens the plastic which makes pulling off the support structures easier.
Operation: Support Extraction
Okay, deep breaths! Now, approach your print with the focus of a Zen master and the excitement of a kid on Christmas morning. Start with the easy stuff.
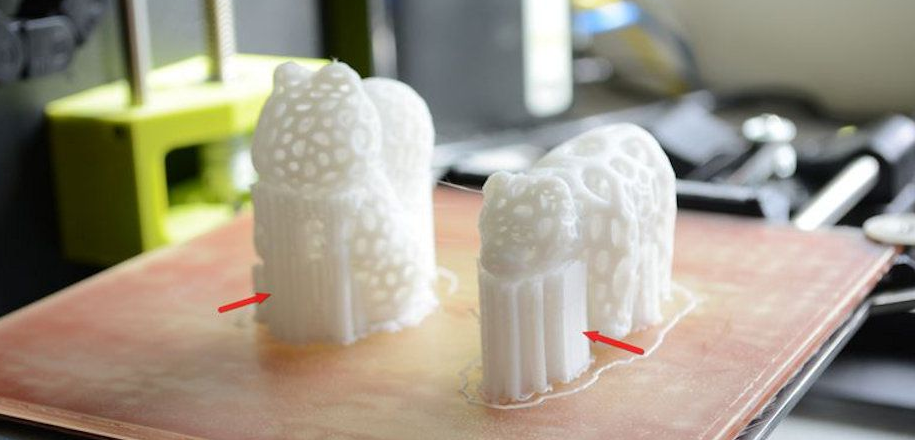
Use your flush cutters to snip away the bulk of the supports. Get as close to the model as you dare, but don't go all Edward Scissorhands on your beautiful creation!
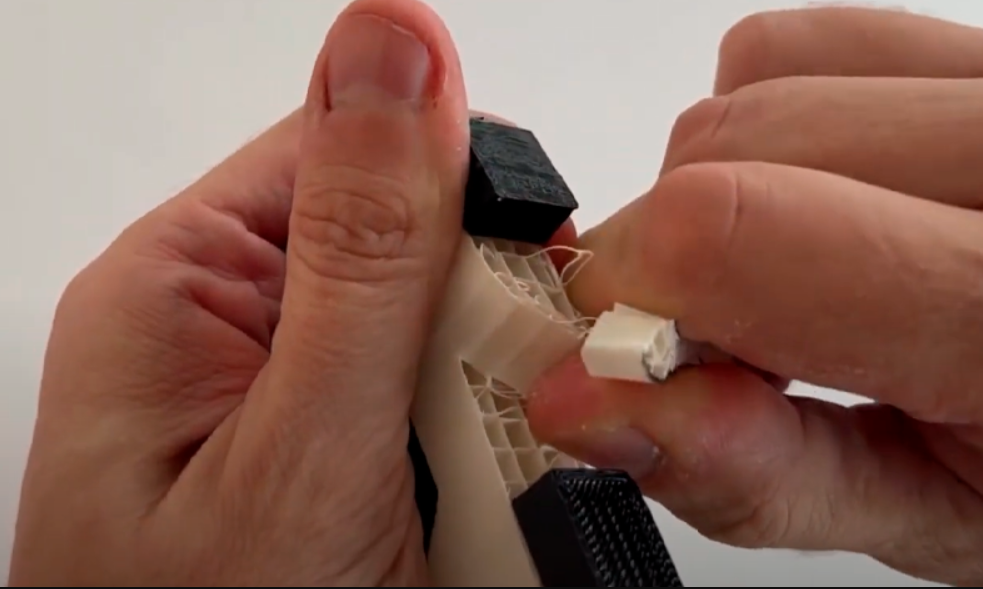
For the stubborn bits that refuse to budge, the needle-nose pliers are your best friend. Grab, twist, and gently persuade those supports to detach.
Sometimes, a little heat can work wonders. Just a quick blast from a heat gun or hairdryer can soften the supports, making them easier to remove. Don't overdo it, or you'll end up with a melty mess. You’ve been warned!
The Art of the Cleanup
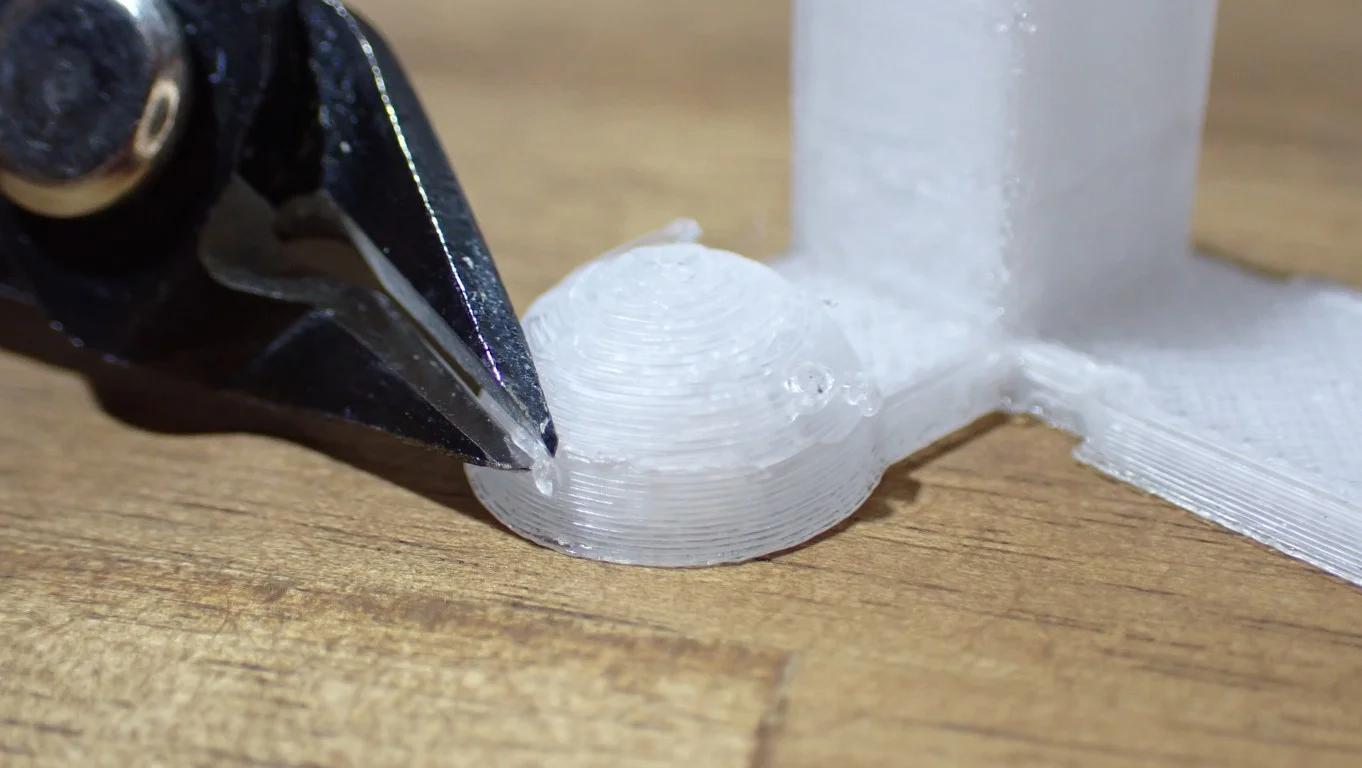
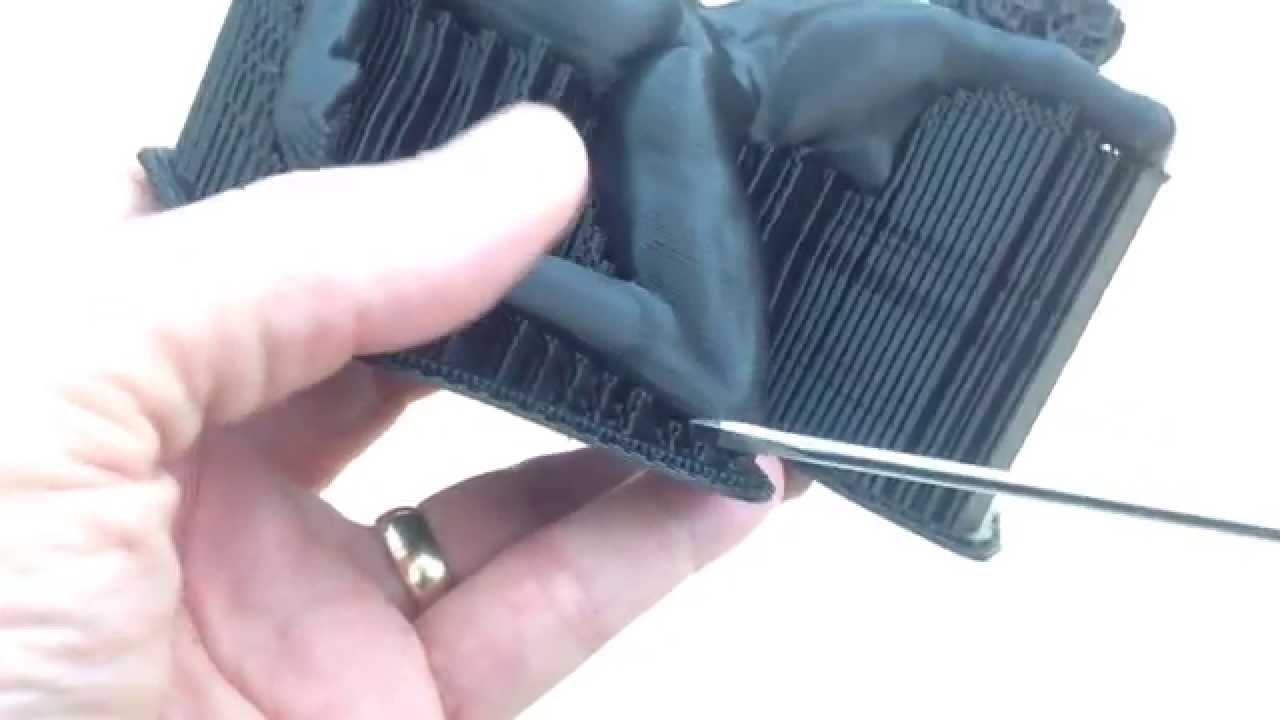
Even after the bulk of the supports are gone, you might have some little nubs and rough spots left behind. This is where your hobby knife comes in. With a steady hand, carefully trim away those imperfections.
Think of it as giving your print a spa day. Exfoliating away all the imperfections to reveal the true, radiant beauty underneath.
The Brute Force Method (Proceed With Caution!)
Let's be real, sometimes gentleness just doesn't cut it! Sometimes a good ol' yank is all you need! BUT (and this is a HUGE but), be careful!
If you’re feeling brave (or impatient), you can try to snap off larger sections of supports. Start with the less critical areas and pull gently at first.
If you hear a concerning "crack," abort mission! Switch back to the precision tools before you accidentally break your masterpiece. I take no responsibility for broken prints from "overenthusiastic" removal.
The Ultrasonic Bath!
Now, this is more on the fancier end, but if you've got an ultrasonic cleaner, this method is truly the greatest way to free your print. A sonic bath! Imagine!
Add some gentle solution to the cleaner, submerge your print, and let the machine do its magic! This is especially helpful for intricate prints with hard-to-reach supports.
After the bath, give your print a good rinse and admire the cleanliness!
The Victory Lap
Congratulations, you've successfully liberated your 3D print from its supportive prison! Now, stand back and admire your handiwork!
Go forth and create amazing things! And remember, even if you accidentally snap off a tiny piece (we've all been there!), it's just a learning experience. A beautiful, potentially glue-able learning experience!
Happy printing!