How To Remove Video Background In Filmora

Ever wanted to film yourself doing karate in front of the Eiffel Tower? Or maybe singing opera on the moon? Well, Filmora’s background removal tool is your ticket to wacky adventures! It’s surprisingly easy, and you don’t need a film degree to pull it off.
First Things First: Load Up the Footage!
Drag and drop your video into Filmora. It’s like inviting a friend over for a movie night, except this friend is about to get a serious makeover. Make sure you also have the background you want to use ready to go!
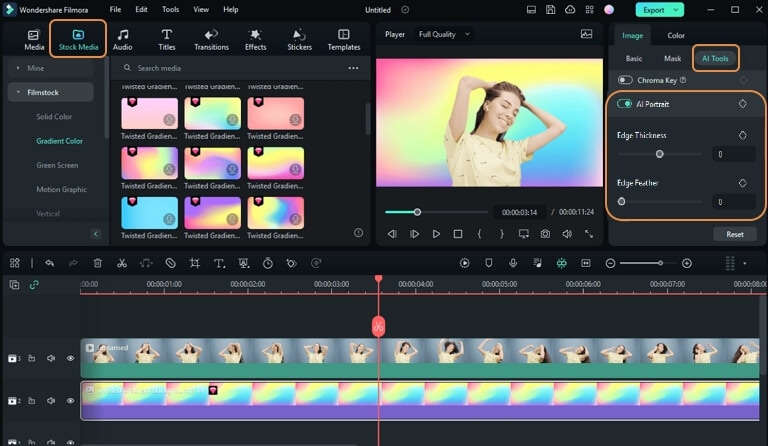
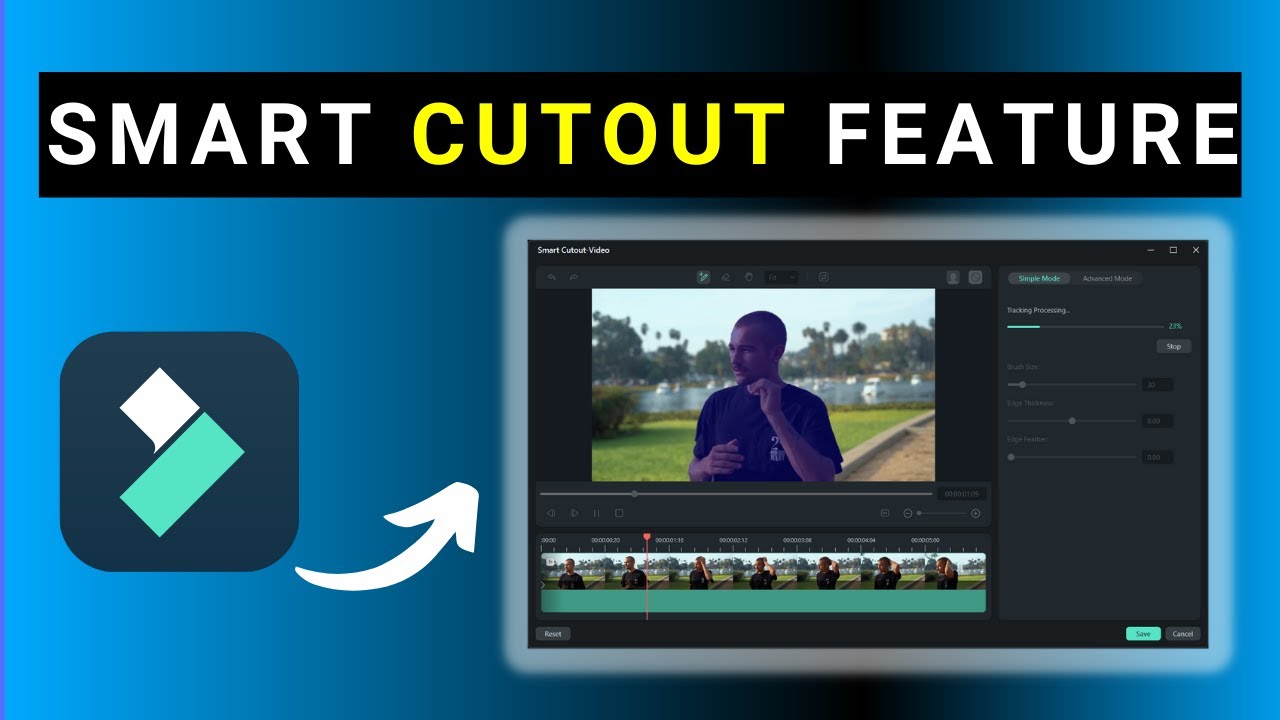
The Chroma Key Caper
This is where the magic happens. Find the “Chroma Key” option - it's like a secret passage to a world of endless possibilities. You'll usually find it in the effects panel, hidden among other exciting things.
Click on Chroma Key, and suddenly, you'll see settings like "offset", "tolerance", and "edge thickness". Don't panic! These are just fancy words for making the edges look nice and clean.
Picking the Right Color
Now, click on the color picker and select the color of your background. Usually, this is a bright green or blue. It's like choosing your favorite crayon, but instead of coloring, you're making things disappear!
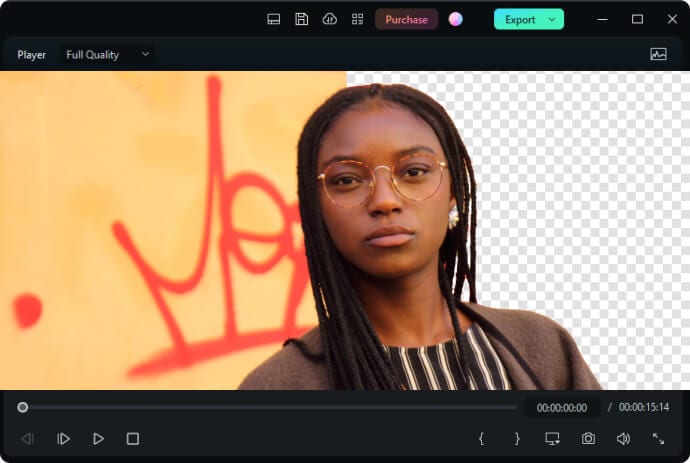
Filmora will then make this color disappear, so now you have a hole in your video - that's where your new background goes! Sometimes it doesn't work perfectly the first time, that's ok.
Tweaking the Tolerances
Remember those fancy settings? Adjust them until your subject looks sharp and the background is completely gone. Think of it as fine-tuning a radio to get the perfect signal. Keep tweaking! Tolerance is important here, so play with it.
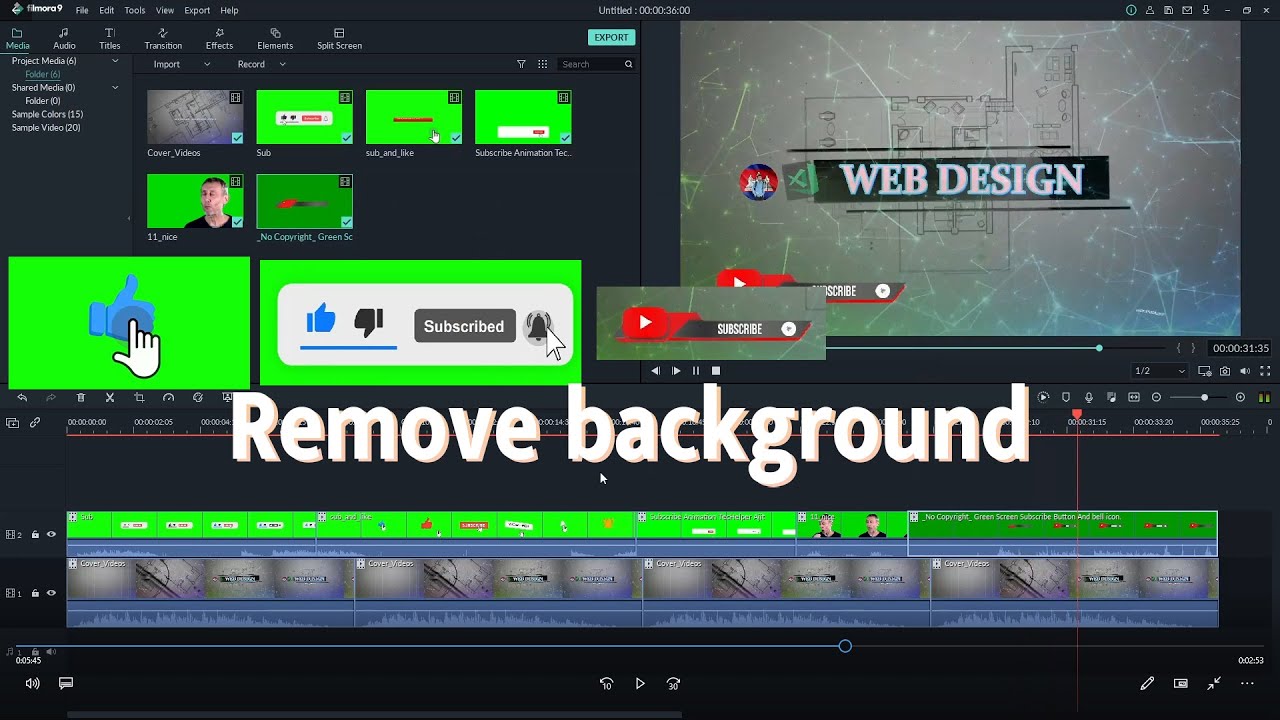
Layering is Key
Place your chosen background image or video on a track below your subject's video. Think of it like building a delicious layered cake. The subject is the yummy frosting on top!
Voila! You're now standing in front of the Eiffel Tower, or on the moon, or wherever your imagination takes you! Who needs a plane ticket when you have Filmora?
Addressing the Occasional Hiccup
Sometimes, the edges around your subject might look a little… rough. It's like they've had a bad hair day. Fear not!
Use the “edge thickness” or “feathering” settings to smooth those edges. It's like giving your subject a virtual haircut.
Beyond the Basics: Fun with Filters
Now that you’ve mastered the art of background removal, why not go wild with filters? Add a vintage feel, a sci-fi glow, or even turn everything black and white!
Imagine the possibilities! You could be a 1920s detective solving mysteries in a neon-lit cyberpunk city.
Sound Effects, Please!
Don’t forget the sound effects! A dramatic whoosh when you teleport to a new location, or some cheerful music when you arrive in paradise. Sound is half the experience, after all!
Find some royalty-free sound effects and get creative!
Sharing Your Masterpiece
Once you're happy with your video, it's time to share it with the world! Export it in your favorite format and upload it to YouTube, TikTok, or any other platform.
Prepare for the likes, comments, and maybe even a few marriage proposals (if your video is *really* good). Who knows, you might just become the next internet sensation!
A Word of Caution (and a Laugh)
Be prepared for hilarious mishaps. Sometimes, the lighting might be off, or your subject might blend a little too much with the background.
Embrace the chaos! After all, even the best filmmakers have bloopers. The important thing is to have fun and learn along the way.
So, go forth and create! With Filmora and a little imagination, the world is your (virtual) stage!