How To Unswirl A Photo On Picsart
Okay, so you got a little carried away. Maybe you were feeling extra artistic, channeling your inner Van Gogh, or perhaps your finger just slipped. Either way, you've ended up with a photo that looks like it's been through a blender, courtesy of the almighty Picsart swirl tool.
Don't Panic!
We've all been there. It's like accidentally adding way too much salt to your pasta – a total "oops" moment that can leave you feeling a little defeated. But fear not, my friend!
Un-swirling that masterpiece (or, uh, not-so-masterpiece) is totally achievable. Let's dive into the magical world of photo editing recovery!
Step 1: The Undo Button Is Your Best Friend
Seriously, Picsart's undo button is a lifesaver. It’s that curvy arrow icon usually hanging out at the top of your screen. Give it a tap, and watch the swirling chaos slowly unwind, one swirl at a time!
Just keep tapping until your photo starts looking more like its old self. Imagine it as rewinding a dizzying rollercoaster ride – much more pleasant, right?
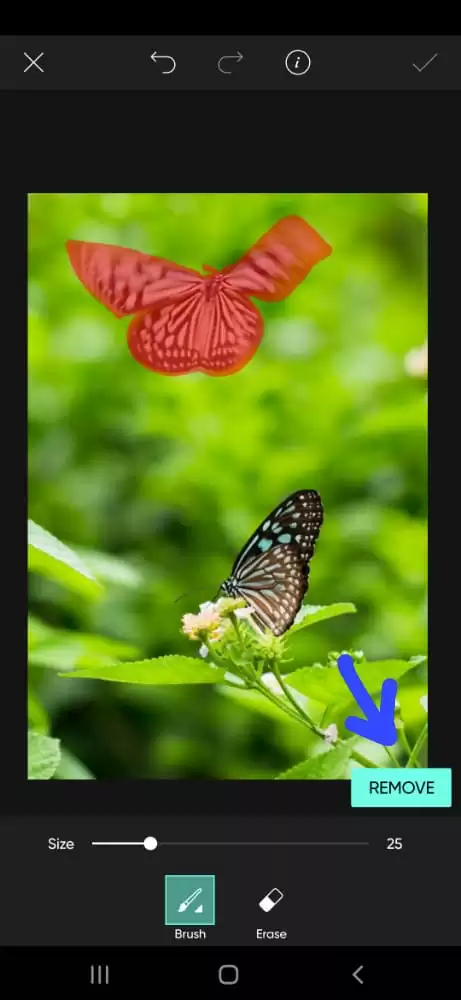
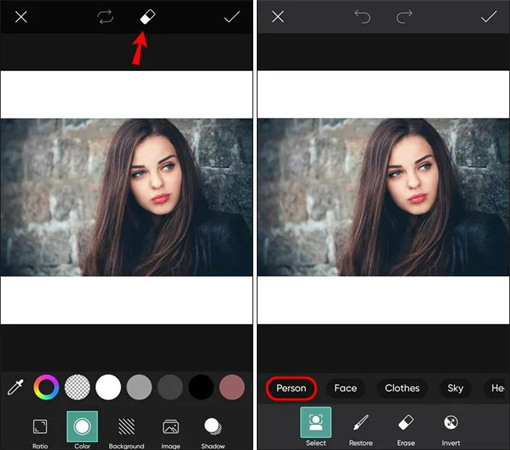
Step 2: The Eraser - Precision is Key
Okay, so maybe you’ve gone too far for the undo button to handle. Or maybe you just want to un-swirl a specific area, not the whole shebang. Enter: the eraser tool!
Find that little rubber icon lurking in the toolbar. Adjust the size to your liking – a smaller size for delicate work, bigger for tackling vast swathes of swirl-dom.
Now, gently paint over the swirled areas you want to correct. Think of it as delicately brushing away cobwebs from a priceless painting – except instead of cobwebs, it's digital distortion.
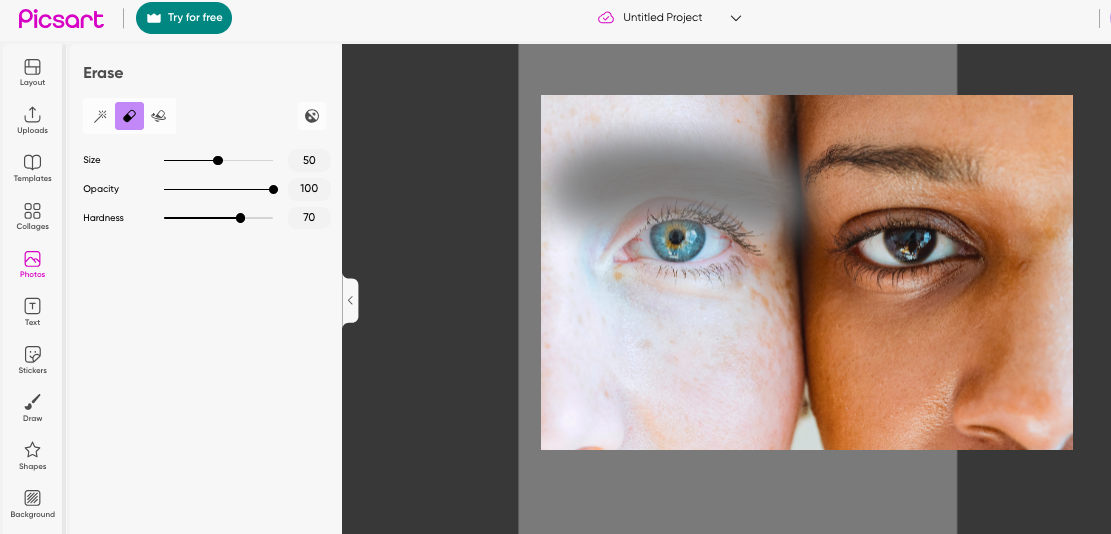
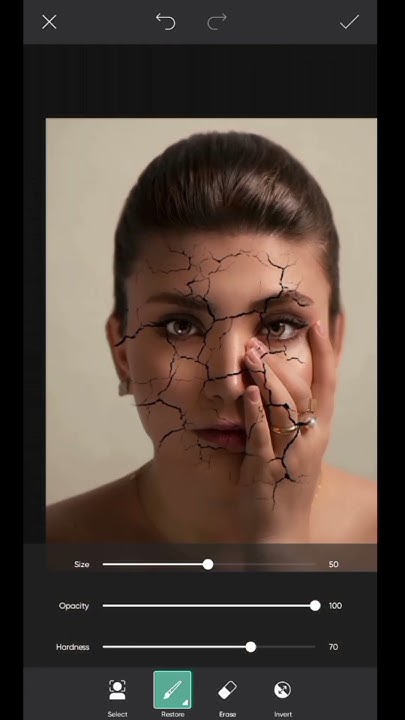
Step 3: The Restore Brush - A Gentle Touch
Sometimes, erasing can leave things looking a little *too* clean, a bit unnatural. Picsart has a secret weapon for this: the restore brush!
It might be tucked away under the eraser settings, so poke around. This magical brush lets you selectively bring back parts of the original image that were covered by the swirl.
Use it sparingly! A light touch is all you need to blend the erased areas seamlessly back into the photo. Think of it as adding a pinch of seasoning to perfect a dish – subtle but effective.
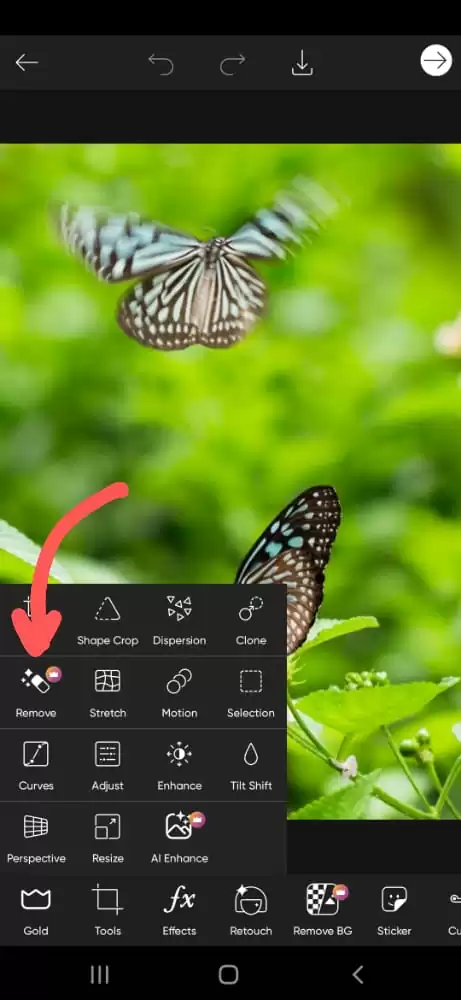
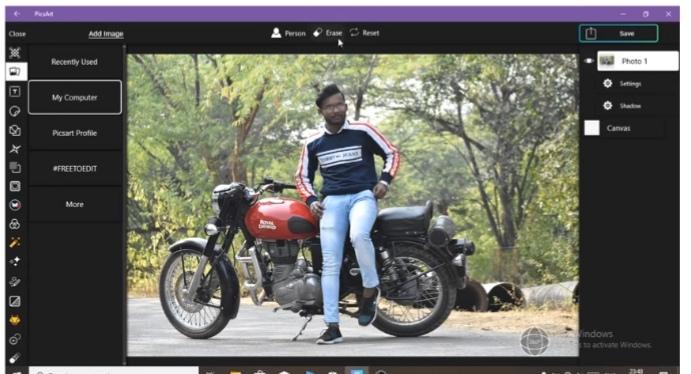
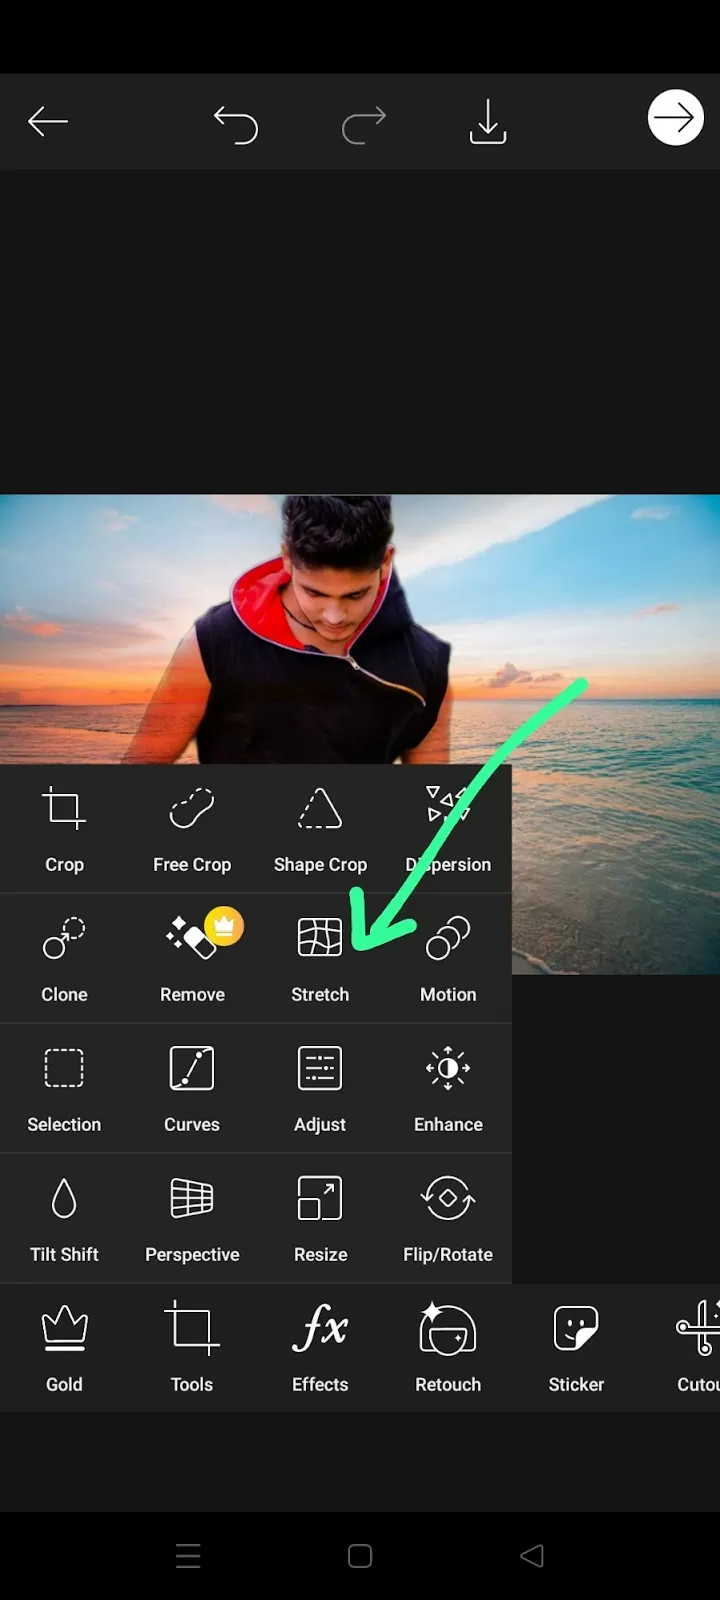
Step 4: The Clone Tool - For the Proactive Un-Swirler
Alright, this one's for the truly dedicated. The clone tool lets you copy one part of your photo and paste it over another.
Find a nice, un-swirled area near the damage, and use the clone tool to "paint" over the swirling mess. It's like patching a hole in your favorite jeans with a matching piece of fabric.
Be careful! Overuse can make things look repetitive and unnatural. But with a little practice, you can become a cloning ninja!
Step 5: Embrace the Imperfection (Or Try Again!)
Sometimes, despite your best efforts, you just can't completely undo the swirl. That's okay! Art is subjective, after all!
Maybe the swirl adds a quirky charm? Maybe it tells a story? Or maybe, just maybe, it's a sign to start over and avoid the swirl tool altogether next time.
Hey, even the best artists have their "oops" moments. The important thing is you learned something, and you had some fun along the way! And if all else fails, there's always Instagram filters!
"Mistakes are proof that you are trying." - Unknown (but definitely someone who's swirled a photo too much!)