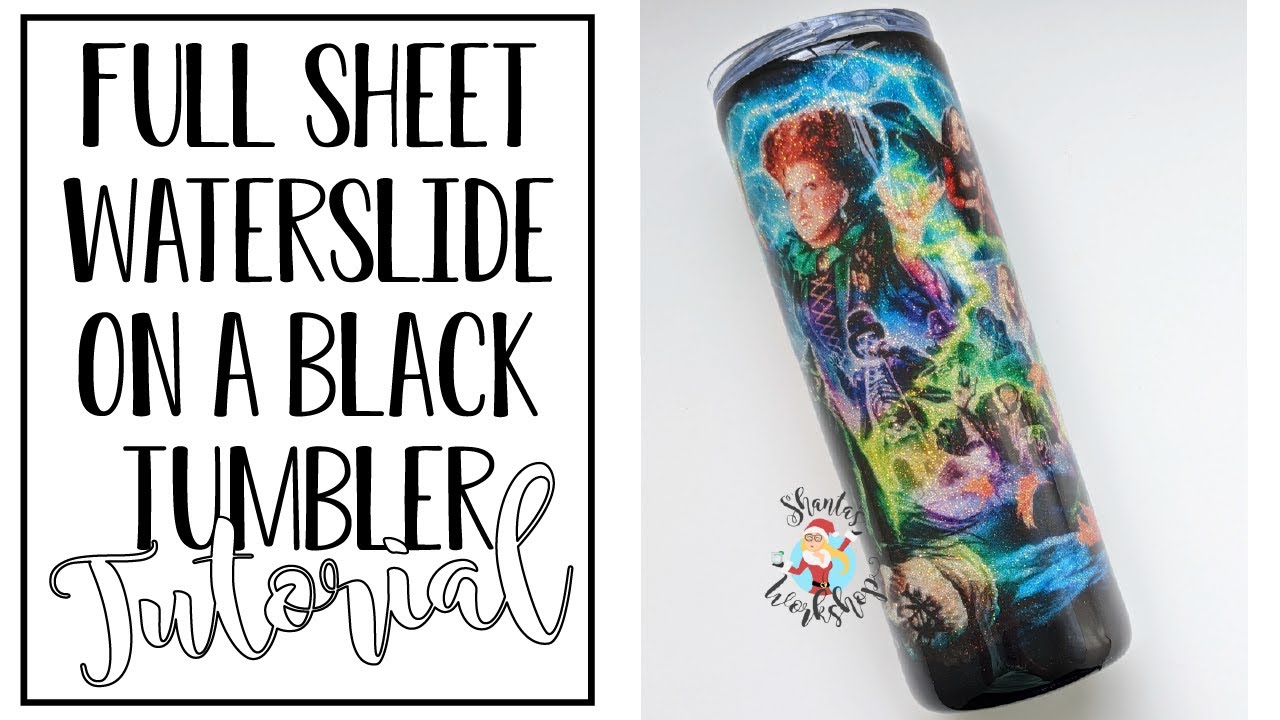
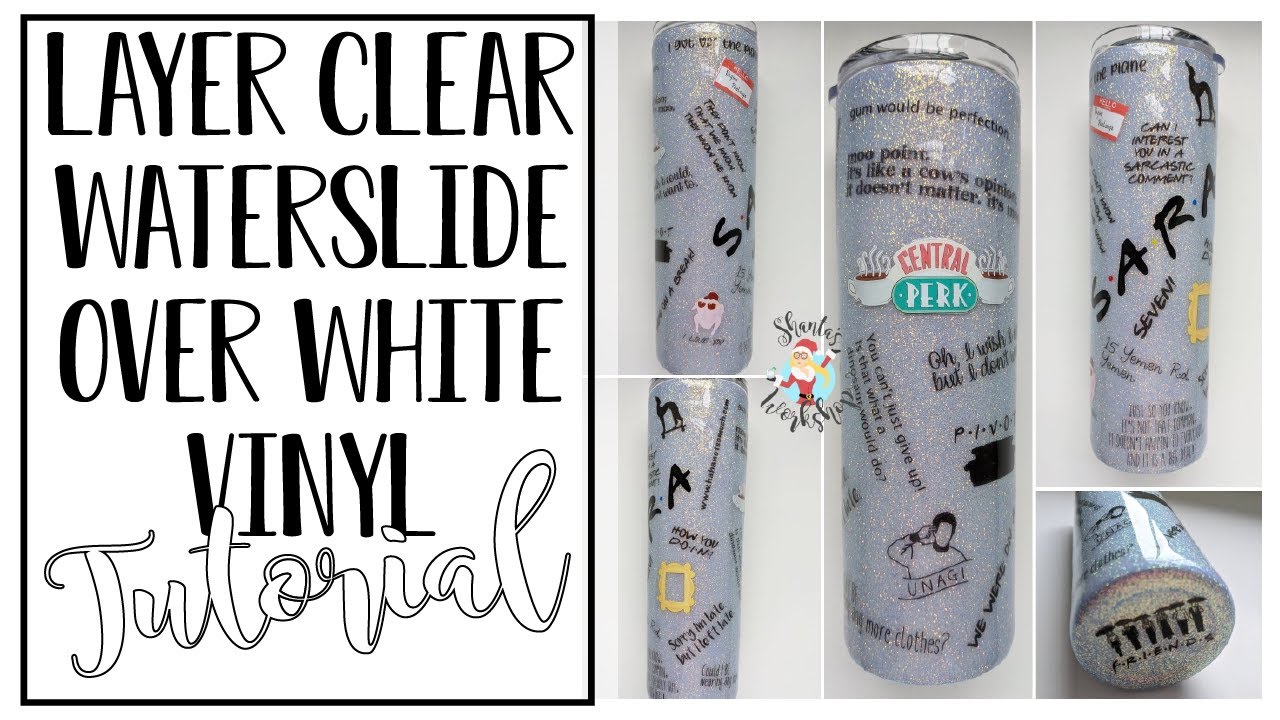
How To Use Clear Waterslide On Dark Tumbler

Alright, buckle up buttercups! We're diving headfirst into the dazzling world of waterslides! We're not talking about the kind at the waterpark (though those are pretty awesome too!), we're talking about the magical kind that lets you stick pictures onto your favorite dark tumblers.
Imagine this: you've got a sleek, black tumbler. It's begging for a bit of pizzazz, a touch of "YOU-ness." Fear not, my friend, because clear waterslide decal paper is here to save the day!
Getting Started: Gather Your Supplies
First things first, you'll need your weapon of choice: clear waterslide decal paper, specifically the kind made for laser printers. Don't accidentally grab the inkjet kind, or you'll end up with a soggy, sad mess. Trust me, I've been there!
Next up, your trusty steed – a laser printer. Make sure it’s ready to roll. You’ll also want your image (we're talking favorite memes, pet pics, inspirational quotes... the possibilities are endless!), a pair of scissors, a bowl of water, a soft cloth, and of course, your gorgeous dark tumbler!
Don't forget the spray sealant! We're going to use this to protect your design from the harsh realities of the world (like rogue coffee spills!).
Printing Your Masterpiece
Load that waterslide paper into your laser printer. Make sure you load it so that the image prints on the correct side – usually the glossy side. Now, print your image! Seriously, unleash your inner artist!
Make sure you mirror your image before you print it! If you don’t, your text will be backwards on the tumbler, unless that's your artistic choice.
Once it's printed, let it dry for a hot minute. Then, take your spray sealant and give it a couple of light, even coats. Make sure to let it dry completely between coats – patience is a virtue, my friend!
The Waterslide Tango
Now for the fun part! Grab your scissors and carefully cut out your image. Get as close to the edge of the design as possible to minimize any clear film showing. Don't worry if it's not perfect; we're going for charm, not perfection!
Plunge your precious decal into the bowl of water. Let it soak for about 30-60 seconds. You'll see the decal start to separate from the backing paper. This is where the magic happens!
Carefully slide the decal off the backing paper and onto your tumbler. Position it exactly where you want it. This is a crucial moment, so take your time!
Smoothing It Out & Sealing The Deal
Gently use your soft cloth to smooth out any bubbles or wrinkles. Start from the center and work your way outwards. You're aiming for a flawless finish here!
Let it dry completely, like, overnight completely. I know, the suspense is killing you, but trust me, it's worth the wait!
Now, consider sealing your design with epoxy or another clear coat for extra durability, especially if you plan on washing your tumbler frequently. This step is optional, but it's like adding a force field to your fabulous creation!
A Few Extra Tips & Tricks
If you're having trouble with bubbles, try using a pin to gently prick them and smooth them out. But be careful not to scratch the decal!
Practice makes perfect! Don't be discouraged if your first attempt isn't flawless. Just keep experimenting, and you'll be a waterslide wizard in no time!
And remember, have fun with it! This is all about expressing your creativity and making something that's uniquely YOU.