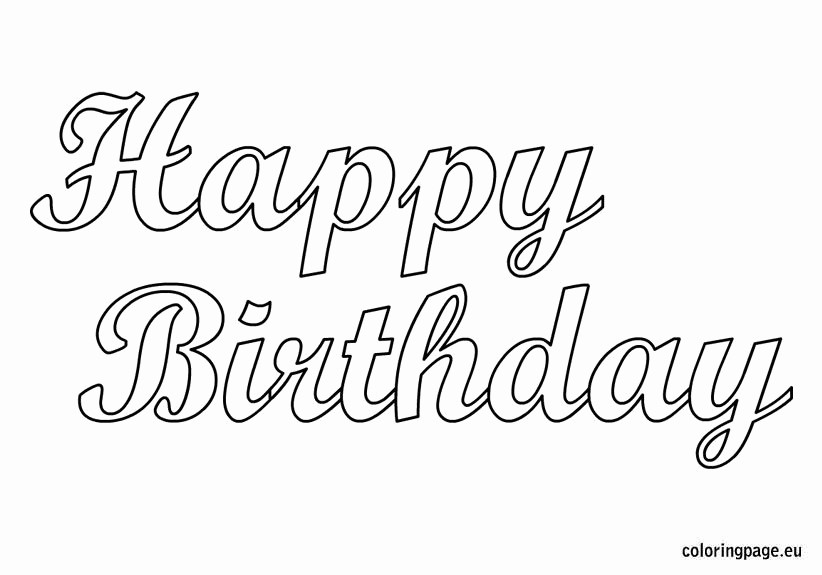
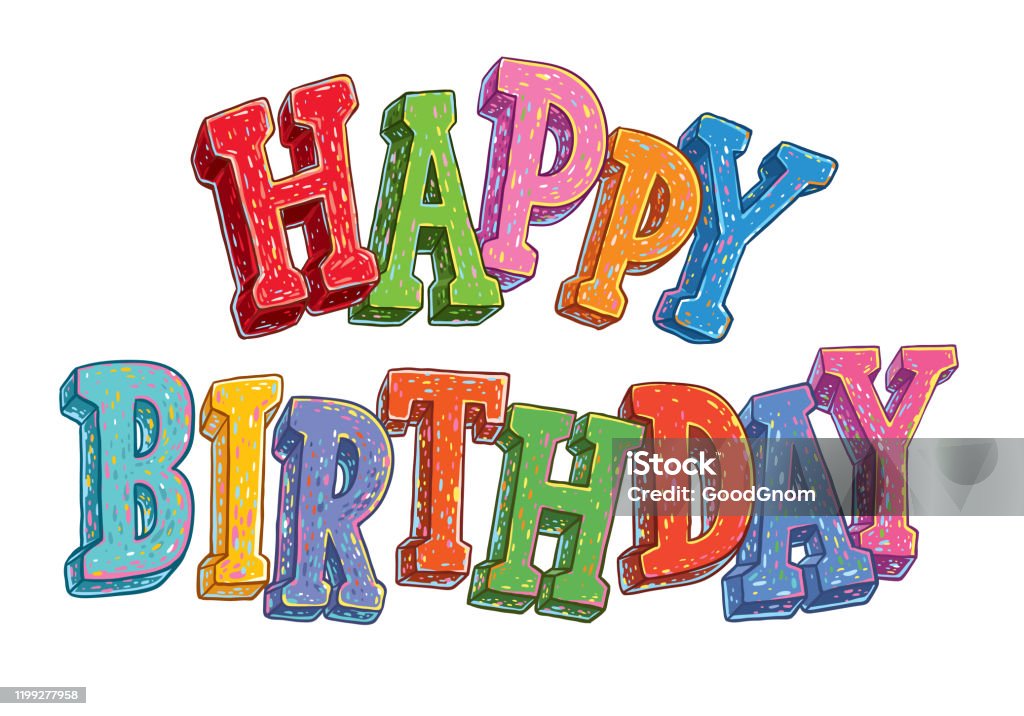
How To Write Happy Birthday In Bubble Letters

Ever looked at those super cool, bouncy bubble letters and thought, "I wish I could do that!"? Well, guess what? You absolutely can! Especially when it comes to wishing someone a Happy Birthday.
Let's get started and turn ordinary birthday wishes into extraordinary works of art!
Step 1: The Skeleton Crew (A.k.a. Basic Letters)
First, grab a pencil (yes, a pencil!) and lightly sketch out the words "Happy Birthday" in regular, plain letters. Think of it like building a house; these are your foundational beams!
Don't worry about making them perfect; they're just guides. We're about to give them a serious makeover.
Step 2: Bubble Up!
Now, the fun part! Imagine each letter is trapped inside a bubble of delicious, sugary gum. We’re going to draw around each letter, making them round and plump.
Think curves, not corners! Make sure the 'bubbles' are touching each other; this is what gives that classic bubble letter look.
Pro Tip: Overlap is Your Friend
Let those bubbles cuddle! Slight overlaps between letters make everything look smoother and more cohesive. It’s like they're all giving each other a little hug.
Imagine the letters are best friends on a road trip, all crammed together in a tiny car, singing at the top of their lungs.
Step 3: Erase the Evidence (Pencil Marks, Begone!)
Gently erase the original pencil lines. Poof! The skeletons are gone, leaving behind only beautiful, bouncy bubbles.
It's like a magic trick, but with paper and rubber. Ta-da!
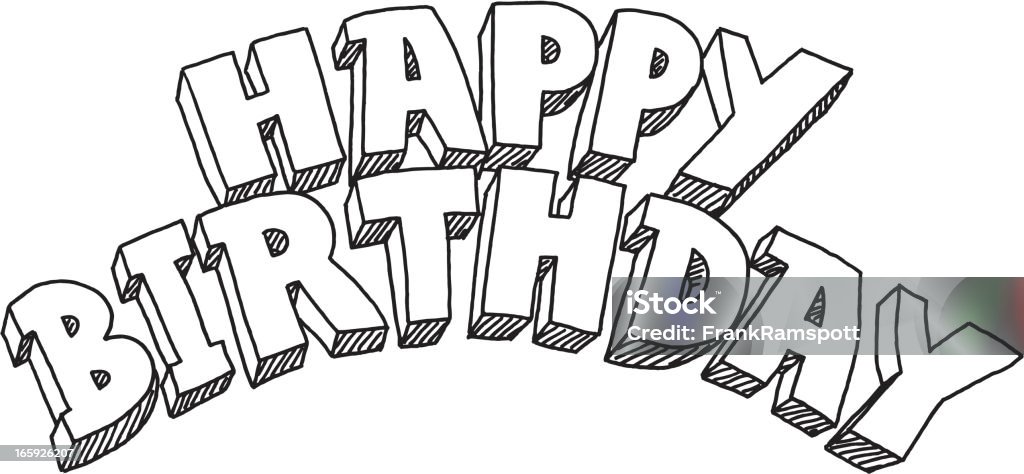
Step 4: Outline Extravaganza
Grab a pen, a marker, a crayon – whatever your heart desires! Now, carefully outline each bubble letter.
This will make them pop and give them a nice, clean edge. It's like putting on your best party outfit!
Thickness Matters (A Little)
Experiment with different thicknesses of lines. A thicker outline gives a bolder, more dramatic look, while a thinner outline feels more delicate.
It’s like choosing between a statement necklace and a subtle string of pearls; both are fabulous, just different vibes.
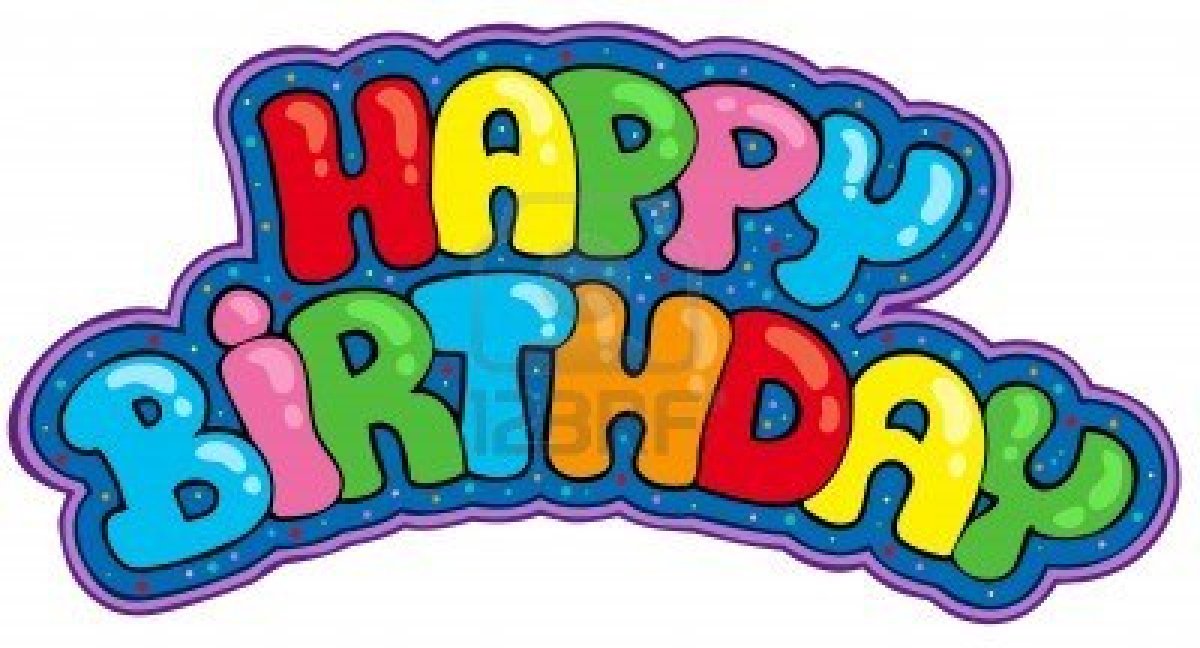
Step 5: Color Me Happy!
This is where your inner artist gets to truly shine! Grab your favorite coloring tools and go wild!
Use bright, bold colors, gradients, patterns – anything goes! The more colorful, the more celebratory!
Shading for Days
Want to take it up a notch? Add some shading to one side of each letter to create a 3D effect.
Imagine a tiny spotlight shining on your letters. This gives them depth and dimension. Think of it as giving your letters a mini-makeover.
Step 6: Embellish, Embellish, Embellish!
Sprinkles, stars, hearts, confetti – the possibilities are endless! Add little doodles and decorations around your bubble letters to make them even more festive.
It’s like decorating a birthday cake; the more frosting and sprinkles, the better!
Remember, there are no rules in bubble letter land, only happy accidents and bursts of creativity! So go forth, experiment, and make some seriously awesome birthday wishes!
And there you have it! You've officially mastered the art of writing Happy Birthday in bubble letters. Congratulations!
Now go spread some birthday cheer, one bouncy letter at a time!