Changing The Belt On A Samsung Dryer

The hum of the dryer has become a familiar, comforting sound in countless homes, a signal of warm laundry and fresh starts. But what happens when that familiar hum is replaced by a disconcerting squeal or, even worse, complete silence? For many homeowners, the culprit might be a broken dryer belt, a common issue that can often be tackled with a little DIY know-how.
While calling a repair technician is always an option, learning to replace a Samsung dryer belt yourself can save time and money. This article guides you through the process, making it approachable for even the most novice home repair enthusiasts.
Understanding the Dryer Belt's Role
The dryer belt is a crucial component in your appliance. It's a long, rubber belt that wraps around the dryer drum and the motor pulley.
Its job is simple but essential: to transfer the motor's power to the drum, causing it to rotate and tumble your clothes. Without a functioning belt, the drum won't turn, and your clothes will remain damp.
Why Belts Break
Dryer belts are subjected to constant stress and friction during each drying cycle. Over time, this takes its toll. Normal wear and tear, overloading the dryer, and even age can contribute to a belt's eventual failure.
According to RepairClinic.com, a leading appliance parts retailer, dryer belts typically last between 3 to 5 years, depending on usage.
Tools and Materials You'll Need
Before you begin, gather your tools and a replacement belt. You'll need a screwdriver (usually a Phillips head), a nut driver or socket set (depending on your dryer model), a putty knife or similar flat tool, and, of course, a new Samsung dryer belt.
It's always a good idea to unplug your dryer from the power outlet before starting any repair work. Safety first!
Step-by-Step Guide to Replacing Your Samsung Dryer Belt
First, disconnect the dryer from its power source.
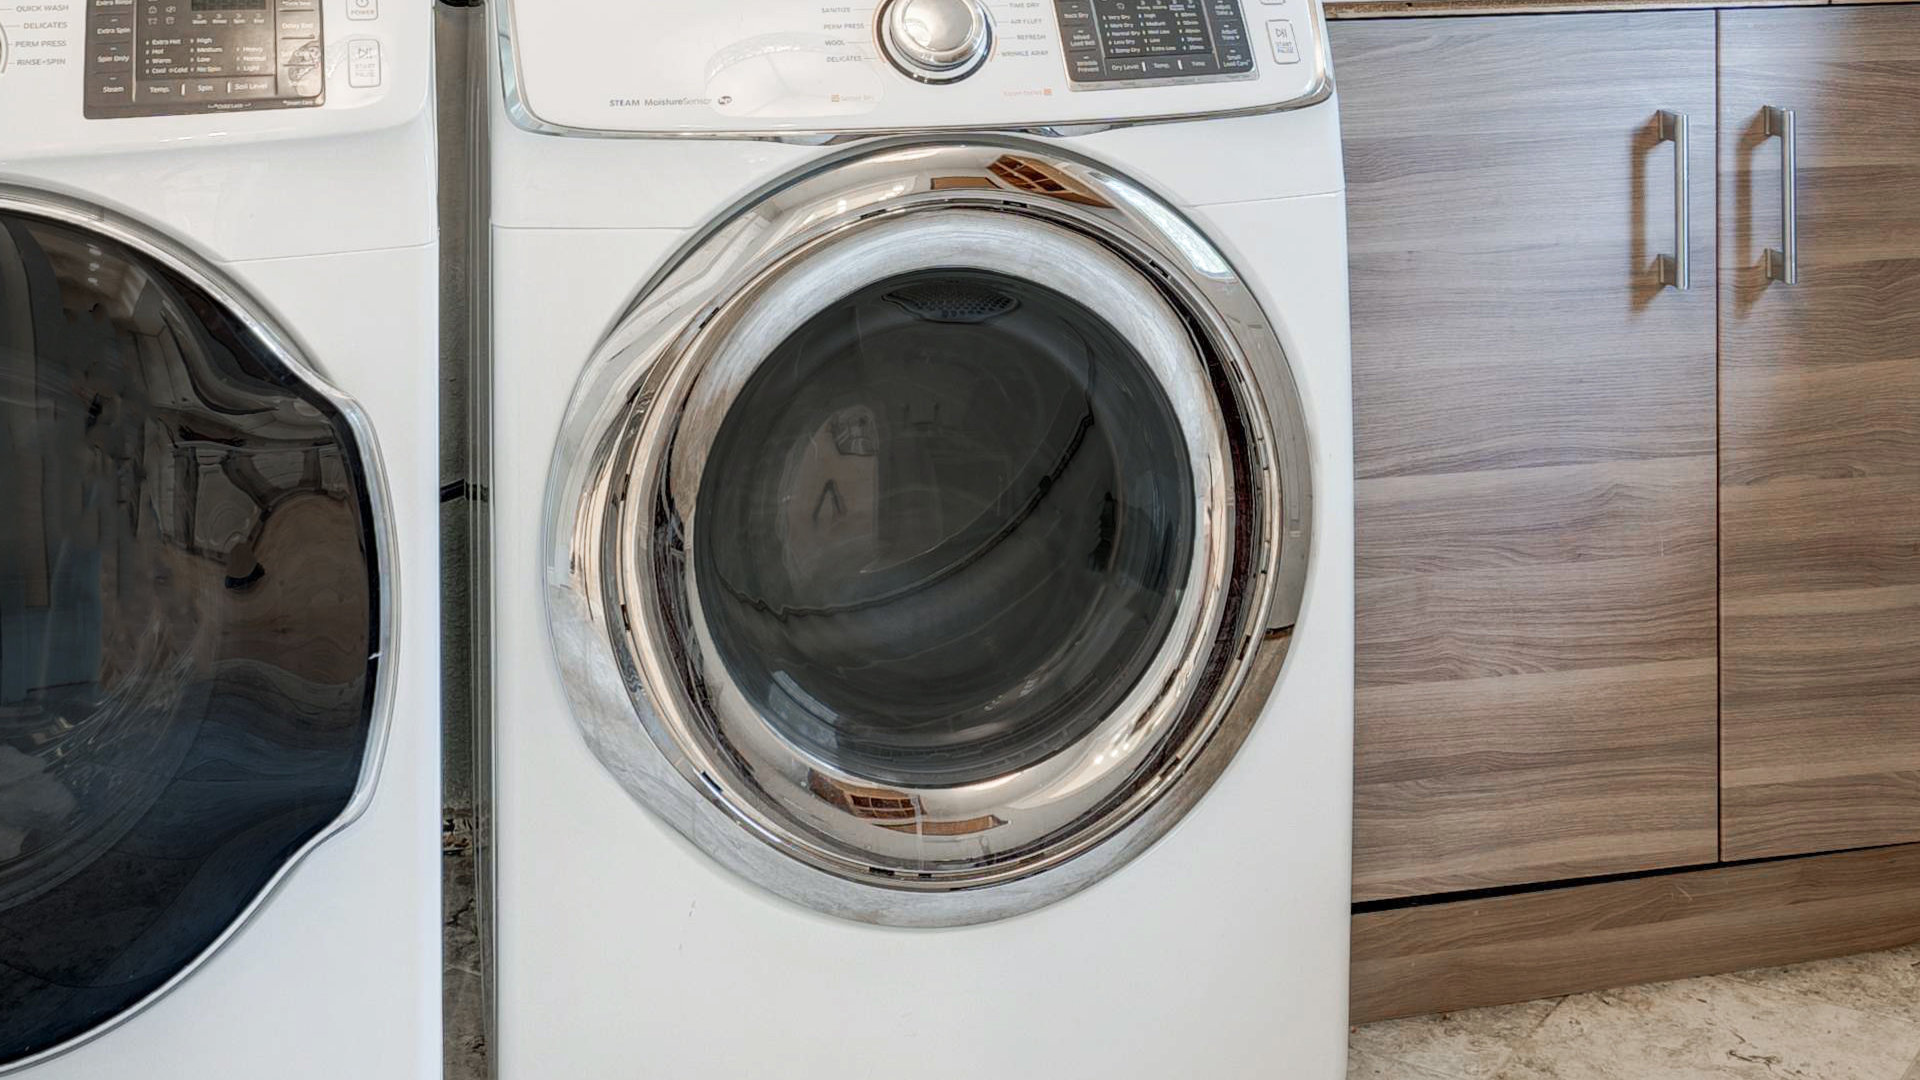
Accessing the Belt: Depending on your Samsung dryer model, you'll typically need to remove either the front panel or the rear panel to access the belt. Consult your owner's manual for specific instructions or search online for videos demonstrating the process for your model.
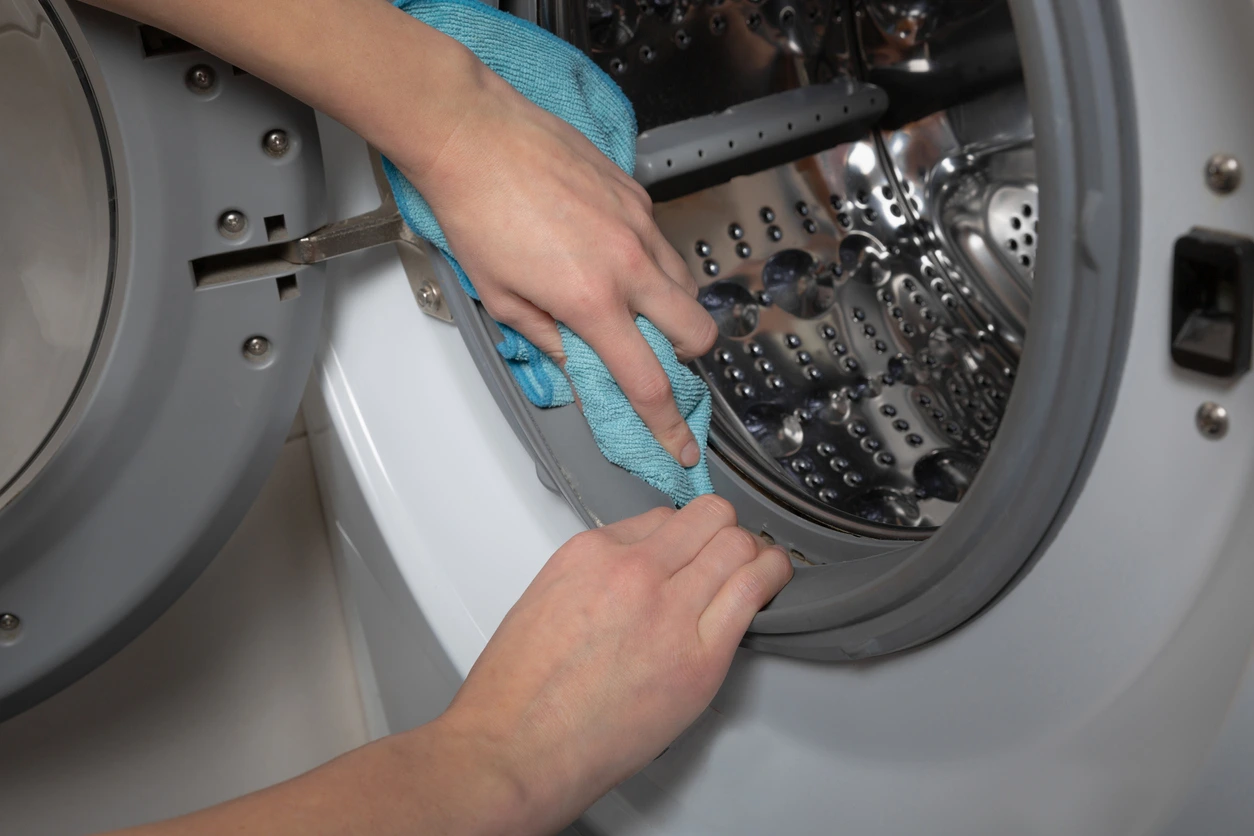
Removing the Old Belt: Once you have access, locate the old belt. It will likely be broken or frayed. Carefully detach it from the motor pulley and the drum.
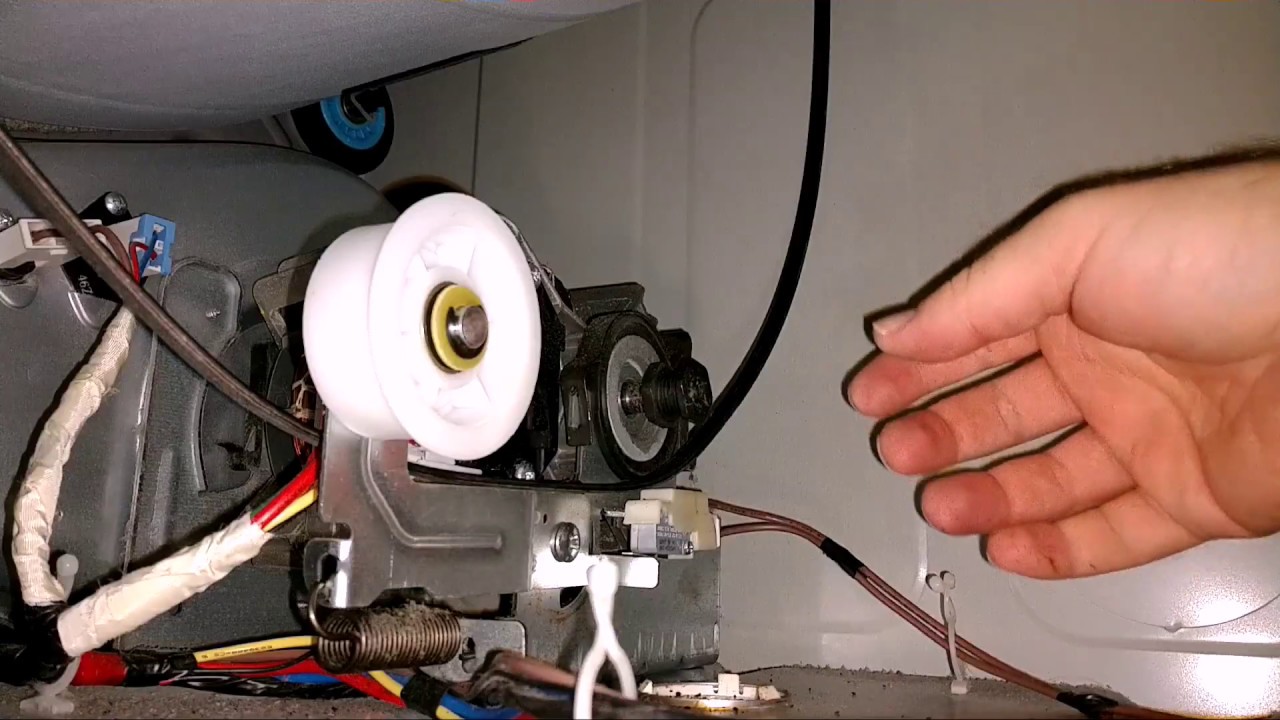
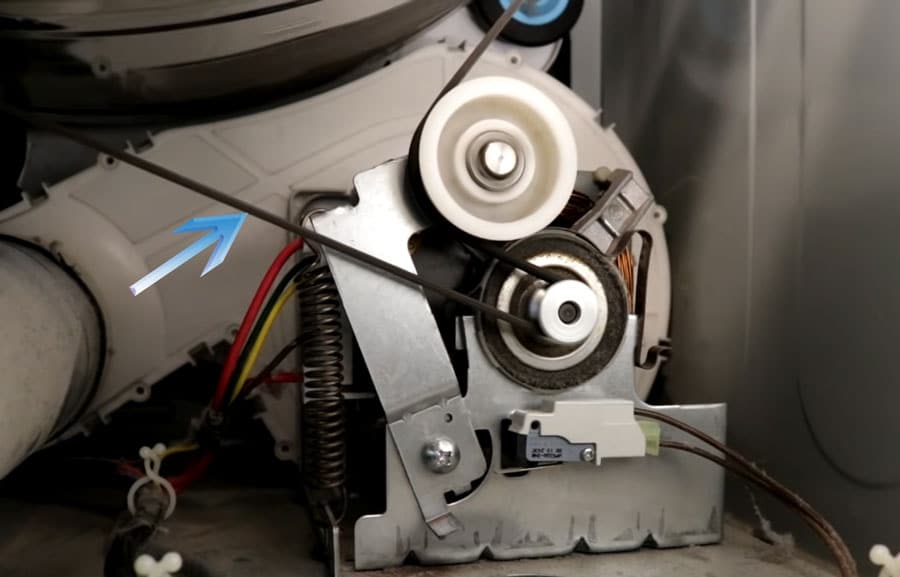
Installing the New Belt: With the old belt removed, it's time to install the new one. Place the new belt around the drum, making sure it's properly seated in the groove. Then, thread the belt around the motor pulley and the idler pulley (if your model has one). Ensure the belt is properly aligned and not twisted.
Reassembly: Now, carefully reassemble the dryer, replacing the panels you removed earlier. Double-check that all screws and connections are secure.
Testing: Finally, plug the dryer back in and run a test cycle to ensure the drum is rotating correctly and the squealing noise is gone.
A Sense of Accomplishment
Successfully replacing a Samsung dryer belt can be a rewarding experience. Not only have you saved money on a repair bill, but you've also gained a valuable new skill and a deeper understanding of how your appliances work.
So, the next time your dryer starts acting up, don't be afraid to roll up your sleeves and give it a try. With a little patience and the right guidance, you might just surprise yourself with what you can accomplish.