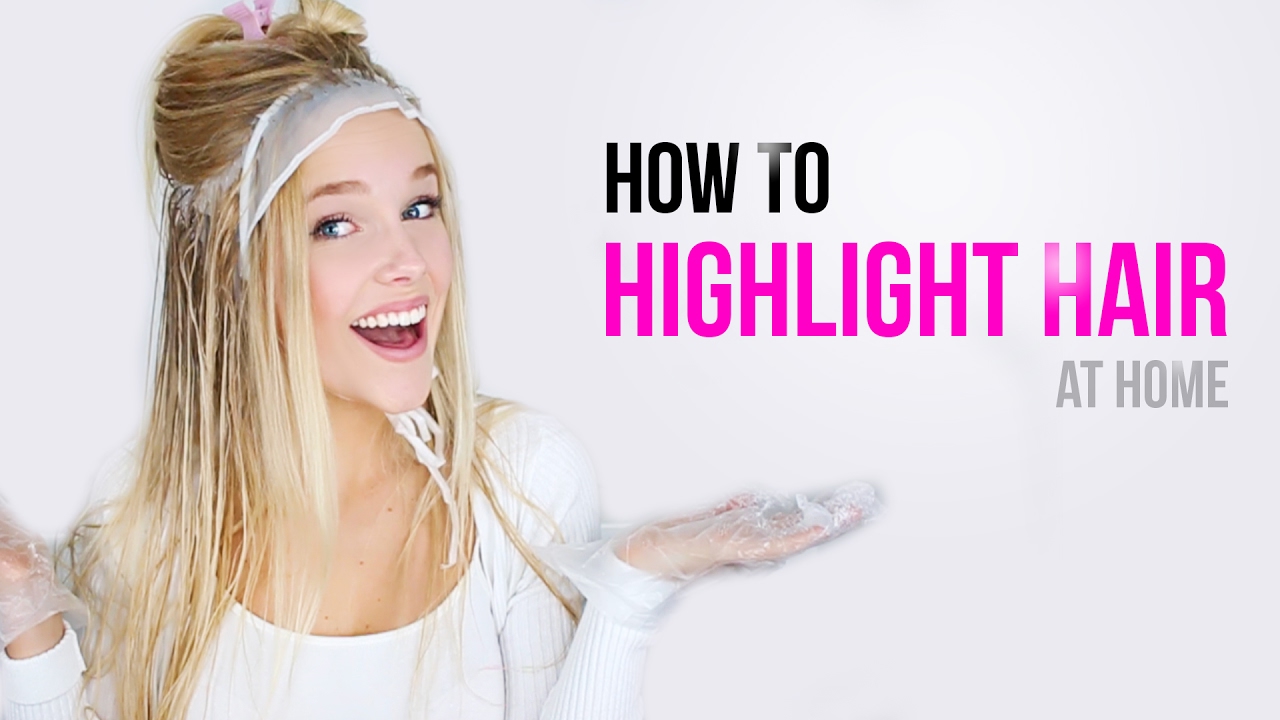
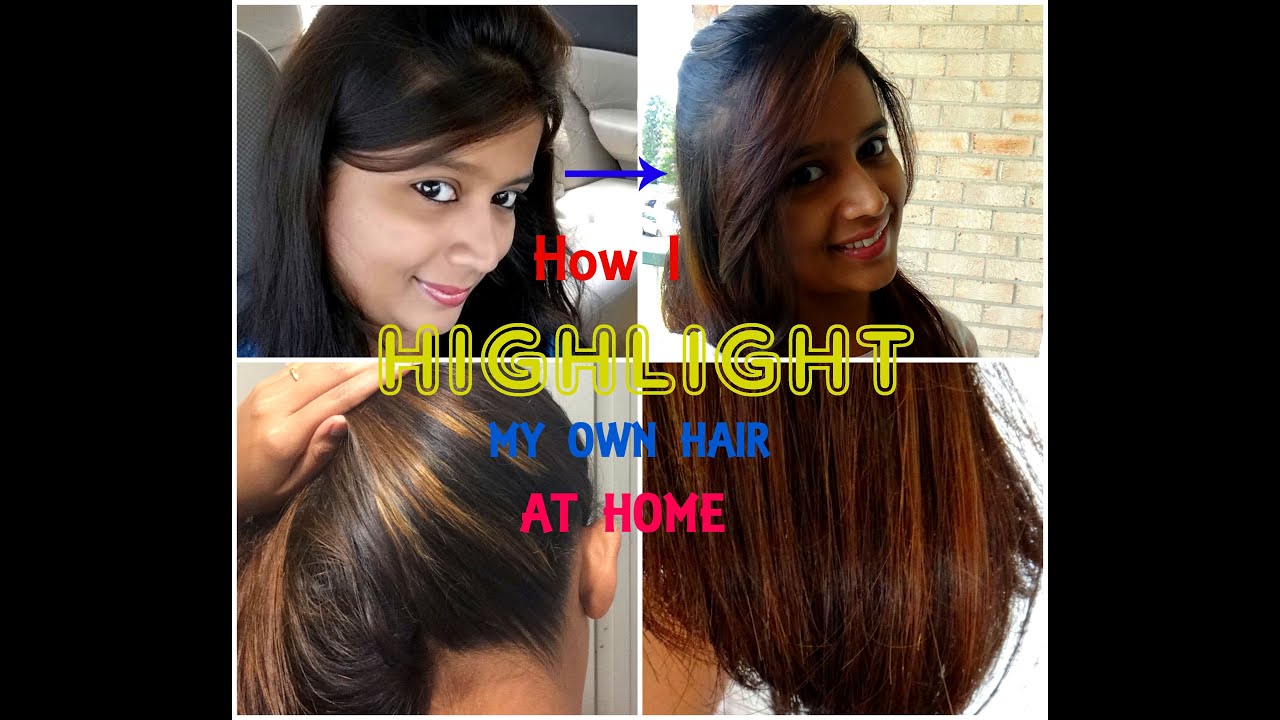
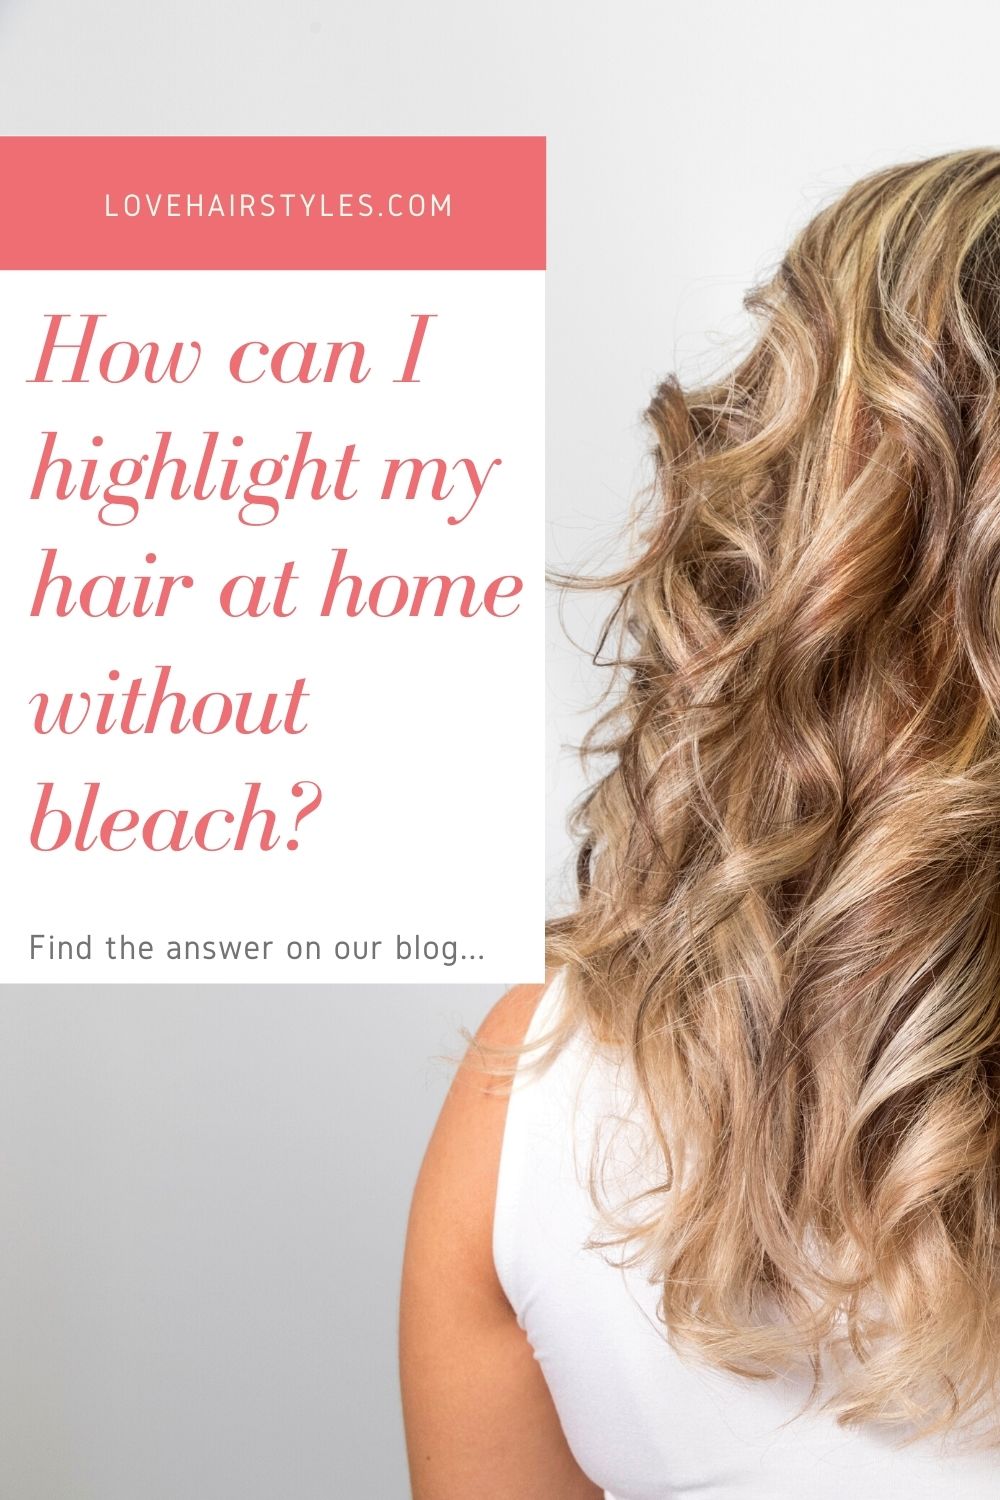
How Do I Highlight My Own Hair At Home
DIY hair highlighting is surging. Consumers seek affordable, personalized beauty solutions amid rising salon costs.
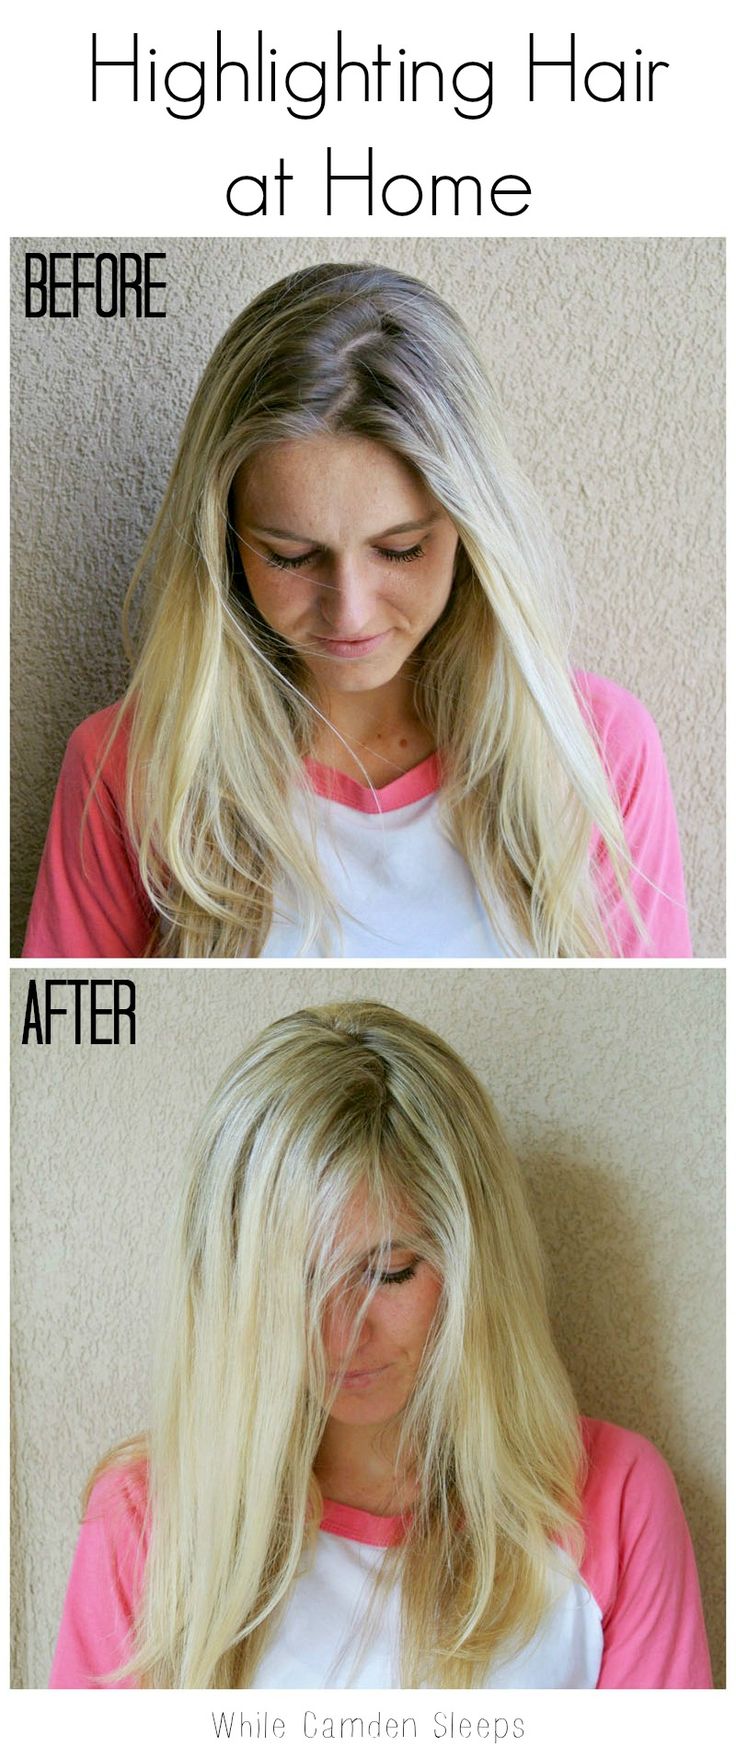
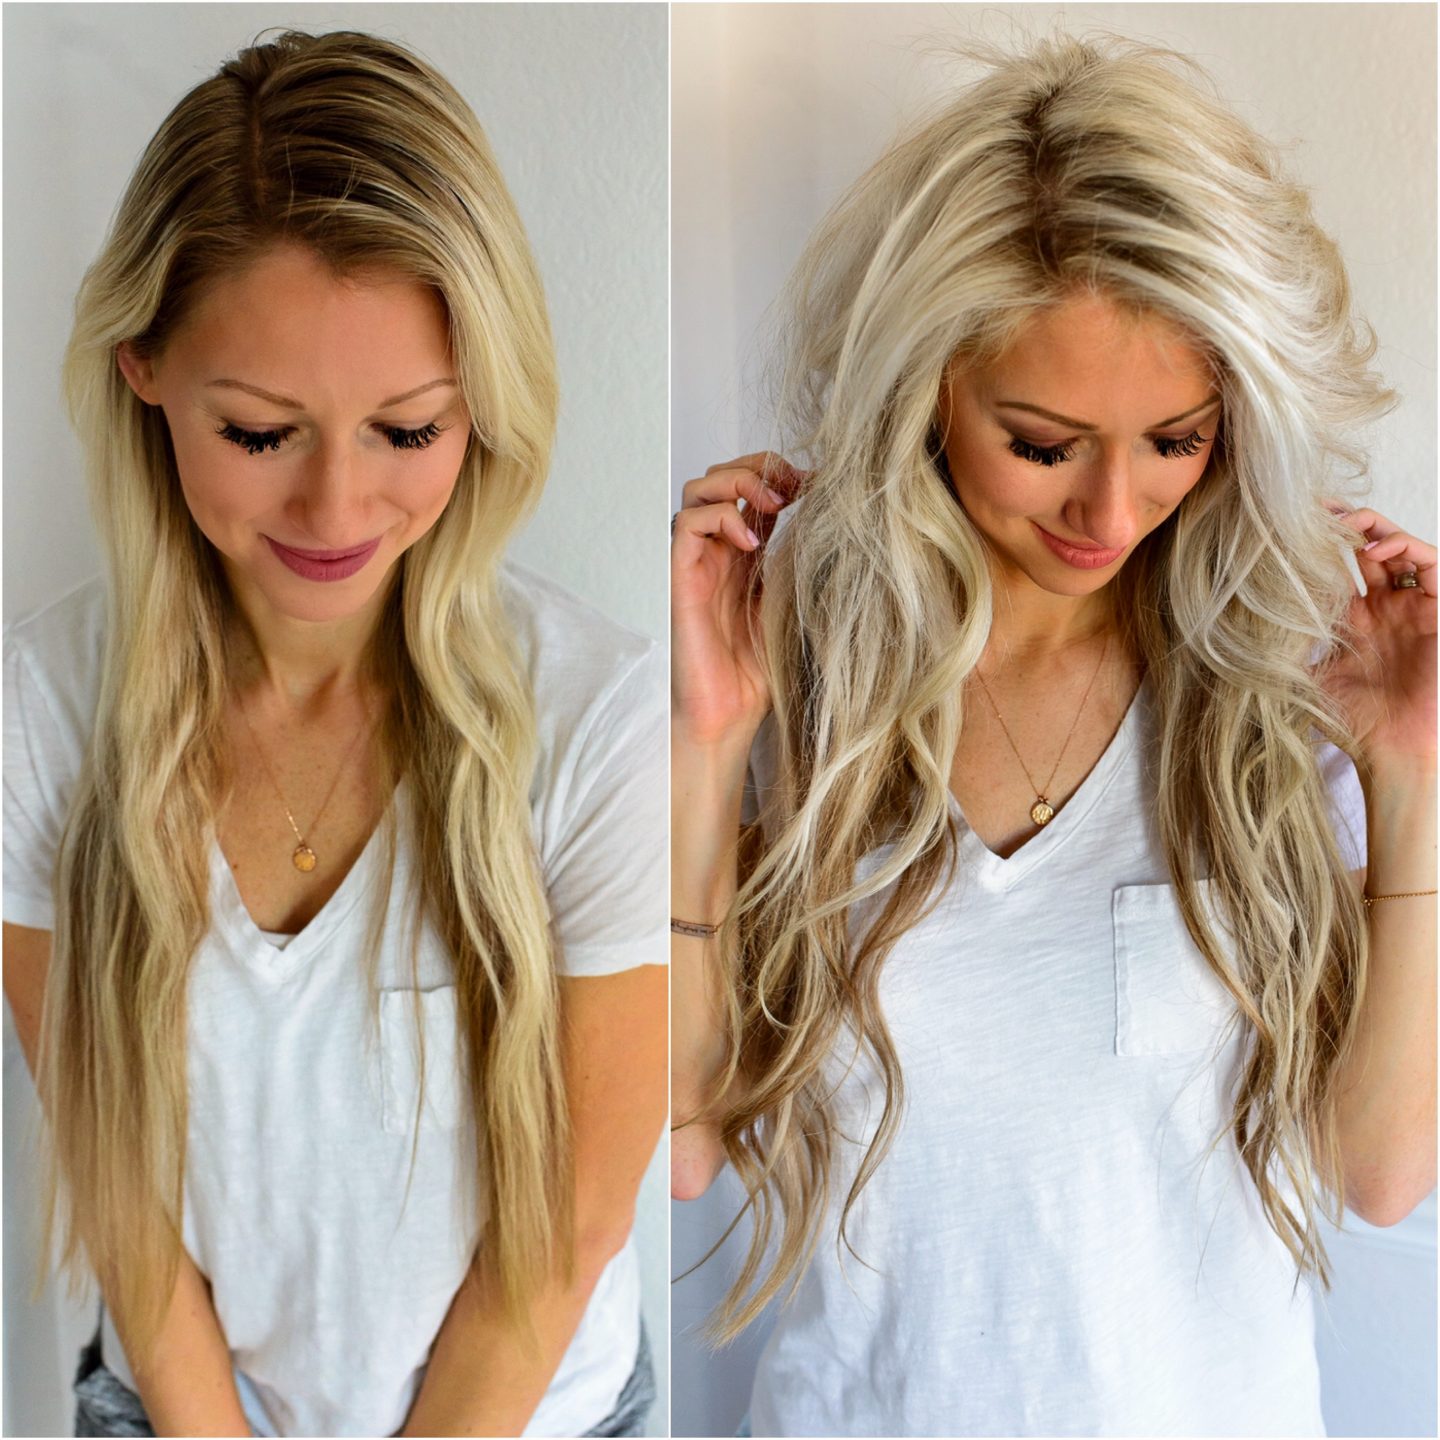
Thinking about brightening your hair at home? Proceed with caution. This guide breaks down essential steps to achieve salon-worthy highlights without the hefty price tag.
Preparation is Paramount
Assess your hair. Determine your natural hair color and current condition before purchasing any highlighting kit. Damaged or heavily processed hair requires extra care and might not be suitable for DIY highlighting.
Gather your supplies. You'll need a highlighting kit (choose one specifically for your hair color), gloves, a highlighting brush or applicator, a timer, an old towel, and a plastic bowl.
Perform a strand test. This crucial step reveals how your hair will react to the product. Apply the highlighting solution to a small, hidden section of your hair, following the kit's instructions.
Observe the color development and check for any adverse reactions. Wait the recommended time and rinse. If you like the result and experience no irritation, you can proceed with the full application.
The Highlighting Process
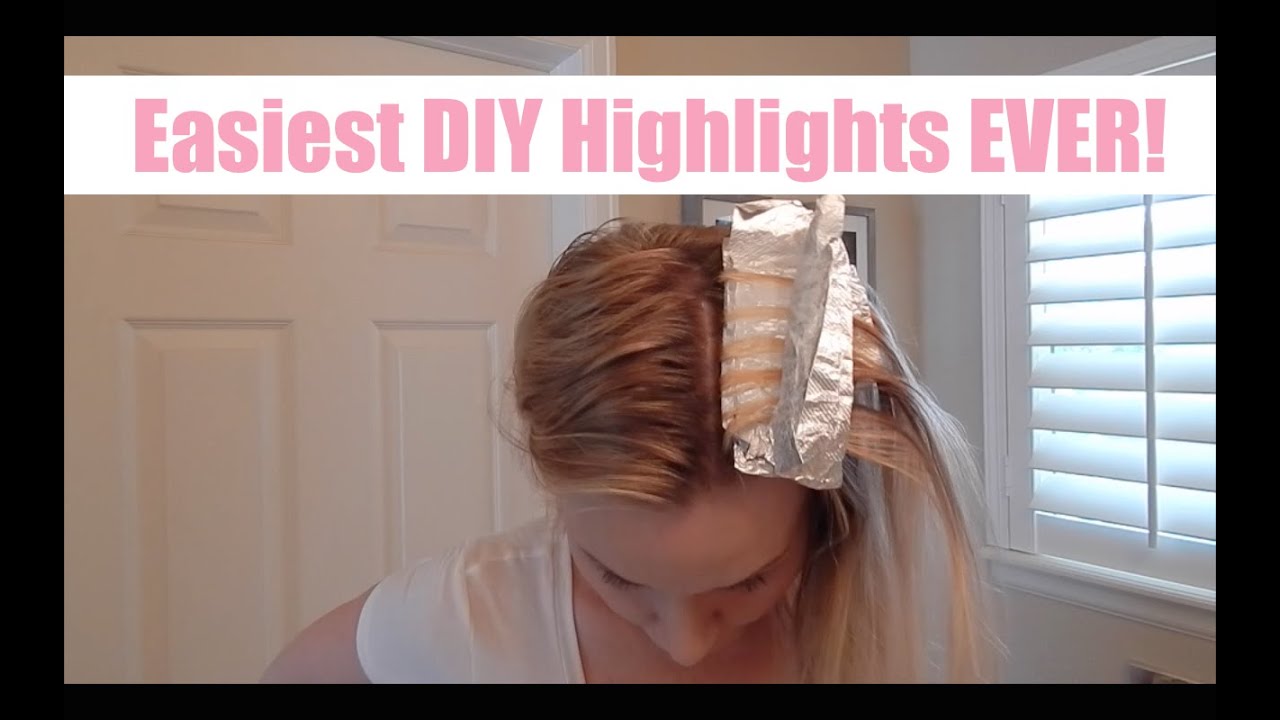
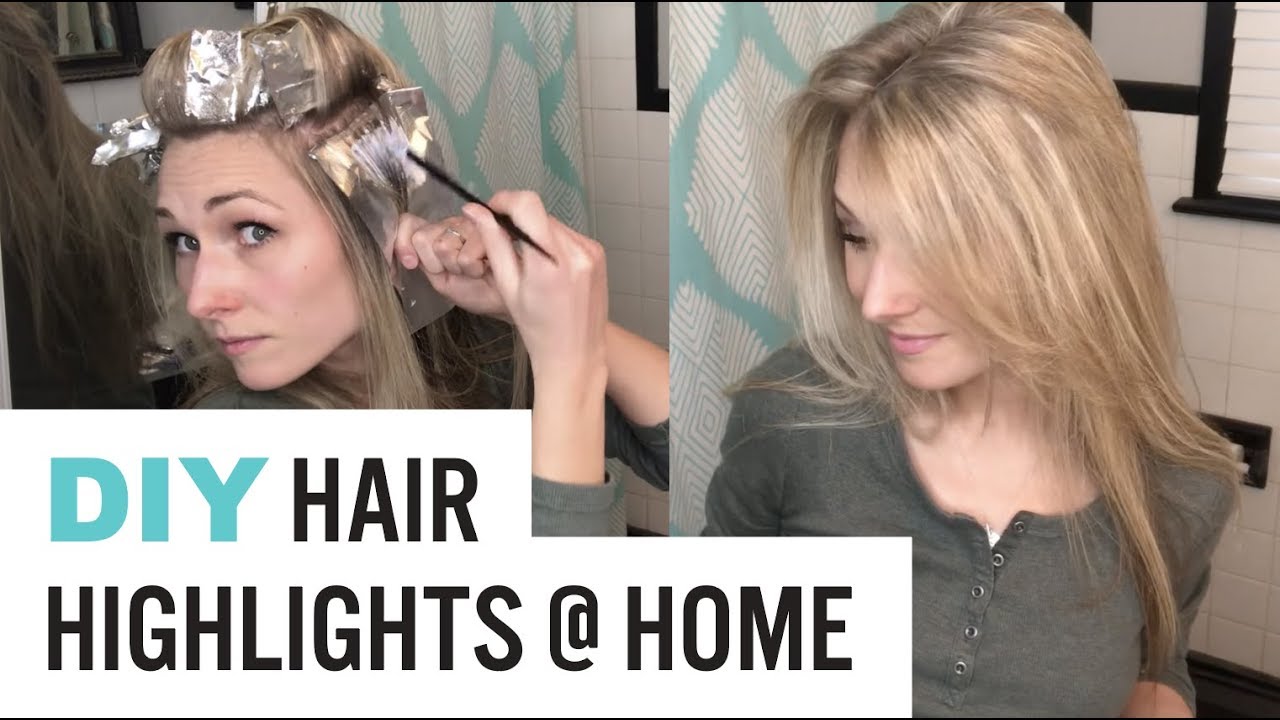
Section your hair. Divide your hair into manageable sections using clips. This ensures even application and prevents missed spots.
Mix the highlighting solution. Follow the instructions precisely, paying attention to the mixing ratios. Incorrect mixing can lead to uneven results or damage.
Apply the solution strategically. Use the highlighting brush or applicator to apply the solution to small strands of hair. Start at the roots, leaving a small gap to avoid scalp irritation, and work your way down.
Consider using the balayage technique for a more natural, blended look. This involves painting the lightener onto sections of hair, focusing on the mid-lengths and ends.
Monitor the color development. Check the highlighted strands regularly, referring to the kit's instructions for the recommended processing time. Do not leave the solution on for longer than instructed, as this can cause damage.
Rinsing and Aftercare
Rinse thoroughly. Once the desired color is achieved, rinse the highlighted strands with cool water until the water runs clear. Use the shampoo and conditioner provided in the kit.
Apply a deep conditioner. Highlighting can dry out your hair. A deep conditioning treatment will help restore moisture and prevent breakage.
Protect your hair from heat. Avoid using heat styling tools for a few days after highlighting. If you must use them, apply a heat protectant spray.
Use color-safe products. Switch to shampoo and conditioner specifically formulated for color-treated hair. These products will help maintain the color and prevent fading.
Troubleshooting
Uneven highlights? Consider using a toner to even out the color. Consult with a professional stylist for personalized advice.
Hair too light? Apply a hair gloss or semi-permanent color to tone down the highlights. Again, a stylist can offer tailored solutions.
Damaged hair? Focus on repairing and strengthening your hair with protein treatments and moisturizing masks. Reduce heat styling and avoid further chemical treatments.
Remember, DIY highlighting involves risks. If you're unsure about any part of the process, seek professional assistance.
Ongoing developments involve new and improved at-home highlighting kits. Stay informed about the latest products and techniques. Always prioritize your hair's health.