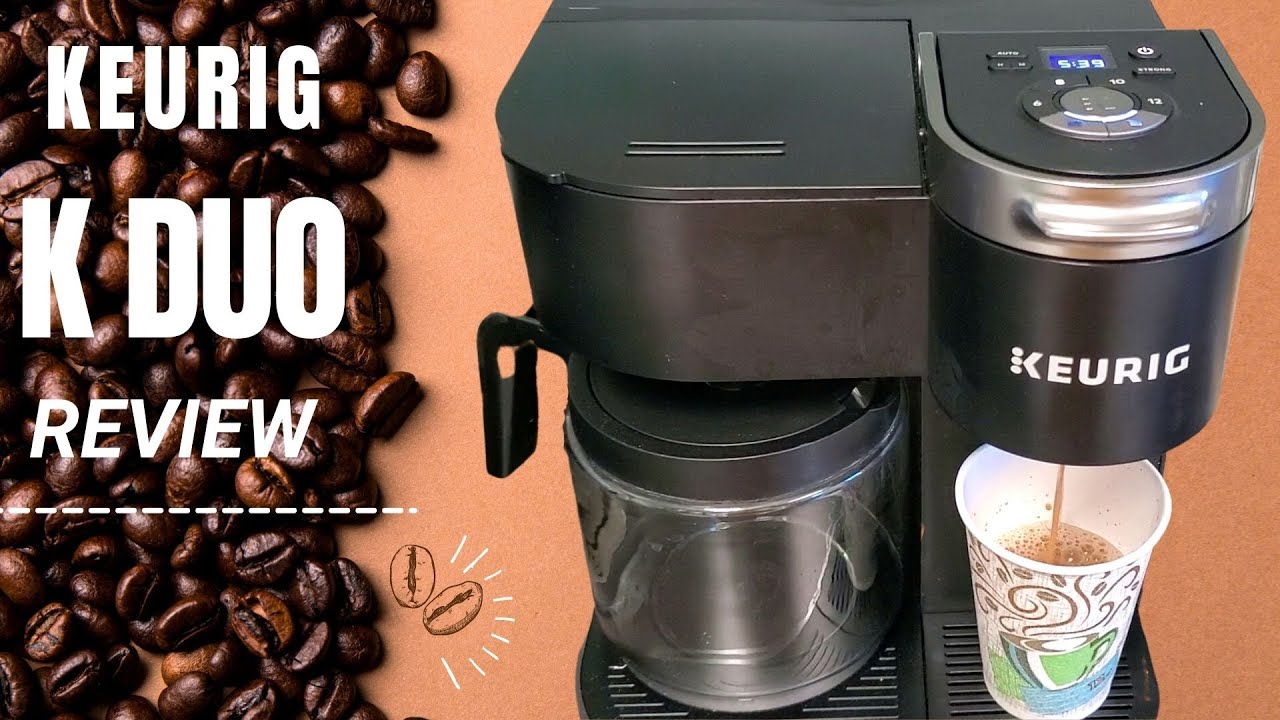
How Do I Make Coffee In A Keurig

The aroma of freshly brewed coffee, a symphony of roasted beans and warm water, dances through the kitchen. Sunlight streams through the window, illuminating the sleek silhouette of the Keurig coffee maker on the counter. It promises a quick, convenient path to that much-needed caffeine boost, but for some, navigating its buttons and reservoirs can feel surprisingly daunting.
This guide provides a friendly, step-by-step explanation of how to make coffee in a Keurig machine, ensuring a perfect cup every time. Whether you're a Keurig novice or just need a refresher, we'll break down the process, from filling the water reservoir to selecting your brew size.
Understanding the Keurig Phenomenon
The Keurig single-serve coffee maker revolutionized the way many people consume coffee. It offered unparalleled convenience and speed, allowing users to brew a single cup of coffee at the touch of a button.
This innovation quickly propelled Keurig to become a household name, transforming the coffee landscape and creating a multi-billion dollar industry. The brand's rise reflected a broader cultural shift towards personalized and convenient consumption.
Gathering Your Supplies
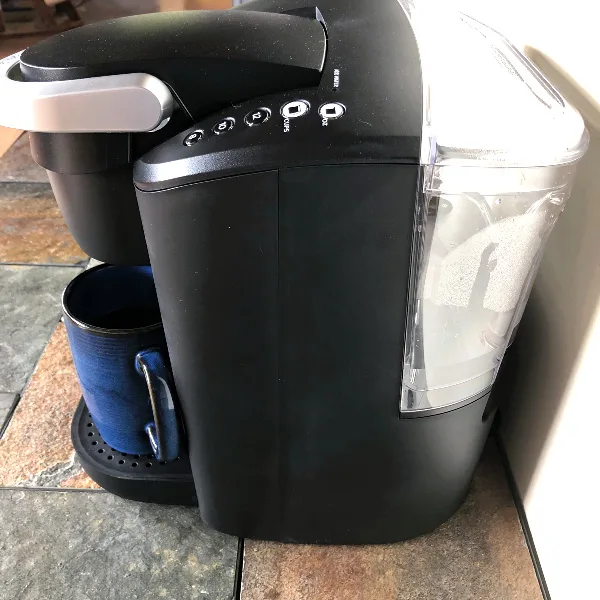
Before you begin, you'll need a few essential items. These include your Keurig coffee maker, a K-Cup pod of your favorite coffee (or tea, or hot chocolate!), and a mug.
Having these items readily available will streamline the brewing process and ensure a smooth, enjoyable experience.
Step-by-Step Brewing Guide
1. Fill the Water Reservoir
The first step is to ensure the water reservoir is filled with fresh, filtered water. The reservoir is usually located at the back or side of the Keurig machine.
Remove the reservoir, fill it to the desired level (being mindful not to exceed the maximum fill line), and securely reattach it to the machine.
2. Power On the Keurig
Next, press the power button to turn on the Keurig. The power button is usually located on the top or front of the machine.
Allow the machine a few moments to heat up the water; a light will typically indicate when it's ready.
3. Insert the K-Cup Pod
Once the Keurig is heated, lift the handle on top of the machine to open the K-Cup holder. Place your chosen K-Cup pod into the holder.
Gently close the handle, ensuring the pod is securely pierced. Never try to reuse a K-Cup.
4. Select Your Brew Size
Most Keurig models offer a selection of brew sizes, typically ranging from 6 to 12 ounces. Choose your desired size based on your mug size and coffee strength preference.
Smaller brew sizes will result in a stronger cup of coffee, while larger sizes will be more diluted.
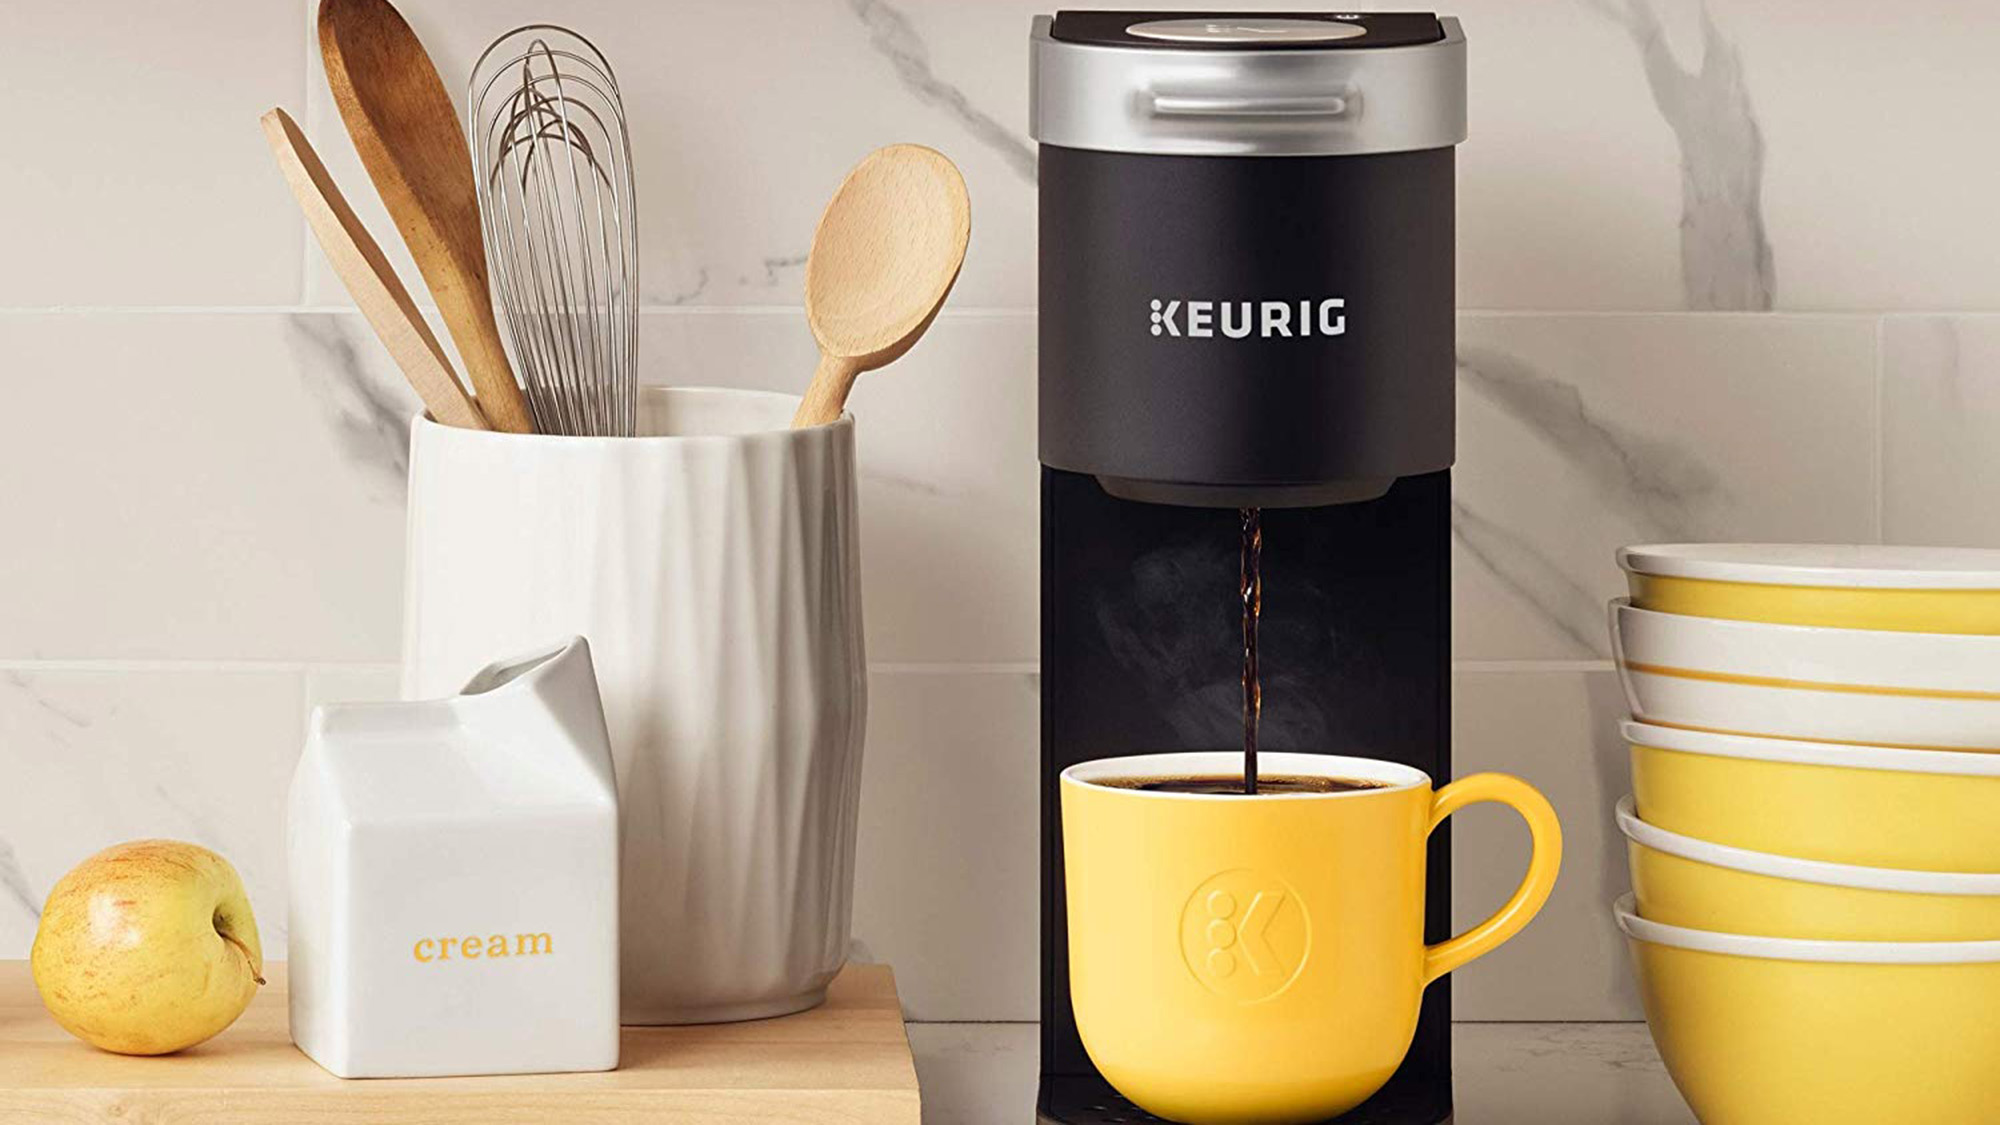
5. Place Your Mug and Brew
Place your mug on the drip tray beneath the K-Cup holder. This tray catches any stray drips and prevents spills.
Finally, press the brew button (usually a prominent button labeled "Brew" or featuring a coffee cup icon) to begin the brewing process. The Keurig will automatically dispense the coffee into your mug.
6. Enjoy Your Coffee
Once the brewing cycle is complete, carefully remove your mug from the drip tray. The Keurig will automatically shut off after a period of inactivity.
Add milk, sugar, or your favorite additions, and savor your freshly brewed cup of coffee!
Keurig Maintenance and Cleaning
Regular maintenance is essential to keep your Keurig performing optimally. Descaling the machine every 3-6 months helps remove mineral buildup that can affect performance and taste.
Refer to your Keurig's user manual for specific cleaning instructions. You can also find helpful tutorials on the Keurig website.
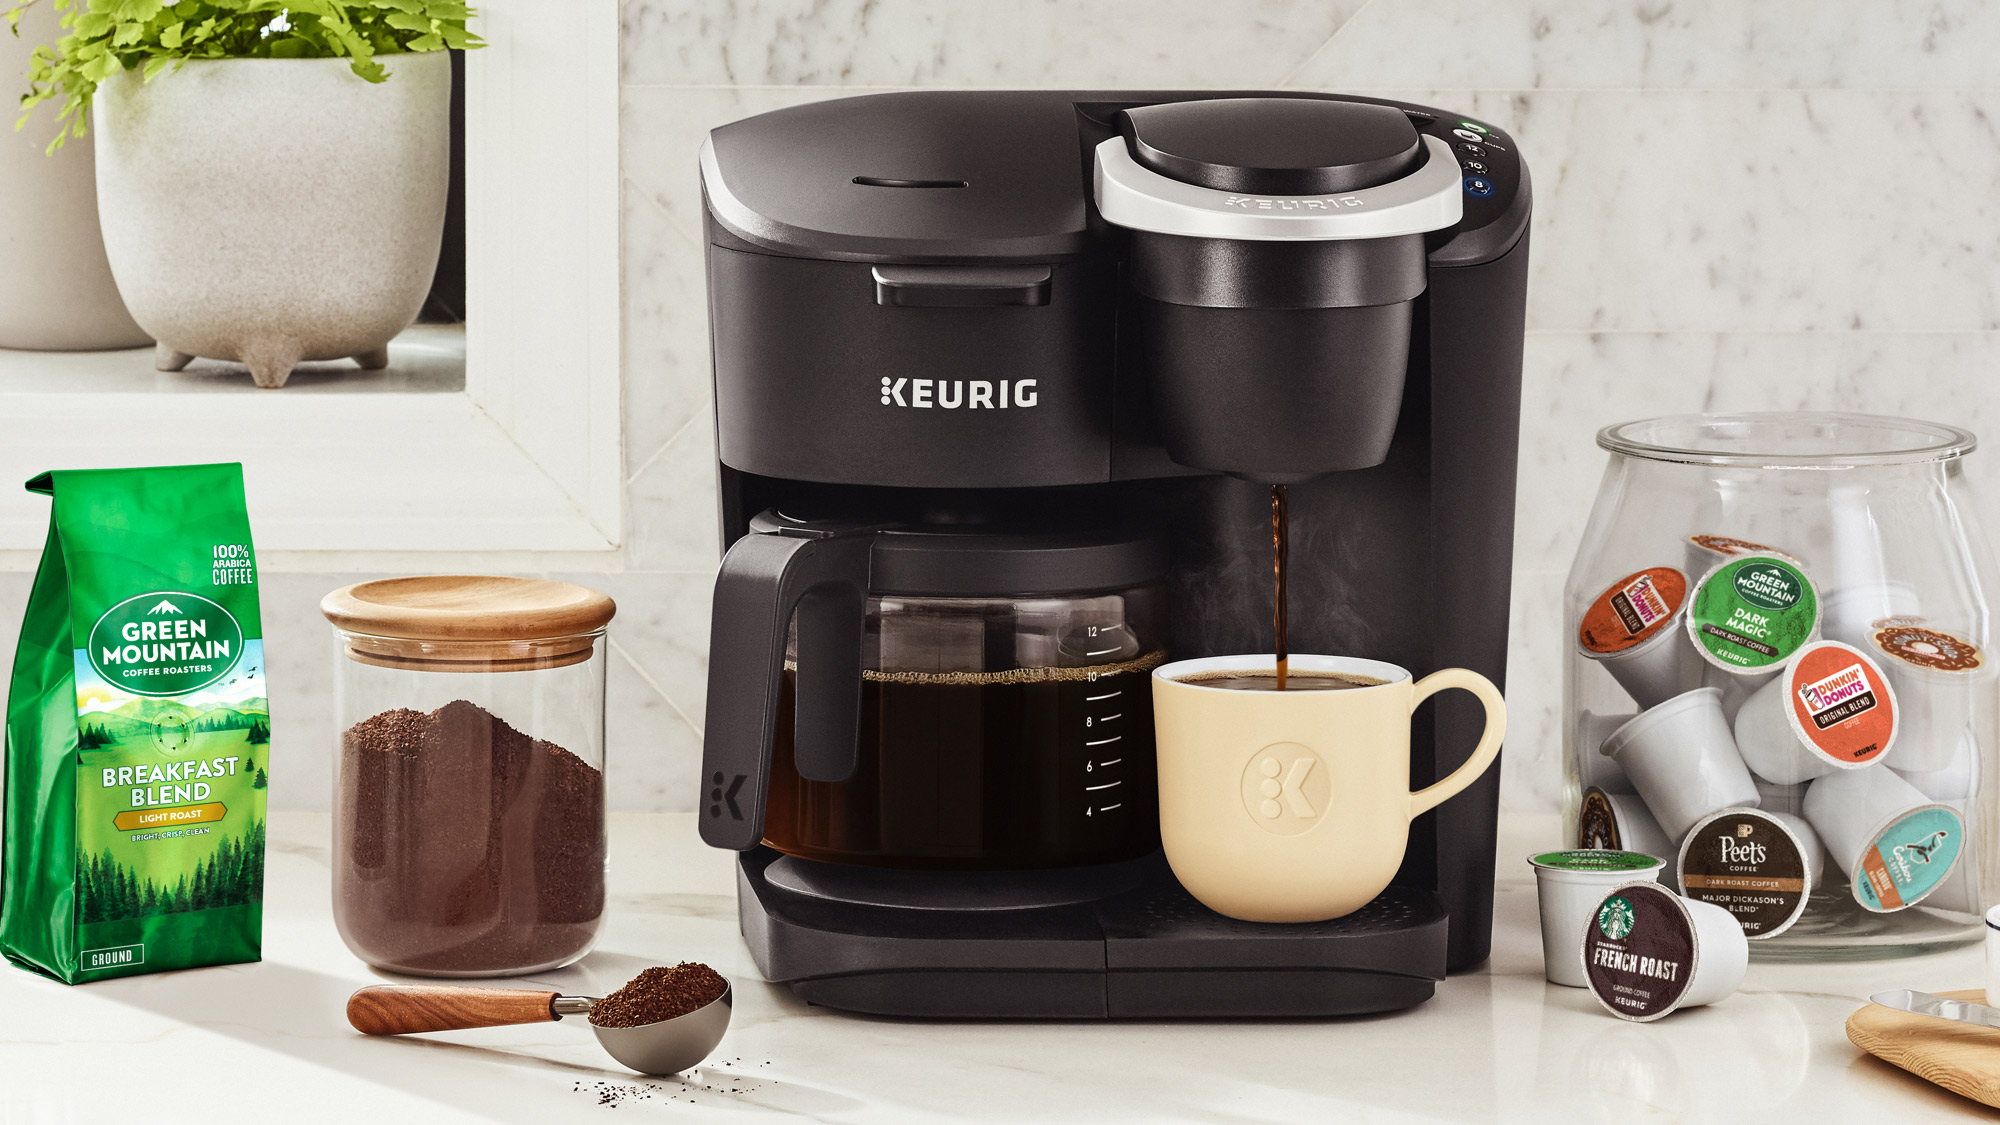
Exploring K-Cup Options
One of the great things about Keurig is the vast selection of K-Cup pods available. You can find everything from classic coffee blends to flavored coffees, teas, hot chocolate, and even cider.
Experiment with different varieties to discover your favorites. Many brands now offer recyclable or compostable K-Cup options, making it easier to enjoy your coffee in an environmentally conscious way.
Troubleshooting Common Issues
Sometimes, you might encounter minor issues with your Keurig. If the machine isn't brewing, check that the water reservoir is full and properly seated.
If you're experiencing slow brewing, descale the machine. Keurig's website offers comprehensive troubleshooting guides for various issues.
The Enduring Appeal of Keurig
Despite the rise of other coffee brewing methods, the Keurig remains a popular choice for many. Its convenience, speed, and ease of use continue to be major selling points.
The ability to brew a single cup of coffee, tailored to individual preferences, has cemented Keurig's place in modern coffee culture.
The convenience of a Keurig machine is unmatched, delivering a hot cup of coffee in mere minutes. However, it's worth considering the environmental impact of single-use pods, and exploring reusable options or compostable alternatives when possible, striking a balance between convenience and sustainability.
As you sip your perfectly brewed cup, remember that even the simplest pleasures can be elevated with a little knowledge and care. Happy brewing!