How Do You Mould A Mouthguard
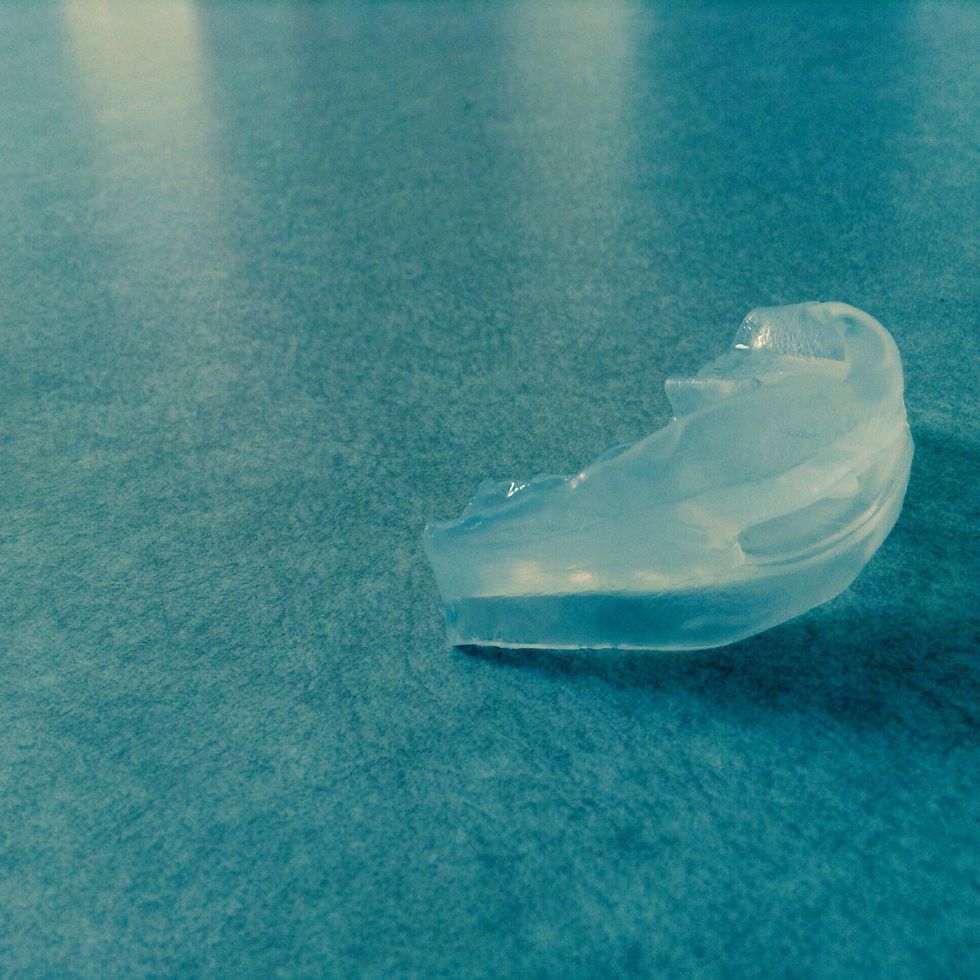
The steam rose in delicate curls from the pot on the stove, momentarily fogging the window and blurring the late afternoon sunlight. A young athlete, Sarah, stood patiently, a focused glint in her eyes. In her hand, she held a peculiar piece of plastic – a brand new, unformed mouthguard, its destiny to become a shield, a protector, and an unsung hero of countless future practices and games.
This article details the surprisingly simple, yet crucial, process of moulding a mouthguard, transforming it from a generic piece of plastic into a perfectly fitted, personalized defence against sports-related injuries.
The Humble Hero: Understanding the Mouthguard
Mouthguards, often overlooked in the grand scheme of athletic gear, play a critical role in protecting the mouth and jaw from impact. The American Dental Association estimates that mouthguards prevent over 200,000 injuries each year in the United States alone.
From preventing fractured teeth and lip lacerations to mitigating the risk of concussions, a properly fitted mouthguard is an essential piece of equipment for athletes of all ages and skill levels.
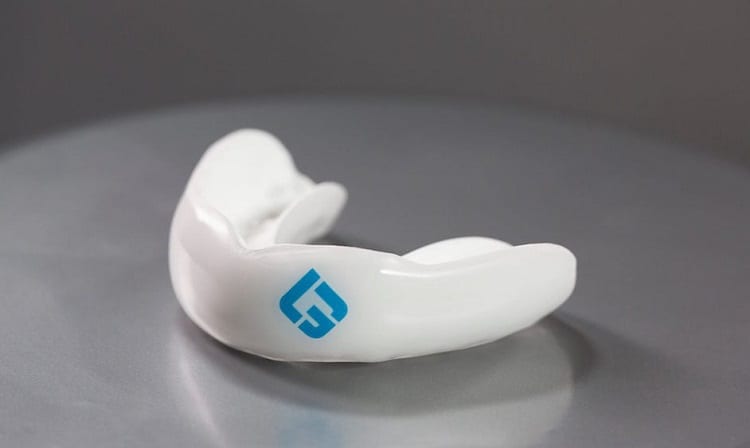
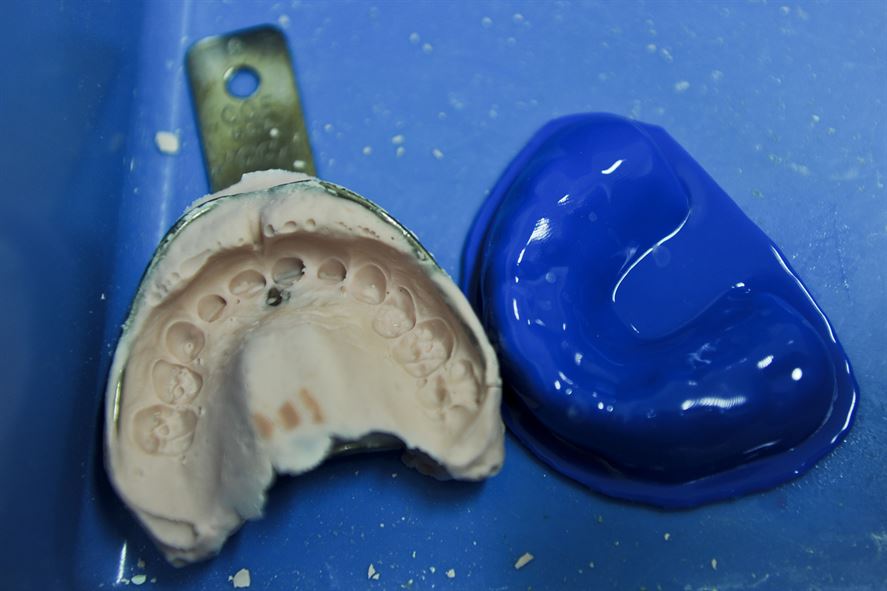
While custom-made mouthguards, crafted by dentists, offer the highest level of protection and comfort, they come at a significantly higher cost. Boil-and-bite mouthguards, readily available at sporting goods stores and pharmacies, provide a more affordable and accessible alternative, provided they are moulded correctly.
Gathering Your Supplies: Preparing for the Moulding Process
Before embarking on the moulding journey, it’s important to assemble all the necessary tools. You’ll need the mouthguard itself, a pot of water, a heat-safe bowl, a timer, a mirror, and a towel.
Carefully inspect the mouthguard for any imperfections or damage. A flawed mouthguard may not mould correctly or provide adequate protection.
Ensure the pot and bowl are clean and free of any residue. Impurities can affect the taste and texture of the mouthguard.
Step-by-Step: The Moulding Process Unveiled
Step 1: Boiling the Water
Begin by bringing the water to a rolling boil in the pot. Once boiling, remove the pot from the heat and allow the water to cool slightly for about 30 seconds.
This cooling period is crucial to prevent the mouthguard from melting or becoming distorted during the moulding process.
Step 2: Softening the Mouthguard
Carefully place the mouthguard into the heat-safe bowl and pour the hot water over it, ensuring it is fully submerged. Use a timer to soak the mouthguard for the recommended time, usually between 15 to 30 seconds, depending on the manufacturer's instructions.
Refer to the specific instructions provided with your mouthguard, as soaking times can vary. Over-soaking can lead to deformation, while under-soaking may prevent proper moulding.
Step 3: Shaping and Fitting
Using a clean utensil, carefully remove the softened mouthguard from the hot water and allow it to cool slightly for a few seconds until you can comfortably handle it.
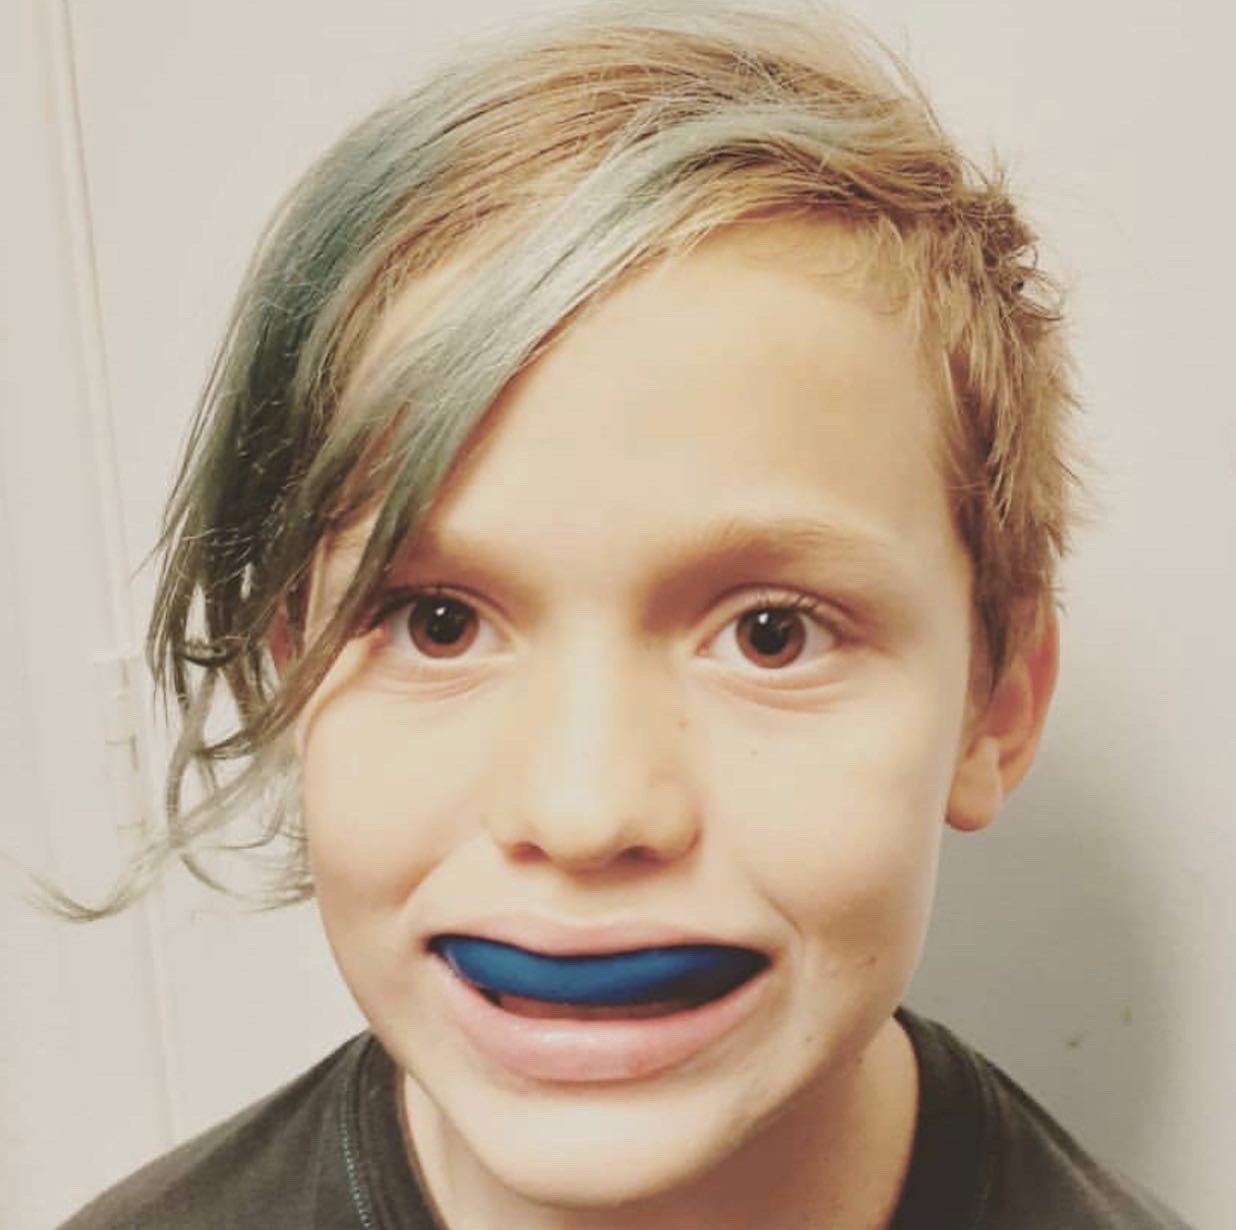
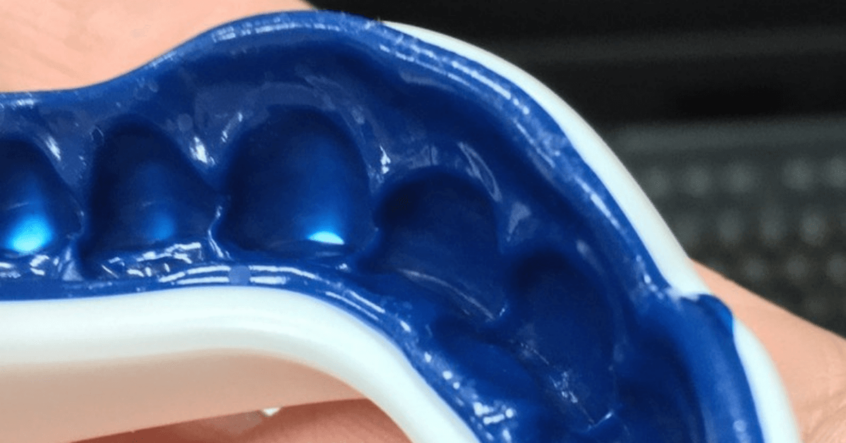
Quickly but carefully place the mouthguard in your mouth, centering it over your upper teeth. Bite down firmly, but not forcefully, and use your fingers to press the mouthguard against the outer surface of your teeth and gums.
Simultaneously, suck in firmly, drawing the warm plastic against your teeth to create a snug, custom fit. Continue biting and sucking for approximately 15 to 20 seconds.
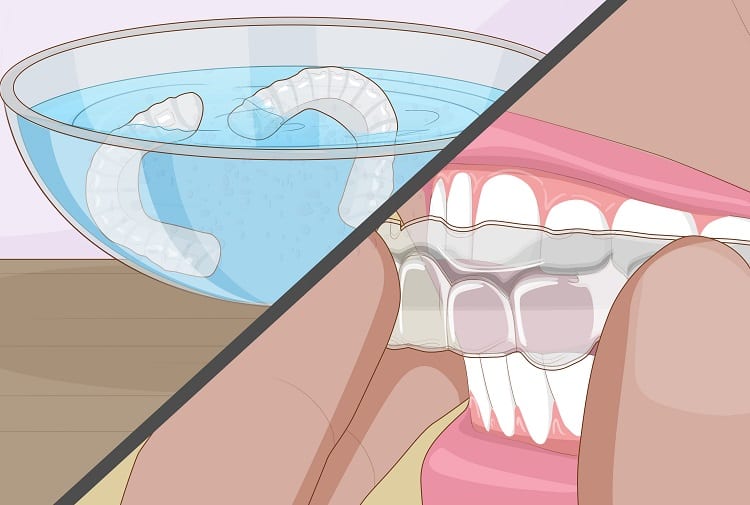
Step 4: Cooling and Setting
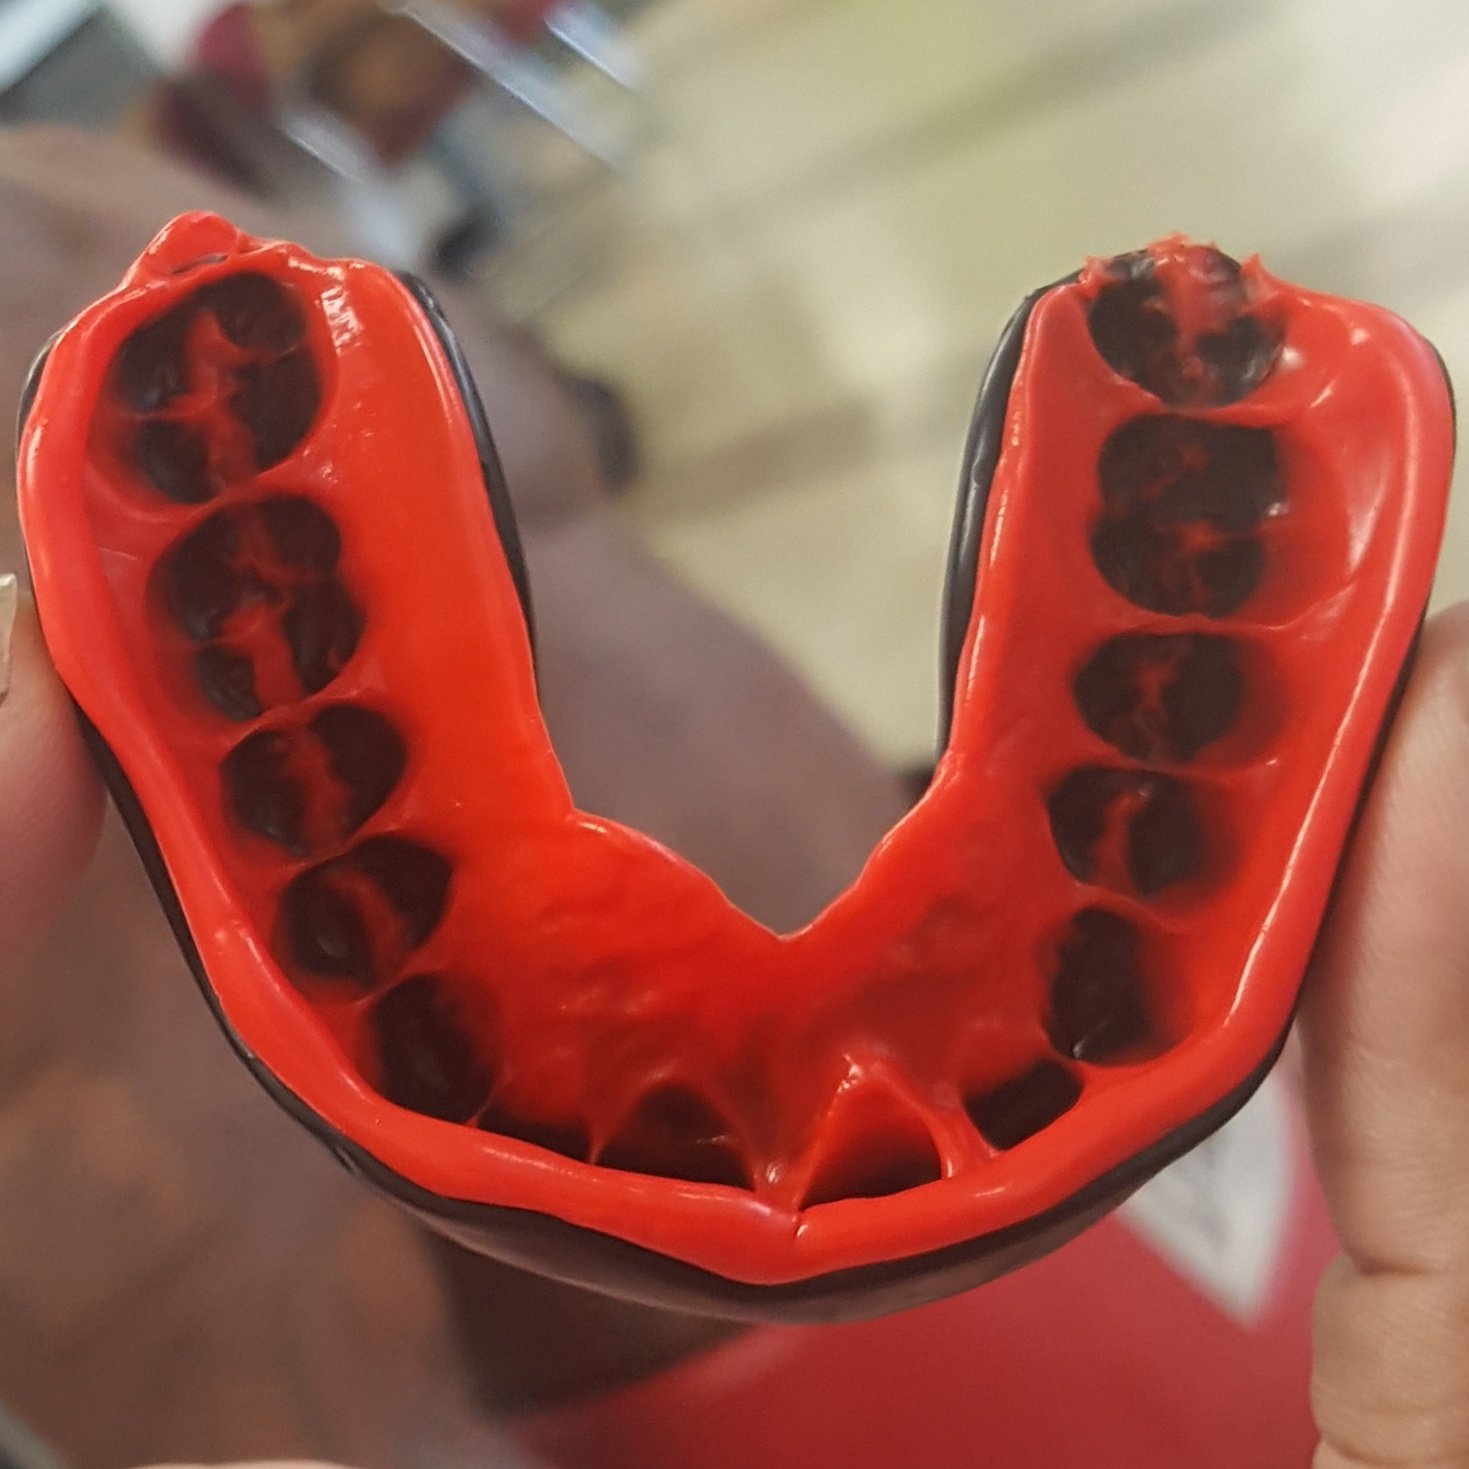
Remove the mouthguard from your mouth and immediately place it in a bowl of cold water for at least 30 seconds to allow it to harden and retain its shape. This rapid cooling helps to set the impression of your teeth.
After cooling, try the mouthguard on again to check the fit. It should feel snug and secure, allowing you to speak relatively clearly and breathe comfortably.
Step 5: Fine-Tuning and Adjustments
If the mouthguard feels uncomfortable or doesn't fit properly, repeat the moulding process. You can reheat the mouthguard in hot water for a shorter period (e.g., 5-10 seconds) to make minor adjustments.
If necessary, carefully trim any excess material from the edges of the mouthguard with scissors to improve comfort and prevent irritation. Be cautious not to trim too much, as this can compromise its protective capabilities.
Caring for Your Mouthguard: Extending Its Lifespan
Proper care is essential to maintain the hygiene and effectiveness of your mouthguard. Rinse it thoroughly with cold water after each use and store it in a well-ventilated container to prevent bacterial growth.
Clean the mouthguard regularly with a mild soap and water or a specialized mouthguard cleaner. Avoid using hot water or harsh chemicals, as these can damage the material.
Inspect the mouthguard regularly for signs of wear and tear, such as cracks, tears, or distortion. Replace the mouthguard if it shows any signs of damage or if it no longer fits properly. According to the Academy of General Dentistry, mouthguards should be replaced every season, or more often if they are damaged.
Beyond the Basics: Considerations for Different Sports
While the basic moulding process remains the same, certain sports may necessitate different types of mouthguards. For example, athletes participating in high-impact sports like football or boxing may benefit from thicker, more robust mouthguards that offer greater protection.
Conversely, athletes in sports like basketball or soccer may prefer thinner, more flexible mouthguards that allow for easier breathing and communication. Consult with a dentist or athletic trainer to determine the most appropriate type of mouthguard for your specific sport and needs.
Dr. Emily Carter, a sports dentist with over 15 years of experience, emphasizes the importance of proper fit. "A poorly fitted mouthguard is as good as no mouthguard at all," she says. "It's essential to take the time to mould it correctly and ensure it provides adequate coverage and protection."
The Confidence of Protection: More Than Just a Mouthguard
The moulded mouthguard now nestled perfectly against Sarah's teeth felt different, more than just a piece of plastic. It felt like confidence, like security, like a silent promise that she could push her limits on the field without fear of unnecessary injury.
It was a tangible reminder that taking preventative measures, even small ones, could make a significant difference in her overall well-being and performance. It was ready for action.
The seemingly simple act of moulding a mouthguard is a testament to the power of proactive healthcare. It empowers athletes to take control of their safety and prioritize their long-term health, allowing them to pursue their passions with greater confidence and peace of mind.