How To Accept Invites On Minecraft Nintendo Switch

Navigating the intricacies of multiplayer gaming can sometimes feel like a quest in itself. For Minecraft enthusiasts on the Nintendo Switch, joining friends for collaborative builds or competitive challenges requires understanding the game's invite system.
This article provides a comprehensive guide on how to accept invites on Minecraft Nintendo Switch, ensuring a smooth and enjoyable multiplayer experience. The process involves several steps, from ensuring proper account linking to navigating the in-game menus.
Understanding the Basics
The foundation of accepting invites lies in linking your Nintendo Account with your Microsoft Account. This connection is crucial for cross-platform play and accessing online features in Minecraft. Without this link, accepting invites and joining realms becomes impossible.
To verify this linkage, launch Minecraft on your Nintendo Switch. Navigate to the settings menu and look for the "Account" section. Here, you should see confirmation of your linked Microsoft Account.
Accepting Friend Requests
Before receiving game invites, ensure you are friends with the inviter on the Microsoft side. This is accomplished through the Xbox network, which Minecraft utilizes for its social features. Requesting friendship is similar to inviting players to join your session.
Players can find your gamertag, usually their Minecraft username, and send you a request. The game notifications will then provide an invite request to be accepted.
Once the invitation is accepted, the Minecraft friend lists will update, and you can see online friend's status.
Accepting Game Invites: Step-by-Step
Receiving and accepting a game invite in Minecraft on the Nintendo Switch involves a few straightforward steps. When a friend sends you an invite, a notification will appear within the game.
This notification usually pops up on the main menu or within the game itself. Accepting this invite is generally as simple as pressing the designated button (often 'A') to join the invited player's world.
However, if the notification doesn't appear, there's another avenue to explore. From the main Minecraft menu, select "Play."
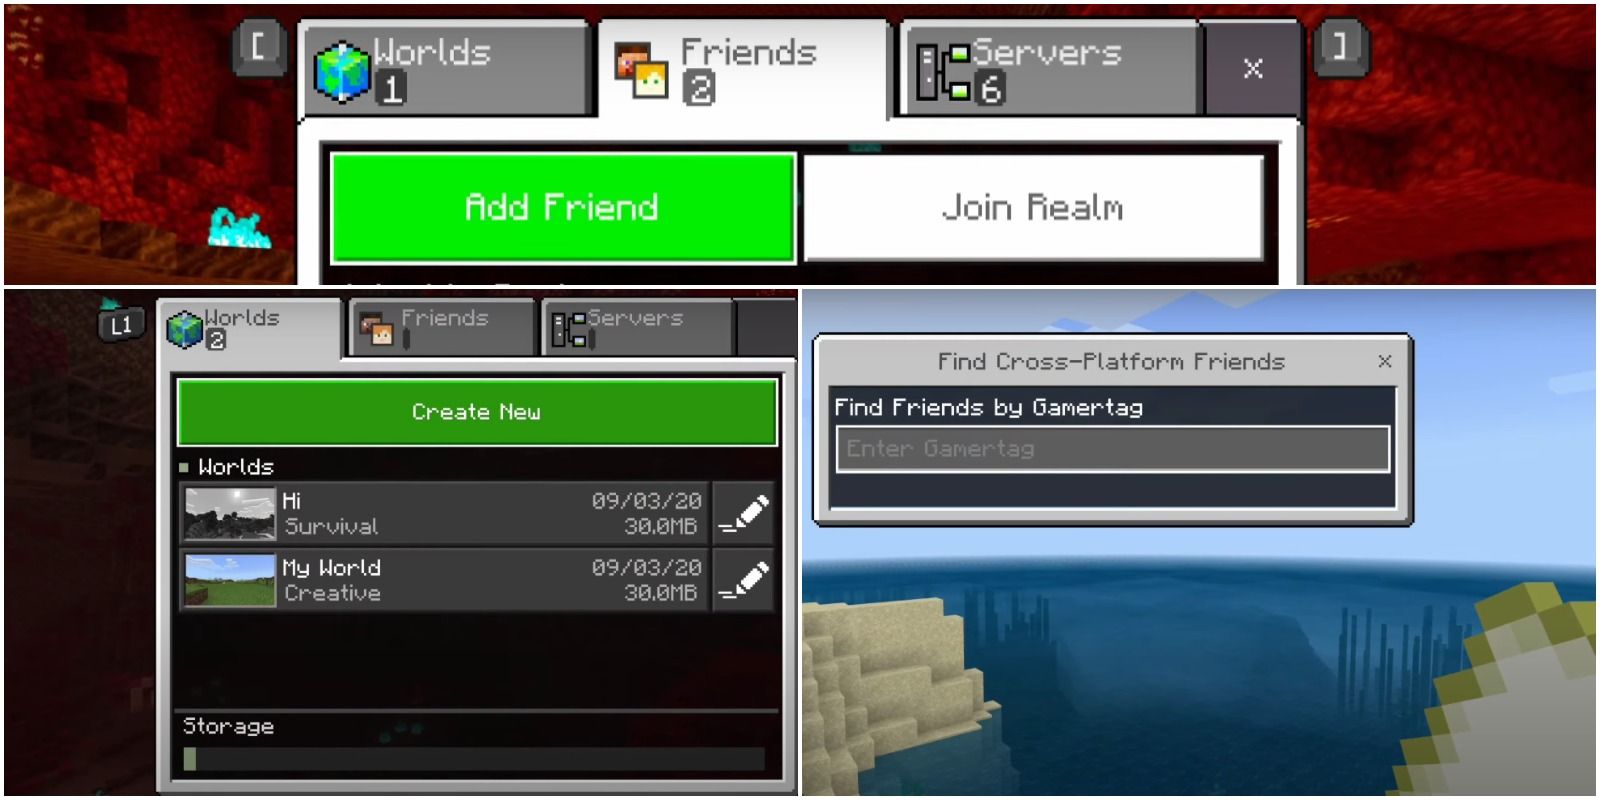
Navigating the "Play" Menu
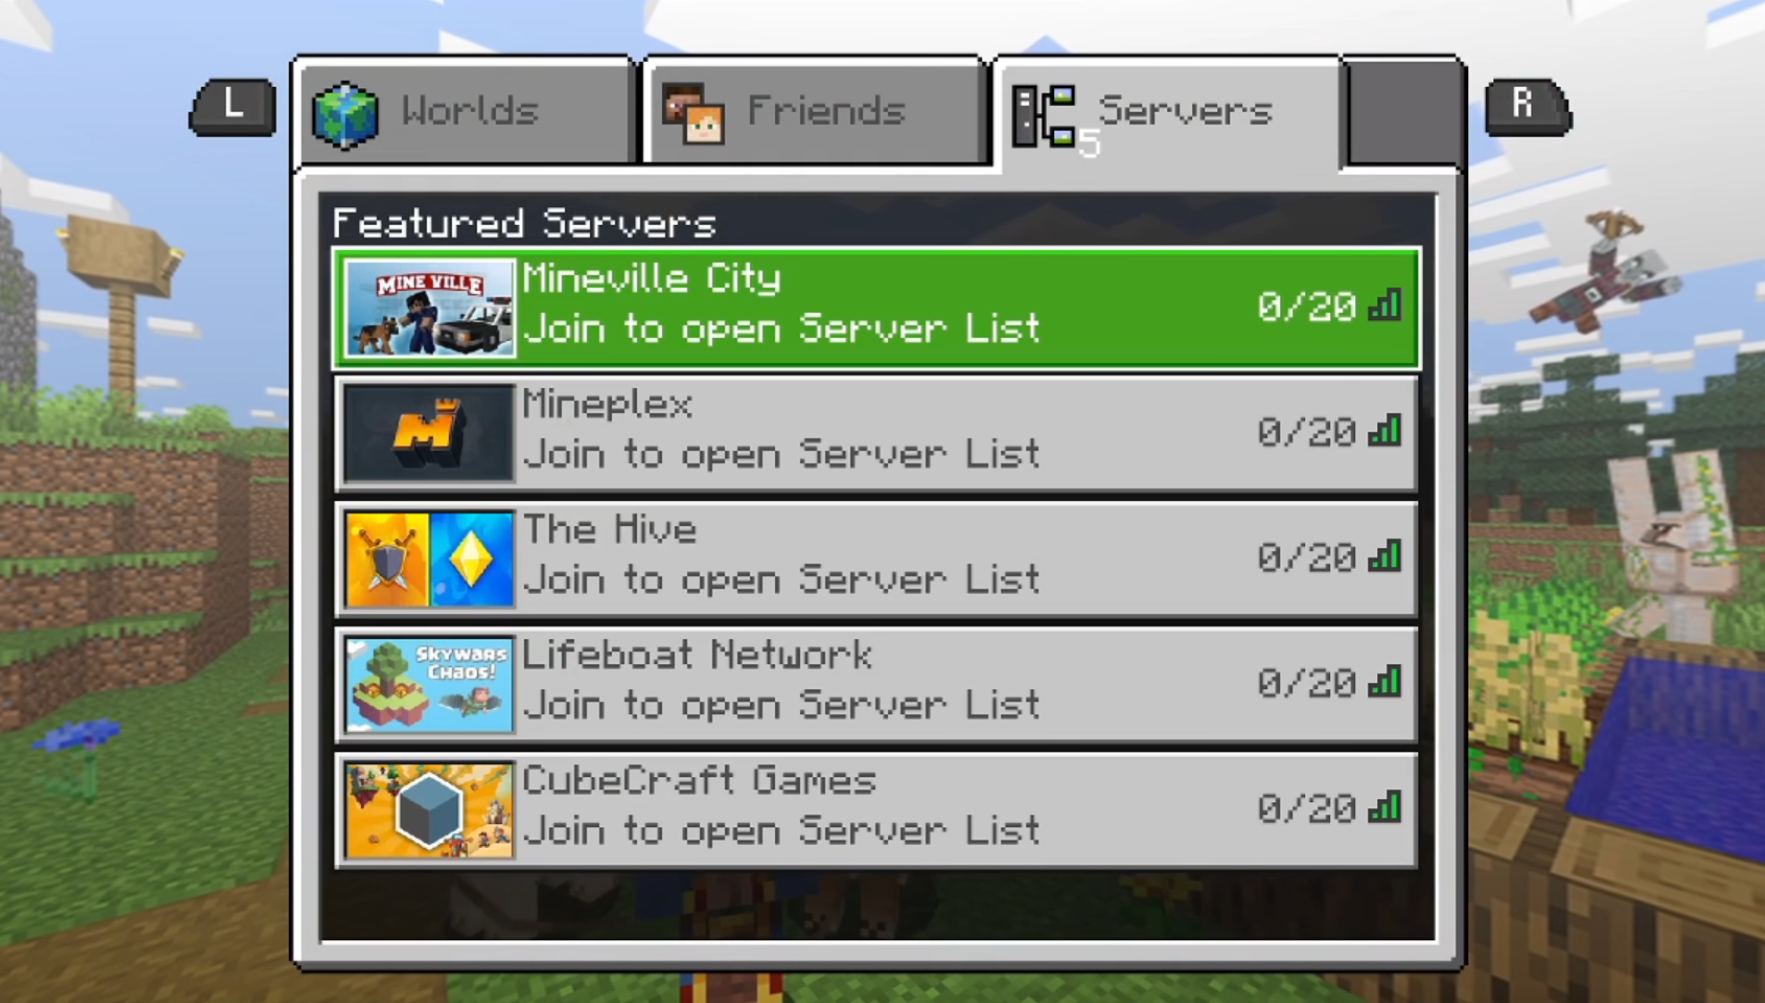
Within the "Play" menu, you will see tabs for "Worlds," "Friends," and "Servers." Select the "Friends" tab.
This section displays your online friends and any active invites. Look for the player who sent the invitation, and their world should appear with an option to join.
If you don't see the invite right away, try refreshing the friend list. It usually only requires a click or two.
Troubleshooting Common Issues
Sometimes, technical hiccups can prevent invites from appearing or being accepted. One common issue is network connectivity. Ensure your Nintendo Switch has a stable internet connection via Wi-Fi or Ethernet.
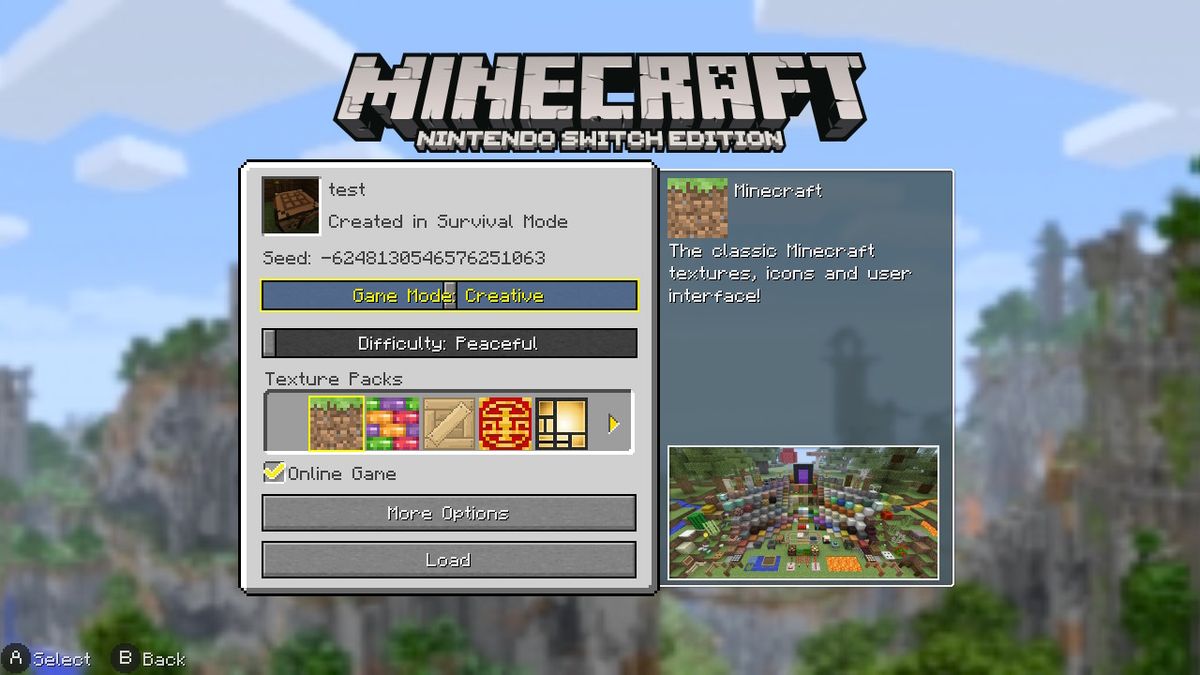
Another potential problem lies in the game's settings. Ensure that your multiplayer settings allow friends to join your world. This includes checking permission settings within the world itself.
If problems persist, restarting both Minecraft and your Nintendo Switch can often resolve temporary glitches. Consider checking the Minecraft help website if the situation persists.
The Impact of Seamless Multiplayer
The ability to easily accept invites fosters a stronger sense of community within Minecraft. Friends can collaborate on ambitious building projects, explore expansive landscapes together, and engage in friendly competition.
This enhances the overall Minecraft experience, transforming it from a solitary creative outlet into a shared adventure. As the game continues to evolve, such multiplayer features are essential for its ongoing popularity.
Understanding how to accept invites is thus a key element in unlocking the full potential of Minecraft on the Nintendo Switch. By following these steps, players can easily connect with friends and enjoy the game together.


:no_upscale()/cdn.vox-cdn.com/uploads/chorus_asset/file/21702024/117180744_10101550886852241_1264788582110898576_o.jpg)


:max_bytes(150000):strip_icc()/a14-48db2039b2b44f62827d953c59a30005.png)


:max_bytes(150000):strip_icc()/a1-9bdcab7e998f4fceb0a8ed6337d14323.png)