How To Add Photos From Mac To Iphone 6

Losing precious memories trapped on your Mac and yearning to view them on your iPhone 6? You're not alone. This seemingly simple task often presents a hurdle for even tech-savvy users. This article navigates the complexities of transferring photos, offering several proven methods to bridge the gap between your devices and bring your cherished images into your pocket.
This guide provides a comprehensive, step-by-step approach to adding photos from a Mac to an iPhone 6. It explores multiple avenues, including using iCloud Photos, iTunes (or Finder in newer macOS versions), AirDrop, and third-party applications. Each method is detailed with specific instructions, troubleshooting tips, and considerations for storage space and data security.
Method 1: iCloud Photos - The Cloud Sync Solution
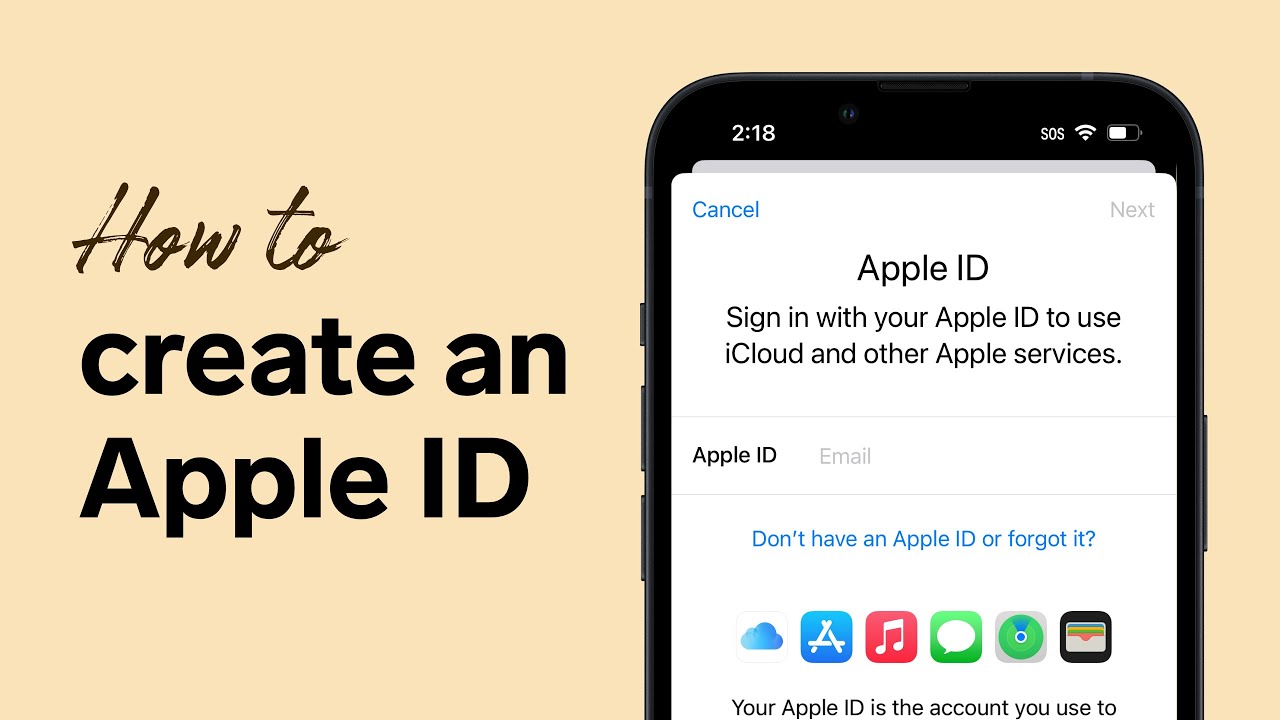
iCloud Photos is a seamless way to keep your photo library synchronized across all your Apple devices. First, ensure you're signed in to the same Apple ID on both your Mac and iPhone 6.
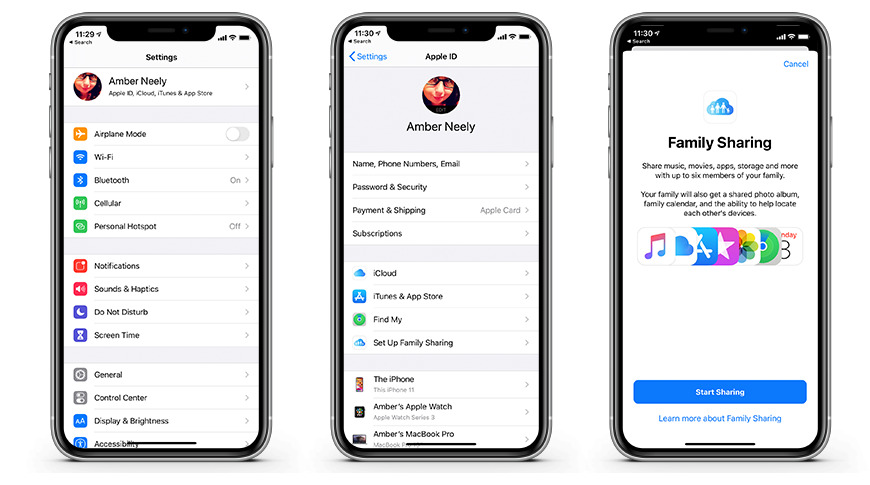
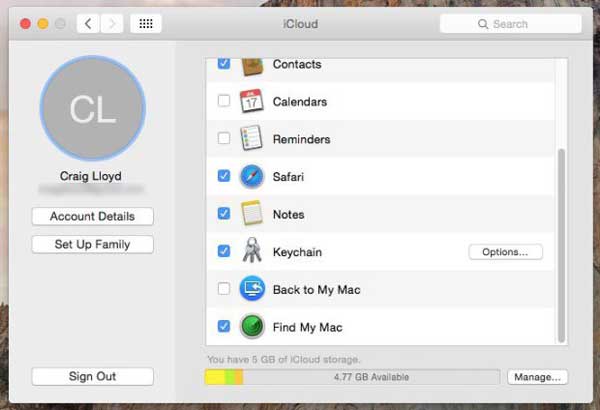
On your Mac, go to System Preferences (or System Settings) > Apple ID > iCloud. Ensure that "Photos" is checked. On your iPhone 6, go to Settings > [Your Name] > iCloud > Photos and enable iCloud Photos.
Any photo added to your Photos app on your Mac will automatically upload to iCloud and then download to your iPhone 6, provided both devices are connected to Wi-Fi.
Considerations: iCloud storage space is limited, so you may need to purchase additional storage if your photo library is large. This method also relies heavily on a stable internet connection.
Method 2: iTunes/Finder - The Traditional Sync Approach
For users who prefer a more direct approach, using iTunes (or Finder in macOS Catalina and later) offers a reliable way to sync photos. Connect your iPhone 6 to your Mac using a USB cable.
Open iTunes (or Finder if you're on macOS Catalina or later). Select your iPhone 6 when it appears in the sidebar. Click on the "Photos" tab.
Choose to sync photos from a specific folder or your entire Photos library. Click "Apply" or "Sync" to initiate the transfer. This method allows granular control over which photos are transferred.
Important: Syncing photos with iTunes/Finder will overwrite any existing synced photos on your iPhone. Ensure you have a backup of your iPhone before proceeding. This method does not upload photos directly from your iPhone 6 to your Mac.
Method 3: AirDrop - The Quick and Easy Transfer
AirDrop is a convenient way to quickly transfer a few photos wirelessly between your Mac and iPhone 6. Ensure both devices have Bluetooth and Wi-Fi enabled.
On your Mac, open the photo(s) you want to transfer in the Photos app or Finder. Click the "Share" button and select "AirDrop."
Your iPhone 6 should appear in the AirDrop window. Select it, and your iPhone will prompt you to accept the transfer. This method is ideal for small batches of photos but less practical for large libraries.
Method 4: Third-Party Apps - Exploring Alternatives
Several third-party apps offer alternative ways to transfer photos. Google Photos, Dropbox, and other cloud storage services can be used to upload photos from your Mac and then access them on your iPhone 6 through their respective apps.
These apps often provide additional features like automatic backup and photo organization. However, they require trusting a third-party with your data.
Consider the app's privacy policy and security measures before entrusting it with your photos. Always download apps from reputable sources like the App Store or the developer's official website.
The method you choose will largely depend on your individual needs and preferences. iCloud Photos is ideal for seamless synchronization, while iTunes/Finder offers more control. AirDrop is perfect for quick transfers, and third-party apps provide added flexibility. By understanding these different approaches, you can effortlessly transfer your photos from your Mac to your iPhone 6 and keep your memories close at hand.


![How To Add Photos From Mac To Iphone 6 [3 Ways] How to Add MP3 to Apple Music on iPhone 2024 - YouTube](https://i.ytimg.com/vi/0IjEUZLzio8/maxresdefault.jpg)


![How To Add Photos From Mac To Iphone 6 How to Delete eSIM from iPhone [Ultimate Guide] – MicroEsim](https://cdn.shopify.com/s/files/1/0811/7724/8021/files/iphone-add-esim-by-qr-code.jpg)