How To Build A Center Channel Speaker

Home theater enthusiasts, listen up! You can significantly enhance your audio experience by building your own center channel speaker.
This DIY project empowers you to customize sound quality and save money. Skip the retail prices and dive into crafting a center channel speaker optimized for dialogue clarity and immersive soundscapes.
Materials and Tools: Gather Your Arsenal
First, acquire the essentials. You'll need a speaker enclosure (MDF is a common choice), drivers (woofer and tweeter), crossover components (resistors, capacitors, inductors), wiring, binding posts, acoustic dampening material, wood glue, screws, and finishing materials.
Crucially, ensure compatibility between drivers and crossover.
Essential tools include a saw (for cutting the enclosure if needed), soldering iron, multimeter, drill, screwdriver, wire stripper, and measuring tools. Safety glasses and a dust mask are also mandatory for safe working conditions.
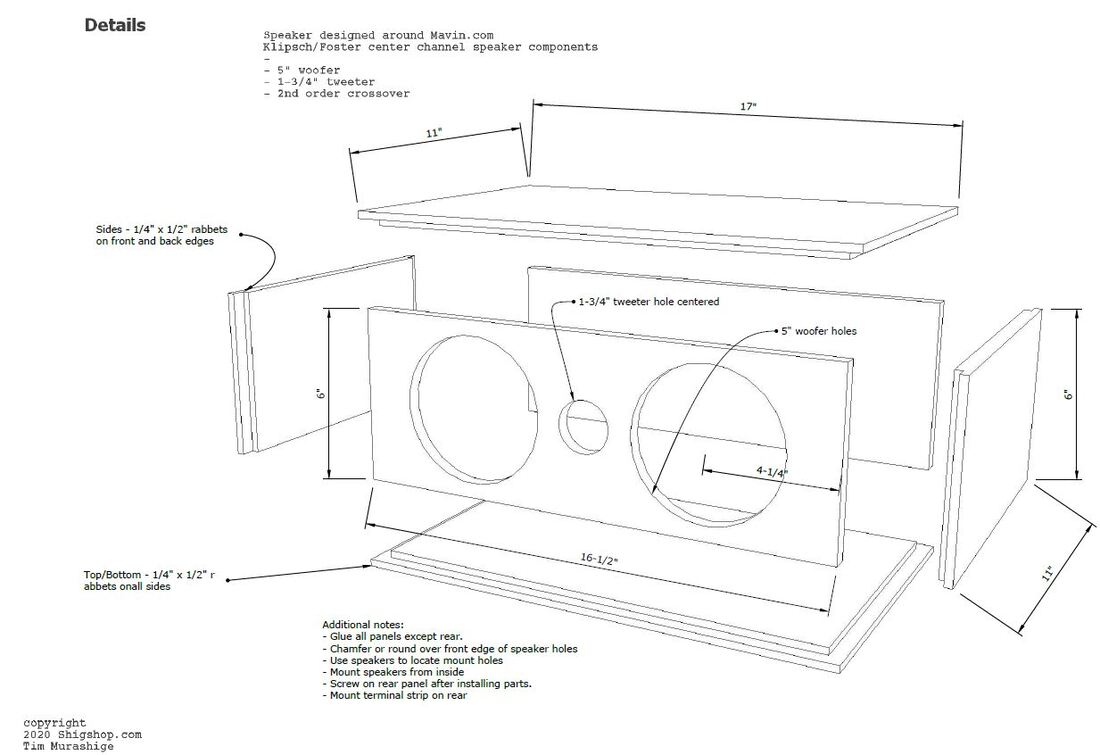
Enclosure Construction: The Foundation of Sound
Start by preparing the enclosure. Cut the MDF boards according to your chosen design. Many online resources offer free or paid plans.
Accurately cut panels ensure a tightly sealed enclosure.
Next, assemble the box using wood glue and screws. Ensure airtight seams to prevent sound leakage. Apply clamps while the glue dries.
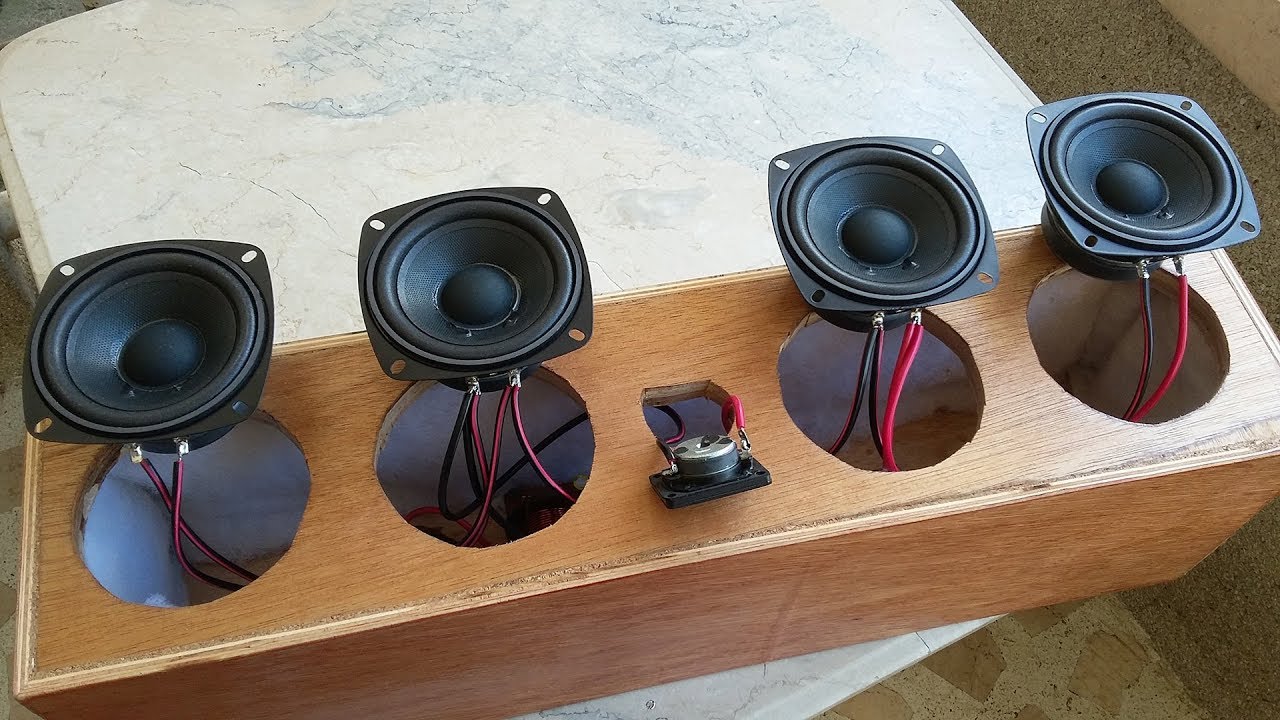
Driver Mounting: Precision is Key
Carefully cut holes for the woofer(s) and tweeter. Templates are often included with driver purchases.
Precisely sized openings guarantee a secure and vibration-free fit.
Mount the binding posts on the back panel for connecting speaker wire.
Crossover Network: Directing the Frequencies
The crossover network is crucial for directing appropriate frequencies to each driver. It divides the audio signal, sending low frequencies to the woofer and high frequencies to the tweeter.
Assemble the crossover components on a circuit board. Follow the schematic diagram meticulously to ensure correct connections.
Mistakes in the crossover can severely damage your speaker components. Solder all connections securely.
Wiring and Assembly: Bringing It All Together
Connect the crossover network to the drivers and binding posts. Use quality speaker wire.
Pay attention to polarity. Positive (+) and negative (-) terminals must be connected correctly for proper sound reproduction.
Install acoustic dampening material inside the enclosure to minimize unwanted reflections and resonances. Stuff it loosely.
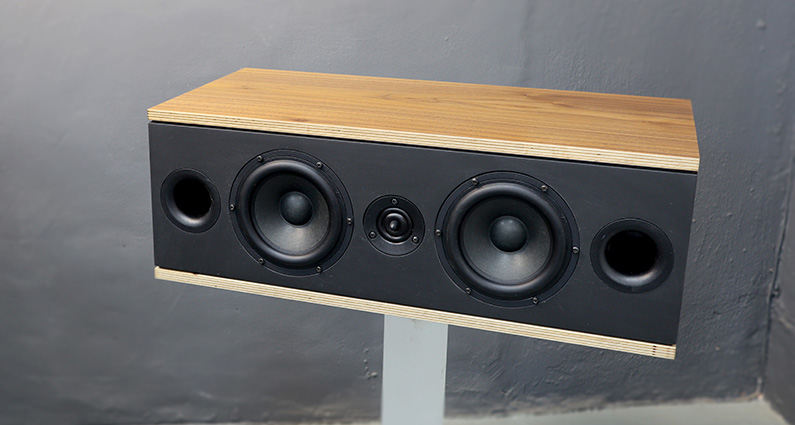
Finishing Touches: Aesthetics and Protection
Sand the enclosure to smooth out any imperfections. Apply primer and paint or veneer to achieve your desired aesthetic.
Consider using a speaker grill to protect the drivers from damage.
Let the finish dry completely before connecting and testing the speaker.
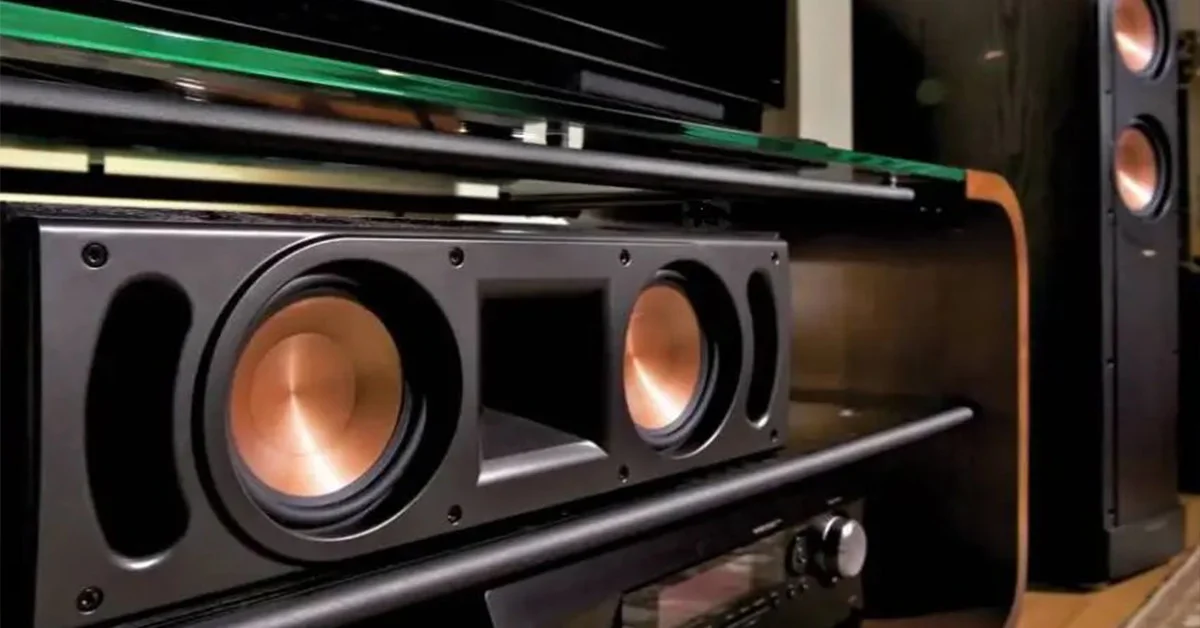
Testing and Troubleshooting: Ensuring Quality
Connect the speaker to your receiver or amplifier. Start at a low volume. Gradually increase it.
Listen for any distortions or anomalies. Check the balance between the woofer and tweeter.
If you hear buzzing or rattling, check for loose connections or objects inside the enclosure. Verify the crossover components are functioning correctly using a multimeter. Consult online forums or experienced audiophiles if you encounter significant issues.
Next Steps: Enhance Your Home Theater
Now that you know the steps, start researching driver and crossover options that suit your budget and audio preferences. Numerous online resources and forums offer detailed plans and advice.
Consider joining DIY audio communities for support and inspiration. Share your build experience and learn from others.
Building your own center channel speaker is a rewarding experience that will elevate your home theater setup.