How To Change Key Pair In Aws Ec2 Instance

Imagine this: it’s late, you’re deep into a coding project, and suddenly, a cold dread washes over you. You realize you've potentially compromised your AWS EC2 instance key pair. The security landscape shifts constantly, and the key you diligently guarded now feels vulnerable. Don’t panic! While the initial feeling can be unsettling, regaining control and securing your instance is entirely possible.
This article provides a straightforward guide to changing the key pair associated with your AWS EC2 instance. We'll walk through the process, highlighting essential steps to ensure a smooth transition and maintain the integrity of your cloud infrastructure.
Understanding the Process
While AWS doesn't directly allow you to "change" the key pair on a running instance, the most common and recommended method involves creating a new Amazon Machine Image (AMI) from your existing instance. Then you launch a new instance from this AMI, associating it with a new key pair.
This essentially creates a secure copy of your instance, allowing you to access it with a fresh, uncompromised key.
Step 1: Create an AMI from Your Instance
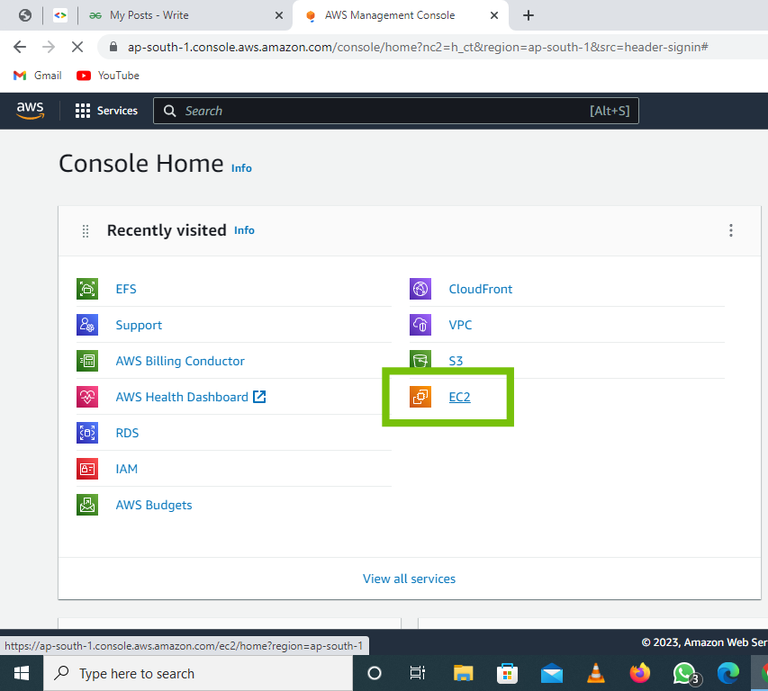
First, navigate to the AWS EC2 console. Select your running instance from the list.
Next, in the Actions menu, choose “Image” and then “Create Image”.
Give your image a descriptive name and a brief description to easily identify it later. Ensure you understand that creating an AMI will temporarily halt the instance to ensure data consistency during the image creation process.
Step 2: Launch a New Instance from the AMI
Once the AMI is created (it might take some time), go to the AMIs section of the EC2 console. Find the AMI you just created.
Select it and click “Launch instance from AMI”. This will guide you through the familiar instance launch process.
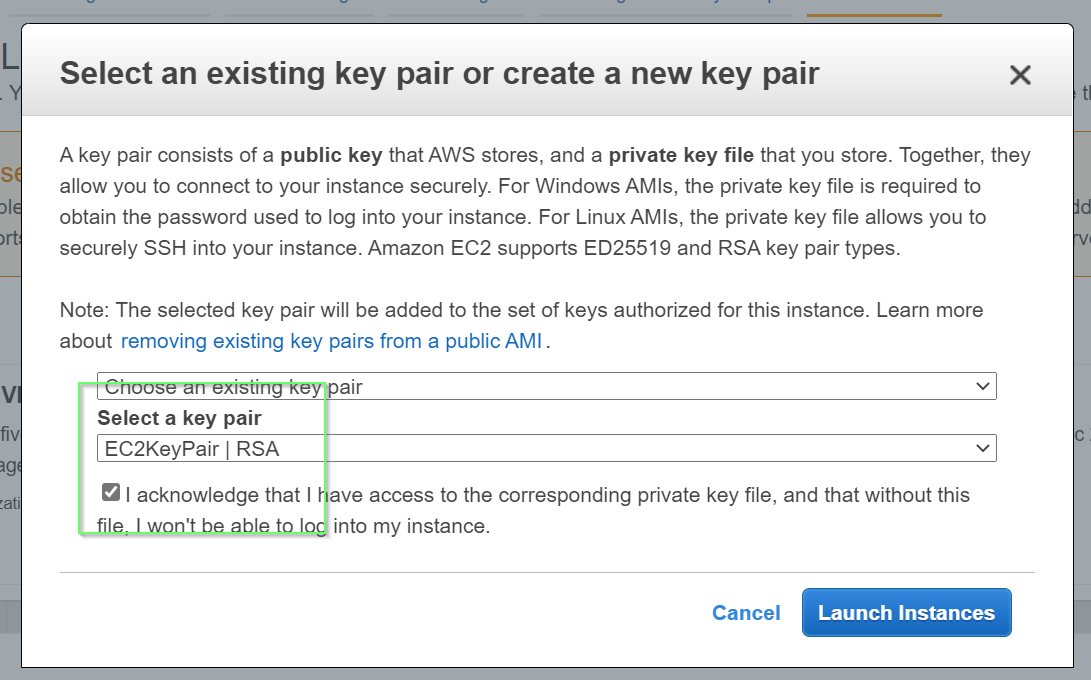
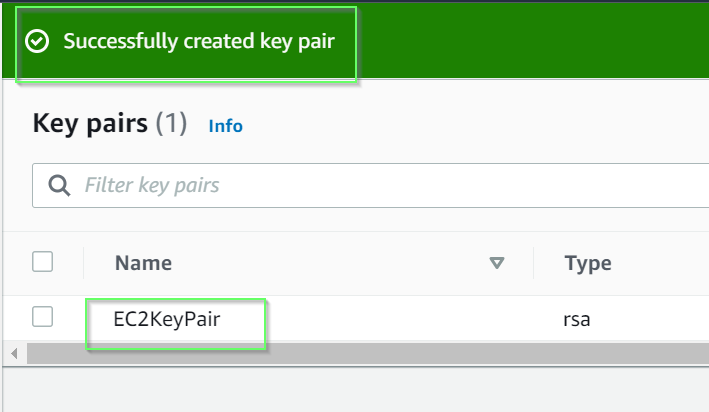
Crucially, when prompted, choose a new key pair! This is the key to regaining secure access. If you don’t have one, create a new key pair and download the .pem file to a safe location.
Step 3: Configure the New Instance (Security Groups & Elastic IPs)
Ensure the new instance is placed in the same security group(s) as your original instance. This will ensure it inherits the same network access rules. If your original instance was associated with an Elastic IP address, disassociate it and associate it with your new instance.
This step is crucial to maintain the same public IP address and avoid any disruption to your services.
Step 4: Verify and Terminate the Old Instance
After launching the new instance and confirming everything is working as expected, it's time to decommission the old instance. Before terminating, double-check that all your applications and services are running correctly on the new instance.
This will prevent any data loss or unexpected downtime.
Finally, terminate the old instance. Remember that terminated instances cannot be recovered, so proceed with caution.
Security Best Practices
Beyond changing your key pair, consider implementing further security measures. Regularly rotate your AWS access keys, use IAM roles for access management, and enable multi-factor authentication (MFA) on your AWS account.
These practices contribute to a more robust security posture.
Conclusion
While the initial realization of a potentially compromised key can be alarming, taking swift action and following these steps will help you regain control of your AWS EC2 instance. Creating a new AMI and launching a new instance with a fresh key pair is a practical solution.
By implementing strong security practices, you can mitigate risks and ensure the ongoing protection of your cloud resources. The cloud is dynamic, and staying informed and proactive is key to maintaining a secure environment.