How To Change Language On Bluedio Bluetooth Headphones

Imagine this: you're unwrapping a brand new pair of Bluedio Bluetooth headphones, eager to immerse yourself in your favorite playlist. The sleek design and comfortable earcups promise hours of auditory bliss. But as you power them on, a voice booms out instructions in a language you don't understand, shattering the anticipation. Don't fret, fellow music lovers! This minor hiccup is easily resolved, and you'll be enjoying your tunes in no time.
Changing the language on your Bluedio headphones is usually a simple process involving a specific button combination. Many users are unaware of this feature or struggle to find the correct instructions. This guide will provide a clear and concise walkthrough, ensuring you can customize your audio experience to your preferred language.
Understanding Bluedio Headphone Basics
Bluedio has carved a niche in the audio market with its affordable yet feature-rich headphones. Known for their emphasis on bass and stylish designs, they've attracted a diverse user base. But this global appeal also means that the default language setting might not always suit everyone.
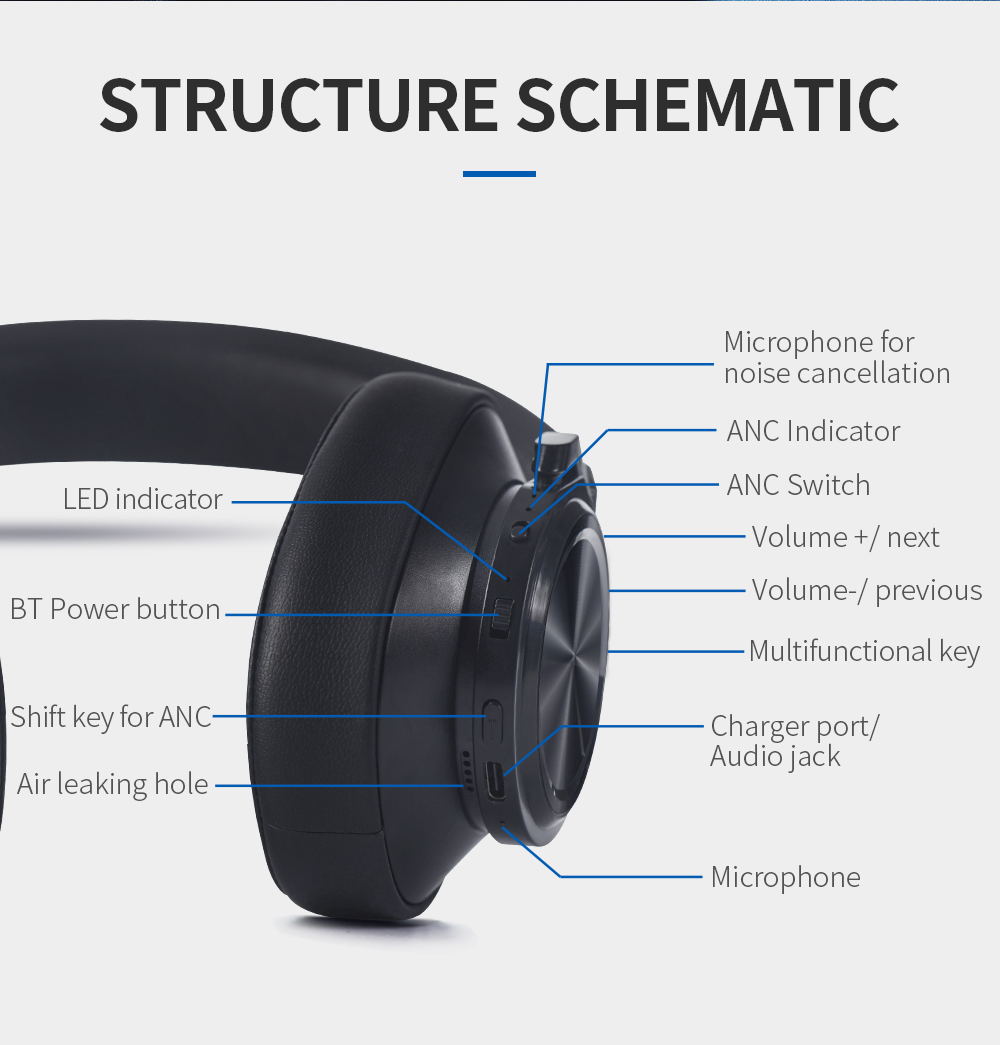
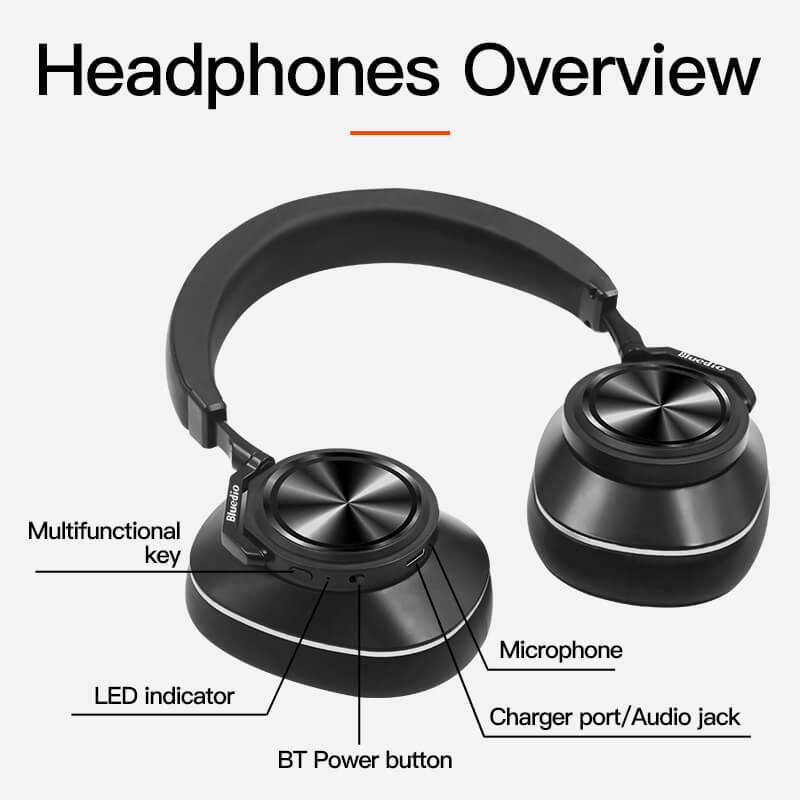
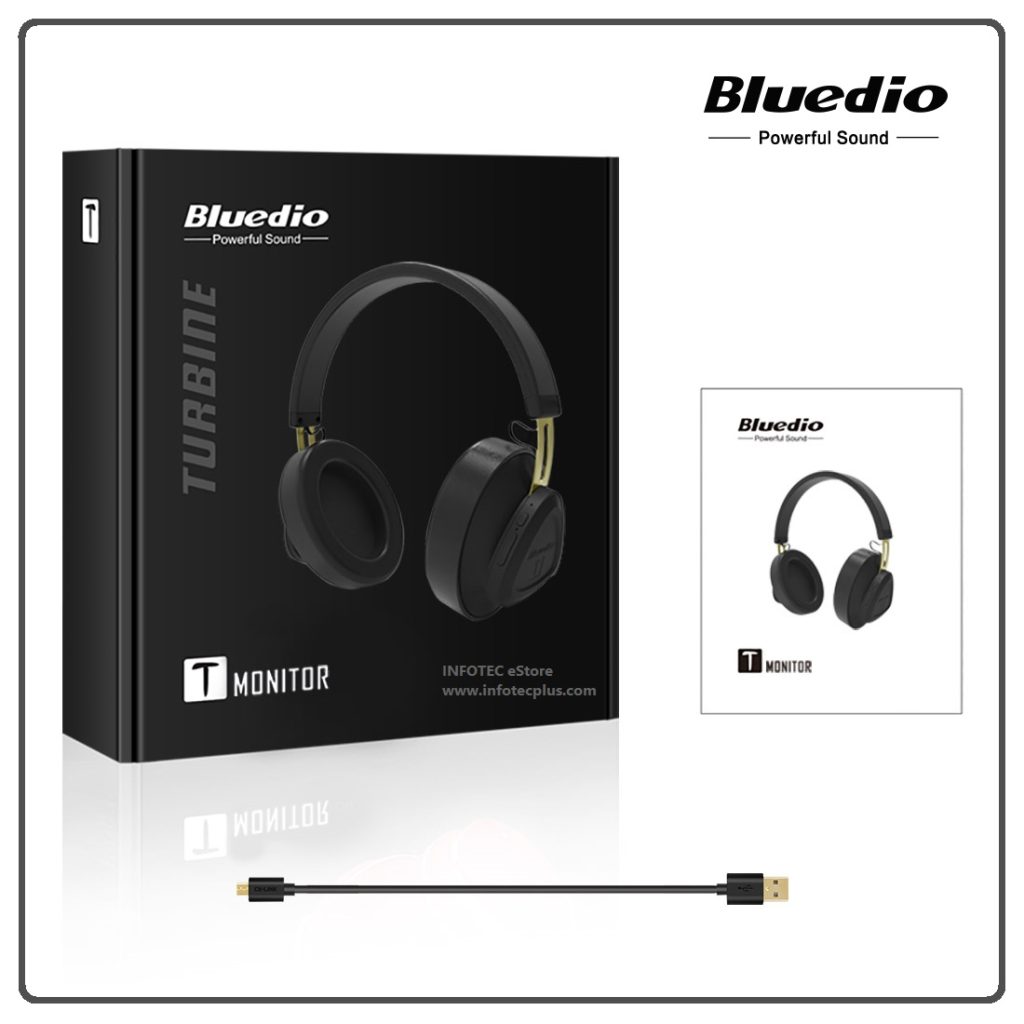
Before diving into the language change procedure, it's essential to identify your specific Bluedio headphone model. The button layout and functionalities can vary slightly between different models. Check the packaging, the user manual, or the headphone itself for the model number.
The Language Change Procedure
Most Bluedio headphones follow a similar process for language switching. However, double-checking the user manual for your specific model is always recommended.
Step-by-Step Guide
Power on your Bluedio headphones.
The next step usually involves pressing and holding a combination of buttons. The most common combination is the Volume Up (+) and Volume Down (-) buttons simultaneously for a few seconds, until you hear a prompt. If that doesn't work, try holding the MFB (Multi-Function Button) and the Volume Up (+) button.
Upon hearing the prompt, release the buttons.
The headphones will then cycle through the available languages. You'll typically hear a voice announcement in each language as it cycles through.
When you hear your desired language, press the MFB (Multi-Function Button) to confirm the selection. Your Bluedio headphones will now operate in the selected language.
Troubleshooting
If the above steps don't work, consult your user manual for model-specific instructions. Bluedio's website often provides downloadable manuals as well.
Ensure that your headphones are sufficiently charged. A low battery can sometimes interfere with certain functions.
If you're still encountering issues, reach out to Bluedio's customer support for assistance. They can provide personalized guidance and troubleshoot any potential hardware or software problems.
The Significance of User Customization
The ability to change the language on your headphones highlights the importance of user customization. Technology is most effective when it adapts to the individual needs and preferences of its users. This simple feature enhances accessibility and ensures a more enjoyable user experience for a global audience.
According to a 2023 report by Statista, the global Bluetooth headphones market is projected to reach $35.7 billion by 2027. As the market grows, features like language customization will become increasingly crucial for brands seeking to cater to a diverse customer base.
Final Thoughts
Changing the language on your Bluedio headphones might seem like a small detail, but it can make a world of difference to your listening experience. By following these simple steps, you can unlock the full potential of your audio device and enjoy your favorite tunes without any language barriers.
So, go ahead, personalize your Bluedio headphones and immerse yourself in the world of sound, tailored just for you. After all, music is a universal language, and your headphones should speak it fluently, in your preferred tongue.