How To Change Margins In Adobe Acrobat Pro Dc

Imagine this: you've meticulously crafted a stunning PDF document, brimming with vital information and eye-catching visuals. Yet, when you glance at the margins, they seem…off. Too wide, too narrow, just not quite right. The document's inherent beauty and readability are subtly undermined by these uncooperative borders.
Fortunately, Adobe Acrobat Pro DC offers a straightforward path to margin mastery. This article provides a step-by-step guide to adjusting margins in your PDFs, ensuring your documents always look their best.
Understanding Margins in Acrobat Pro DC
Margins in PDF documents dictate the white space surrounding the text and other content on a page. They're essential for visual appeal and readability, preventing content from appearing cramped or cluttered.
Acrobat Pro DC provides several tools to manipulate these margins, ensuring optimal presentation.
Step-by-Step Guide to Changing Margins
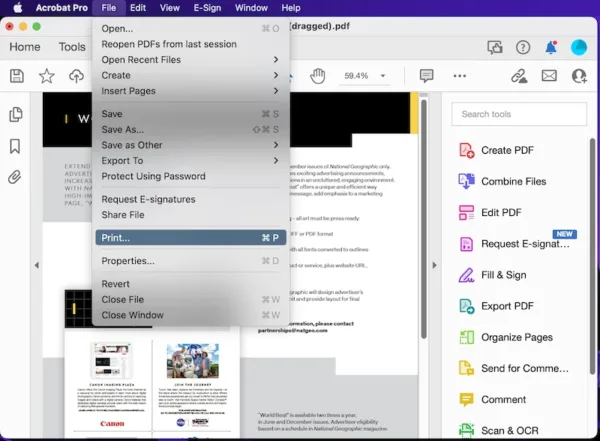
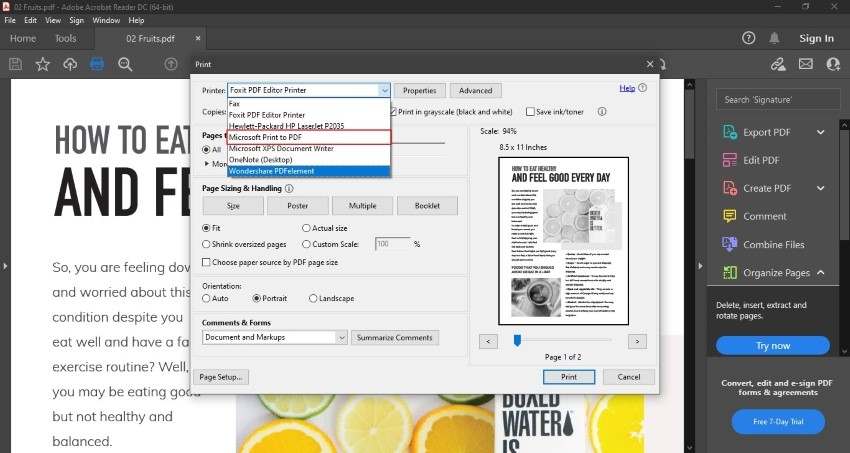
Begin by opening your PDF file in Adobe Acrobat Pro DC. Ensure you have the Pro version, as the free Reader version lacks the necessary editing capabilities.
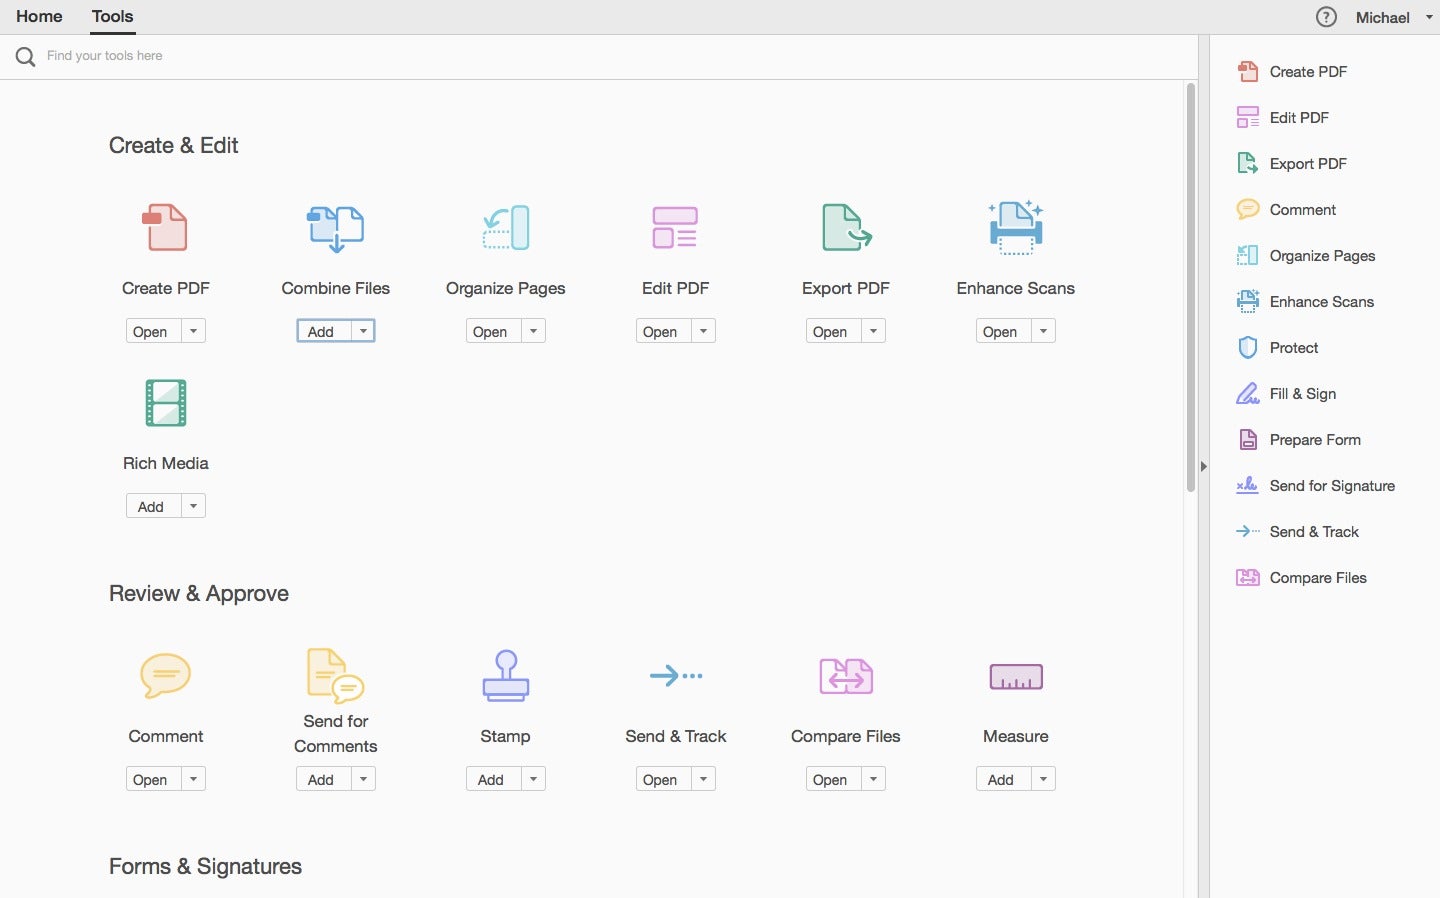
Navigate to the "Edit PDF" tool, typically found in the right-hand pane or under the "Tools" tab.
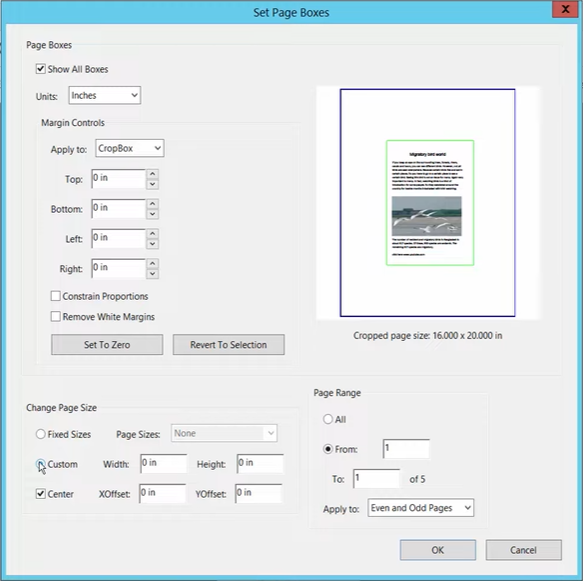
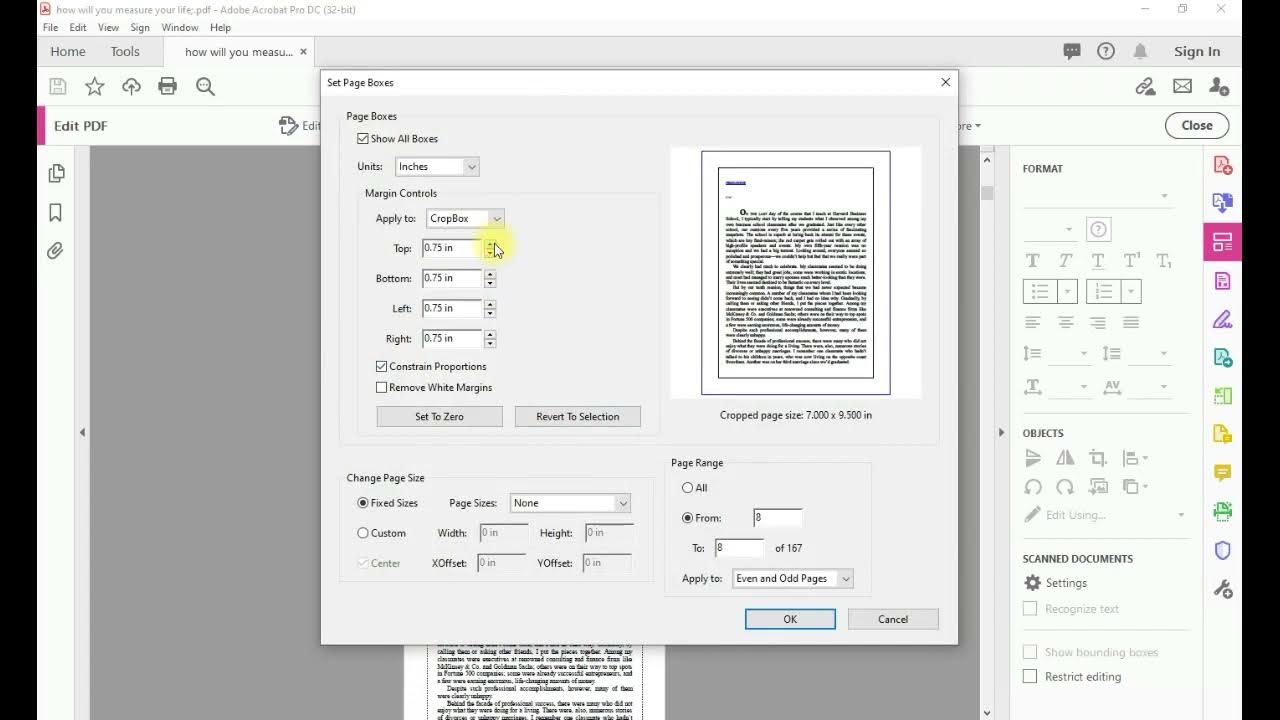
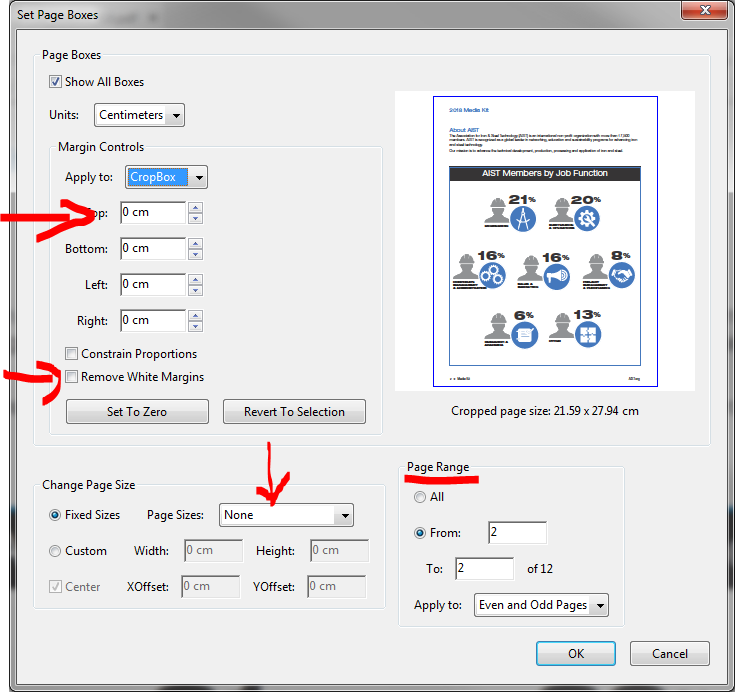
Within the "Edit PDF" options, look for the "Crop Pages" tool. Selecting this will display a rectangular cropping box around your page.
Now, carefully drag the edges of the cropping box to define your desired margins. As you adjust, a preview will appear, showing how the page will look with the new margins.
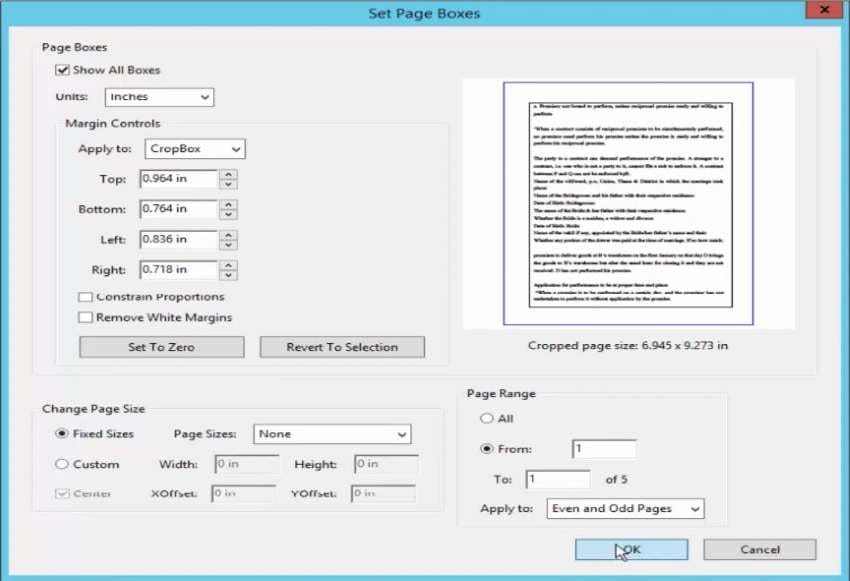
Double-clicking inside the cropping box opens the "Set Page Boxes" dialog box, which offers even greater precision.
In the "Set Page Boxes" dialog, you can manually enter precise values for the margins (Top, Bottom, Left, Right). You can also choose to apply these changes to all pages, a range of pages, or just the current page.
For consistent margins across your document, consider using the "All Pages" option or specifying a page range.
Click "OK" to apply the changes. The margins will be updated based on your specified adjustments.
Once satisfied, save your PDF document. It's always a good idea to create a backup copy before making significant changes.
Advanced Tips and Considerations
The "Remove White Margins" option within the "Set Page Boxes" dialog can automatically detect and eliminate excess white space around your content.
Pay close attention to the preview as you adjust margins. Ensure that no crucial content is inadvertently cropped out.
Different types of documents may require different margin settings. A report might benefit from generous margins, while a brochure might use narrower margins for a more contemporary look.
According to Adobe's official documentation, understanding the relationship between margins and printer settings is key to achieving desired output.
Margins can impact the reflow of text in a PDF. Be sure to review your document after margin adjustments to ensure readability.
The Significance of Well-Defined Margins
Well-defined margins aren't just about aesthetics; they play a crucial role in document readability and professional presentation.
Consistent margins enhance visual appeal, making your documents look polished and professional.
Adequate margins prevent text from feeling cramped, improving readability and reducing eye strain.
Strategically placed margins can guide the reader's eye, highlighting key information and creating a better overall reading experience.
From ensuring your meticulously crafted reports exude professionalism to giving your digital brochures a sleek, modern edge, mastering the art of margin adjustment is an invaluable skill.
By following these simple steps in Acrobat Pro DC, you can transform your documents from ordinary to extraordinary, one perfectly placed margin at a time.


![How To Change Margins In Adobe Acrobat Pro Dc 3 Ways | How to Print PDF Without Margins [2022] - EaseUS](https://toolbox.easeus.com/images/toolbox/pdf-editor/screenshots/adjust-margin.png)