How To Create My Own Letterhead In Word
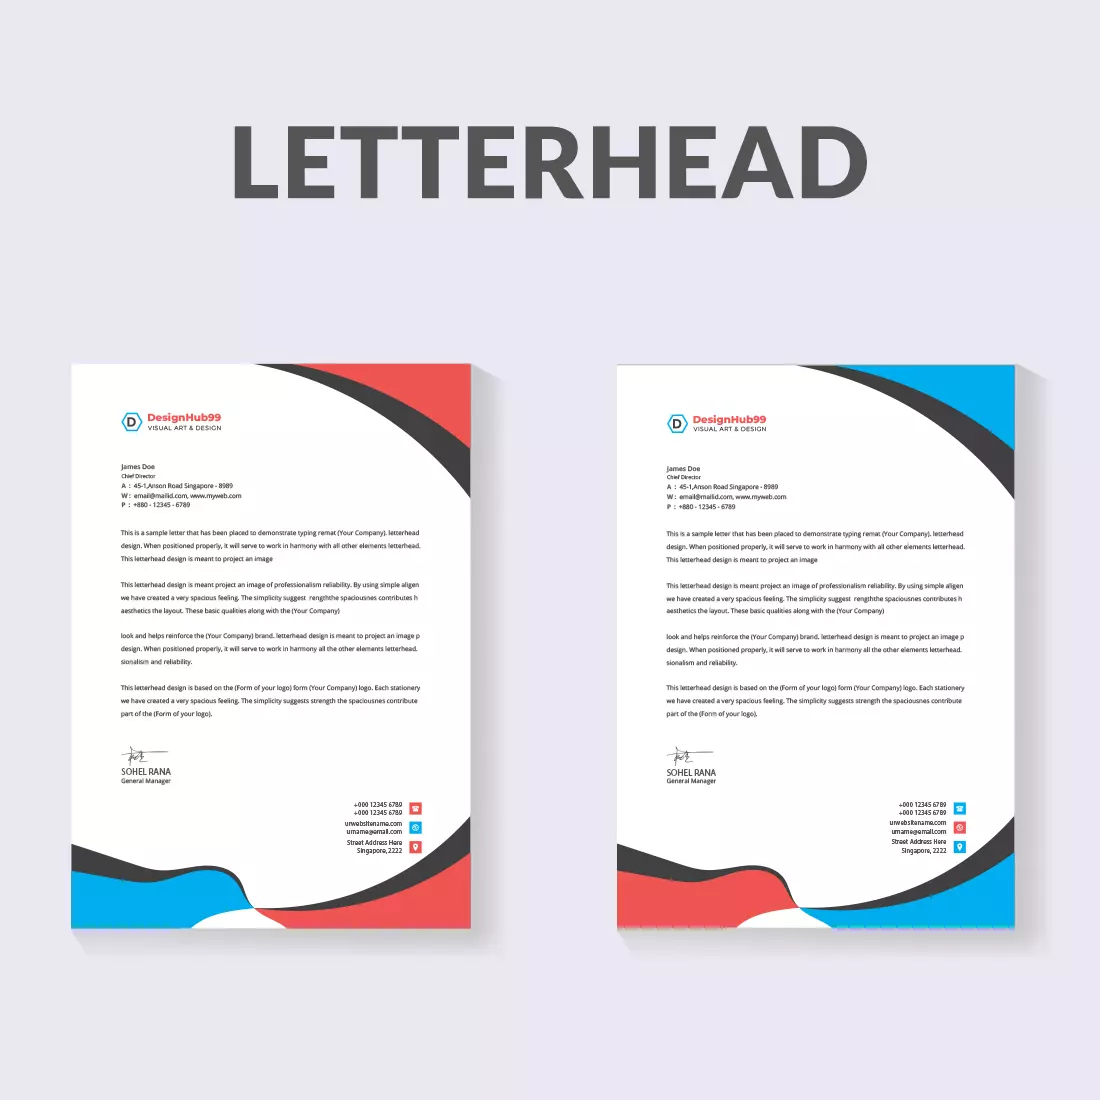
Need professional letterhead, fast? Crafting a custom design in Microsoft Word is easier than you think and can elevate your brand instantly.
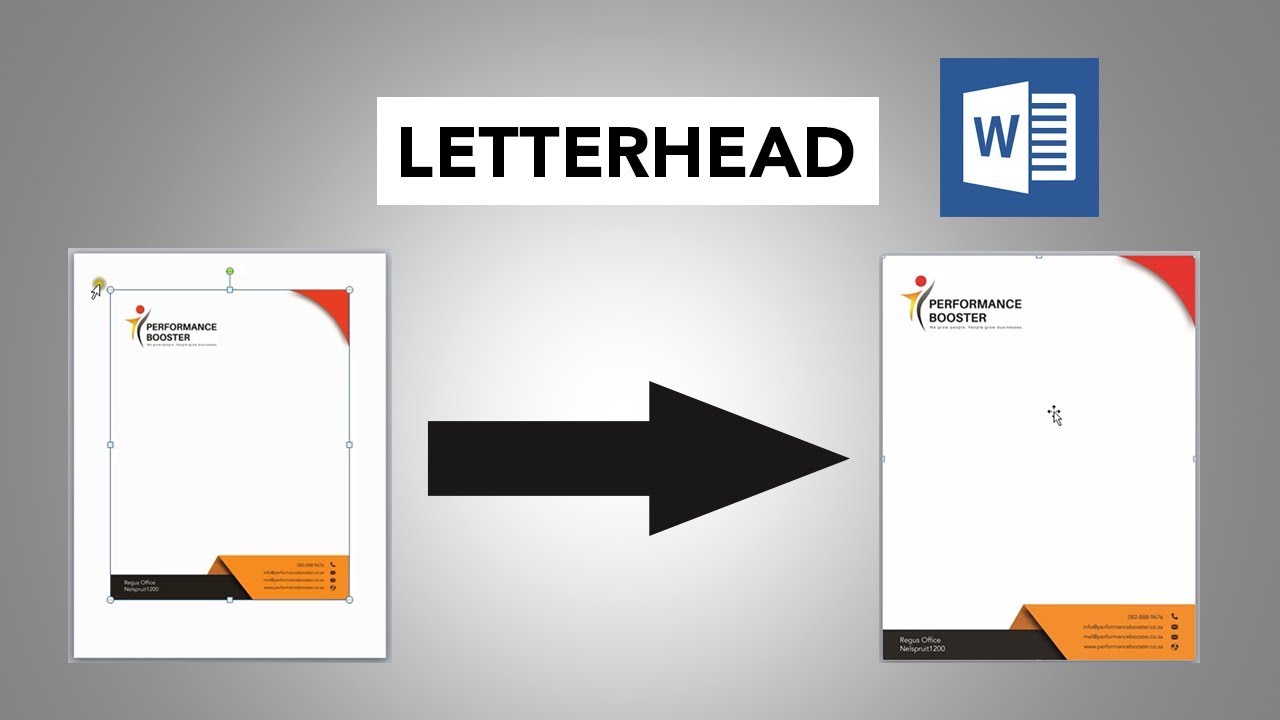
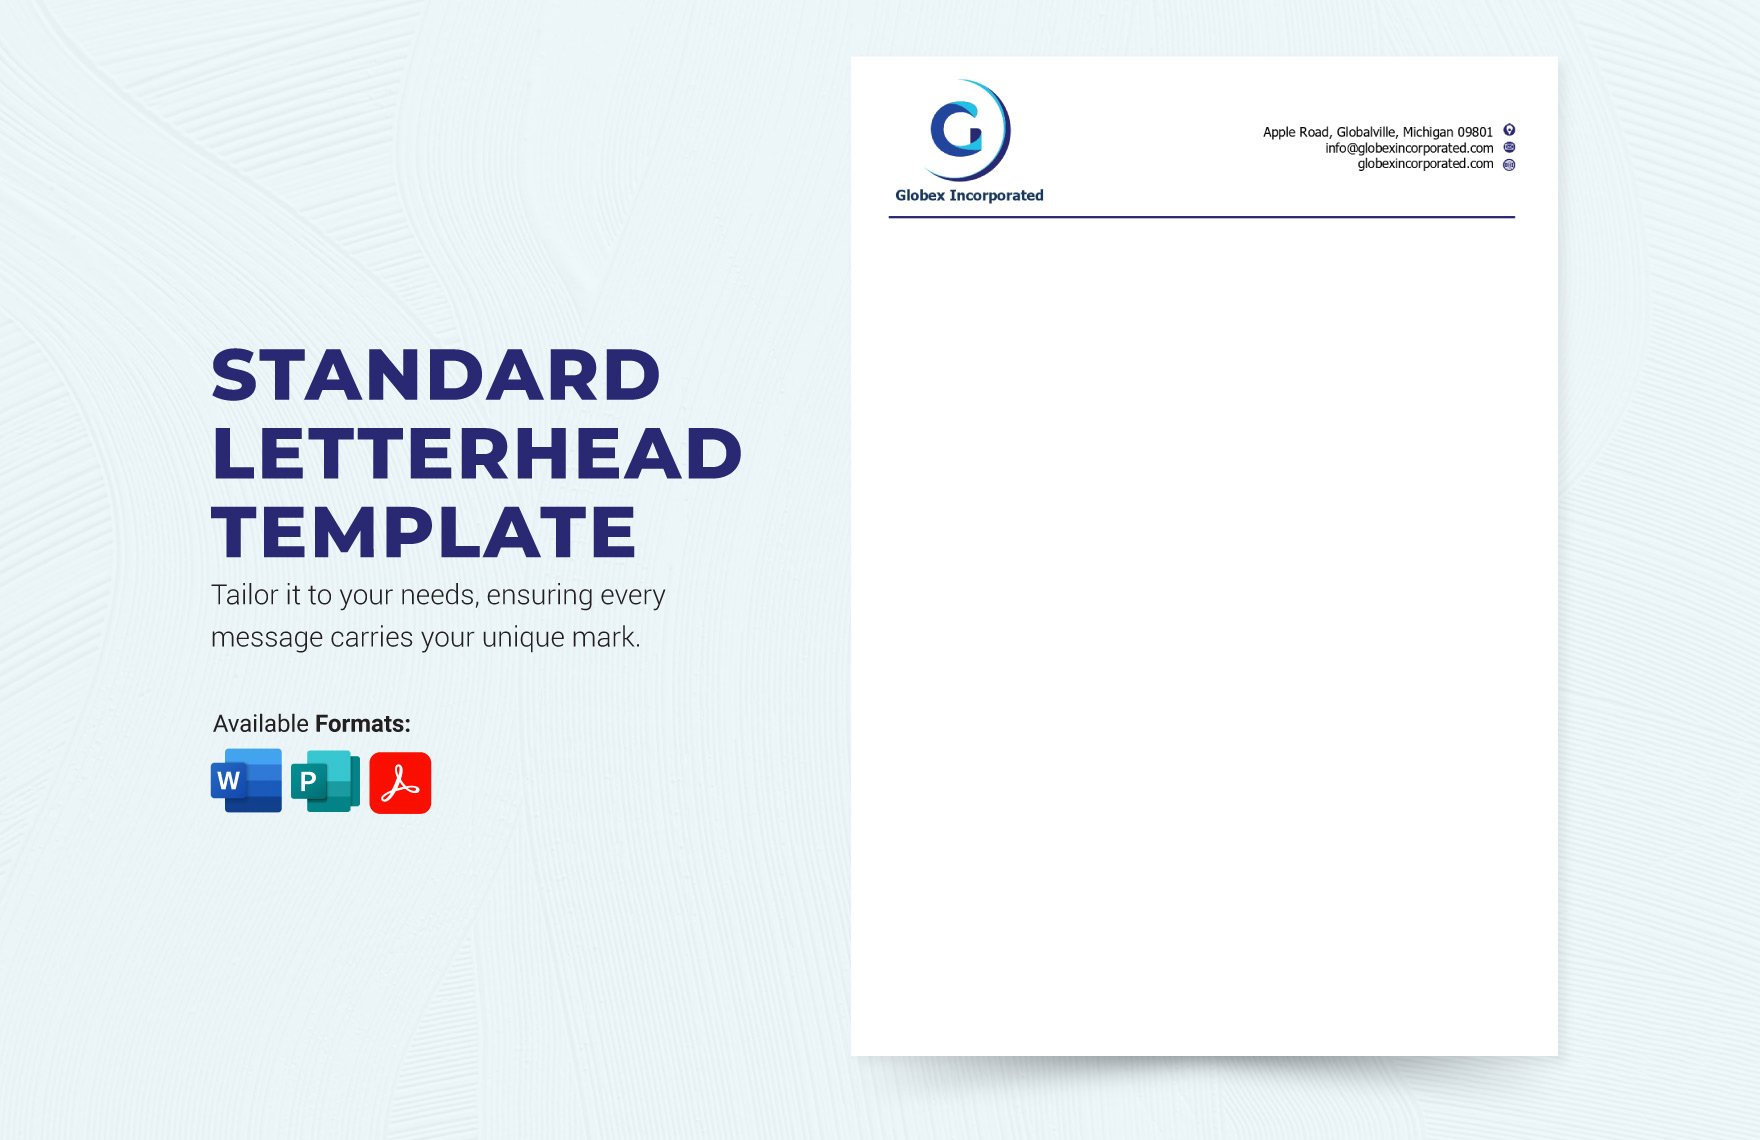
This guide provides a step-by-step breakdown on creating your own letterhead using readily available features in Word, saving you time and money.
Setting Up Your Document
First, open a new document in Microsoft Word. Then, navigate to the "Layout" tab on the ribbon. Adjust your margins under "Margins" to ensure your letterhead elements don't get cut off during printing.
Recommended settings are typically 0.5 inches for all sides, but tailor them to your specific design needs.
Designing the Header
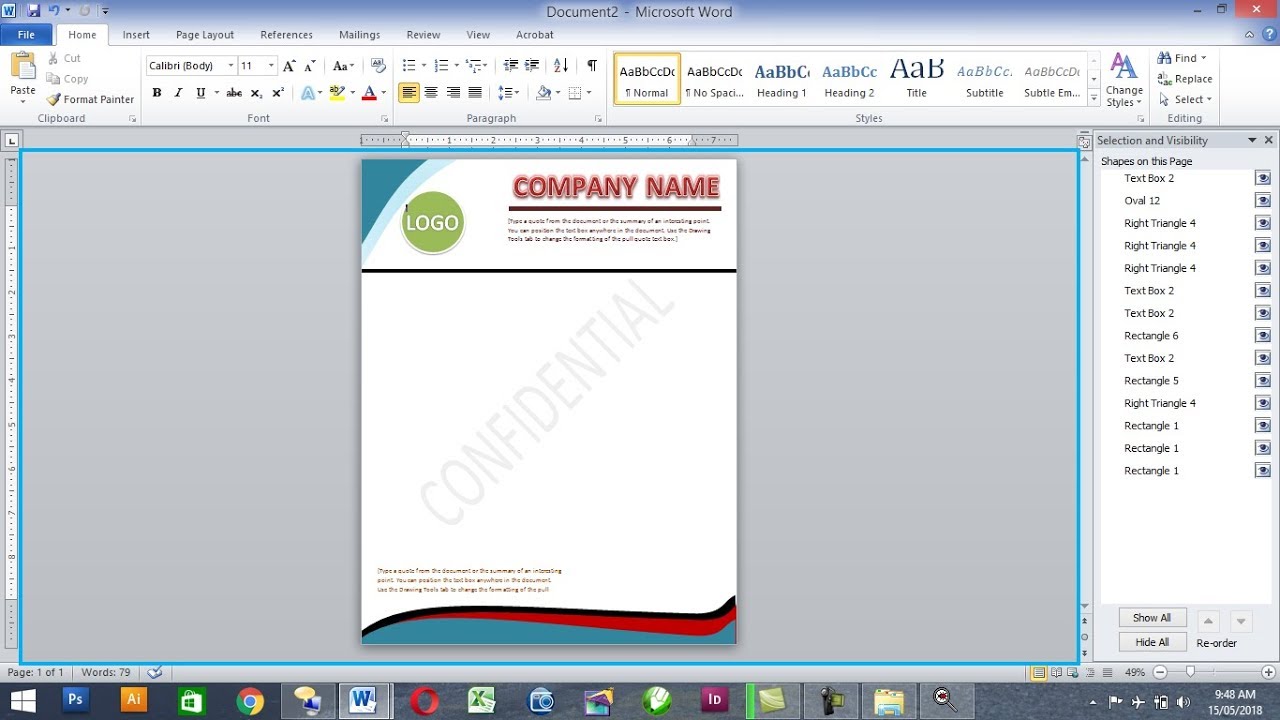
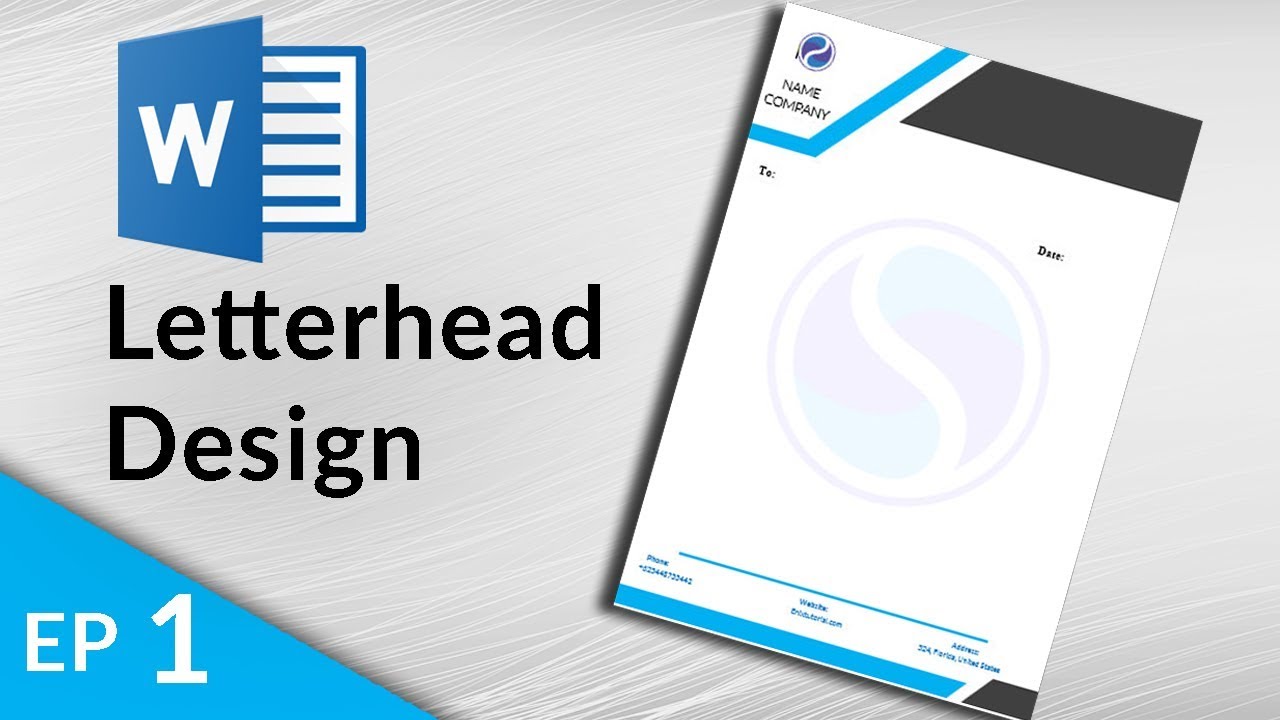
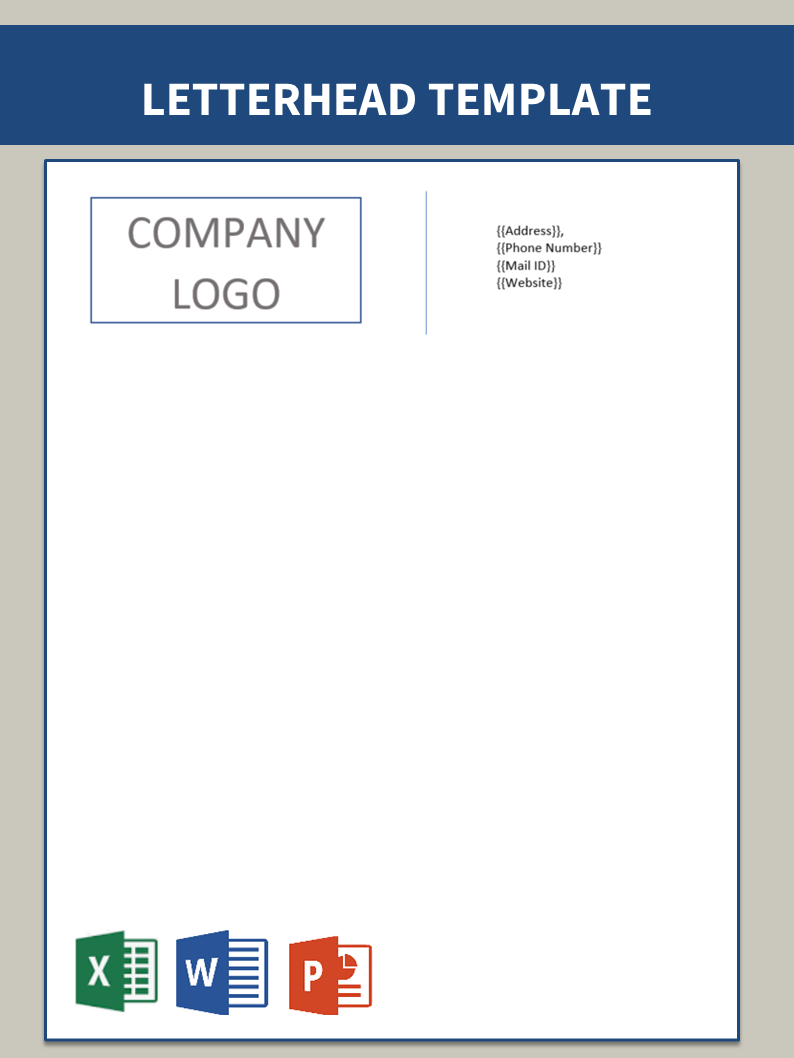
Access the header area by double-clicking at the top of the page. This activates the header editing mode. Now, insert your company logo. Go to the "Insert" tab, click "Pictures," and select your logo file.
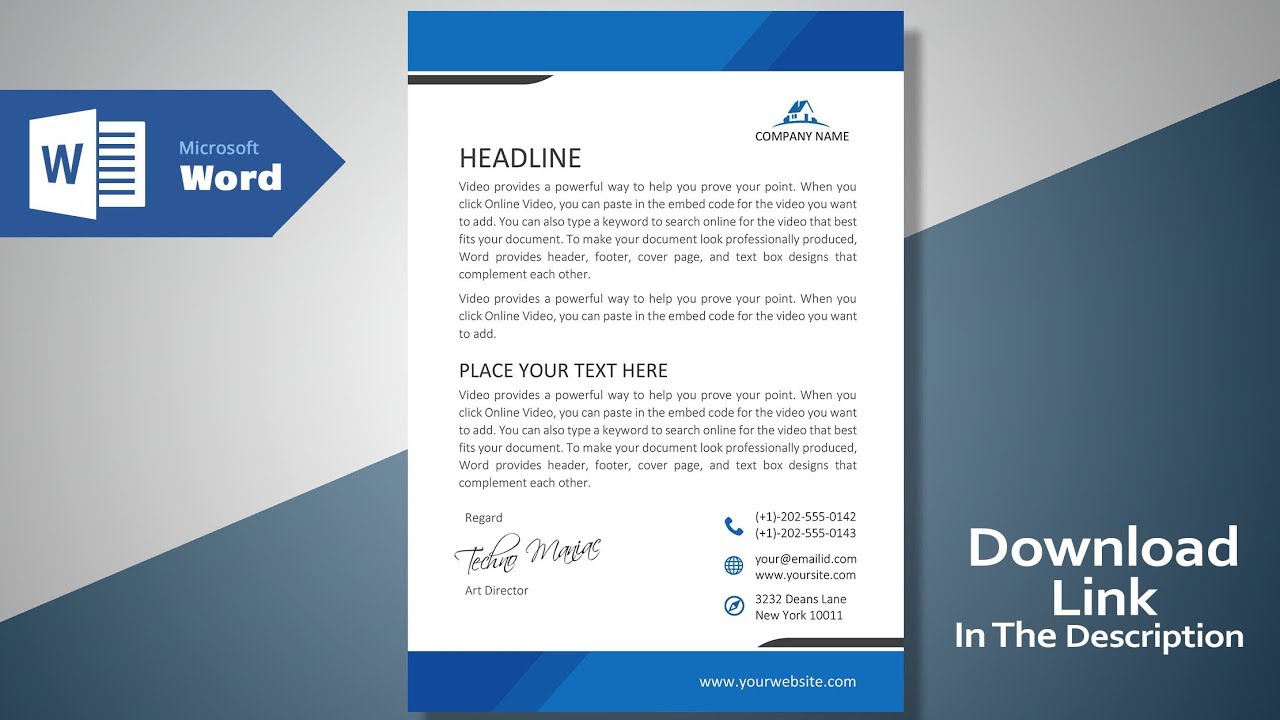
Resize and position the logo within the header to your preference. Next, add your company name and contact information. You can use text boxes (Insert > Text Box) for more flexible placement.
Include your address, phone number, email, and website. Use consistent fonts and colors throughout for a professional look. Remember to select fonts that are readable in varying sizes.
Crafting the Footer
Similarly, access the footer by double-clicking at the bottom of the page. Enter any relevant information you want in the footer. This could include a tagline, copyright notice, or page numbers.
Use the same font and color scheme as the header to maintain consistency. Consider adding a subtle line or graphic element to separate the footer from the main body of the document. Go to Insert > Shapes and select a line.
Adding Visual Elements
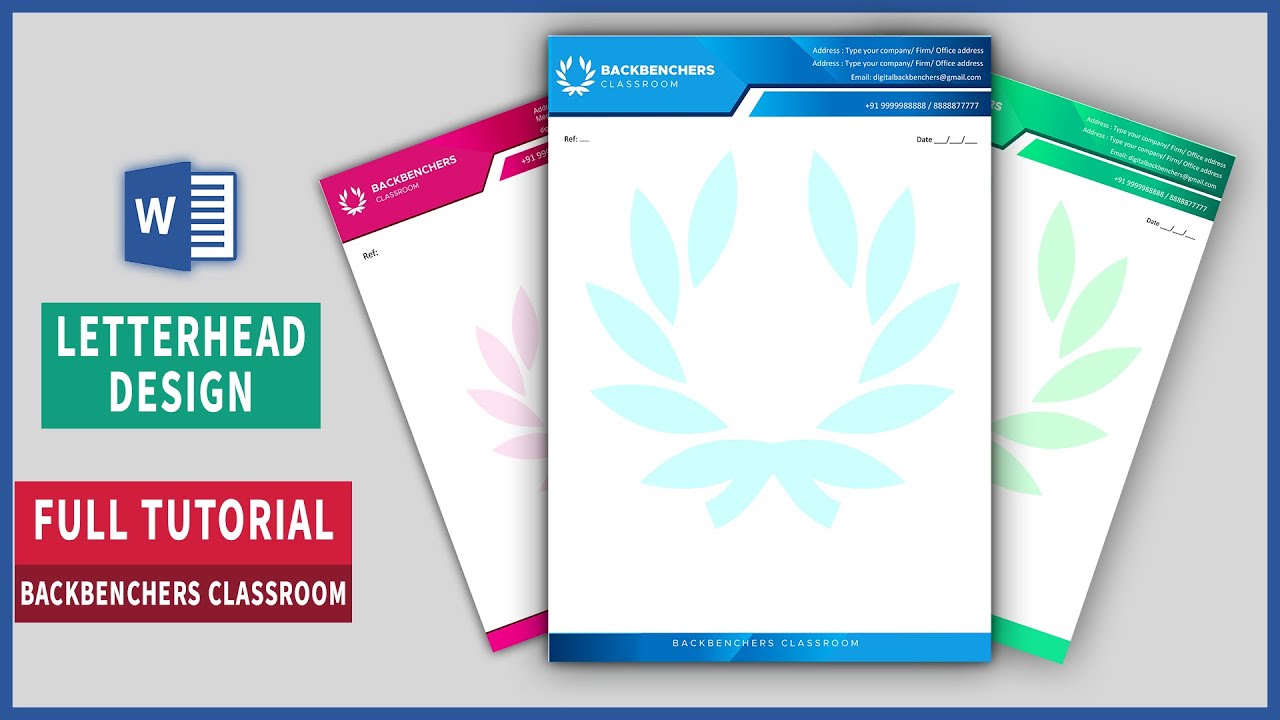
Enhance your letterhead with lines, shapes, or background colors. Use the "Insert" tab to add shapes and customize their appearance. Subtle colors or gradients can add visual interest without being distracting.
Be mindful of readability; ensure text remains legible against any background. Consider using a watermark with your logo or company name for added security and branding. Go to Design > Watermark to add this.
Saving Your Letterhead as a Template
Once you're satisfied with your design, save it as a template. Click "File" > "Save As" and choose "Word Template (*.dotx)" as the file type. Give your template a descriptive name, such as "Company Letterhead Template."
This will allow you to easily create new documents using your letterhead design. To use your template, go to "File" > "New" and select "Personal." You'll find your saved template there.
Printing and Testing
Before committing to a large print run, print a test page. This allows you to check for any alignment issues, color accuracy, and overall appearance. Use high-quality paper for a professional finish.
Adjust your design as needed based on the printed result. Consider different printer settings for optimal results.
Maintaining Brand Consistency
Share your letterhead template with your team to ensure brand consistency. Establish clear guidelines for its use, including font choices and color palettes. Regularly review and update your letterhead as needed to reflect any changes in your branding.
According to Microsoft, using templates streamlines document creation and reinforces brand identity. For additional tips and resources, visit the official Microsoft Office support website.
Final Steps
By following these steps, you can create a professional-looking letterhead in Word that strengthens your brand and simplifies document creation.
Take action now to design a letterhead that leaves a lasting impression. Regularly back up your template to prevent data loss and ensure you always have access to your custom design.