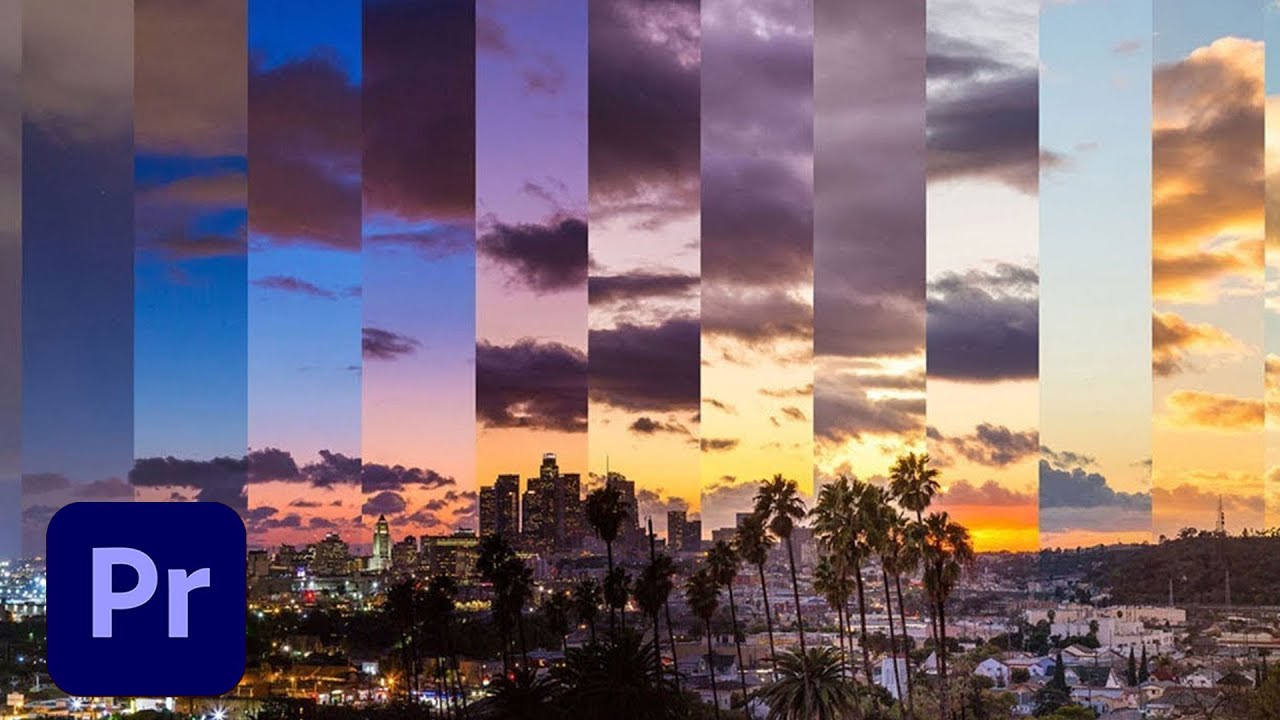
How To Create Time Lapse With Photos

Time is ticking! Learn to create stunning time-lapse videos from still photos, transforming hours into breathtaking sequences in minutes.
This guide provides essential steps to capture and compile photos into engaging time-lapses. Master the art of compressing time and showcasing change, suitable for everyone from beginners to experienced photographers.
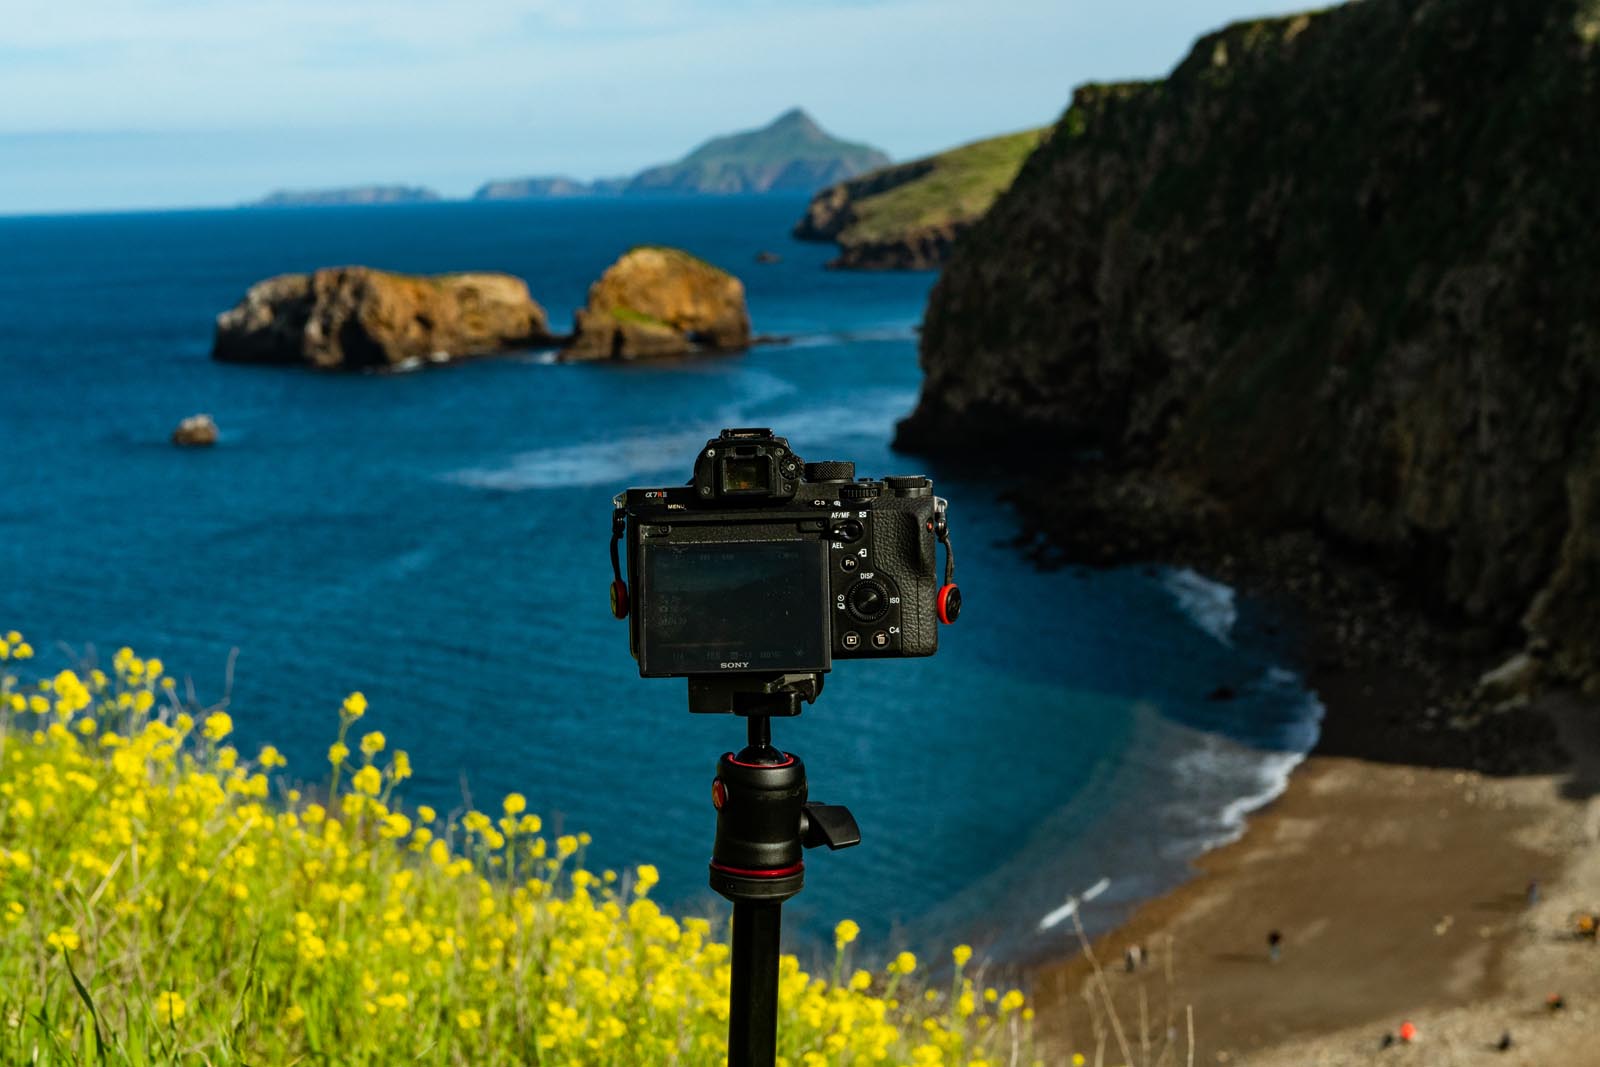
Essential Equipment:
Camera: A digital camera (DSLR, mirrorless, or even a smartphone) capable of manual settings is crucial. Intervelometer: Required to trigger the camera automatically at set intervals.
Tripod: Ensures stability, preventing unwanted camera movement. Computer: Needed for editing and compiling the images into a video.
Step-by-Step Guide:
1. Planning and Setup:
Scout your location. Determine the subject you want to capture, like clouds moving, plants growing, or city traffic.
Set up your tripod. Ensure the camera is stable and level. Frame your shot carefully.
2. Camera Settings:
Use manual mode (M). This ensures consistent exposure across all photos. Choose a low ISO (e.g., 100-400) to minimize noise.
Set your aperture. Select an aperture (e.g., f/8-f/16) depending on the desired depth of field. Adjust shutter speed according to the lighting conditions to achieve proper exposure.
Manually focus. Focusing is important to avoid autofocus drifting during the capture sequence.
3. Intervalometer Configuration:
Set the interval. This is the time between each photo. Depending on the subject, intervals can range from seconds to minutes. Experiment with different intervals based on the speed of your subject: fast-moving clouds (2-5 seconds), slow-moving plants (15-30 minutes).
Determine the total capture time. Calculate the number of photos needed based on the desired video length and interval. For example, to make a 10 seconds time-lapse with 30 frames per second, you would need 300 images.
4. Capturing the Images:
Start the intervalometer. Ensure the camera is capturing photos at the set intervals. Monitor the camera throughout the process to ensure proper function.
Avoid touching the camera. Any movement can disrupt the sequence. Address any unexpected issues with exposure or focus without interrupting the capture.
5. Editing and Compilation:
Transfer photos to your computer. Organize your images into a dedicated folder. Use editing software such as Adobe Lightroom or Darktable to adjust exposure, color, and white balance.
Apply consistent adjustments. Synchronize settings across all images to maintain a uniform look. Compile photos into a video sequence. Video editing software like Adobe Premiere Pro, Final Cut Pro, or free alternatives like DaVinci Resolve and iMovie can be used.
Set the frame rate. Common frame rates are 24 or 30 frames per second (fps). Export the video in a suitable format (e.g., MP4) and resolution (e.g., 1080p or 4K).
Tips and Tricks:
Shoot in RAW format. This provides greater flexibility in post-processing. Use a neutral density (ND) filter. Useful for shooting in bright daylight, allowing for longer exposures.
Consider using a motion control system. This can add dynamic camera movements to your time-lapse. Experiment with different intervals and settings. Find what works best for your subject and desired effect.
What's Next?
Practice regularly. The more you experiment, the better you'll become. Explore advanced techniques such as motion control and hyper-lapse. Share your creations with the world and inspire others.
Stay updated with the latest software and equipment. Technology is constantly evolving, offering new tools and techniques for time-lapse photography.