How To Disassemble A Tempurpedic Adjustable Bed
The prospect of disassembling a Tempur-Pedic adjustable bed can seem daunting, akin to dismantling a piece of sophisticated technology rather than a simple sleeping platform. These beds, known for their complex motorized systems and heavy frames, require a systematic approach and careful attention to detail to avoid damage and ensure a smooth process.
This article provides a comprehensive guide to safely and effectively disassembling your Tempur-Pedic adjustable bed, outlining the necessary steps, tools, and precautions. Whether you're moving to a new home, replacing your bed, or simply need to disassemble it for maintenance, understanding the proper procedure is crucial.
Preparation is Key
Before you even think about touching a wrench, proper preparation is paramount. Gather your tools, which should include a Phillips head screwdriver, a flathead screwdriver, Allen wrenches (often included with the bed originally), and possibly a socket set.
Having a helper is highly recommended, as some components can be quite heavy. Clear the area around the bed to provide ample workspace and protect your flooring with blankets or cardboard.
Disconnecting the Power and Electronics
Safety first: unplug the bed from the power outlet. Disconnect all the cables connecting the base to the control box and the remote control.
Take pictures of the wiring configurations before disconnecting anything. This visual reference will be invaluable when reassembling the bed later.
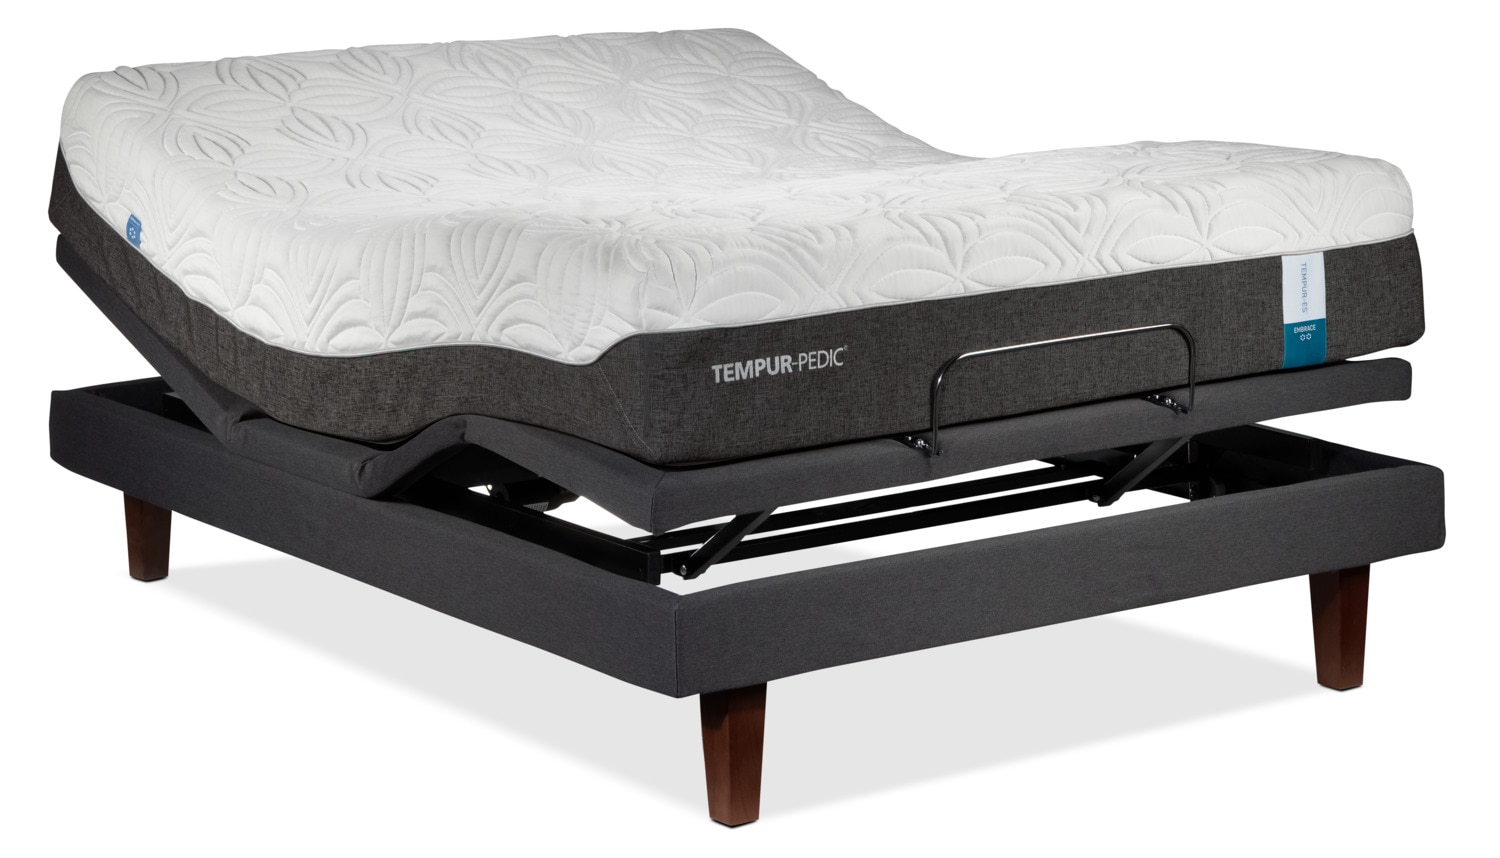
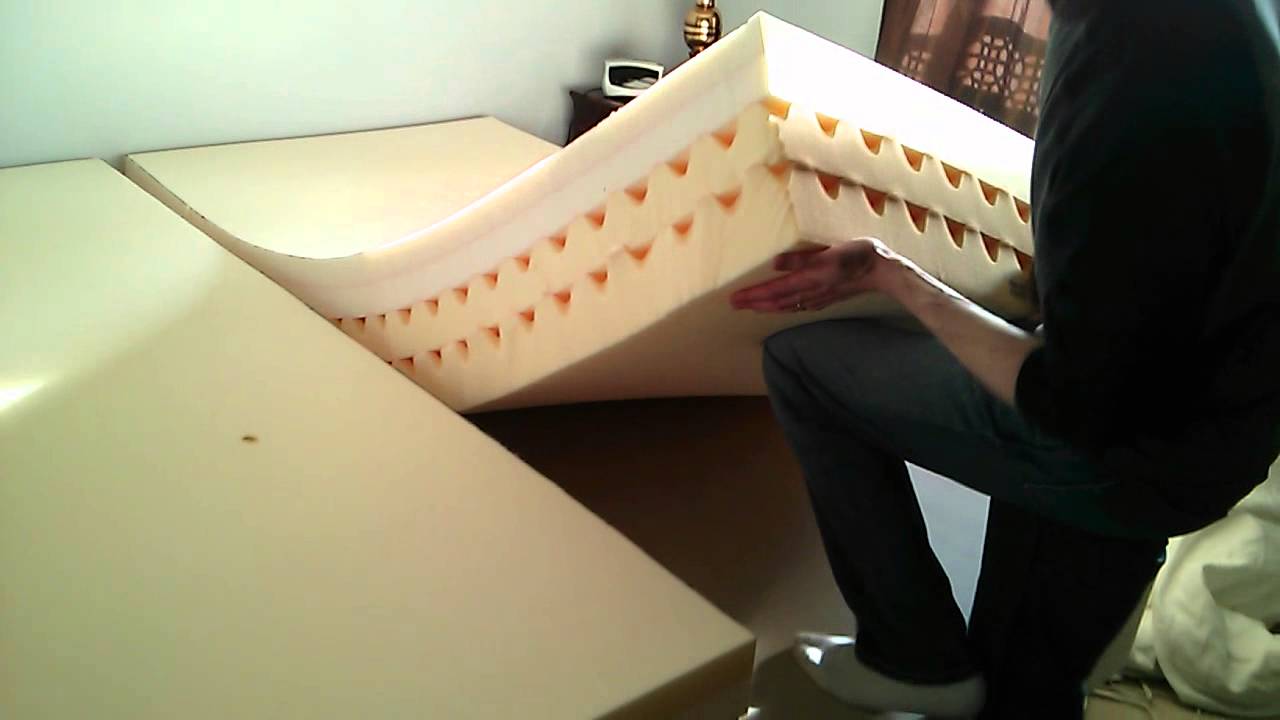
Removing the Mattress
The first physical step is removing the mattress. Tempur-Pedic mattresses are often quite heavy, so enlist your helper for this task.
Carefully lift the mattress and set it aside in a safe location where it won't be damaged. Protect it from dirt and potential tears.
Detaching the Legs (if applicable)
Most Tempur-Pedic adjustable beds have legs that can be detached. These are typically attached with screws or bolts.
Use the appropriate screwdriver or wrench to remove the legs and store them in a safe place, preferably labeled for easy reassembly.
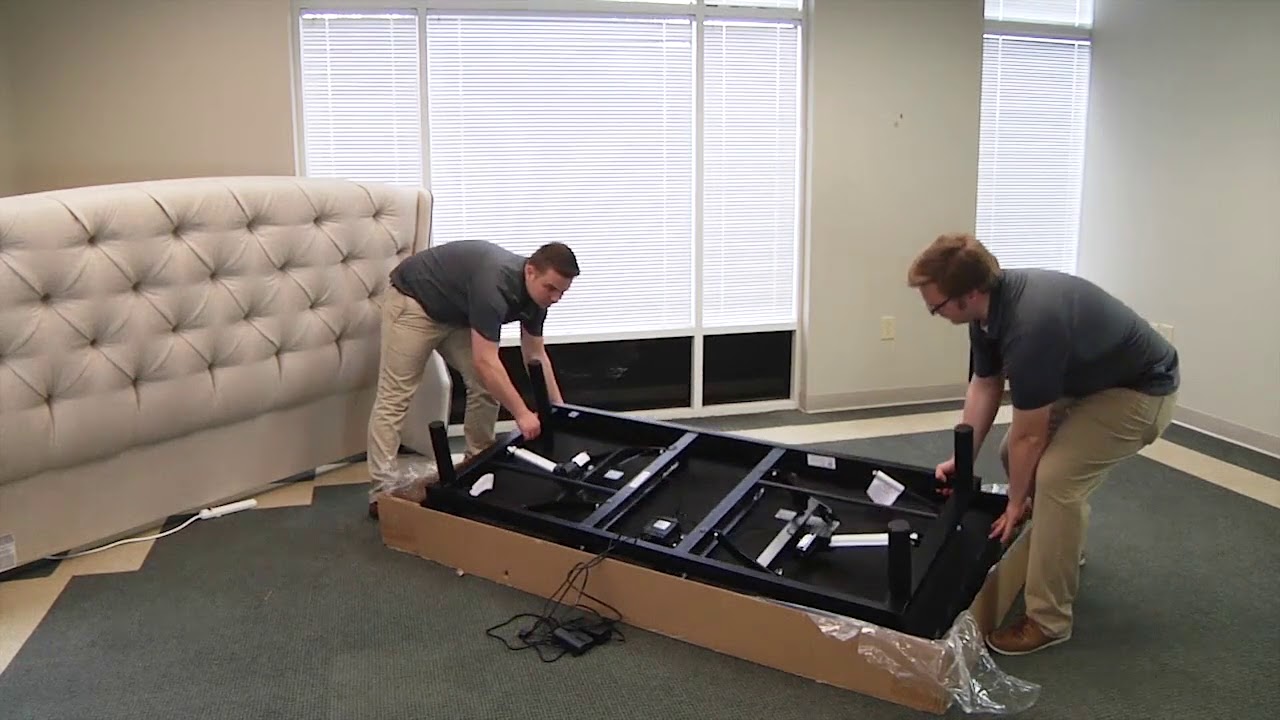
Disassembling the Frame and Motor Components
This is where the process becomes more complex. Locate the screws or bolts that connect the various sections of the bed frame.
Carefully remove these fasteners, keeping track of which screws go where. Using labeled bags or containers for each section of the bed is a helpful organizational strategy.
Dealing with the Motorized Components
The motors and linkages are the heart of the adjustable bed. Disconnect any remaining cables connecting the motors to the control box.
Detach the motors from the frame, noting their orientation. Be careful not to strain or damage the wires connected to the motors.
Removing the Headboard and Footboard Brackets
If your bed has a headboard or footboard attached, detach the brackets connecting them to the frame. These are usually bolted on.
Keep all the hardware associated with these brackets together for easy reassembly.
Final Steps and Important Considerations
Once all the components are detached, carefully separate the frame sections. Be mindful of sharp edges and potential pinch points.
Wrap the motors and control box in protective material to prevent damage during transport or storage. Consider using the original packaging if you still have it.
Always consult the owner's manual for specific instructions related to your model.
Some Tempur-Pedic adjustable beds have unique features that require specialized disassembly procedures.
If you encounter any difficulties or are unsure about any step, consider contacting a professional moving company or furniture disassembly service. They have the experience and tools to safely disassemble your bed.
Proper disassembly and storage are essential for maintaining the longevity and functionality of your Tempur-Pedic adjustable bed. By following these steps carefully, you can ensure a smooth and successful process.