How To Get Pictures Off Phone To Computer

In an age dominated by smartphones, capturing life's moments has become effortless. However, transferring those precious photos from your phone to your computer can sometimes feel like navigating a technological labyrinth. Fear not, as several straightforward methods exist to bridge this digital divide, ensuring your memories are safely backed up and readily accessible on your larger screen.
The goal of this article is to provide a comprehensive guide on how to transfer photos from your phone to your computer. We'll explore various methods, ranging from traditional wired connections to modern wireless solutions, catering to both Android and iOS users. Each approach will be explained in detail, offering step-by-step instructions and troubleshooting tips to ensure a smooth and successful transfer process.
Wired Connection: The Reliable Standby
Using a USB cable remains one of the most reliable and direct methods for transferring photos. This approach is particularly useful for transferring large quantities of images or videos quickly and efficiently.
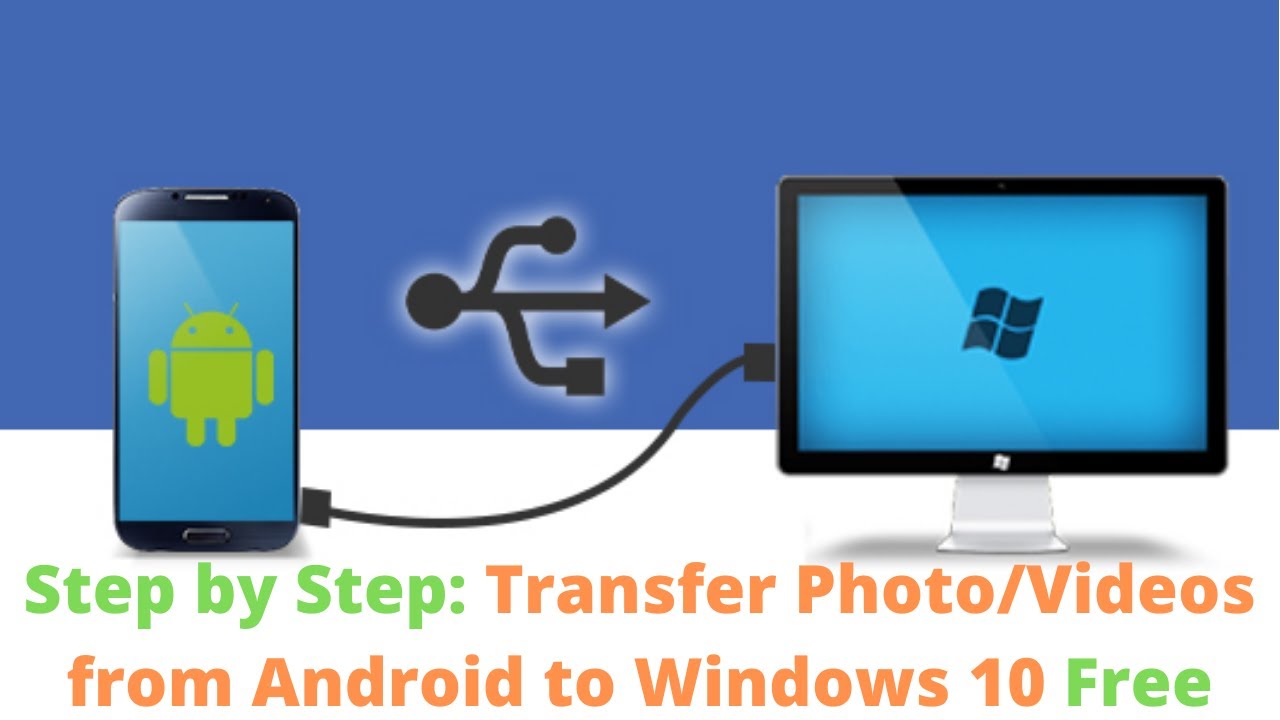
Android Devices
Connect your Android phone to your computer using a USB cable. Once connected, your phone will likely prompt you to select a USB connection mode. Choose either "Transfer files" or "MTP" (Media Transfer Protocol)."
Your phone should now appear as a removable drive on your computer. Open the drive and navigate to the "DCIM" folder, which contains your camera photos. From here, you can simply drag and drop the photos to your desired location on your computer.
Alternatively, some Android phones may require you to install a dedicated driver on your computer. This driver is usually available on the manufacturer's website. Once the driver is installed, your phone should be recognized as a media device, allowing you to access your photos.
iOS Devices
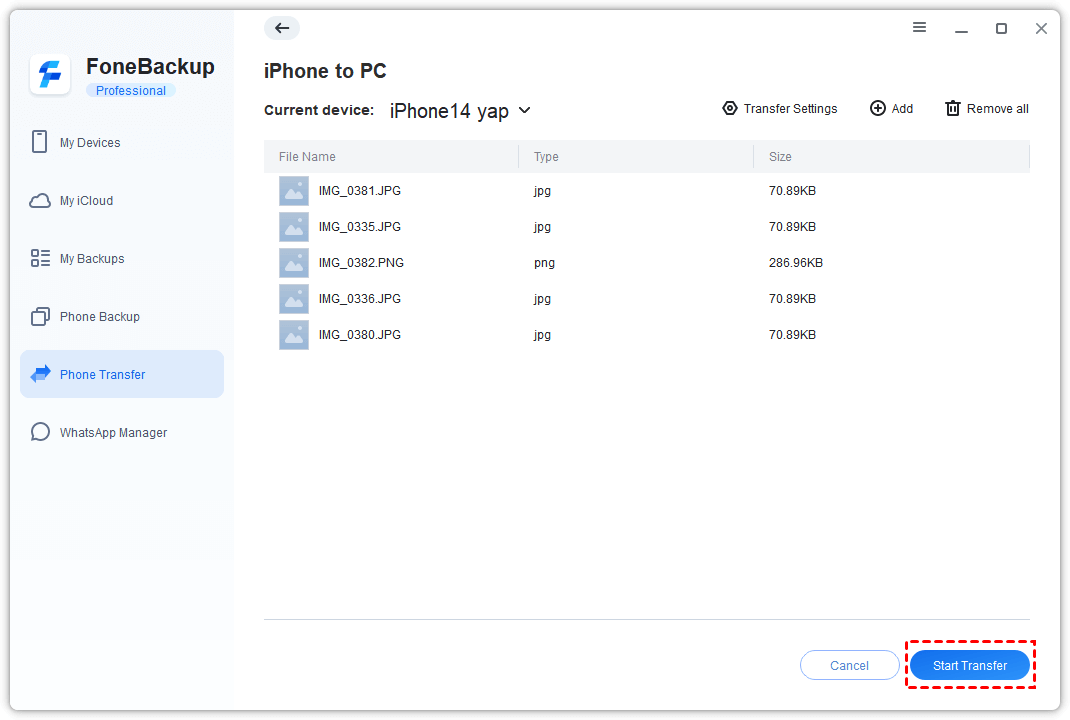
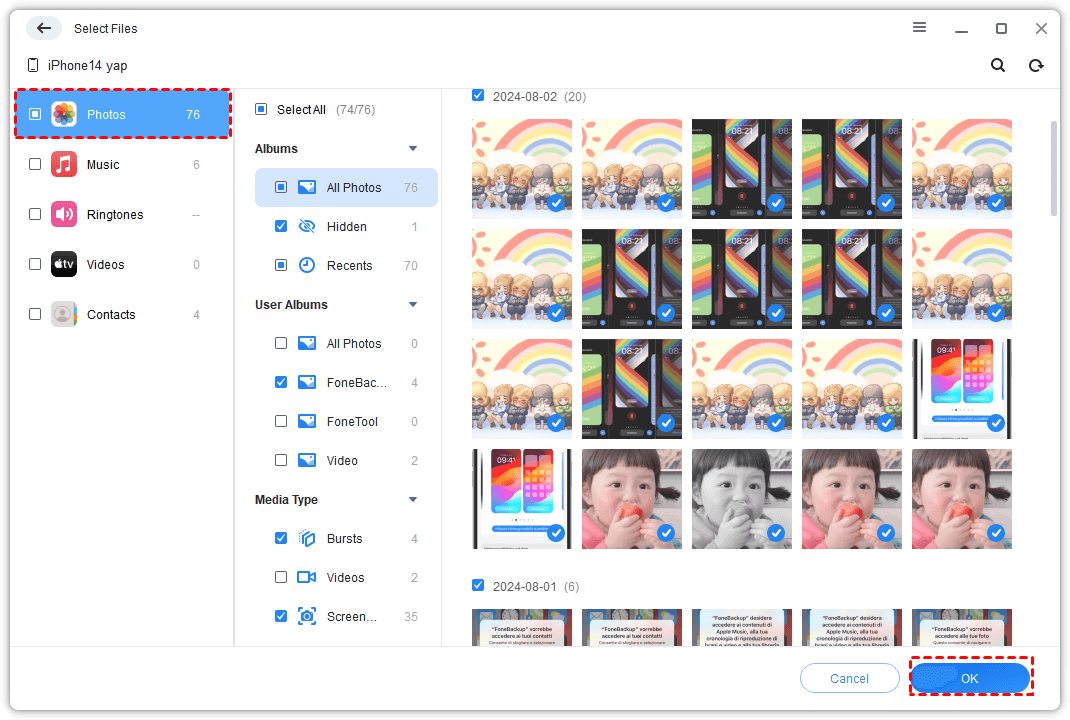
Connect your iPhone to your computer using a Lightning cable. Your computer may prompt you to trust the device; tap "Trust" on your phone to proceed. Open Finder (on macOS) or File Explorer (on Windows). Your iPhone should appear in the sidebar.
Click on your iPhone's name in Finder or File Explorer. Navigate to the "DCIM" folder. From here, you can copy the photos to your computer. You may need to install iTunes on Windows for your computer to recognize the iPhone.
"Using a USB cable ensures a direct and secure transfer, minimizing the risk of data corruption," says Dr. Emily Carter, a cybersecurity expert.
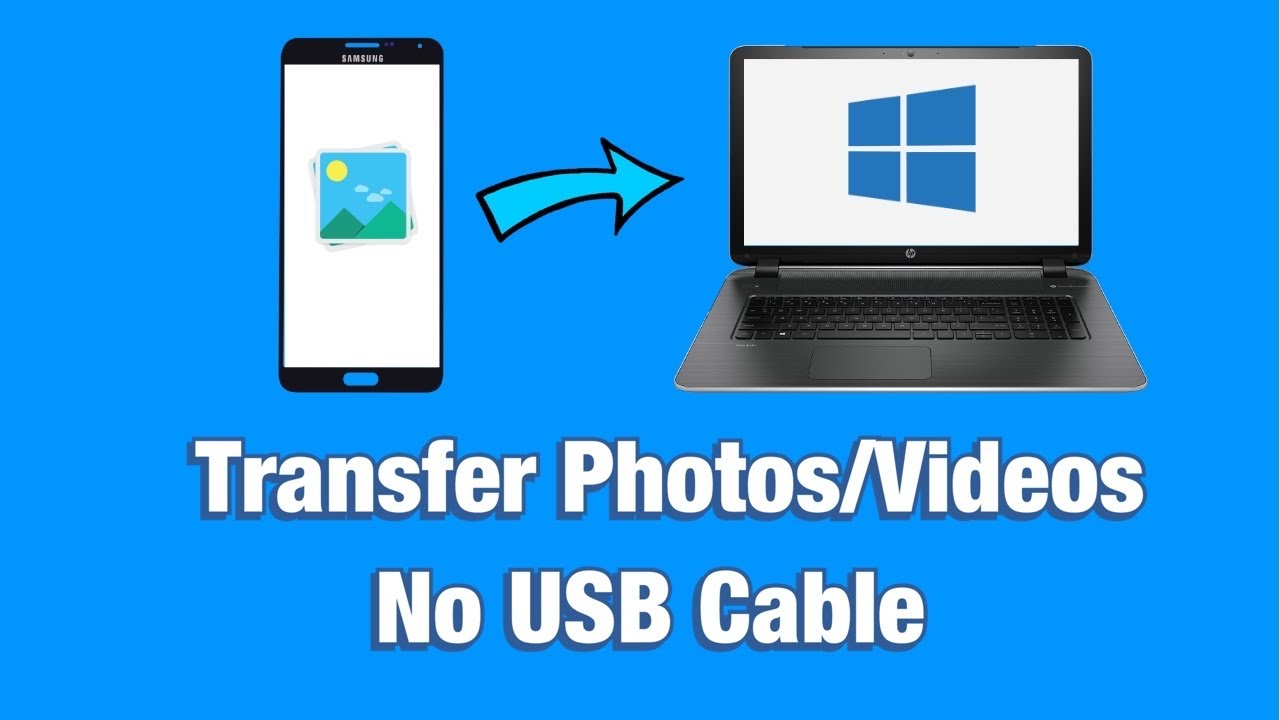
Wireless Transfer: Embracing Convenience
For those seeking a cable-free solution, several wireless methods offer convenient alternatives. These methods leverage cloud storage, email, or dedicated file transfer apps.
Cloud Storage Services
Cloud storage services like Google Photos, iCloud Photos, Dropbox, and OneDrive provide seamless photo syncing across devices. Simply upload your photos to the cloud from your phone, and they will automatically appear on your computer.
To use Google Photos, ensure you have the app installed on your phone and that photo backup is enabled. On your computer, access Google Photos through your web browser. Similarly, for iCloud Photos, ensure iCloud Photos is enabled in your iPhone's settings and access your photos through iCloud.com on your computer.
Emailing photos is a simple option for transferring a small number of images. Attach the photos to an email and send it to yourself. Open the email on your computer and download the attachments.
However, email is not ideal for transferring large quantities of photos due to file size limitations imposed by email providers. Consider alternative methods for larger transfers.
File Transfer Apps
Several third-party file transfer apps, such as AirDroid, SHAREit, and Xender, facilitate wireless file transfers between phones and computers. These apps often utilize Wi-Fi Direct technology, enabling faster transfer speeds than Bluetooth.
To use these apps, install the app on both your phone and computer. Follow the app's instructions to establish a connection and initiate the transfer. These apps often offer additional features like file management and remote control.
Troubleshooting Common Issues
Sometimes, transferring photos can encounter hiccups. Here are some common issues and their solutions.
If your computer doesn't recognize your phone, try a different USB cable or port. Ensure that the correct USB connection mode is selected on your phone. Restart both your phone and computer.
For wireless transfers, ensure that both your phone and computer are connected to the same Wi-Fi network. Check your cloud storage settings to ensure that photo syncing is enabled. Clear the app's cache and data, or reinstall the app if issues persist.
Slow transfer speeds can be attributed to various factors. Close unnecessary apps on both your phone and computer. Ensure a strong Wi-Fi signal for wireless transfers. Consider using a USB 3.0 port for faster wired transfers.
The Future of Photo Transfers
As technology evolves, we can expect even more seamless and intuitive photo transfer methods. Wireless transfer speeds will likely increase, making cloud storage and file transfer apps even more appealing. The integration of artificial intelligence could automate the process, intelligently organizing and transferring photos based on user preferences.
Ultimately, the best method for transferring photos from your phone to your computer depends on your individual needs and preferences. Whether you prefer the reliability of a wired connection or the convenience of wireless solutions, understanding the available options empowers you to manage your digital memories effectively.

:max_bytes(150000):strip_icc()/004-how-to-transfer-photos-from-phone-to-computer-4173057-094876c0a9c3471591224b83fb0672c0.jpg)