How To Install A Ceiling Fan Home Depot

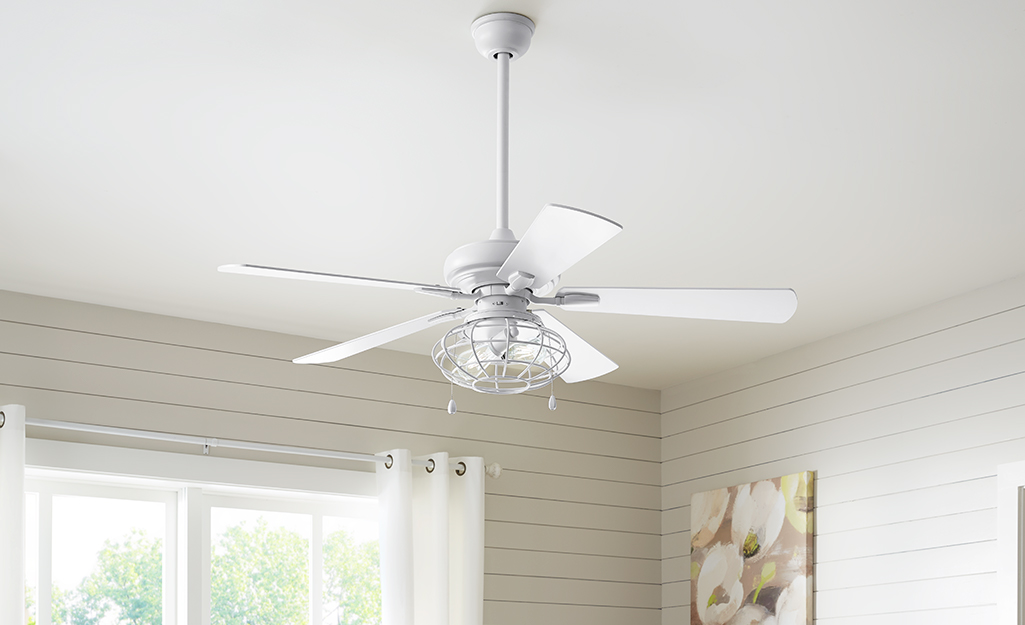
For many homeowners, the sweltering heat of summer underscores the need for improved air circulation. A ceiling fan offers an energy-efficient and cost-effective solution, blending functionality with aesthetic appeal. Home Depot, a leading home improvement retailer, provides a wide array of ceiling fans and resources for DIY installation, making it a popular choice for homeowners looking to take on this project themselves.
This article provides a comprehensive guide to installing a ceiling fan purchased from Home Depot, focusing on safety measures, necessary tools, step-by-step instructions, and troubleshooting tips. It emphasizes the importance of following manufacturer guidelines and adhering to electrical safety codes to ensure a safe and successful installation.
Preparing for Installation
Safety First
Before beginning any electrical work, always turn off the power at the circuit breaker that controls the existing light fixture. This is the most crucial step to prevent electric shock. Double-check that the power is off by testing the wires with a non-contact voltage tester.
Gathering Your Tools and Materials
You will need several essential tools for the job. These include a screwdriver set (both Phillips and flathead), a wire stripper, wire connectors (wire nuts), electrical tape, a ladder, and a non-contact voltage tester. Consider also a drill with various drill bits might also prove useful.
Additionally, ensure you have the ceiling fan itself, all included mounting hardware, and the Home Depot purchase receipt for warranty purposes.
Removing the Existing Light Fixture
With the power off, carefully remove the existing light fixture. Disconnect the wires, taking note of their connections (usually black to black, white to white, and ground to ground). Use electrical tape to label each wire to avoid confusion during re-wiring.
Lower the fixture carefully and set it aside, ensuring that no wires are left exposed or dangling.
Installing the Ceiling Fan
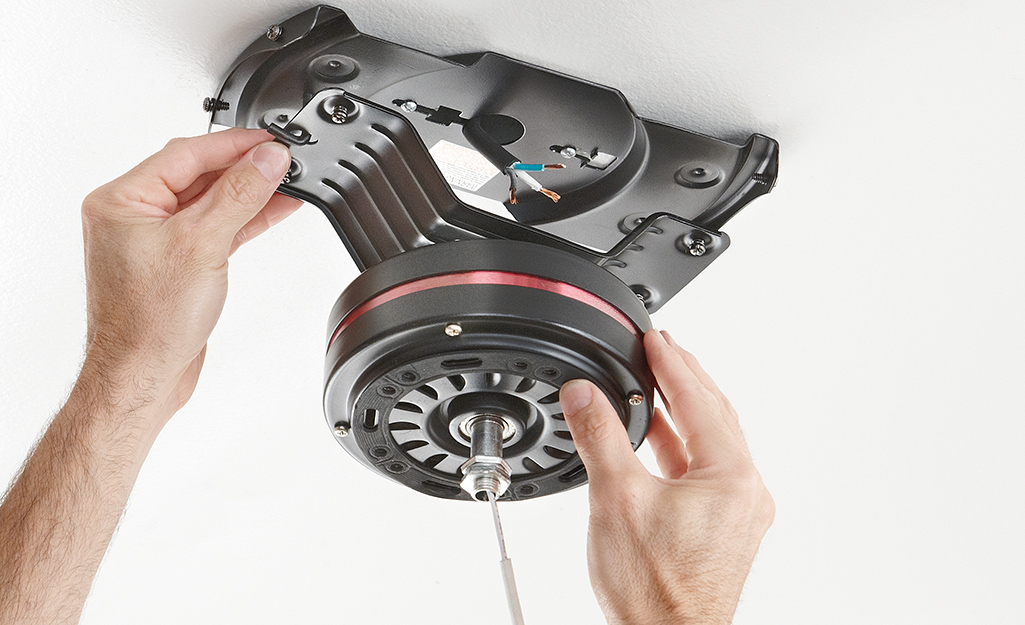
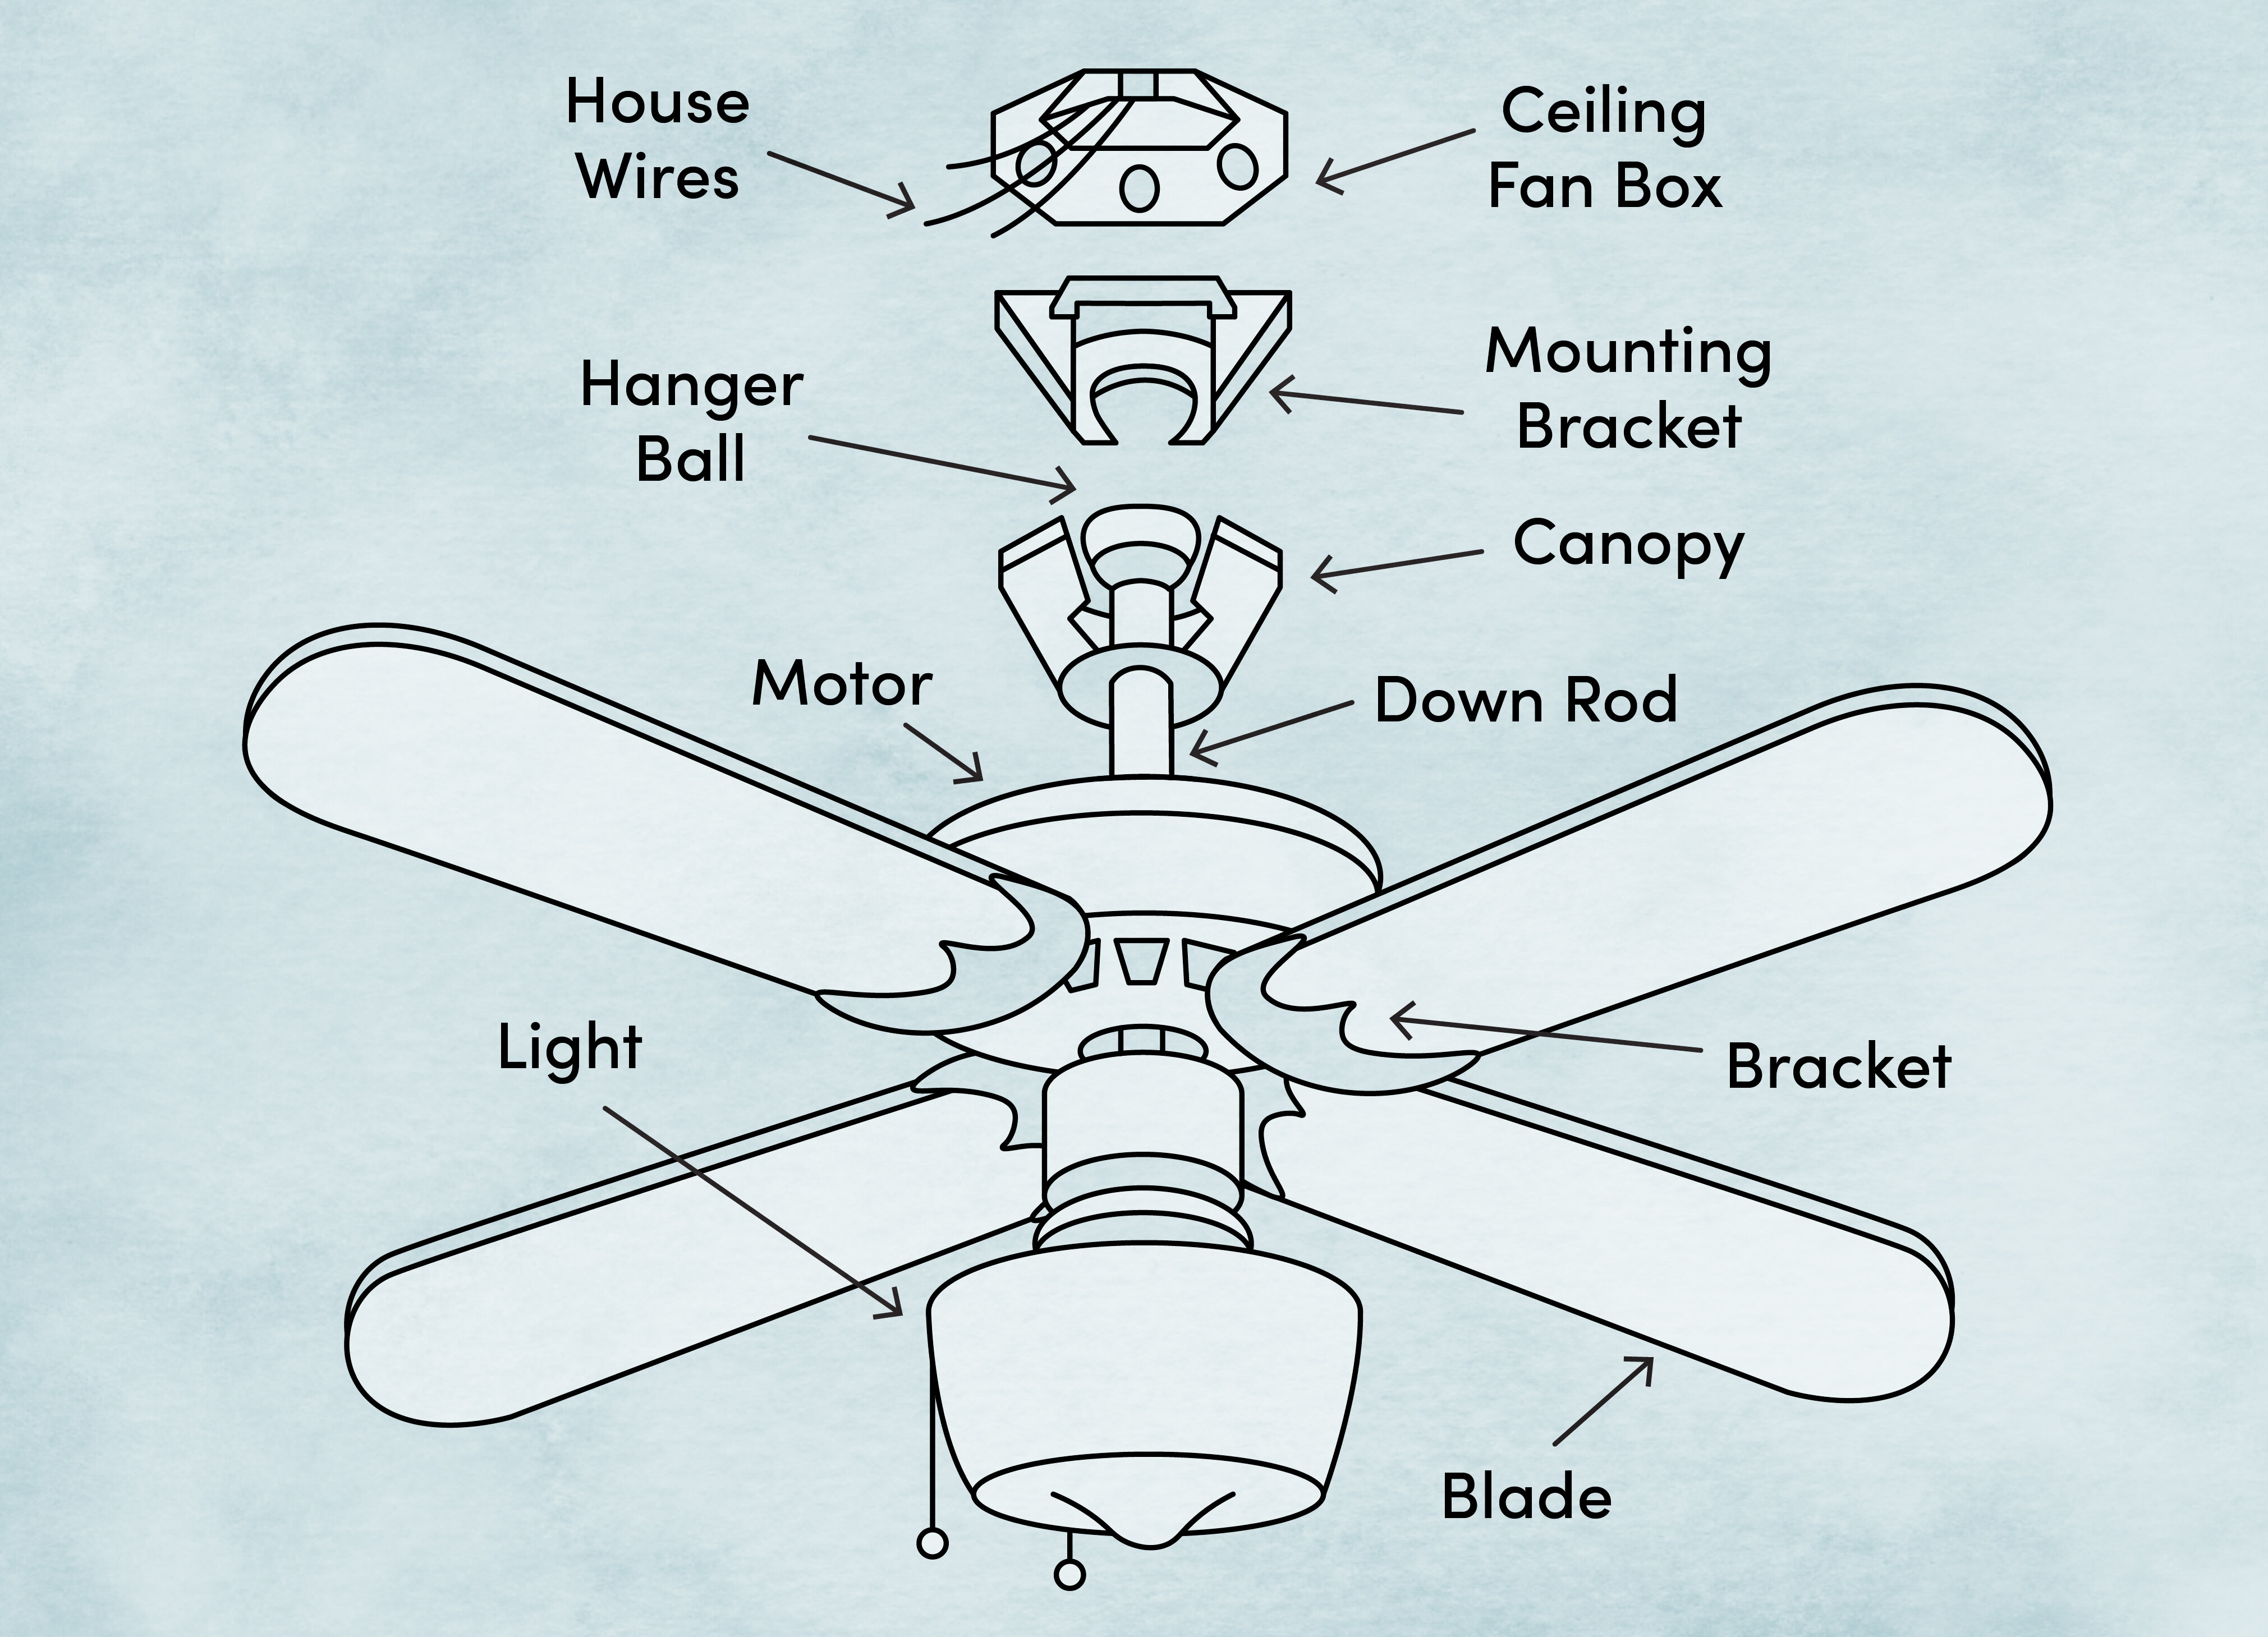
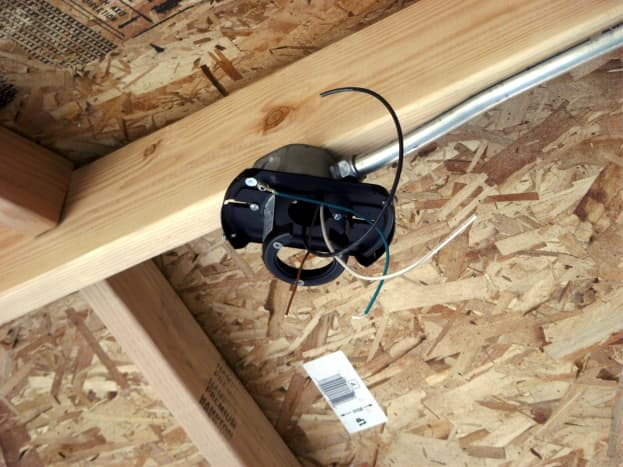
Installing the Mounting Bracket
Most ceiling fans require a specialized mounting bracket designed to support the fan's weight and prevent wobbling. Home Depot offers a range of mounting brackets suitable for different ceiling types. Secure the mounting bracket to the ceiling joist or an approved electrical box, following the manufacturer's instructions.
Ensure that the bracket is firmly attached and can support the weight of the fan. This is a critical step for safety and proper fan operation.
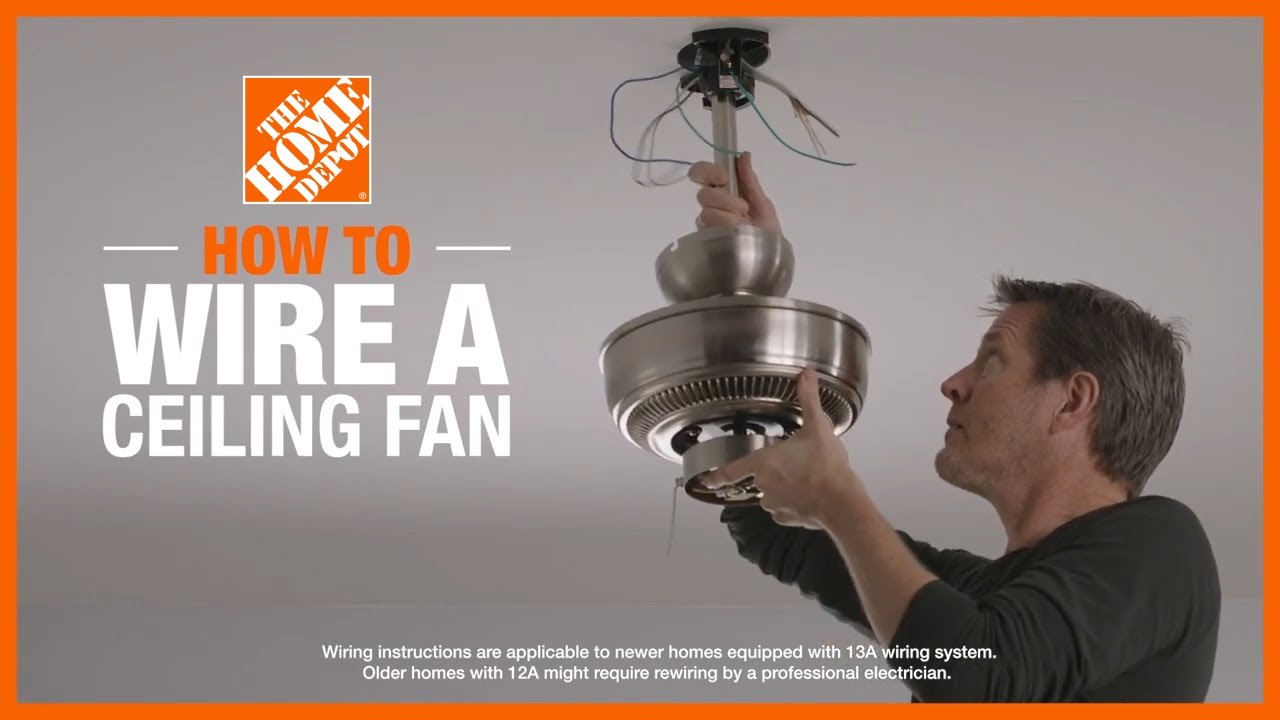
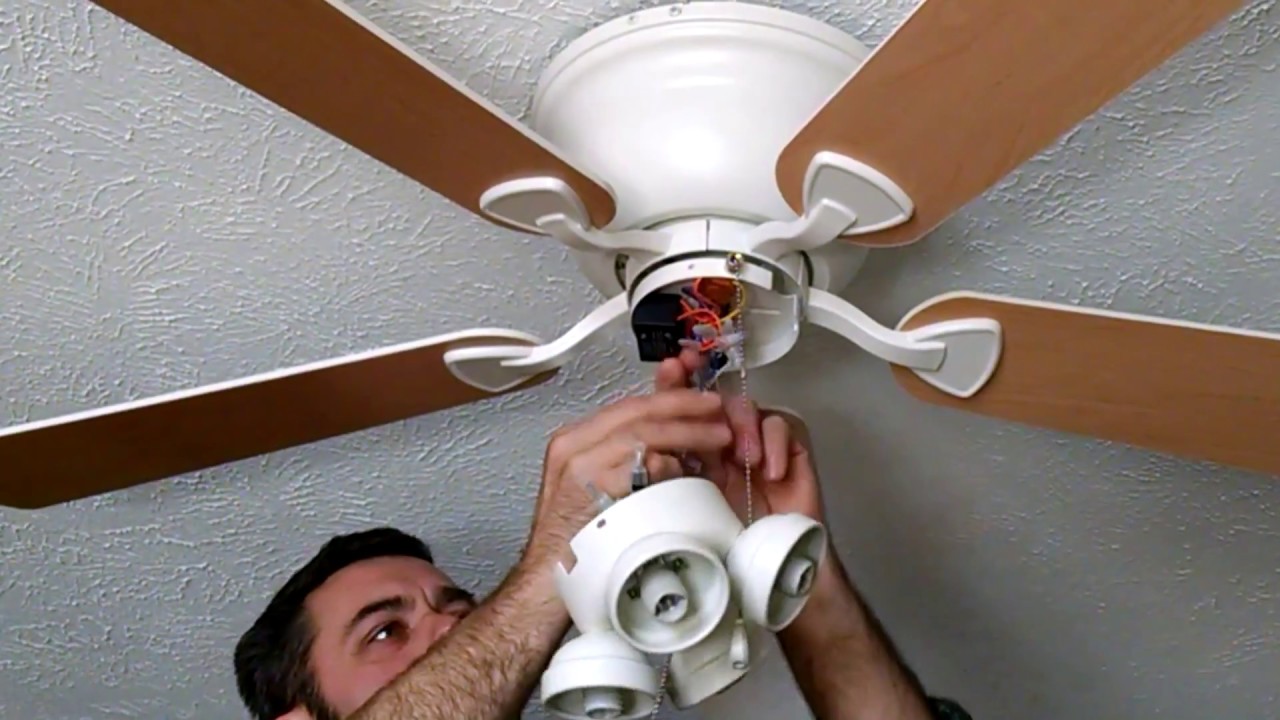
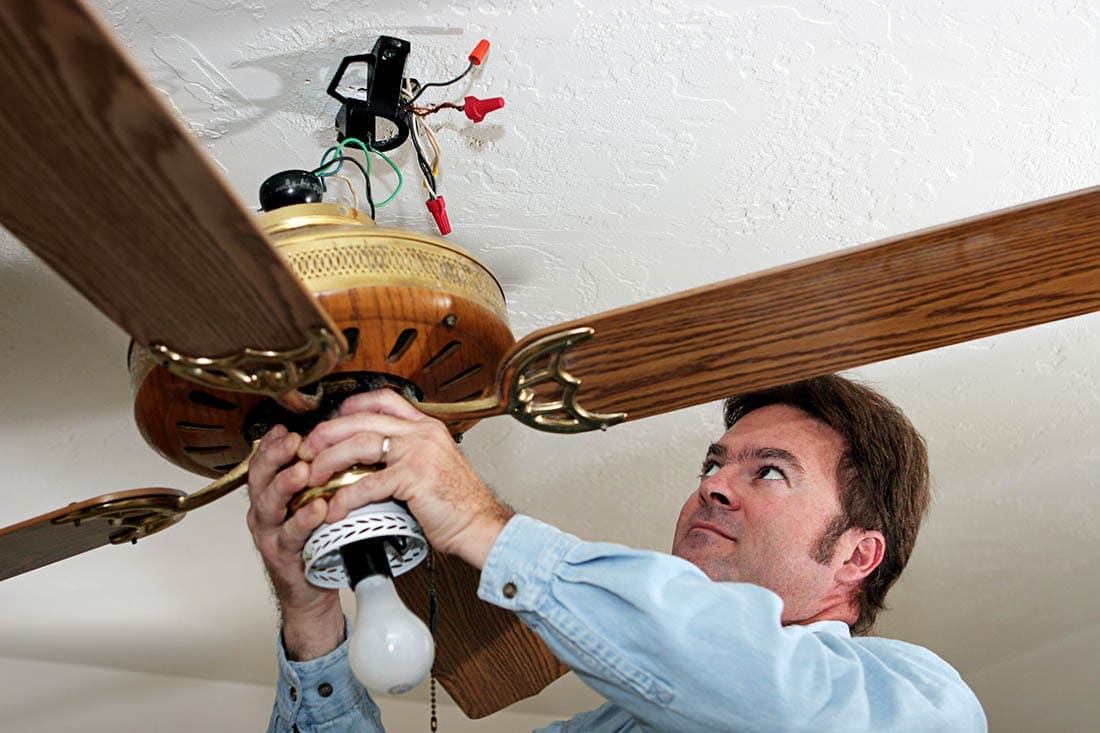
Wiring the Fan
Carefully lift the fan motor assembly and attach it to the mounting bracket according to the manufacturer's instructions. Connect the wires from the fan to the wires in the electrical box, using wire connectors. Match the colors carefully: black to black (hot), white to white (neutral), and green or bare copper to green or bare copper (ground).
Secure the wire connectors tightly and wrap them with electrical tape for added insulation. Tuck the wires neatly into the electrical box, ensuring they don't get pinched or damaged.
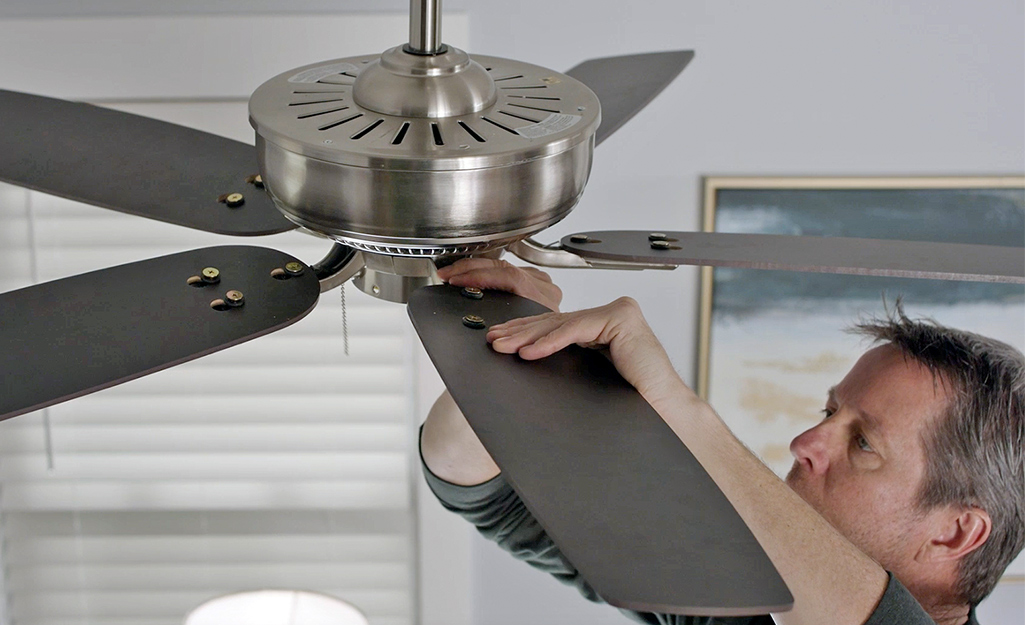
Attaching the Fan Blades
Attach the fan blades to the motor assembly using the screws and hardware provided. Make sure each blade is securely fastened and aligned properly. Loose blades can cause the fan to wobble or make noise.
Repeat this process for each blade, ensuring consistency in attachment and alignment.
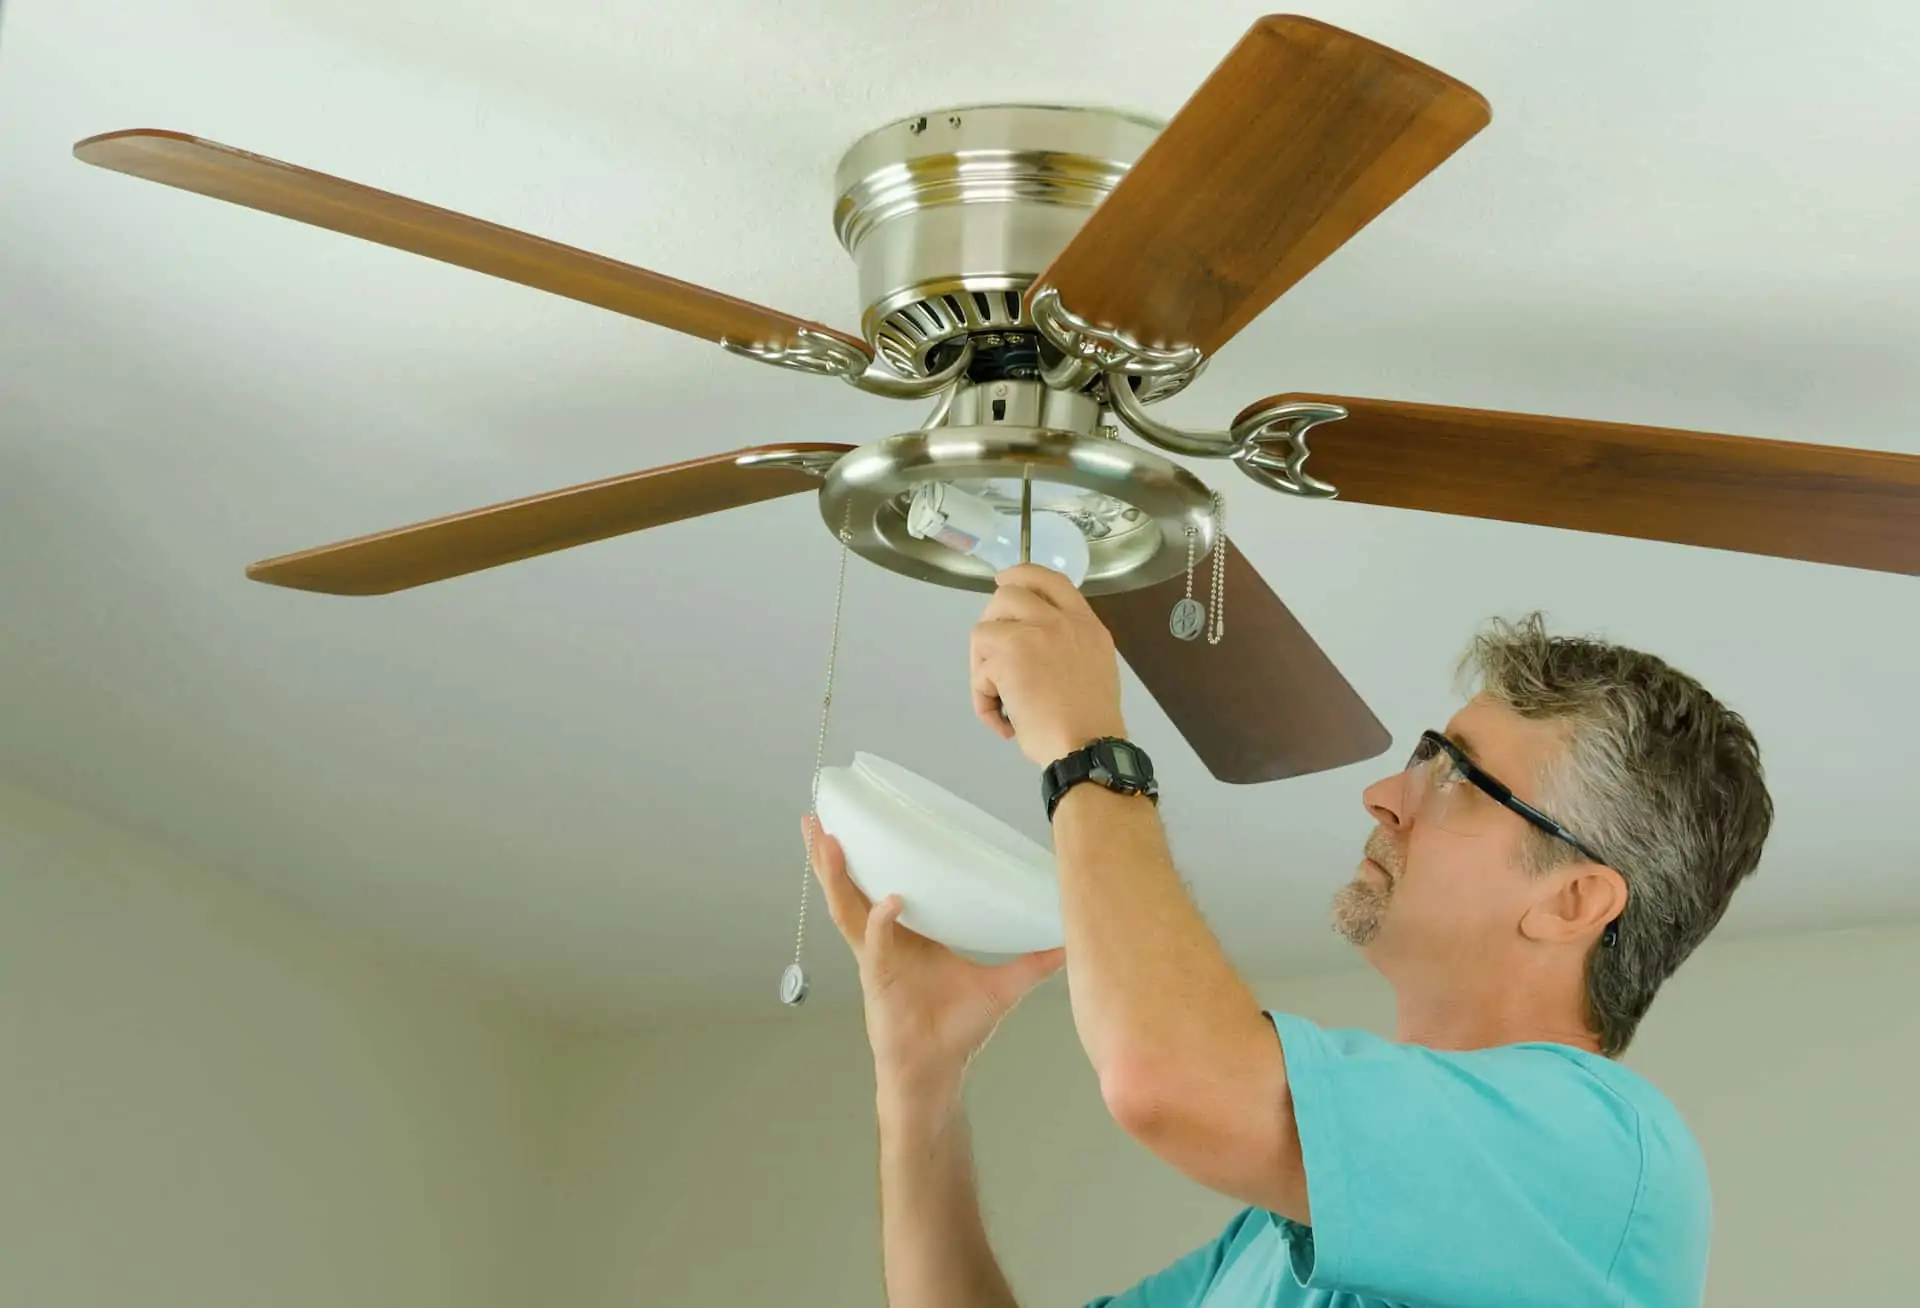
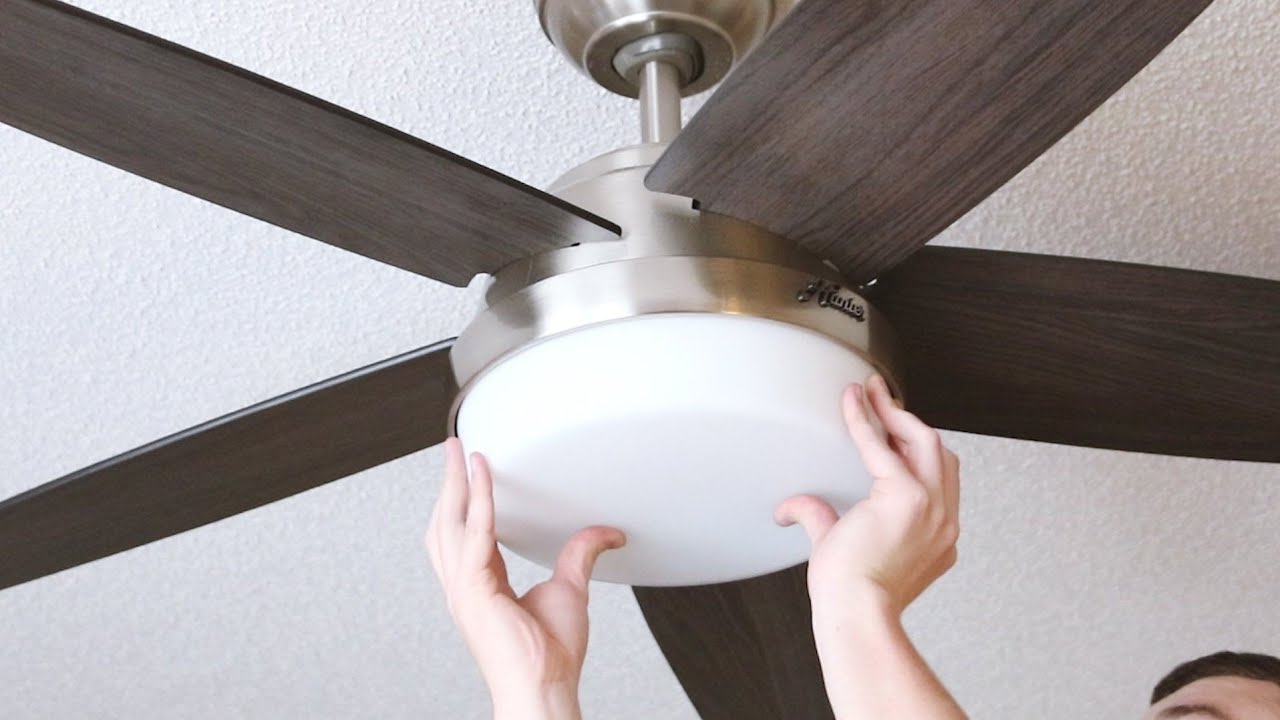
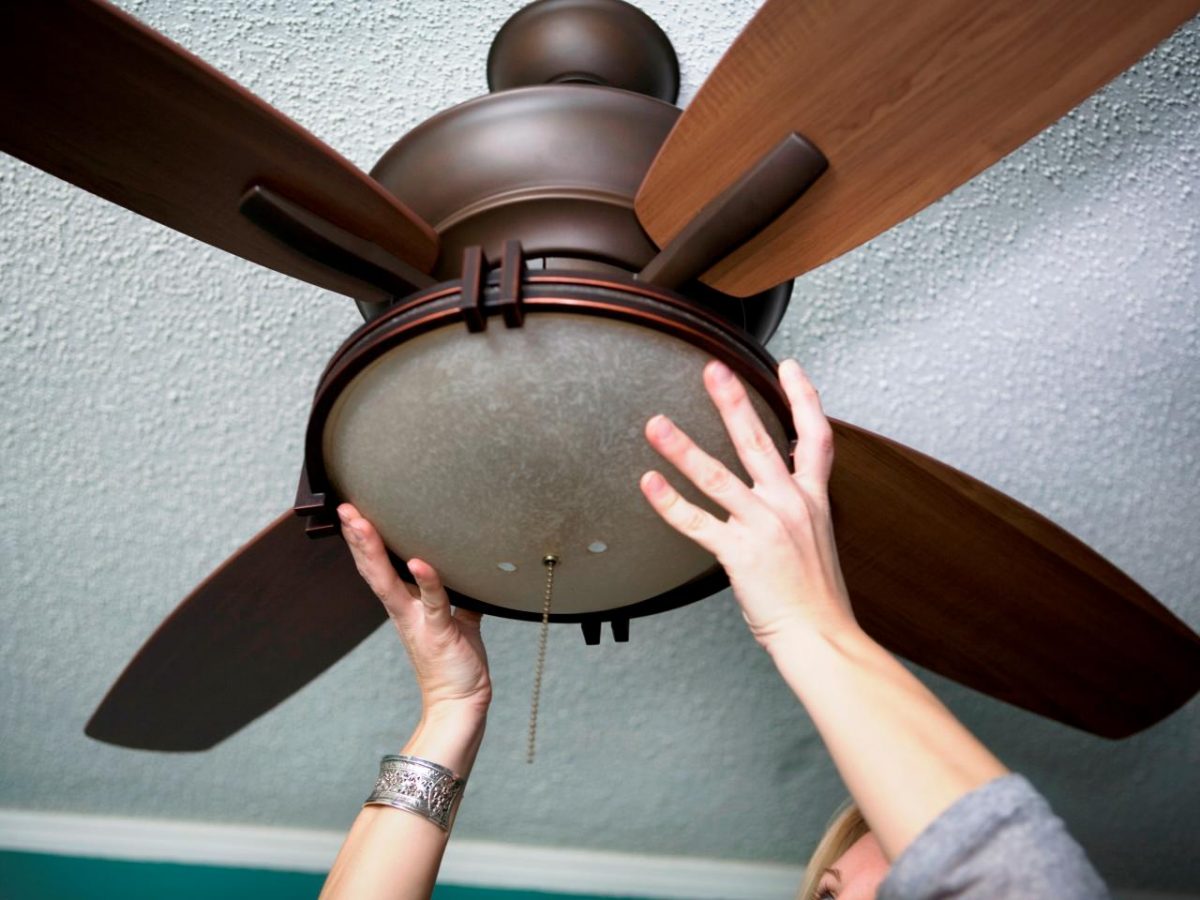
Installing the Light Kit (If Applicable)
If your ceiling fan includes a light kit, follow the manufacturer's instructions to install it. This typically involves connecting a few wires and attaching the light fixture to the fan motor. Ensure all connections are secure and that the light bulbs are properly installed.
Testing and Troubleshooting
Turning the Power On
After completing the installation, turn the power back on at the circuit breaker. Test the fan to ensure it operates correctly. Check the fan speed settings and the light kit (if applicable).
Troubleshooting Common Issues
If the fan wobbles, check that all blades are securely attached and properly aligned. You may need to use a balancing kit (often included with the fan) to correct the imbalance. If the fan doesn't turn on, re-check the wiring connections and ensure the circuit breaker is not tripped.
Consult the Home Depot's customer support or the fan manufacturer's website for additional troubleshooting assistance if needed.
Conclusion
Installing a ceiling fan from Home Depot can be a rewarding DIY project that enhances comfort and reduces energy costs. By prioritizing safety, following the manufacturer's instructions carefully, and double-checking all connections, homeowners can successfully install a ceiling fan. Always remember, if you're uncomfortable with any part of the process, consulting a qualified electrician is the safest option to ensure a secure and functional installation. Future innovations in smart home technology are likely to bring even more sophisticated ceiling fan options to Home Depot's shelves, offering enhanced control and energy efficiency.