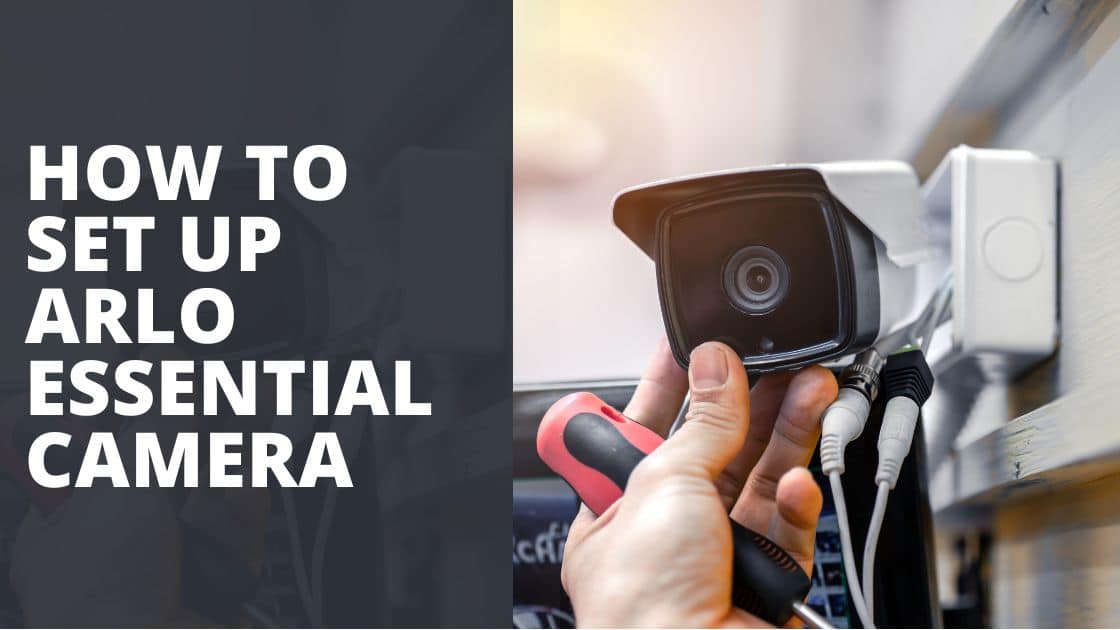
How To Install Arlo Essential Outdoor Camera
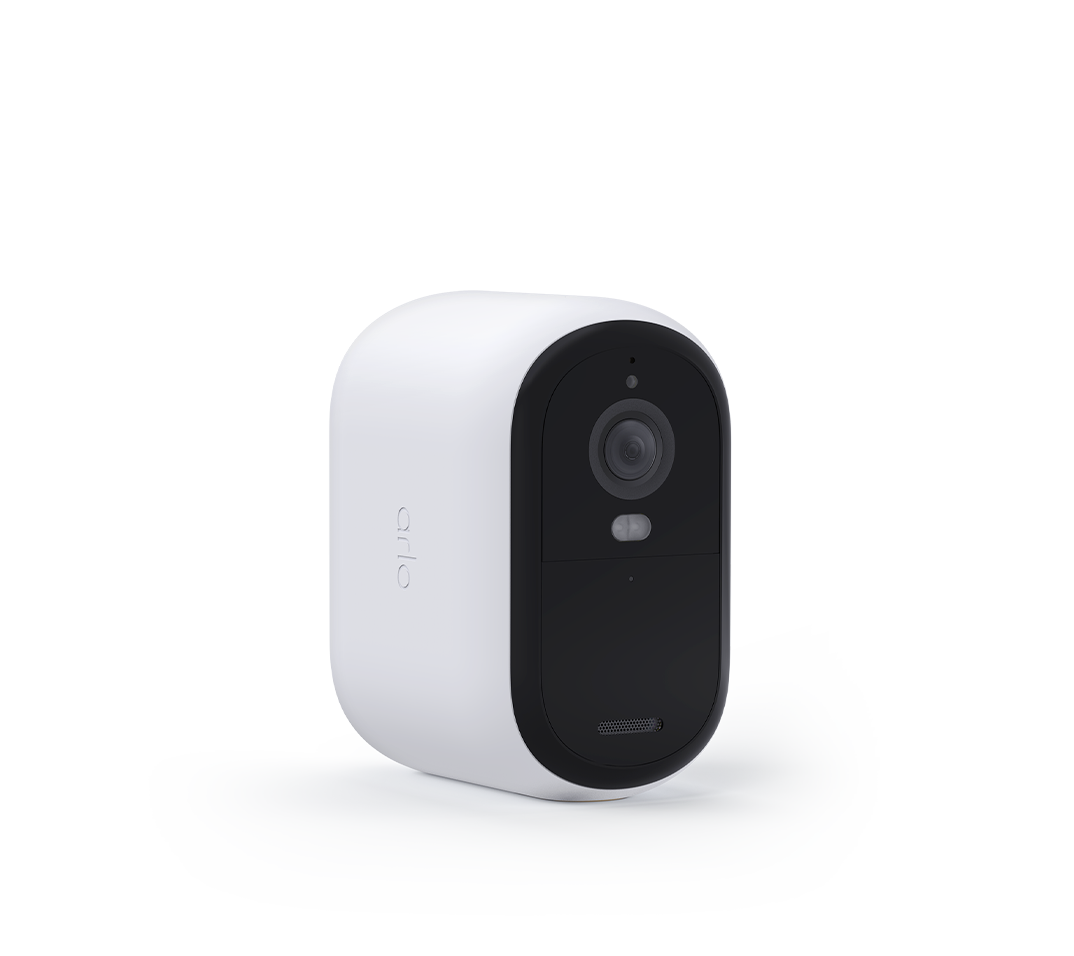
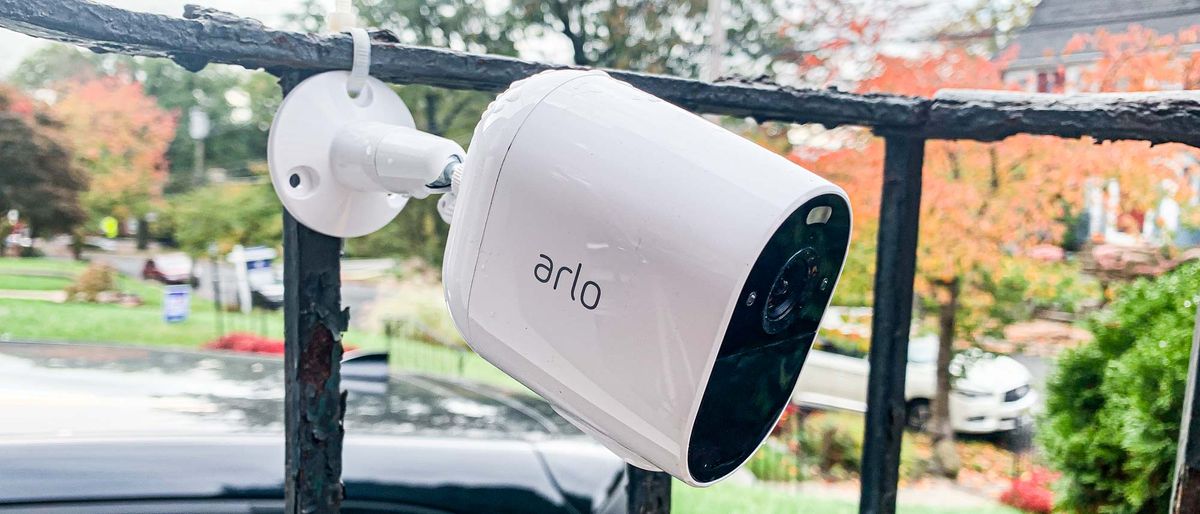
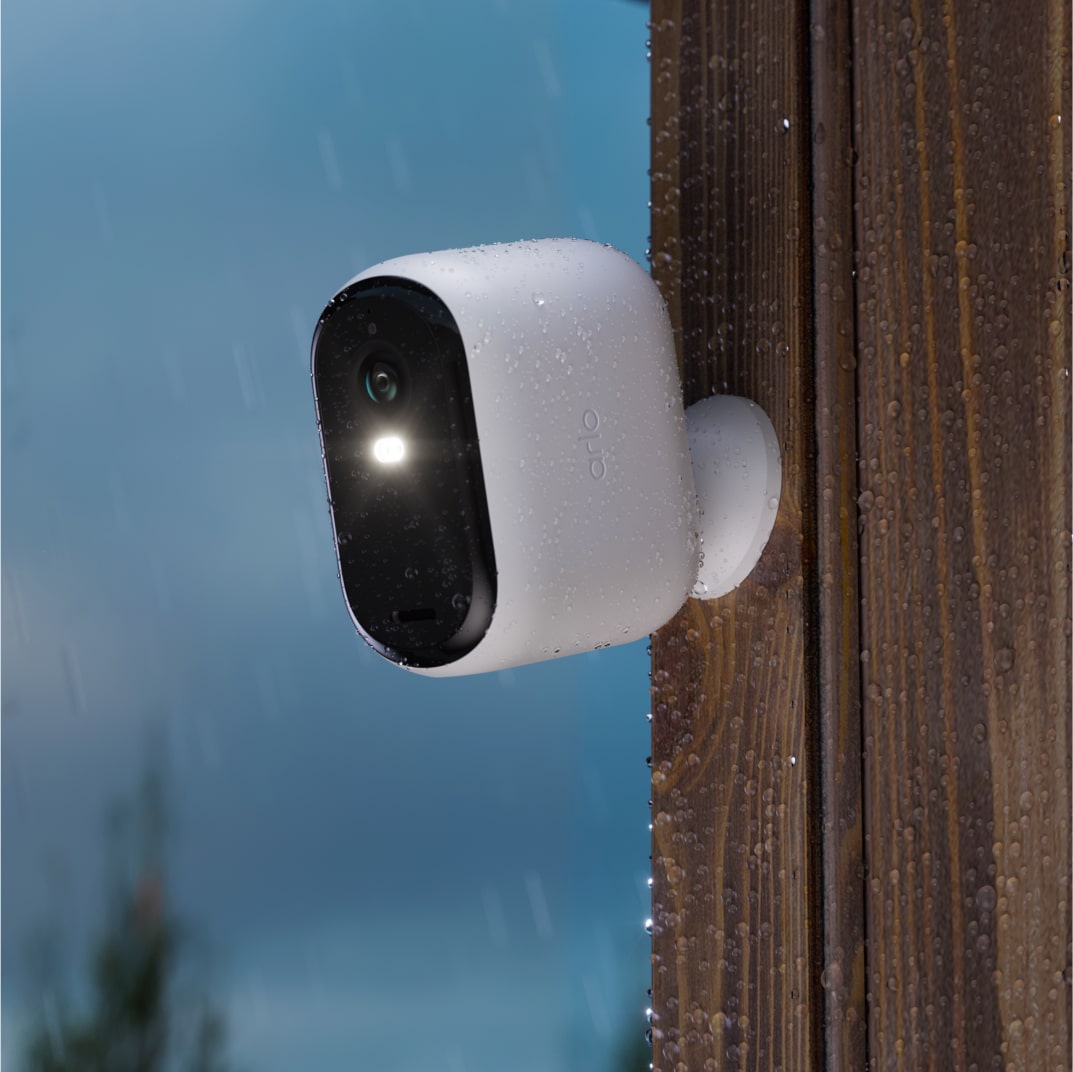
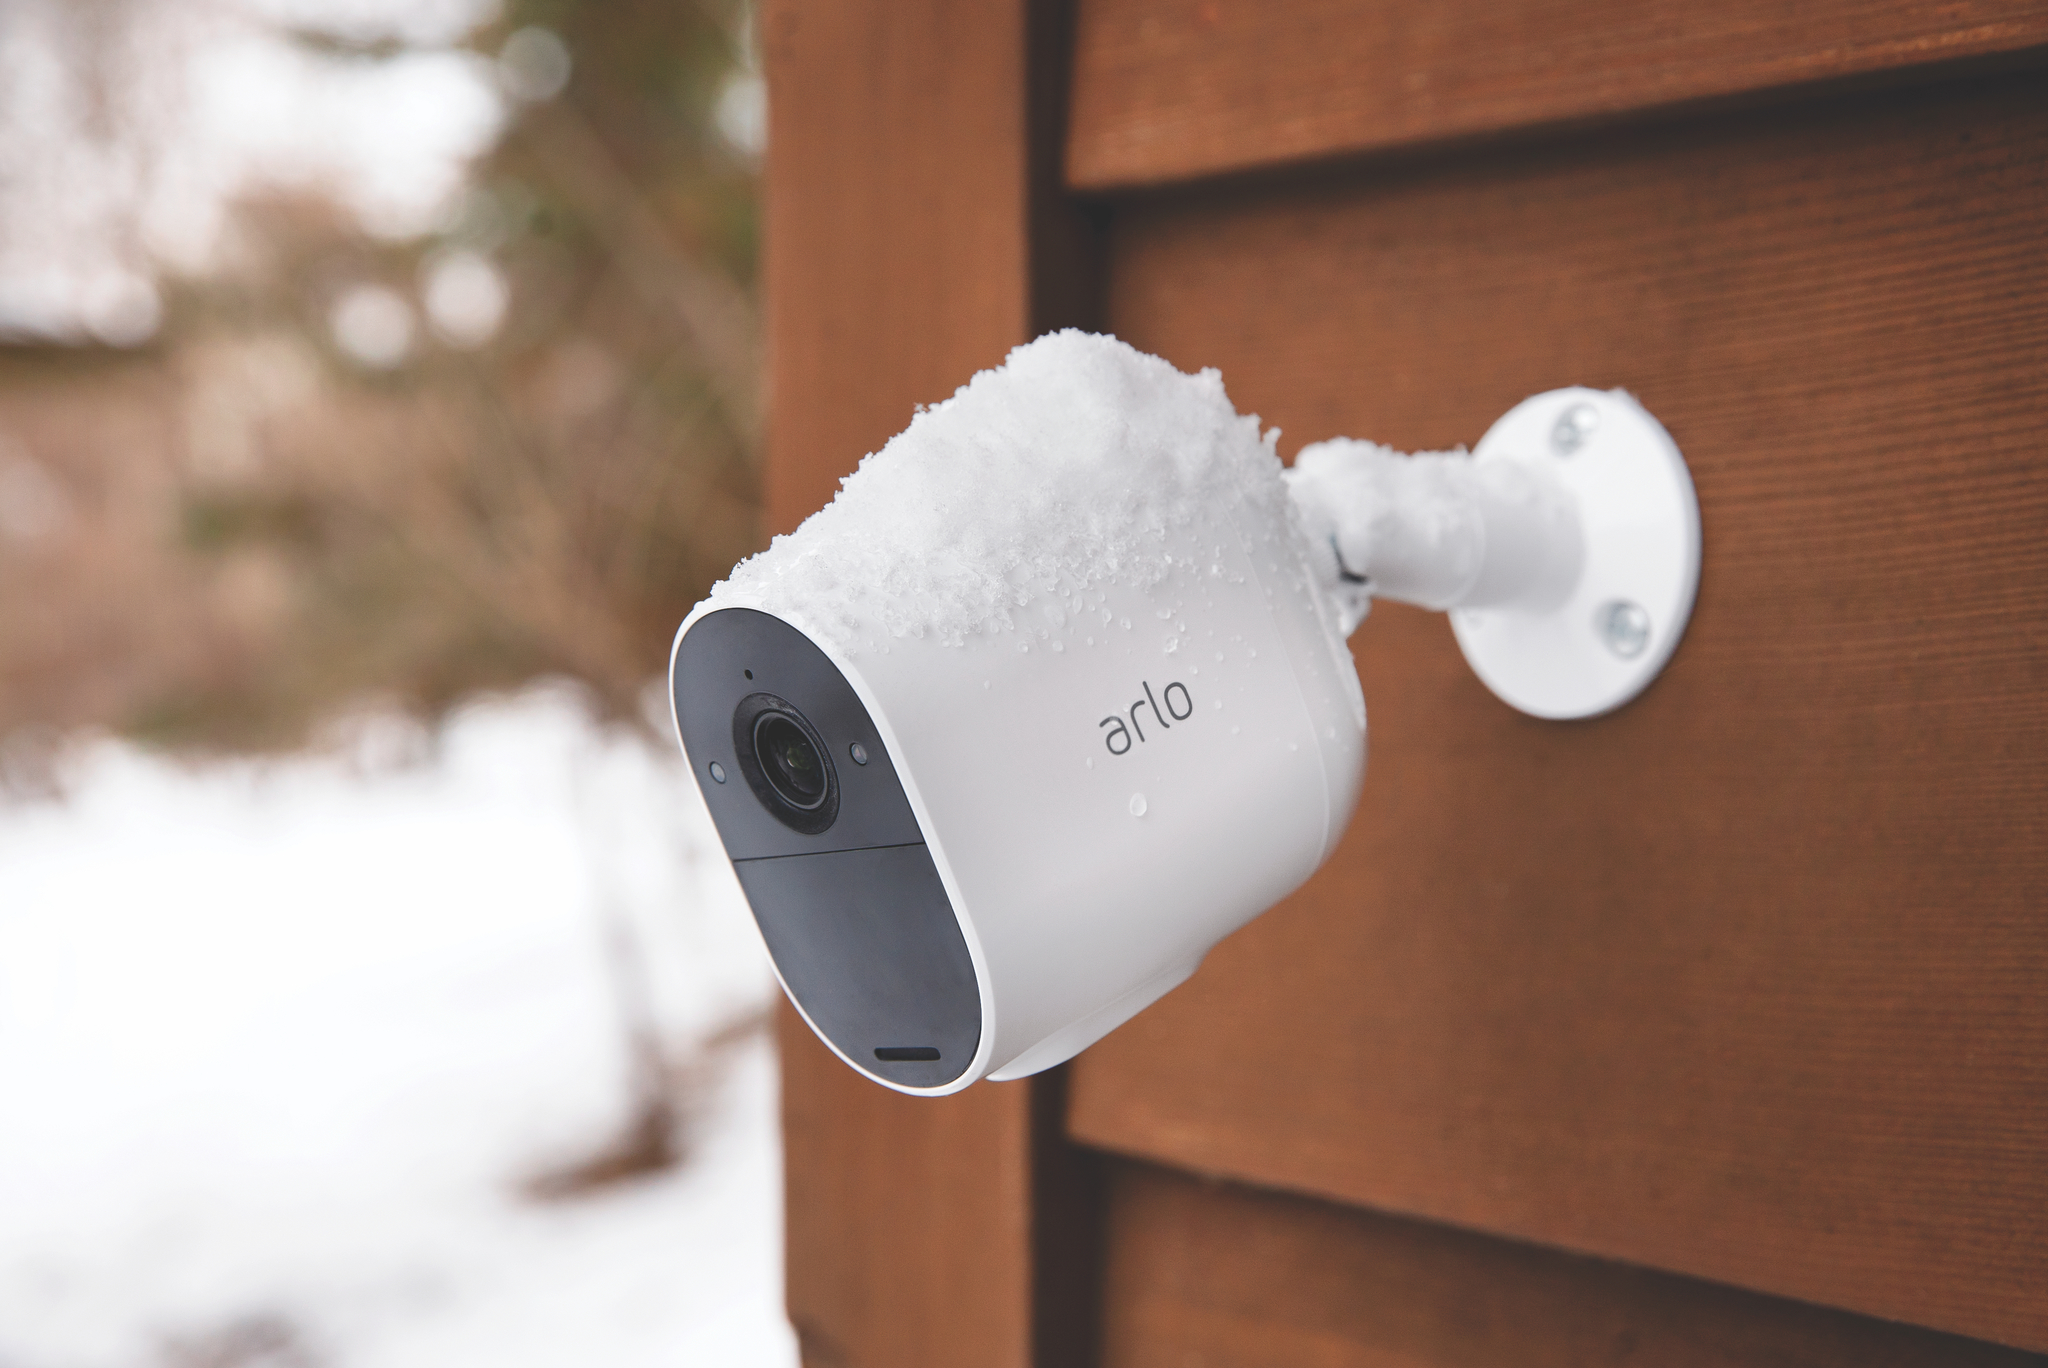
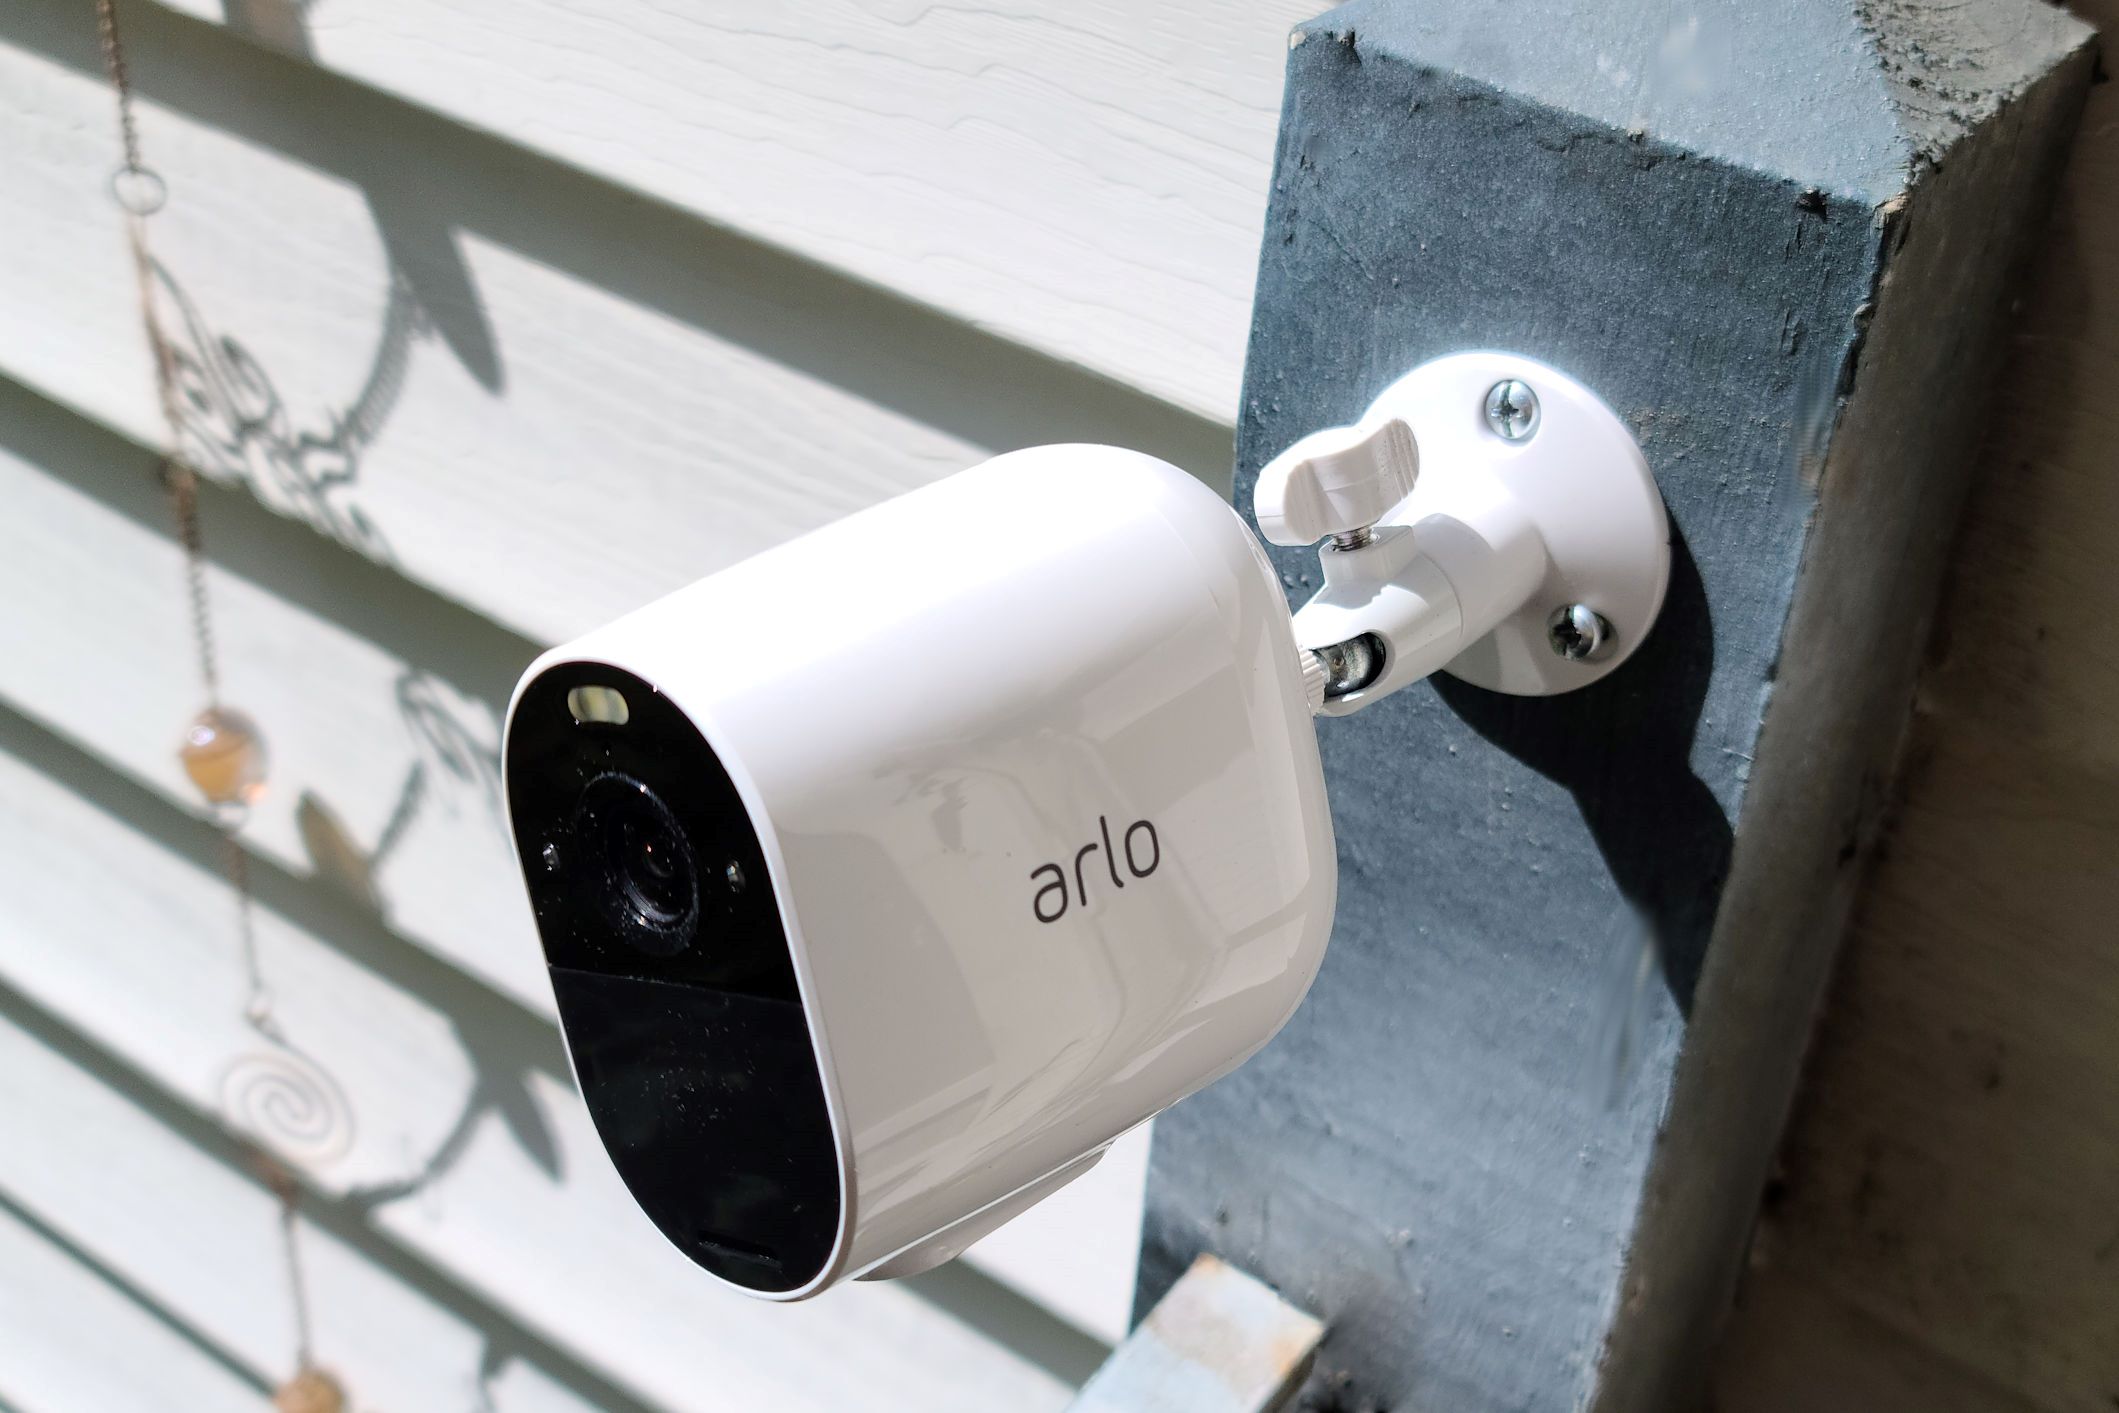
Securing your home is paramount, and a visible security camera can act as a powerful deterrent and provide invaluable evidence should the unexpected occur. The Arlo Essential Outdoor Camera offers a wire-free, weather-resistant solution for monitoring your property.
This article provides a step-by-step guide to installing the Arlo Essential Outdoor Camera, ensuring your home security system is up and running smoothly.
Preparation: What You’ll Need
Before you begin, gather the necessary tools and ensure you have a stable Wi-Fi connection. The Arlo Essential Outdoor Camera requires a compatible smartphone or tablet for setup.
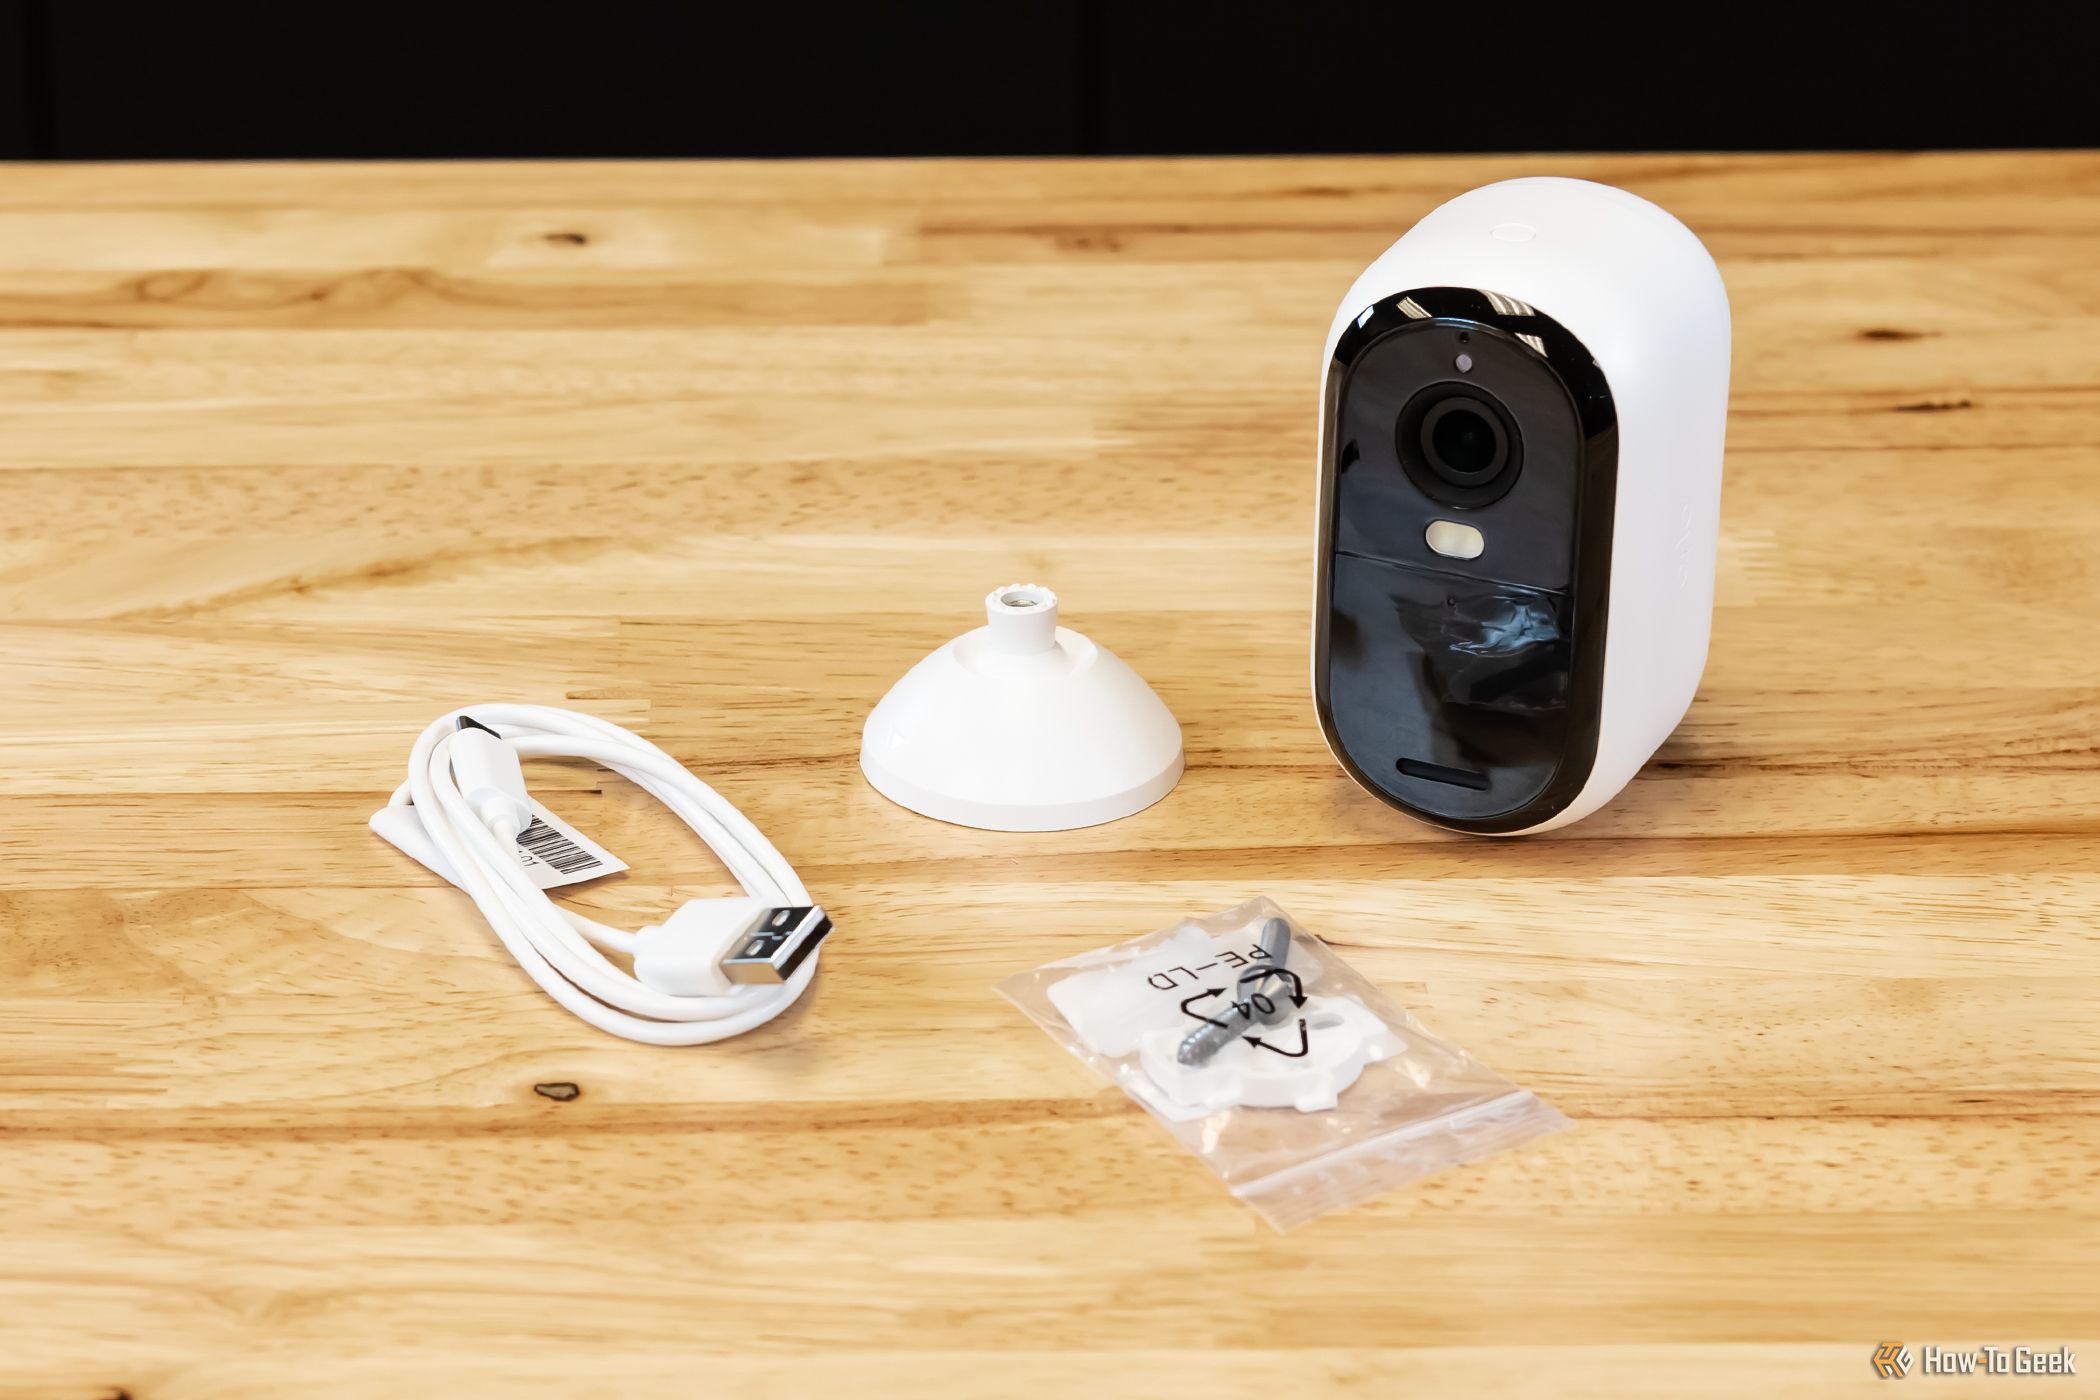
Here's a checklist of what you'll need:
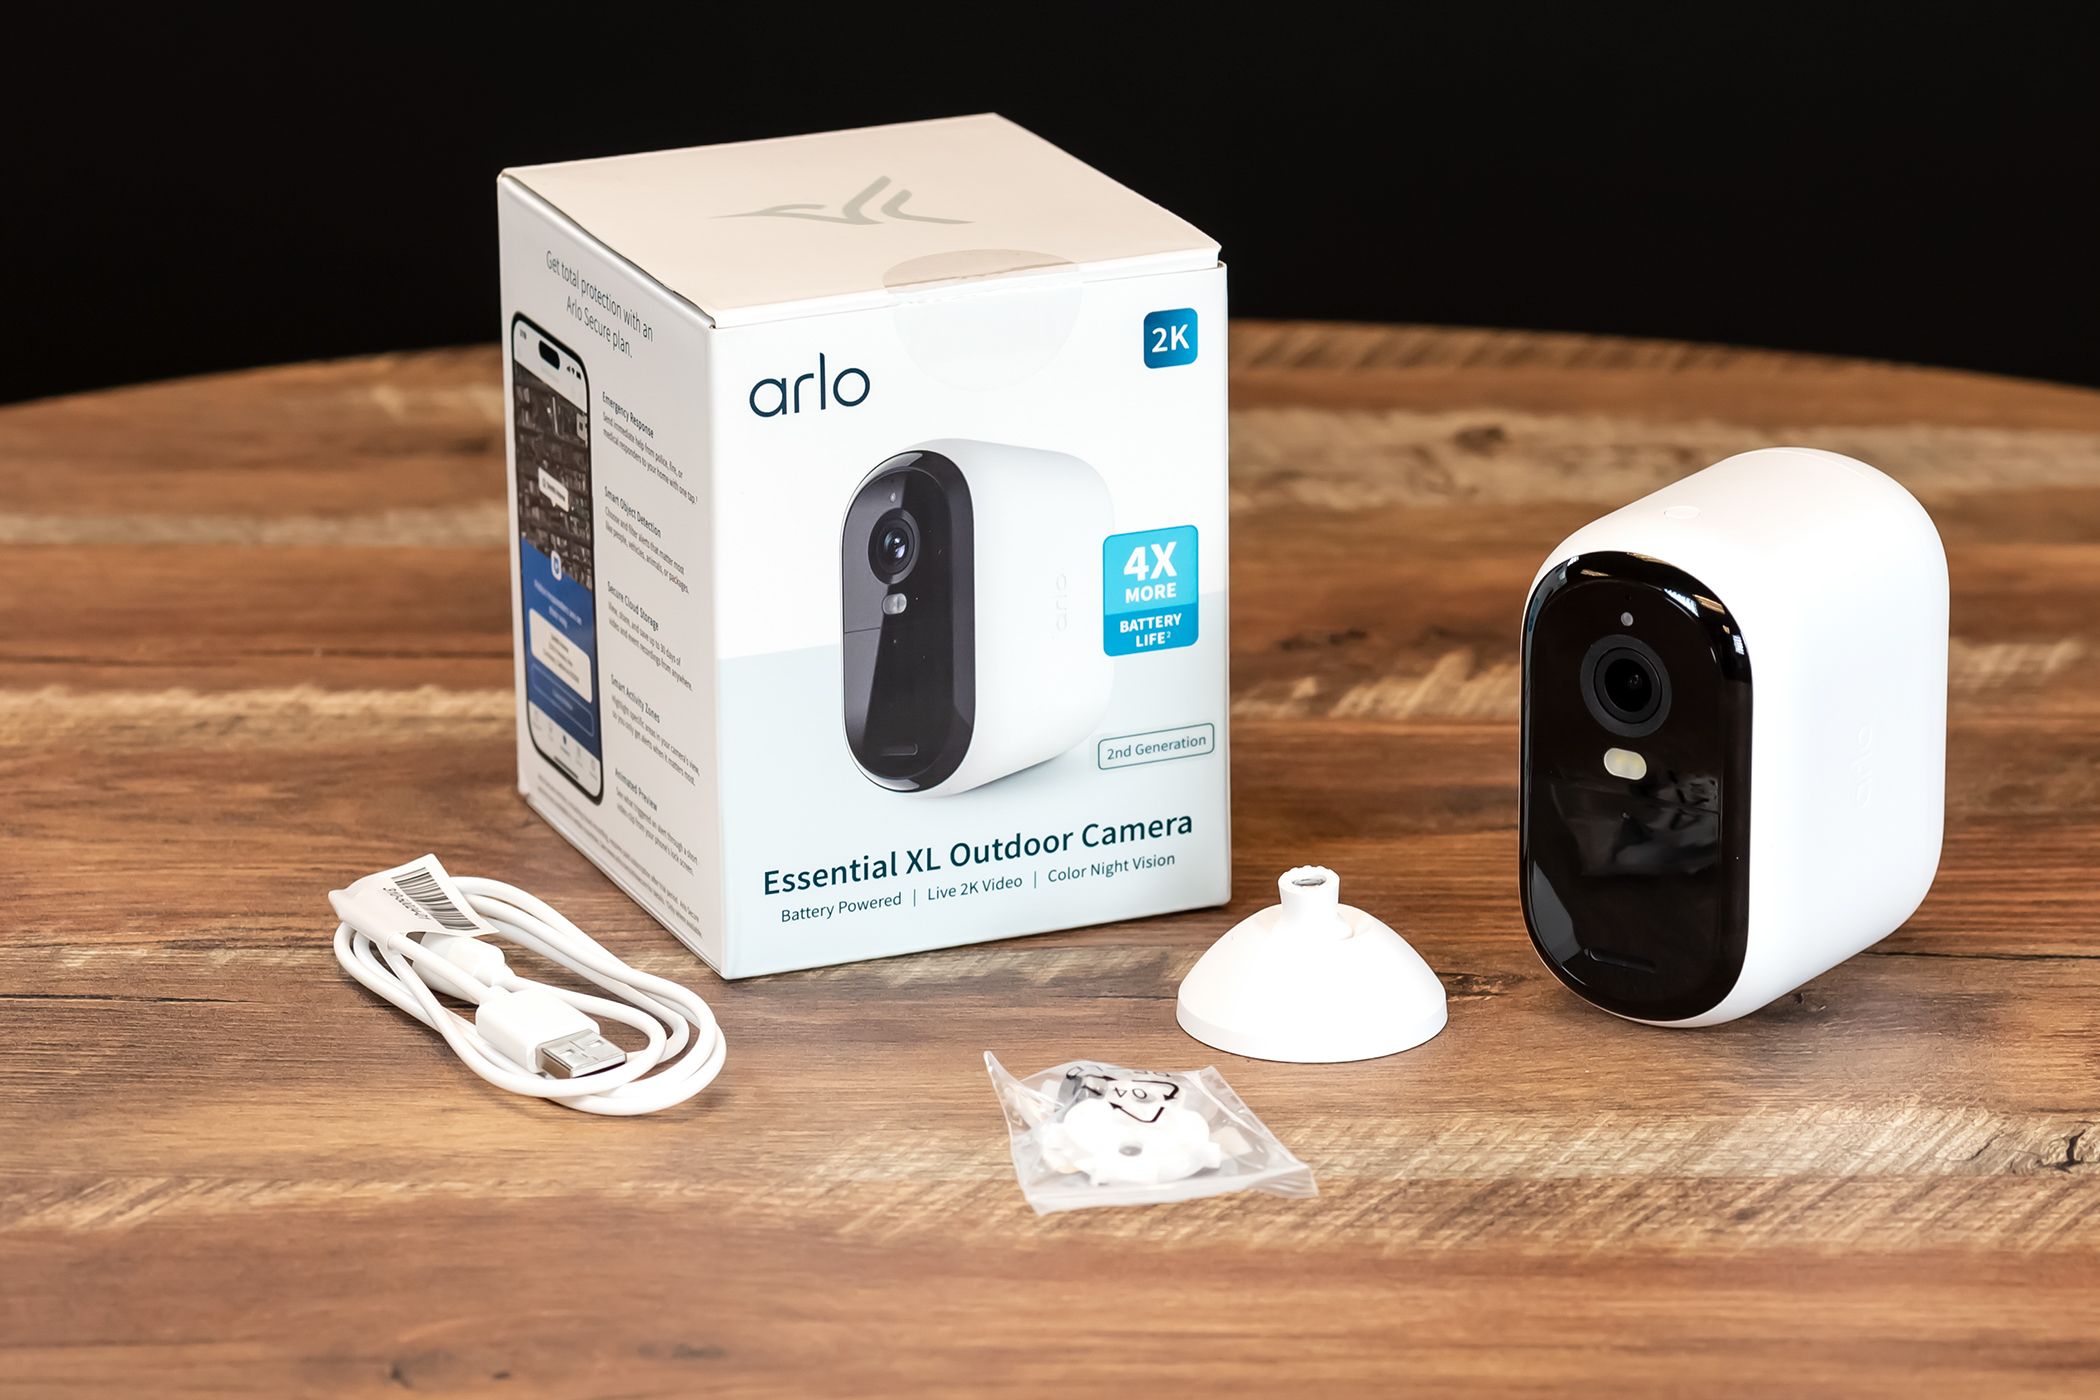
- Arlo Essential Outdoor Camera
- Mounting screws and wall anchors (usually included)
- Phillips head screwdriver
- Drill (if mounting on a hard surface like brick or concrete)
- Arlo Secure App (downloadable from app stores)
- Wi-Fi network name and password
- Ladder (if installing at a height)
Step-by-Step Installation Guide
1. Download and Set Up the Arlo Secure App
The Arlo Secure App is the central hub for controlling and managing your Arlo devices. Download the app from the App Store (iOS) or Google Play Store (Android) and create an account.
Follow the app's prompts to create an account or log in if you already have one.
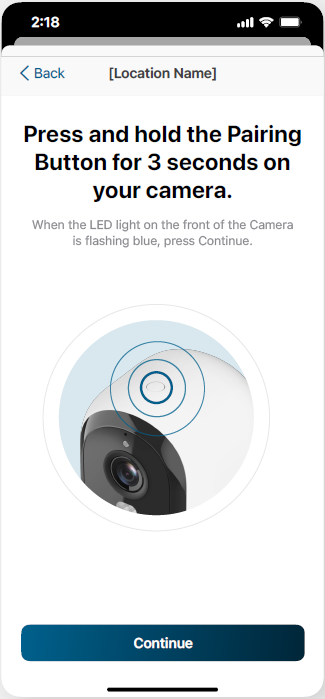
2. Add Your Camera to the Arlo Account
Once logged in, tap the "Add New Device" or "+" icon within the app. Select "Cameras" and then choose the Arlo Essential Outdoor Camera from the list of available devices.
The app will guide you through the pairing process, typically involving scanning a QR code on the camera and connecting to your Wi-Fi network. Ensure your smartphone and camera are close to your Wi-Fi router during this process for optimal connectivity.
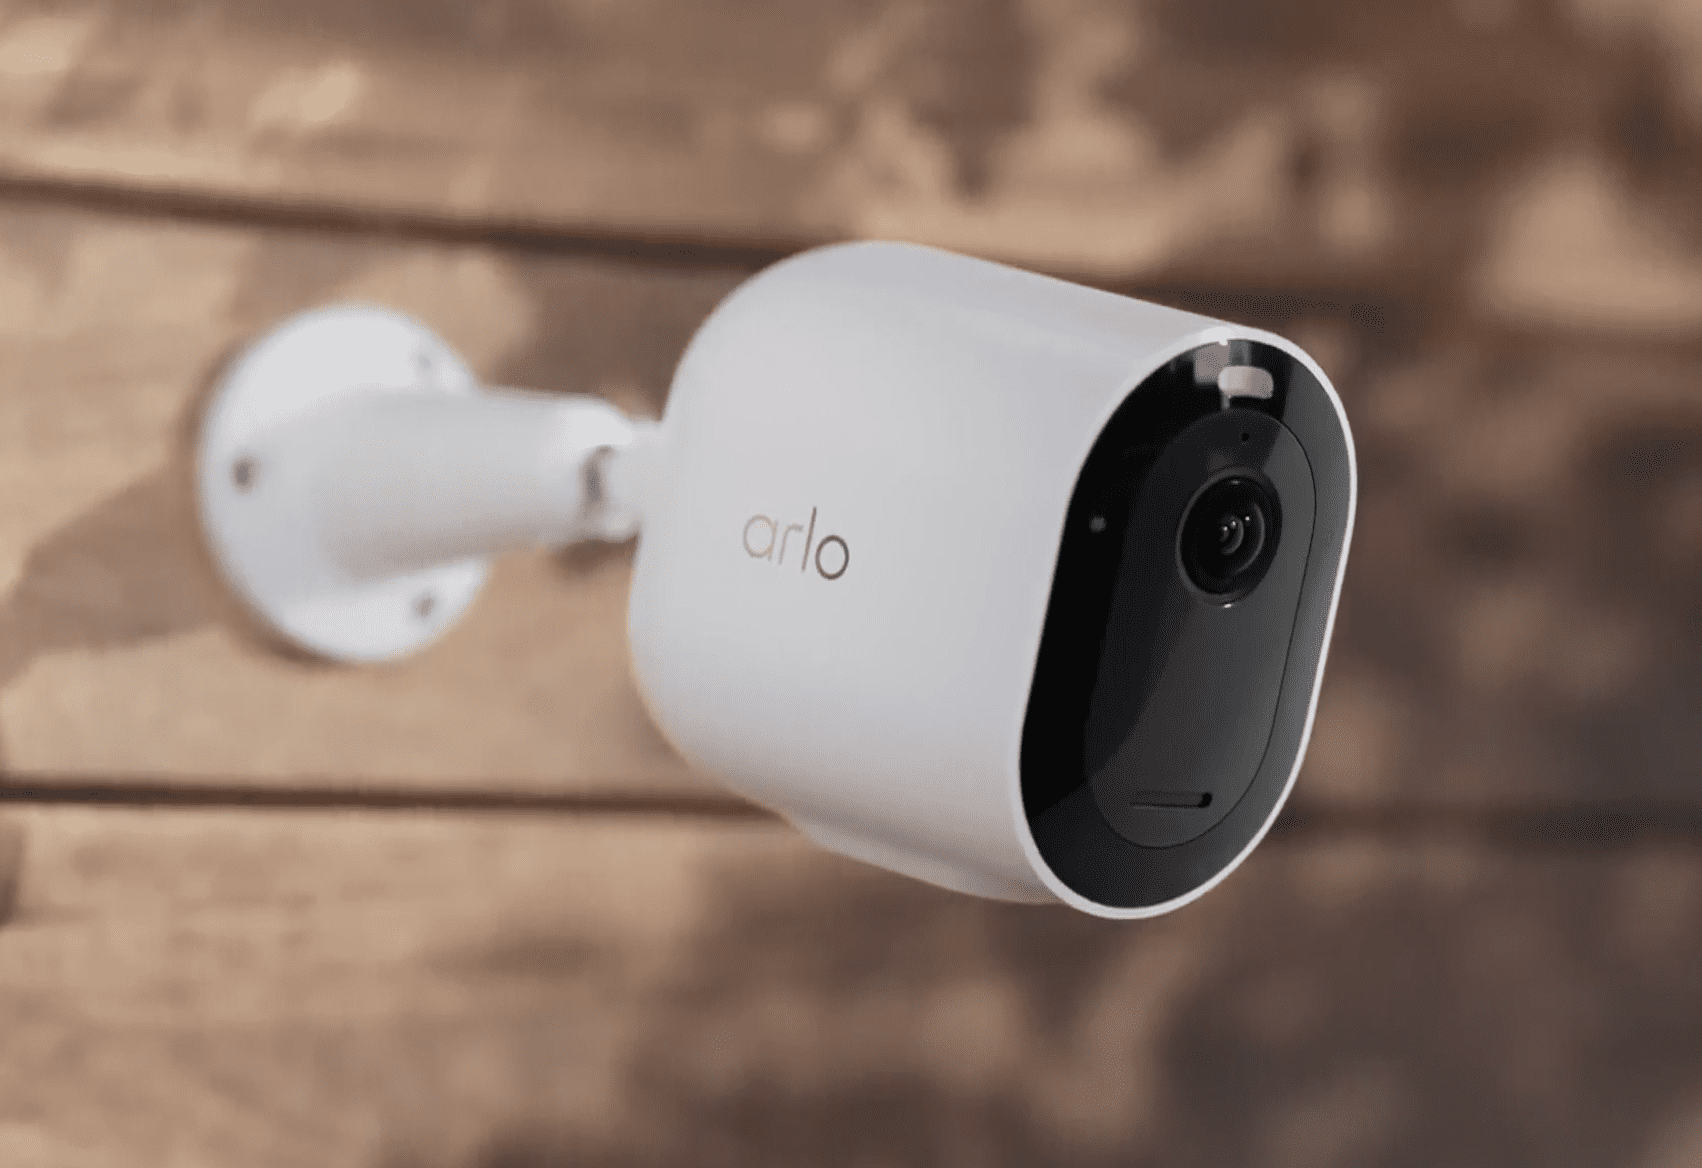
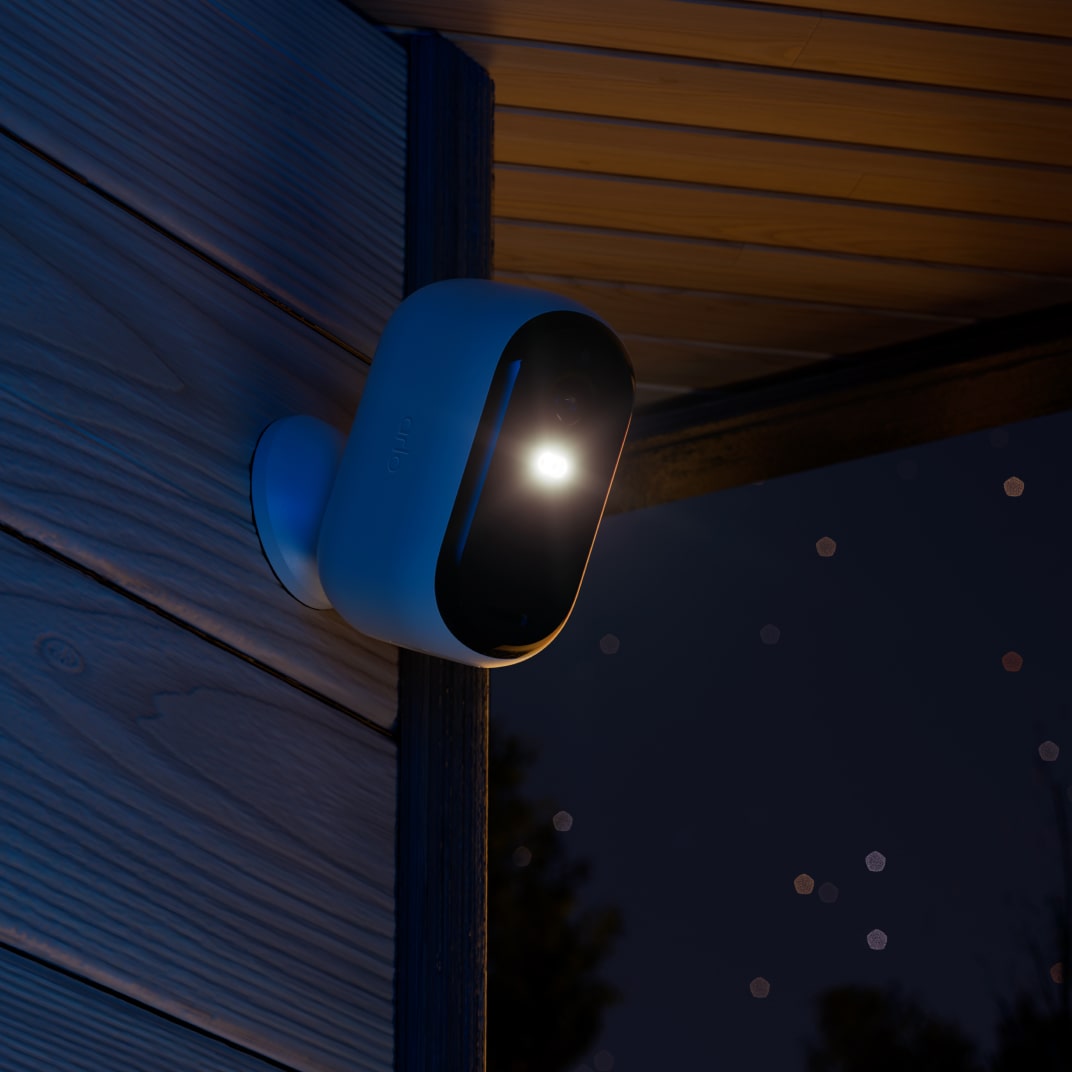
3. Choose Your Mounting Location
Consider the camera's field of view and potential obstacles when selecting a mounting location. A higher vantage point generally provides a wider view and better coverage. Arlo recommends placing the camera 7-8 feet above the ground.
Ensure the chosen location is within range of your Wi-Fi network. Test the Wi-Fi signal strength at the desired location using your smartphone before proceeding with installation.
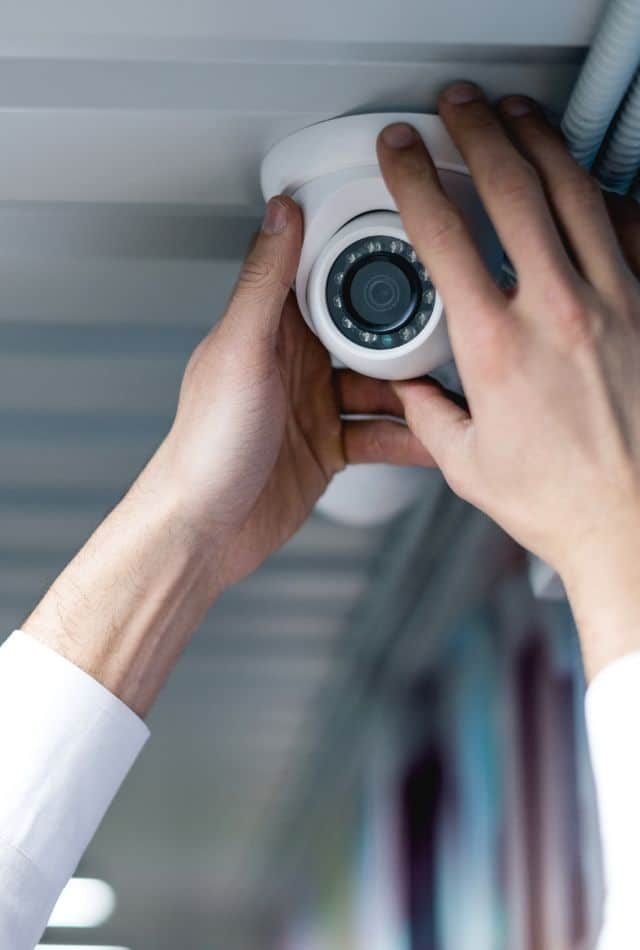
4. Install the Mounting Bracket
Position the mounting bracket against the wall in your desired location. Mark the screw holes with a pencil.
If installing on drywall, you may need to use wall anchors for added stability. For brick or concrete, drill pilot holes before inserting the screws.
Attach the mounting bracket to the wall using the provided screws. Ensure the bracket is securely fastened.
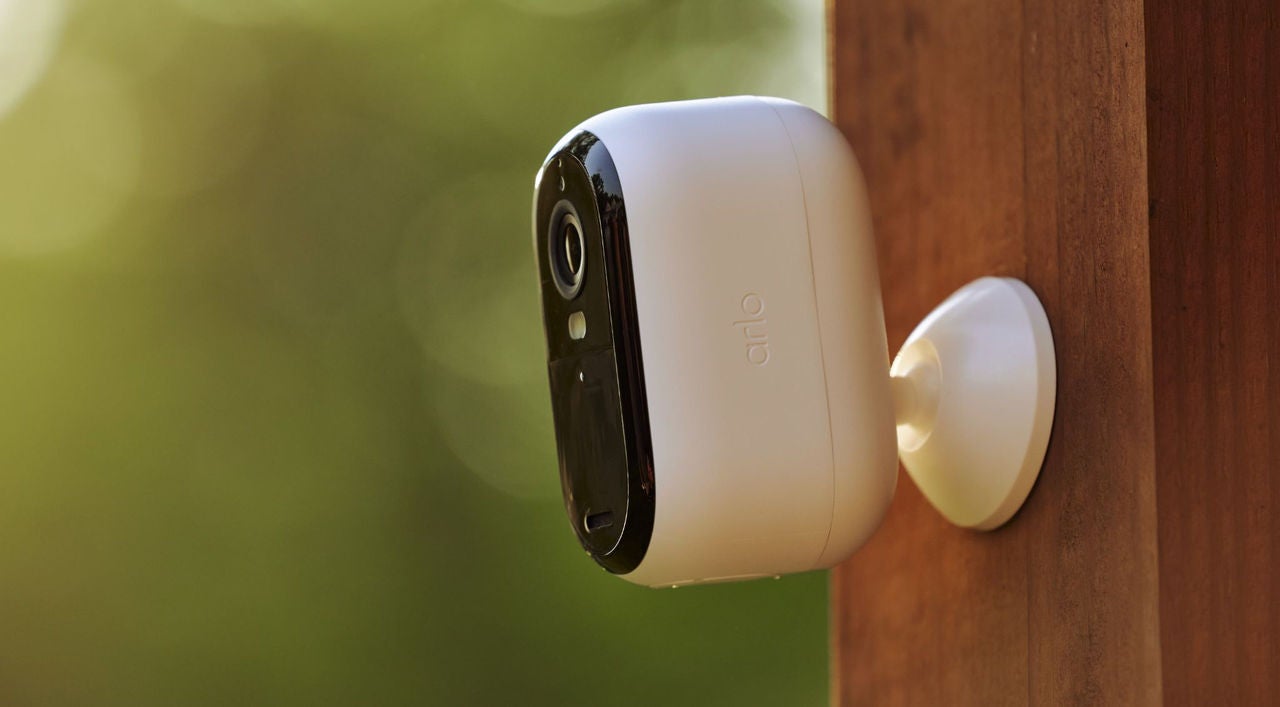
5. Attach the Camera to the Mounting Bracket
Align the camera with the mounting bracket and slide or clip it into place, depending on the bracket design. Consult your Arlo product manual for precise instructions.
Tighten any adjustment knobs to secure the camera angle. You can adjust the camera's position later using the Arlo app.
6. Adjust Camera Angle and Settings
Use the Arlo app to view the live feed from your camera and fine-tune the angle. The app allows you to adjust motion detection sensitivity, recording resolution, and other settings to suit your specific needs.
Experiment with the settings to optimize performance and minimize false alarms.
7. Test the Camera System
Once the camera is installed and configured, thoroughly test the system. Walk through the camera's field of view to ensure motion detection is working correctly.
Review recorded footage to verify the image quality and ensure the camera is capturing the desired area. You can also customize notification settings to receive alerts on your smartphone when motion is detected.
Troubleshooting Common Issues
If you encounter difficulties during the installation process, consult the Arlo support website or app for troubleshooting tips. Common issues include Wi-Fi connectivity problems, incorrect camera angle, and false motion alerts.
"Arlo offers extensive online resources and customer support to assist users with installation and setup," a company spokesperson stated.
Ensure your Wi-Fi router's firmware is up to date and that your Arlo app is running the latest version. A weak Wi-Fi signal can cause connection issues.
Significance of Home Security Systems
Home security systems, like those featuring the Arlo Essential Outdoor Camera, provide peace of mind and enhance safety. A visible camera can deter potential intruders and provide evidence in the event of a break-in.
According to recent statistics, homes without security systems are significantly more likely to be targeted by burglars. Investing in a home security system is a proactive step towards protecting your family and property.
Conclusion
Installing the Arlo Essential Outdoor Camera is a relatively straightforward process that can significantly improve your home security. By following these steps and consulting the Arlo support resources, you can quickly and easily set up your camera and start monitoring your property.
Remember to regularly check the camera's battery life (if applicable) and adjust settings as needed to maintain optimal performance. A well-maintained security system provides continuous protection and peace of mind.