How To Install Autocad 2006 In Windows 8

Many users accustomed to AutoCAD 2006 still rely on its functionalities despite its age. However, installing this legacy software on modern operating systems like Windows 8 presents a unique challenge due to compatibility issues. This article outlines the steps necessary to successfully install AutoCAD 2006 on a Windows 8 machine.
The challenge lies in the fact that AutoCAD 2006 was designed for older versions of Windows. Therefore, users often encounter error messages or installation failures. This guide will walk you through the process of configuring your system to accommodate the older software.
Preparing for Installation
Before beginning, ensure you have the AutoCAD 2006 installation media (CD or downloaded files) and its associated serial number and product key. It's also wise to create a system restore point. This will allow you to revert your system to its previous state if any issues arise during the installation process.
Compatibility Mode
Compatibility mode is crucial for tricking Windows 8 into thinking it's running an older operating system. Locate the setup file (usually setup.exe or install.exe) on your installation media. Right-click on the file and select "Properties."
Navigate to the "Compatibility" tab. Check the box labeled "Run this program in compatibility mode for:" and select "Windows XP (Service Pack 3)" from the dropdown menu. You might also need to check "Run this program as an administrator" under the "Privilege Level" section.
Apply the changes and click "OK." This sets the stage for a smoother installation experience.
User Account Control (UAC)
User Account Control (UAC) in Windows 8 can sometimes interfere with the installation of older software. Temporarily disabling UAC can often resolve these issues. Search for "UAC" in the Windows 8 search bar and open "Change User Account Control settings."
Drag the slider down to "Never notify" and click "OK." Note that this is a temporary measure and UAC should be re-enabled after the installation is complete for security reasons.
Installation Process
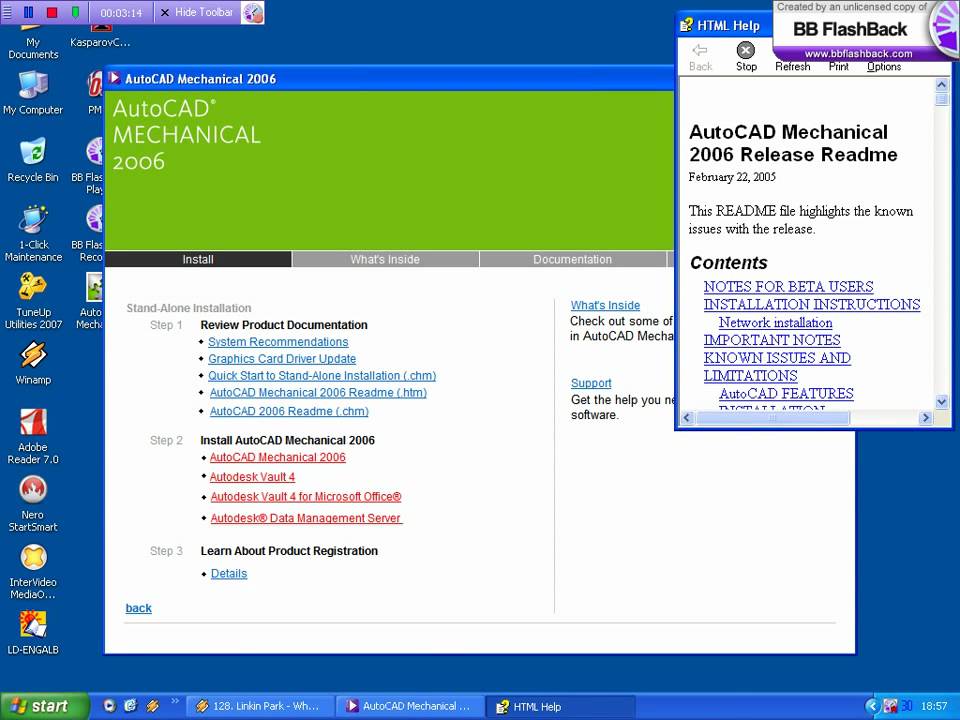
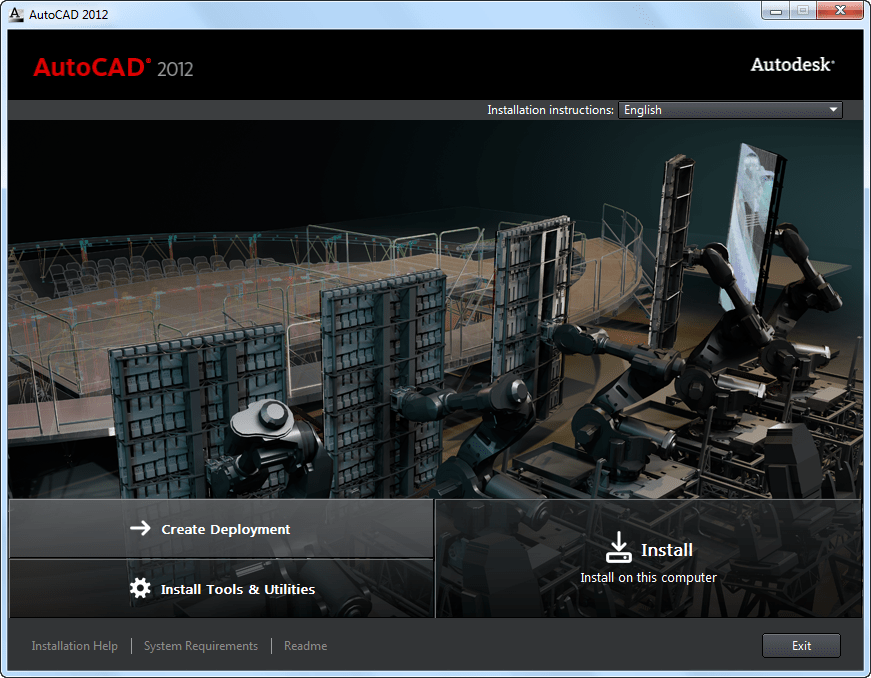
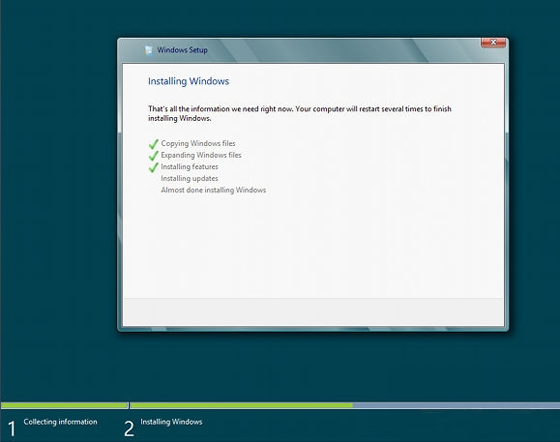
With compatibility mode configured and UAC temporarily disabled, you can now proceed with the installation. Run the setup file (setup.exe or install.exe) from your installation media. Follow the on-screen instructions carefully.
When prompted, enter your serial number and product key. Choose your desired installation options and directory. The installation process may take some time to complete.
Post-Installation Adjustments
After the installation is complete, it's highly recommended to install any available service packs or updates for AutoCAD 2006. These updates often address bugs and improve compatibility.
You may need to repeat the compatibility mode steps for the AutoCAD 2006 executable file (usually acad.exe) located in the installation directory. This ensures that the program runs properly after installation.
Finally, re-enable User Account Control (UAC) to its original setting. This is essential for maintaining the security of your Windows 8 system.
Potential Issues and Troubleshooting
Even with these steps, you may encounter issues. Common problems include graphics display issues, activation errors, or program crashes. Searching online forums for AutoCAD 2006 and Windows 8 specific issues can provide valuable troubleshooting tips.
In some cases, installing older versions of graphics drivers might resolve display problems. However, be cautious when installing older drivers, as they may not be fully compatible with Windows 8.
If activation fails, contact Autodesk support. They may be able to provide assistance with activating the software on a newer operating system.
Conclusion
Installing AutoCAD 2006 on Windows 8 requires patience and a few workarounds. By following these steps, you can increase your chances of successfully running this legacy software on a modern operating system. Remember to always prioritize system security and create backups before making significant changes to your system configuration.