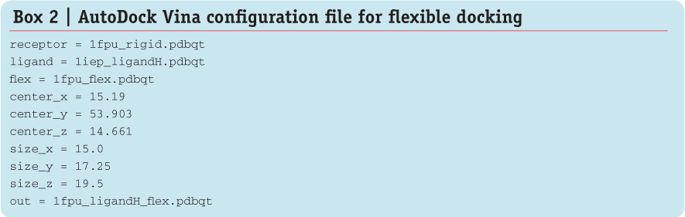
How To Install Autodock In Windows 10

For researchers and students venturing into the realm of computational chemistry and drug discovery, the ability to perform molecular docking simulations is crucial. One of the most widely used tools for this purpose is AutoDock, a suite of automated docking tools designed to predict how small molecules, such as drug candidates, bind to a receptor of known 3D structure. However, installing AutoDock on a Windows 10 system can sometimes present a hurdle for those unfamiliar with command-line interfaces and specific software dependencies.
This article provides a comprehensive, step-by-step guide to installing AutoDock and its associated tools, including AutoDockTools (ADT) and AutoGrid, on a Windows 10 operating system. It aims to demystify the process and ensure that users can successfully set up their environment for molecular docking studies. The guide covers the necessary software prerequisites, installation procedures, and troubleshooting tips to address common issues encountered during installation.
Prerequisites
Before embarking on the AutoDock installation, certain software components must be installed. This ensures compatibility and proper functionality of the docking suite. Python, specifically version 2.7, is a key requirement for ADT.
Download the appropriate Python 2.7 installer for your system architecture (32-bit or 64-bit) from the official Python website. During installation, ensure that the option to add Python to your system's PATH environment variable is selected. This allows you to execute Python commands from the command line.
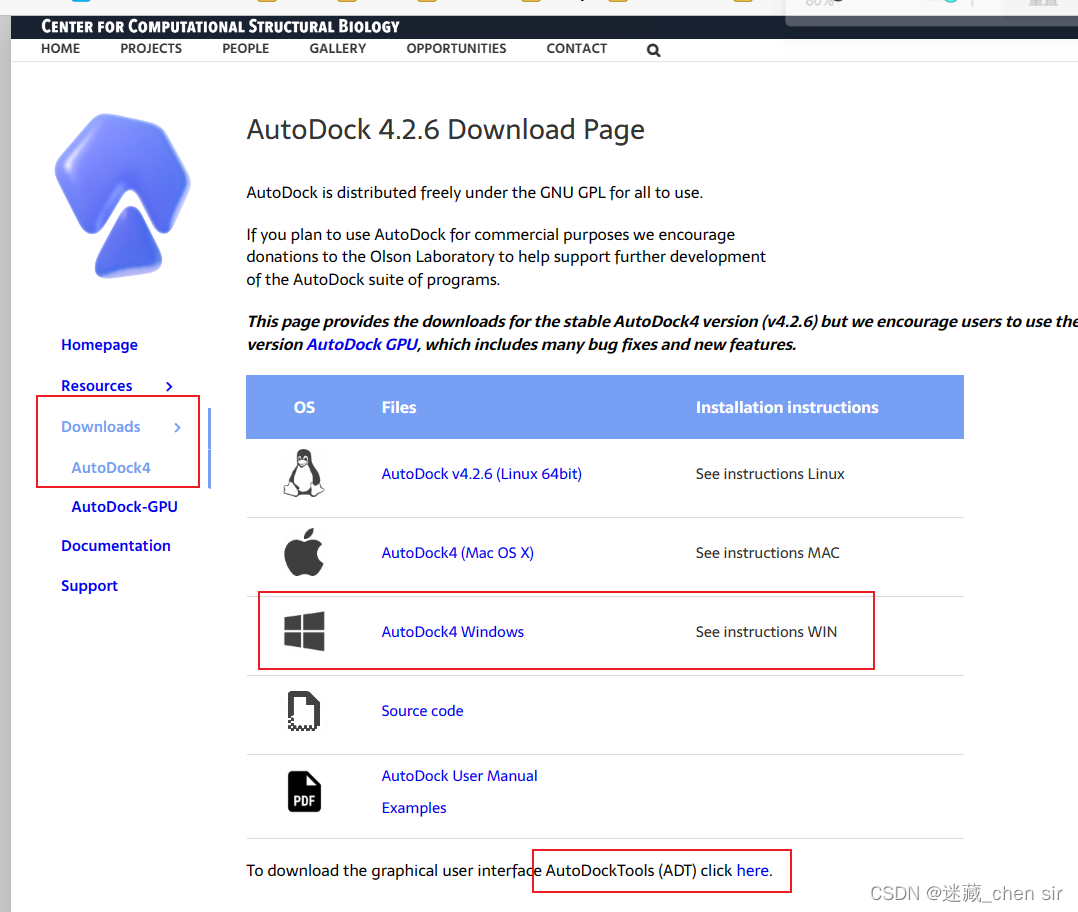
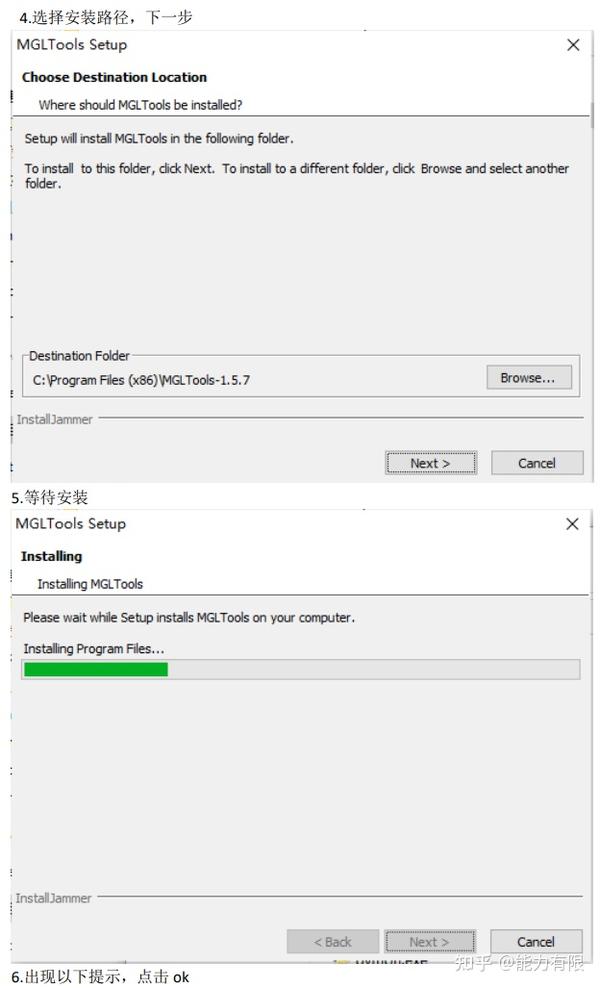
MGLTools is another critical prerequisite. It provides the graphical user interface for preparing input files and visualizing docking results. Download MGLTools (preferably version 1.5.6 or later) from the Scripps Research website, the developers of AutoDock. Follow the instructions provided in the MGLTools installer.
Installing AutoDock and AutoGrid
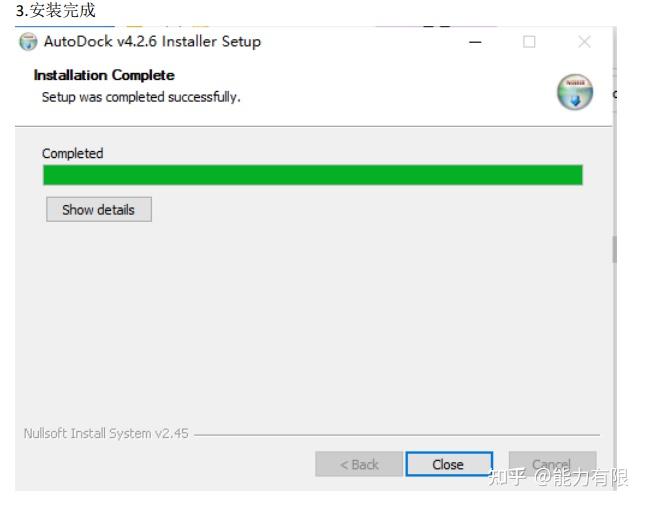
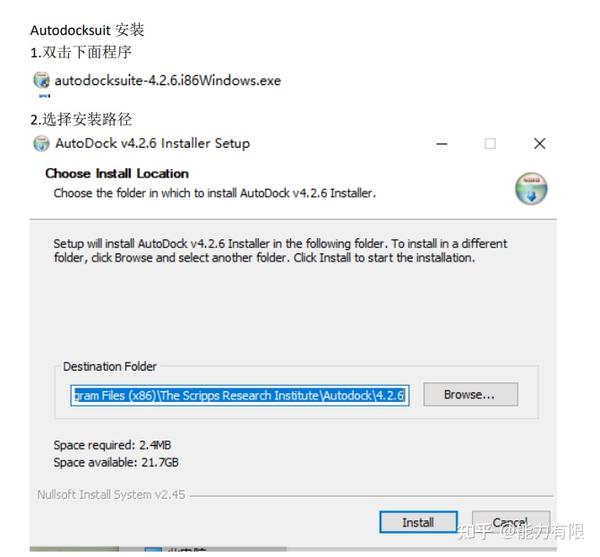
With the prerequisites in place, the core AutoDock and AutoGrid binaries can be installed. These are typically distributed as executables that need to be placed in a designated directory. Download the AutoDock and AutoGrid binaries from the official AutoDock website or a trusted repository.
Create a new directory, for example, C:\AutoDock, to store the executables. Place the downloaded AutoDock and AutoGrid executables into this directory. Next, add this directory to your system's PATH environment variable.
To add the directory to the PATH, search for "environment variables" in the Windows search bar. Select "Edit the system environment variables". Click "Environment Variables..." button. In the "System variables" section, find the "Path" variable, select it, and click "Edit...". Add the path to your AutoDock directory (e.g., C:\AutoDock) to the end of the variable value, separated by a semicolon (;). Click "OK" on all the windows to save the changes.
Configuring AutoDockTools (ADT)
AutoDockTools (ADT) relies on the correct configuration of Python and MGLTools to function properly. The installation process involves setting environment variables to point to the necessary directories. First, open ADT (usually found within the MGLTools installation directory).
Navigate to the "Edit" menu and select "Preferences". Then choose "AutoDock". In the AutoDock preferences dialog, specify the paths to the AutoDock and AutoGrid executables. For example, set the "AutoDock executable path" to C:\AutoDock\autodock4.exe and the "AutoGrid executable path" to C:\AutoDock\autogrid4.exe. Save the changes.
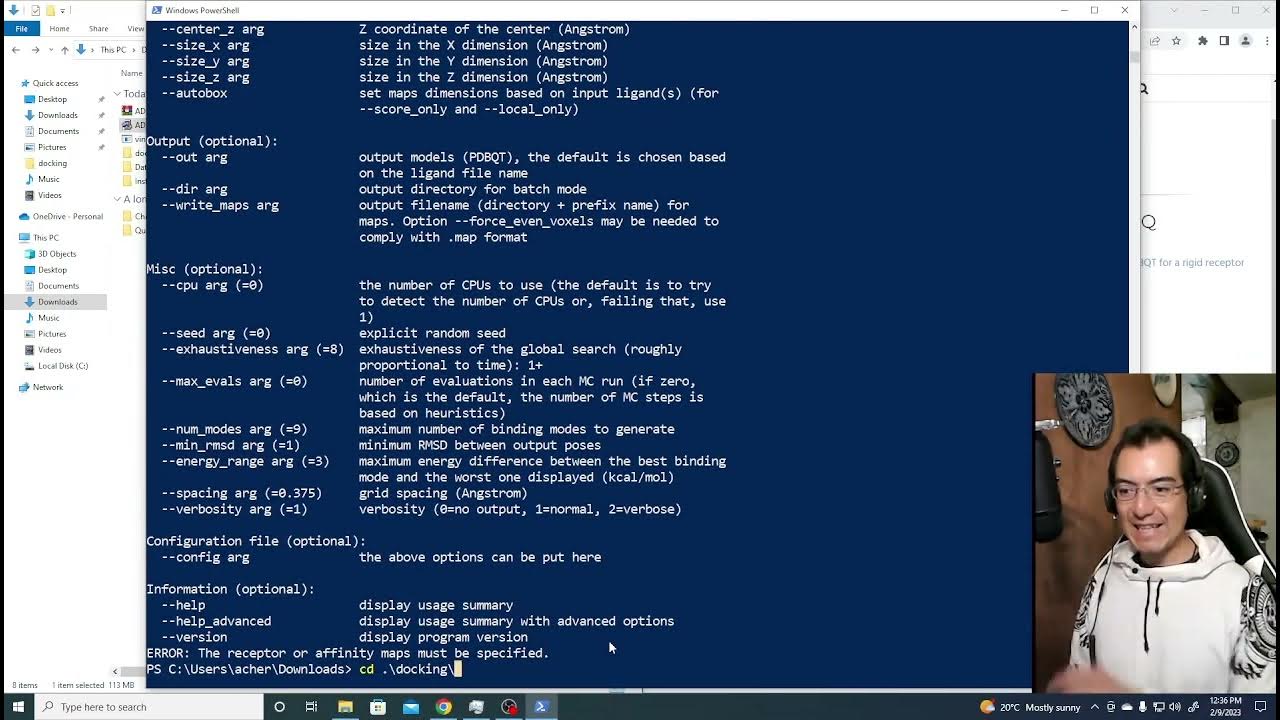
Testing the Installation
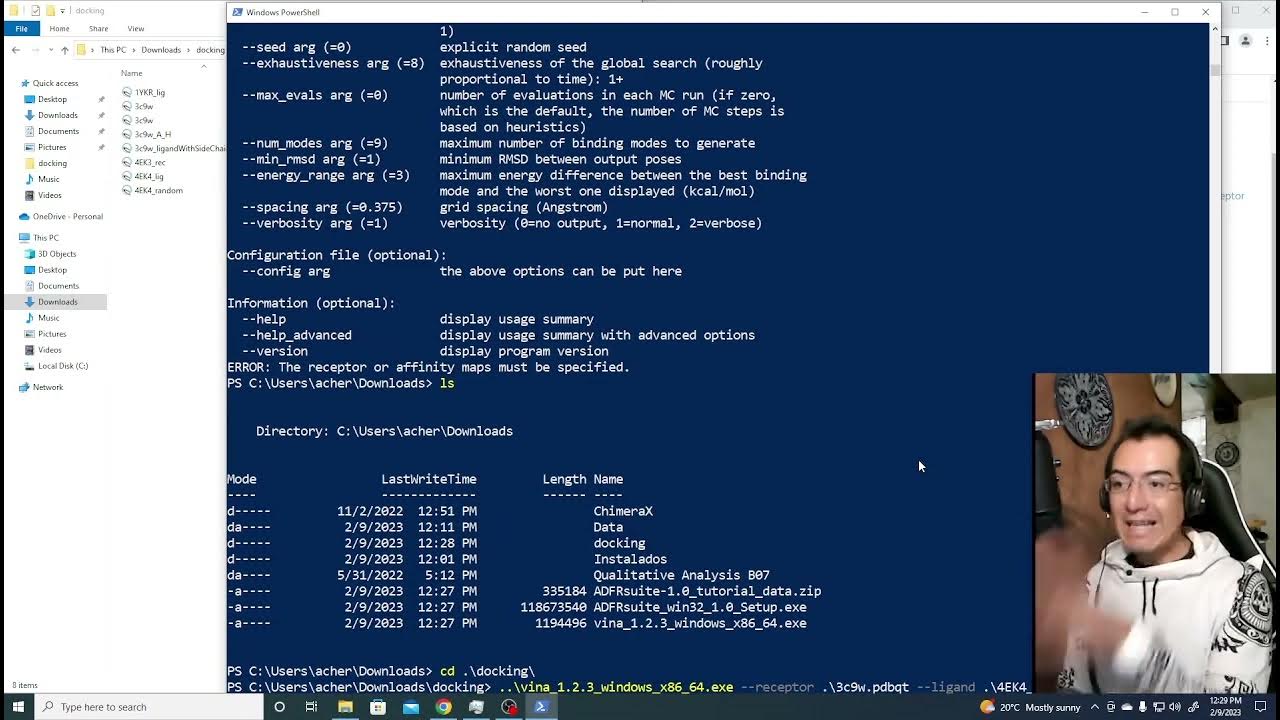
After completing the installation and configuration, it's important to verify that AutoDock is functioning correctly. Open a command prompt or PowerShell window. Type "autodock4 -v" and press Enter. If AutoDock is installed correctly, it will display the version information and build details.
Similarly, type "autogrid4 -v" and press Enter. This will verify the AutoGrid installation. You can also try running a small docking simulation using ADT to further confirm the setup.
Troubleshooting Common Issues
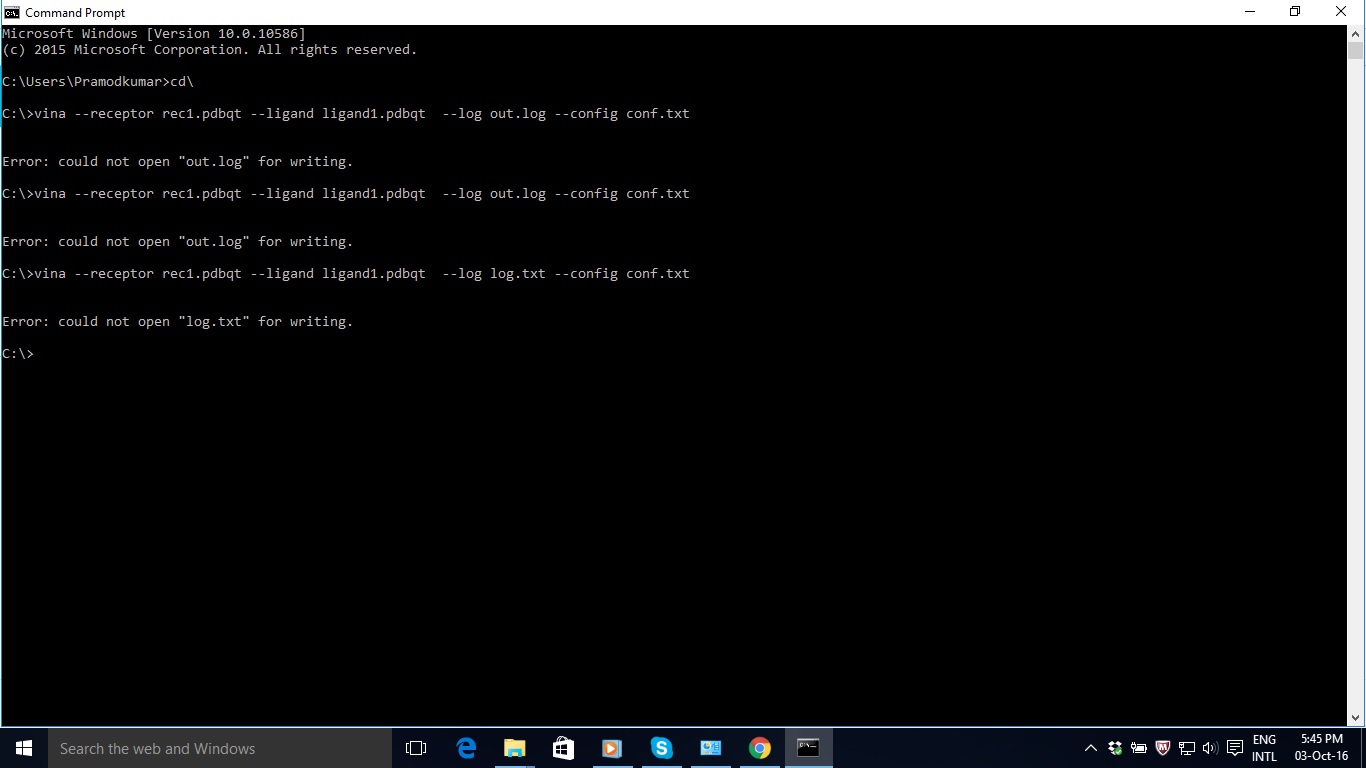
One common issue is "command not found" when trying to run AutoDock or AutoGrid from the command line. This usually indicates that the AutoDock directory was not correctly added to the system's PATH environment variable. Double-check the PATH variable and ensure the path is correct and separated from other entries by a semicolon.
Another issue can arise if the required Python libraries for ADT are missing or incorrectly installed. Ensure that Python 2.7 is properly installed and that its directory is also in the PATH environment variable. MGLTools also requires specific Python packages, so ensure that its installation was successful and that any required dependencies were installed as well.
In some cases, security software or firewalls might interfere with the execution of AutoDock or AutoGrid. Temporarily disabling such software can help determine if it's the cause of the problem. Consult the official AutoDock documentation and community forums for additional troubleshooting tips and solutions to specific error messages.
Conclusion
Installing AutoDock on Windows 10 requires careful attention to detail and adherence to the specified prerequisites. By following the steps outlined in this guide, researchers and students can successfully set up their systems for molecular docking simulations. As drug discovery continues to rely on computational methods, mastering the installation and use of tools like AutoDock becomes increasingly important for advancing scientific research.