How To Loosen A Shower Head

A seemingly simple task, loosening a shower head can quickly devolve into a frustrating battle against stubborn fixtures and corroded threads. Countless homeowners face this predicament annually, often resorting to excessive force that can damage plumbing and lead to costly repairs. The key to success lies in understanding the underlying causes of a stuck shower head and employing the correct techniques to release it safely and effectively.
This article provides a comprehensive guide to loosening a shower head, encompassing preparation, step-by-step instructions for various scenarios, and preventative measures. It draws on expert advice and industry best practices to equip readers with the knowledge to tackle this common household challenge.
Preparation is Paramount
Before attempting to loosen any shower head, gathering the necessary tools and materials is essential. This proactive step minimizes the risk of damage and ensures a smoother process. A basic toolkit should include an adjustable wrench, channel-lock pliers, Teflon tape, a microfiber cloth, and a penetrating oil lubricant.
Furthermore, it is crucial to assess the type of shower head and the material of the shower arm. Chrome and plastic fixtures require a gentler approach compared to brass or stainless steel. Identifying these elements upfront can prevent unintended damage during removal.
Gathering the Right Tools
An adjustable wrench is the primary tool for gripping and turning the shower head. Choose a wrench with a smooth jaw to avoid scratching the finish. Channel-lock pliers offer a stronger grip for particularly stubborn shower heads.
Teflon tape is indispensable for creating a watertight seal when reinstalling the shower head. A microfiber cloth protects the finish from scratches during wrenching. Penetrating oil lubricant, such as WD-40, helps dissolve corrosion and loosen the threads.
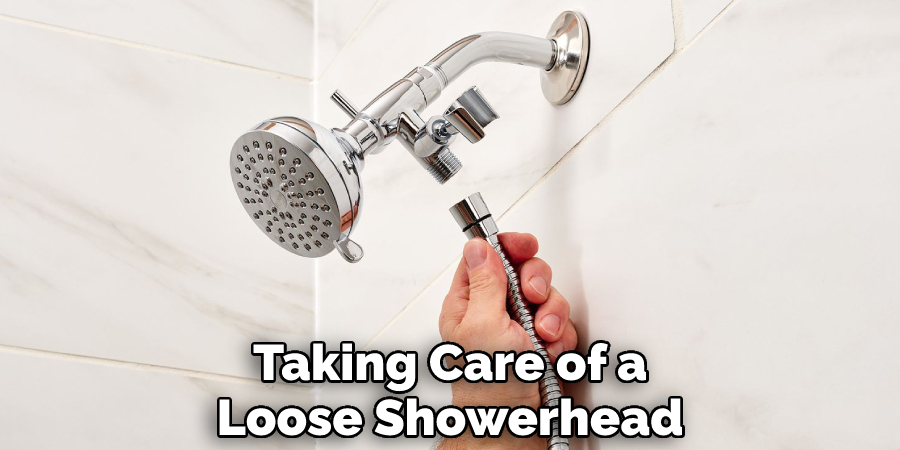
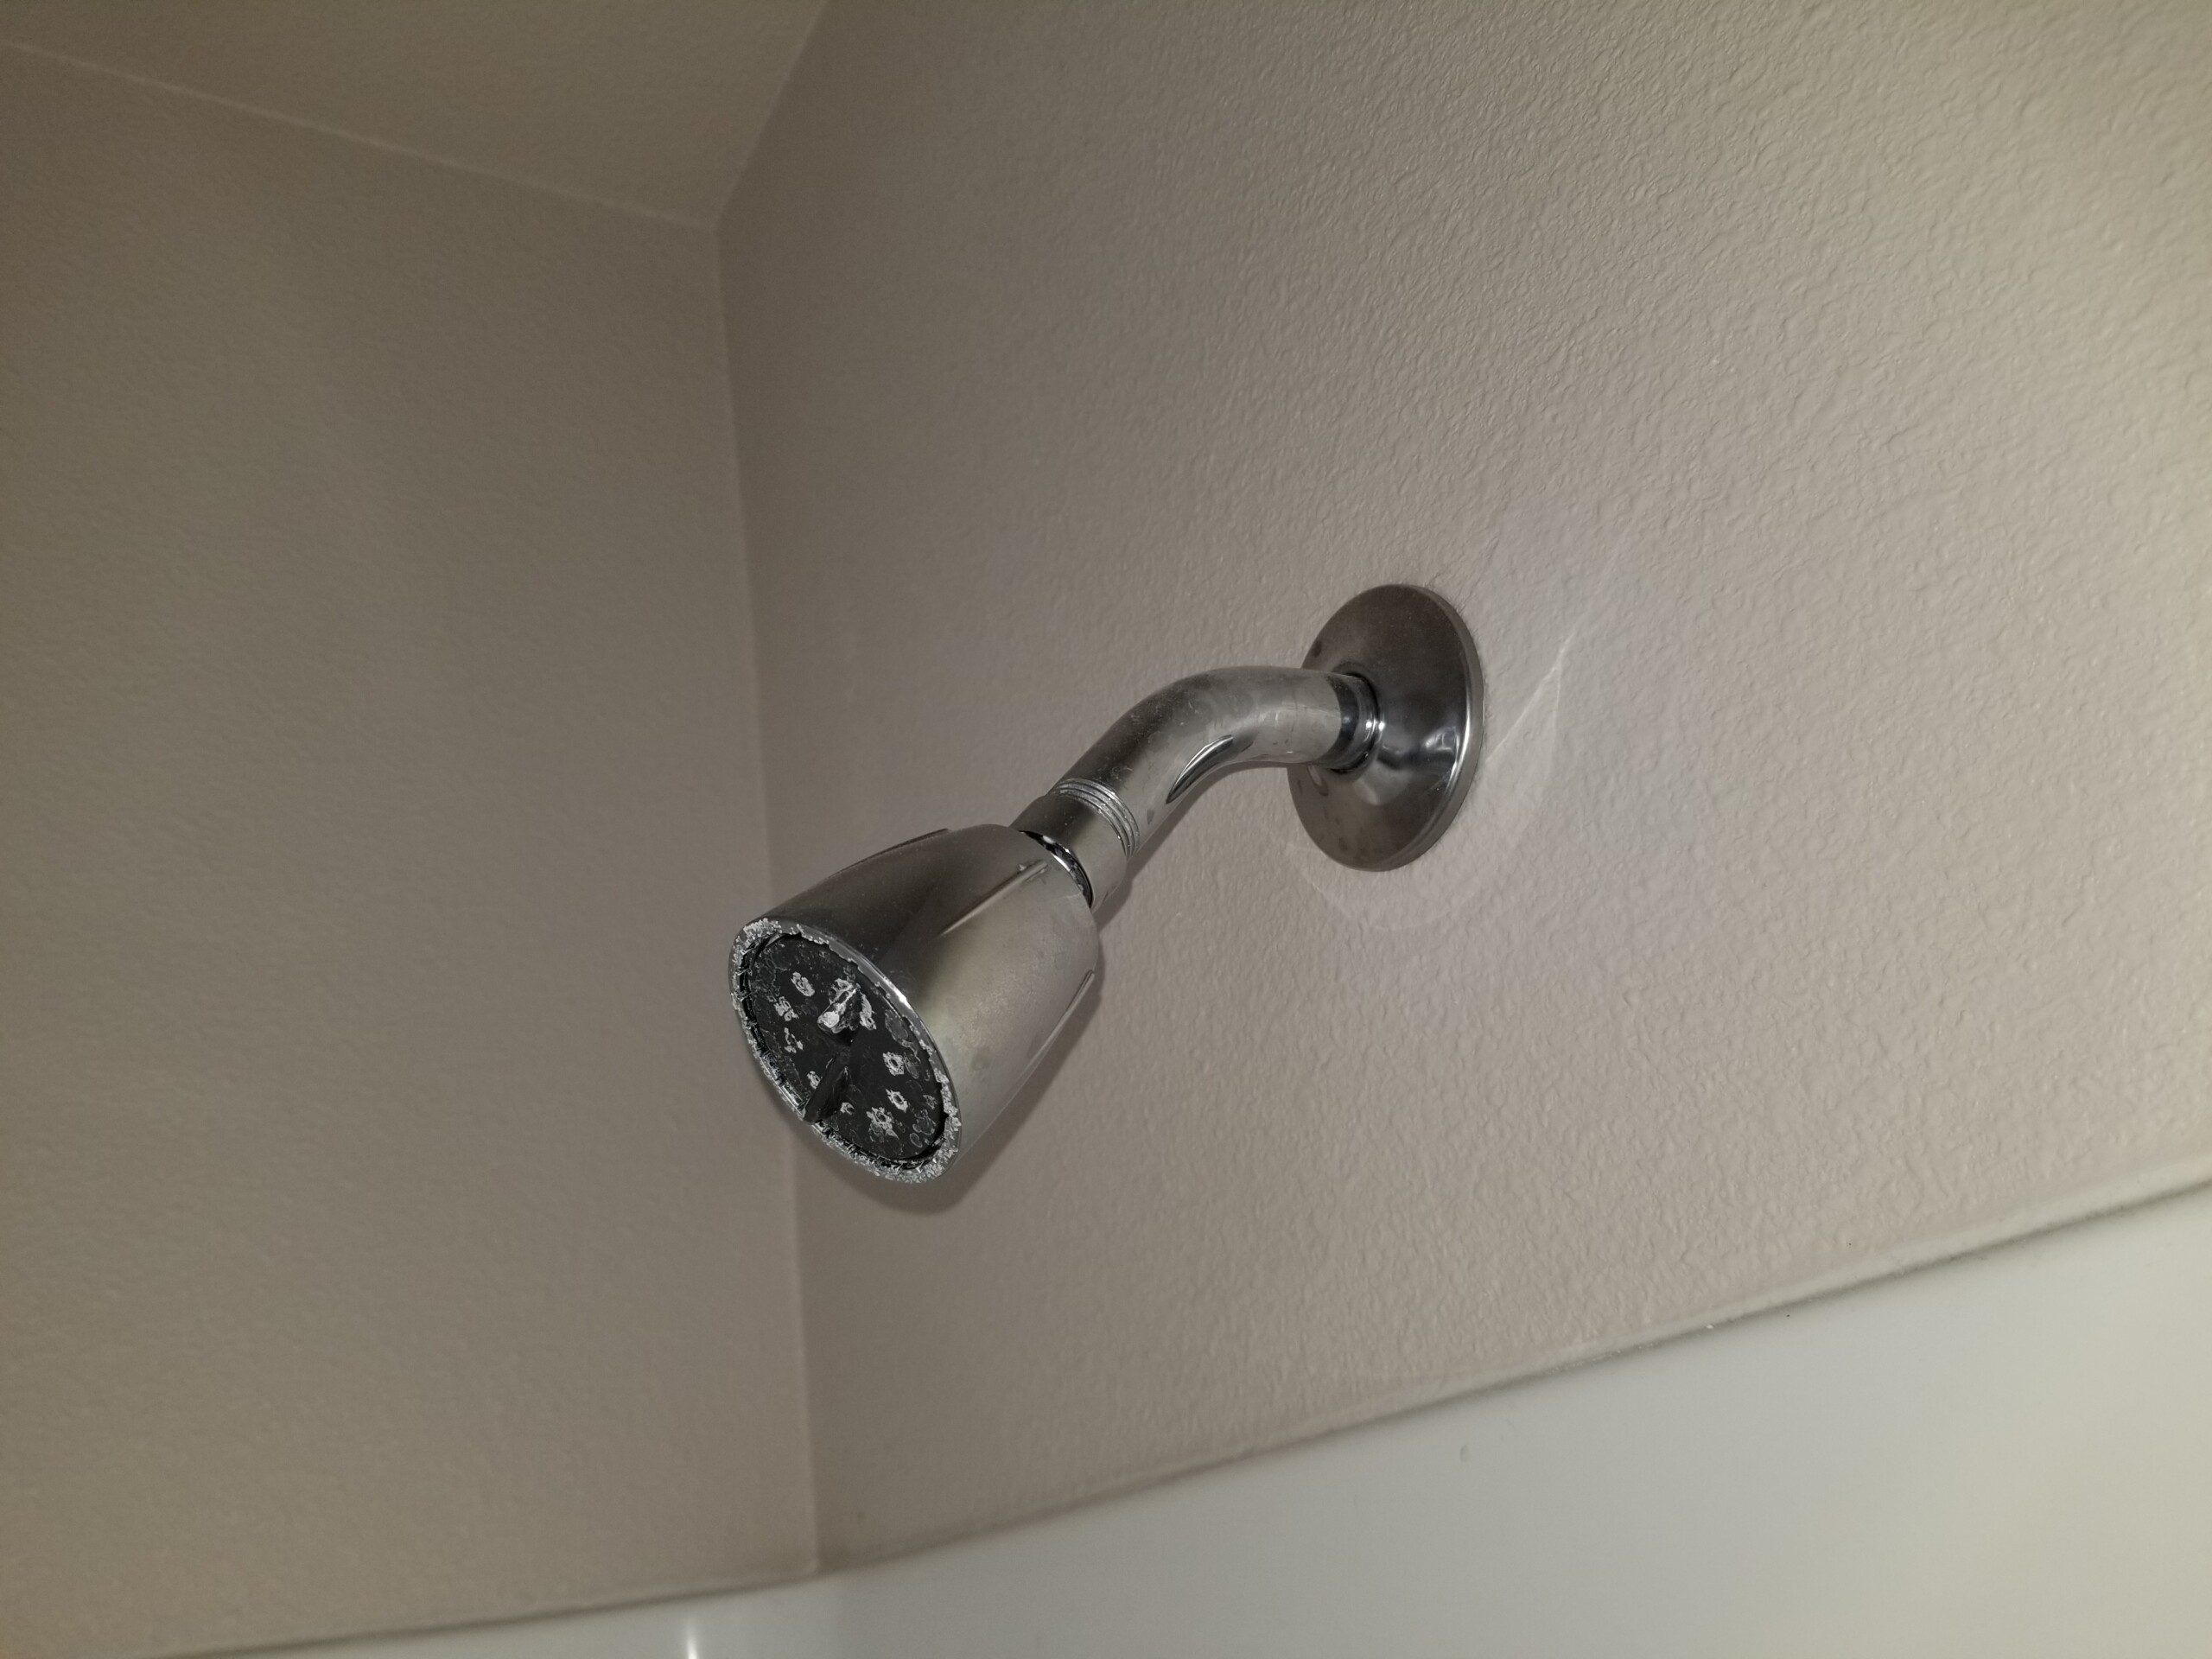
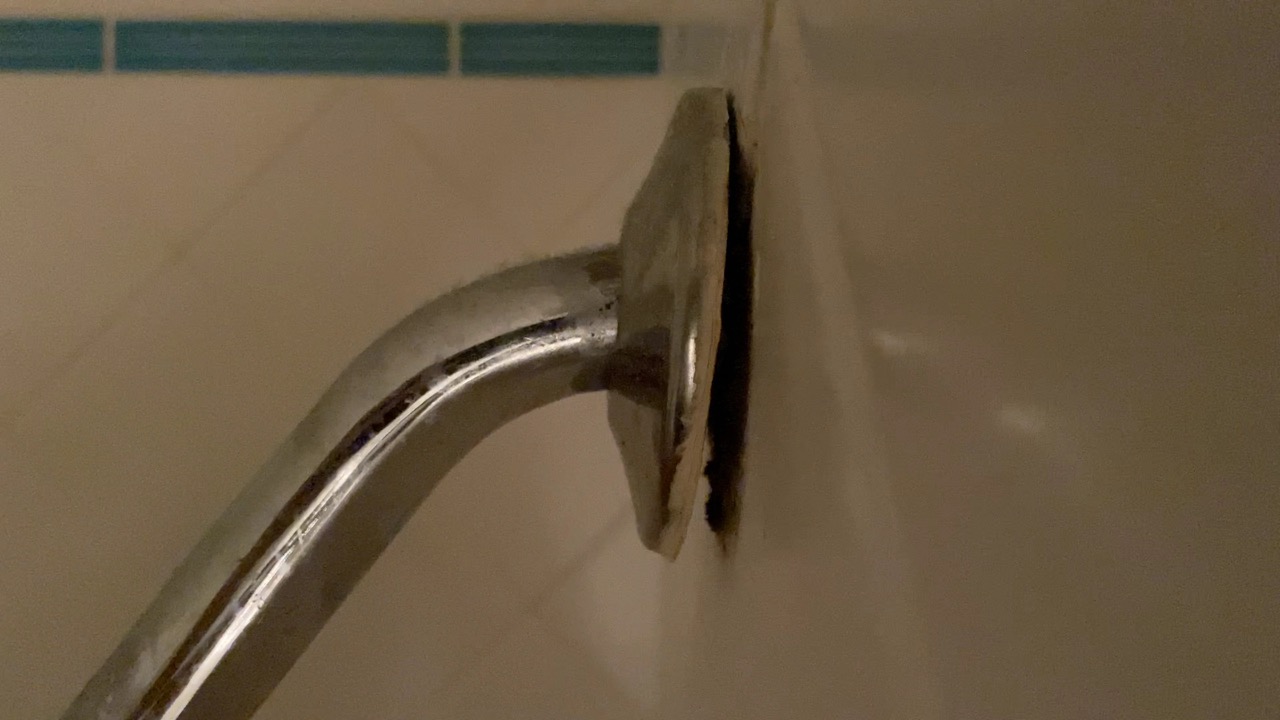
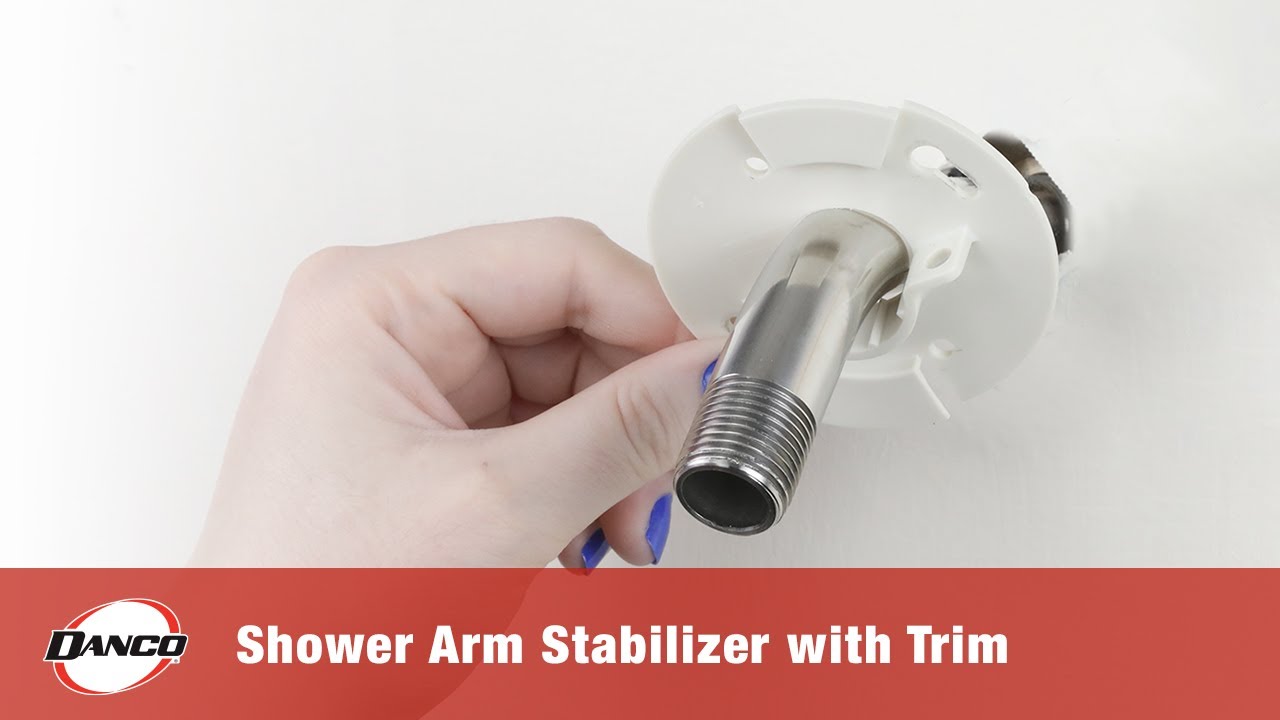
Protecting the Shower Arm
The shower arm, the pipe extending from the wall, is often made of a more delicate material than the shower head itself. Applying excessive force can easily bend or break it. Wrapping the shower arm with a thick cloth or towel provides a protective barrier against scratches and dents.
Consider using a strap wrench instead of a traditional wrench. Strap wrenches distribute force more evenly, reducing the risk of damaging the finish.
Step-by-Step Instructions
The actual loosening process varies depending on the shower head's resistance. Start with the least invasive method and gradually increase the force as needed. Patience is key to avoid damaging the fixture.
The Gentle Approach
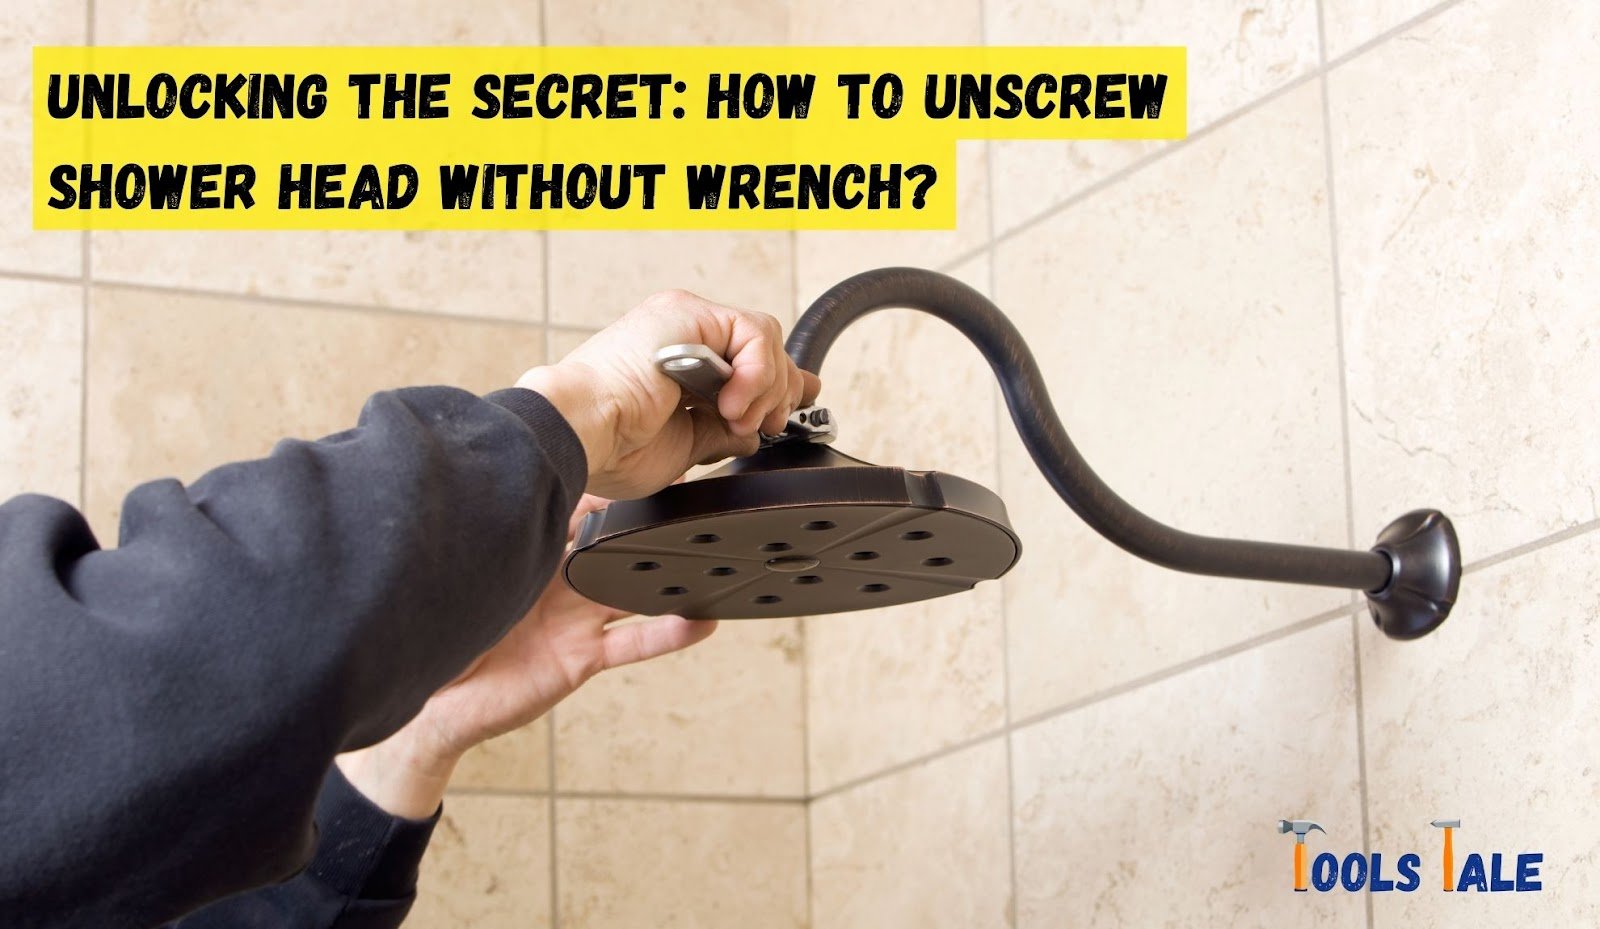
Begin by attempting to loosen the shower head by hand. Sometimes, this simple approach is sufficient, especially if the shower head was recently installed. Firmly grip the shower head and try turning it counterclockwise.
If hand loosening fails, apply penetrating oil lubricant to the joint where the shower head connects to the shower arm. Allow the lubricant to sit for at least 15 minutes to penetrate the threads. After waiting, attempt to loosen the shower head by hand again.
Using an Adjustable Wrench
If manual methods prove unsuccessful, it's time to employ an adjustable wrench. Wrap the shower head with a microfiber cloth to protect the finish. Firmly grip the shower head with the wrench, ensuring a secure hold.
Apply steady, controlled pressure to turn the wrench counterclockwise. Avoid jerking or applying excessive force, which could damage the plumbing. If the shower head doesn't budge, reapply penetrating oil and wait longer.
Addressing Stubborn Shower Heads
For extremely stubborn shower heads, channel-lock pliers may be necessary. Use caution, as pliers can easily scratch the finish. Wrap the shower head with several layers of cloth to provide maximum protection.
Securely grip the shower head with the pliers and apply steady, controlled pressure. If the shower head still refuses to move, consider using a hairdryer to warm the connection. Heat can help expand the metal and loosen the corrosion.
If all else fails, consult a professional plumber. Attempting to force the shower head further could result in broken pipes and significant water damage. A plumber has the expertise and tools to safely remove even the most challenging shower heads.
Preventative Measures
Preventing a shower head from becoming stuck in the first place is the best approach. Regular maintenance and proper installation can significantly reduce the likelihood of future problems.
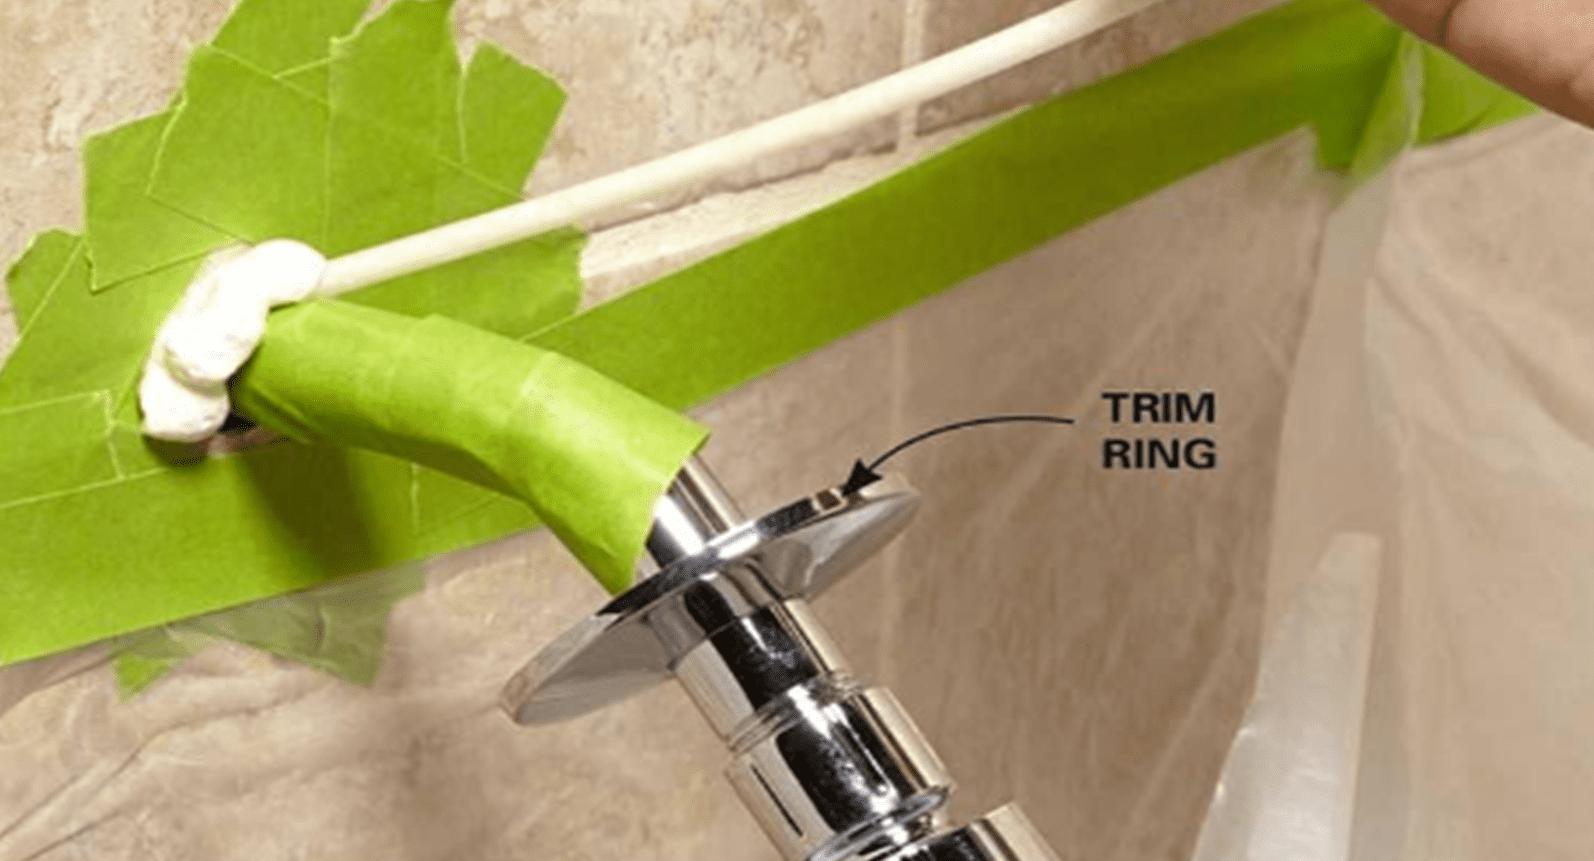
When installing a new shower head, always use Teflon tape on the threads. Teflon tape creates a watertight seal and prevents corrosion from forming. Tighten the shower head securely, but avoid over-tightening, which can damage the threads.
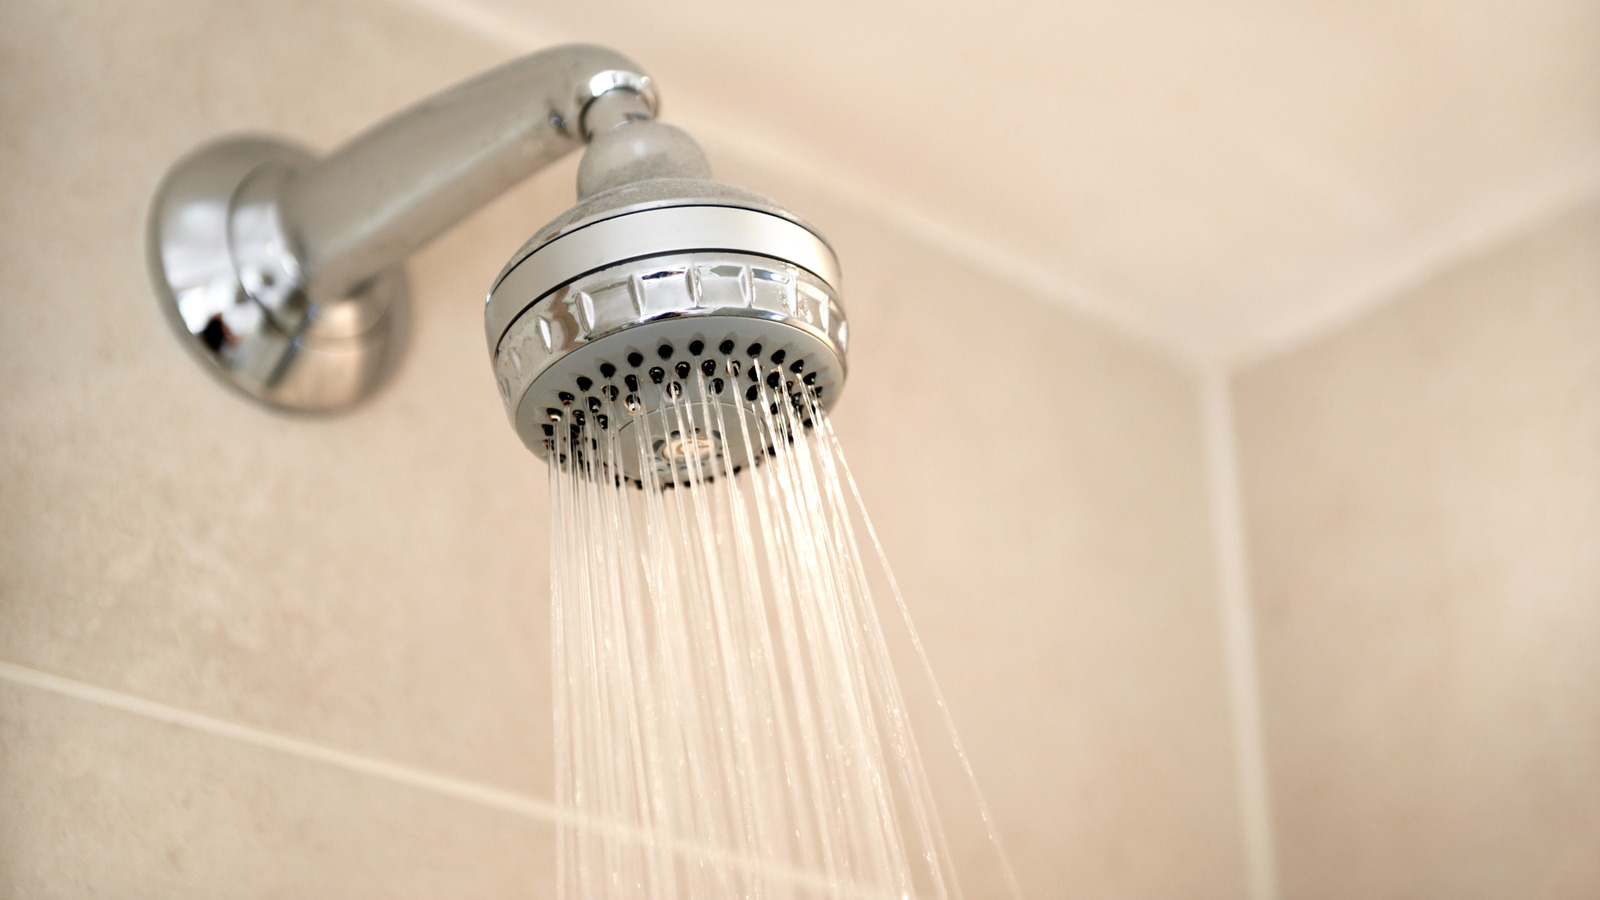
Periodically check the shower head for leaks and mineral buildup. Address any issues promptly to prevent them from worsening. Regularly cleaning the shower head with a descaling solution can also help prevent mineral buildup.
Consider using a shower head with a swivel ball joint. Swivel ball joints allow you to adjust the angle of the shower head without putting stress on the connection point. This can help prevent the shower head from becoming stuck over time.
Conclusion
Loosening a stuck shower head requires a combination of patience, the right tools, and a systematic approach. By following the steps outlined in this article, homeowners can confidently tackle this common household task without damaging their plumbing. Remember that prevention is always better than cure, so implement preventative measures to avoid future headaches. In particularly challenging situations, enlisting the help of a qualified plumber is always the safest option, preserving your home's integrity and your peace of mind.
![How To Loosen A Shower Head How to Loosen Shower Head [Step-by-Step Guide]](https://homeunderstandable.com/wp-content/uploads/2023/08/How-Tight-Should-A-Shower-Head-Be.jpg)


![How To Loosen A Shower Head Loose Shower Head [How to Fix]](https://homeunderstandable.com/wp-content/uploads/2023/08/Advanced-Tips-For-Fixing-A-Loose-Shower-Head.jpg)
![How To Loosen A Shower Head How to Fix a Shower Head That Fell off [Quick and Easy Guide]](https://homeunderstandable.com/wp-content/uploads/2023/08/How-to-Fix-a-Shower-Head-That-Fell-off.jpg)