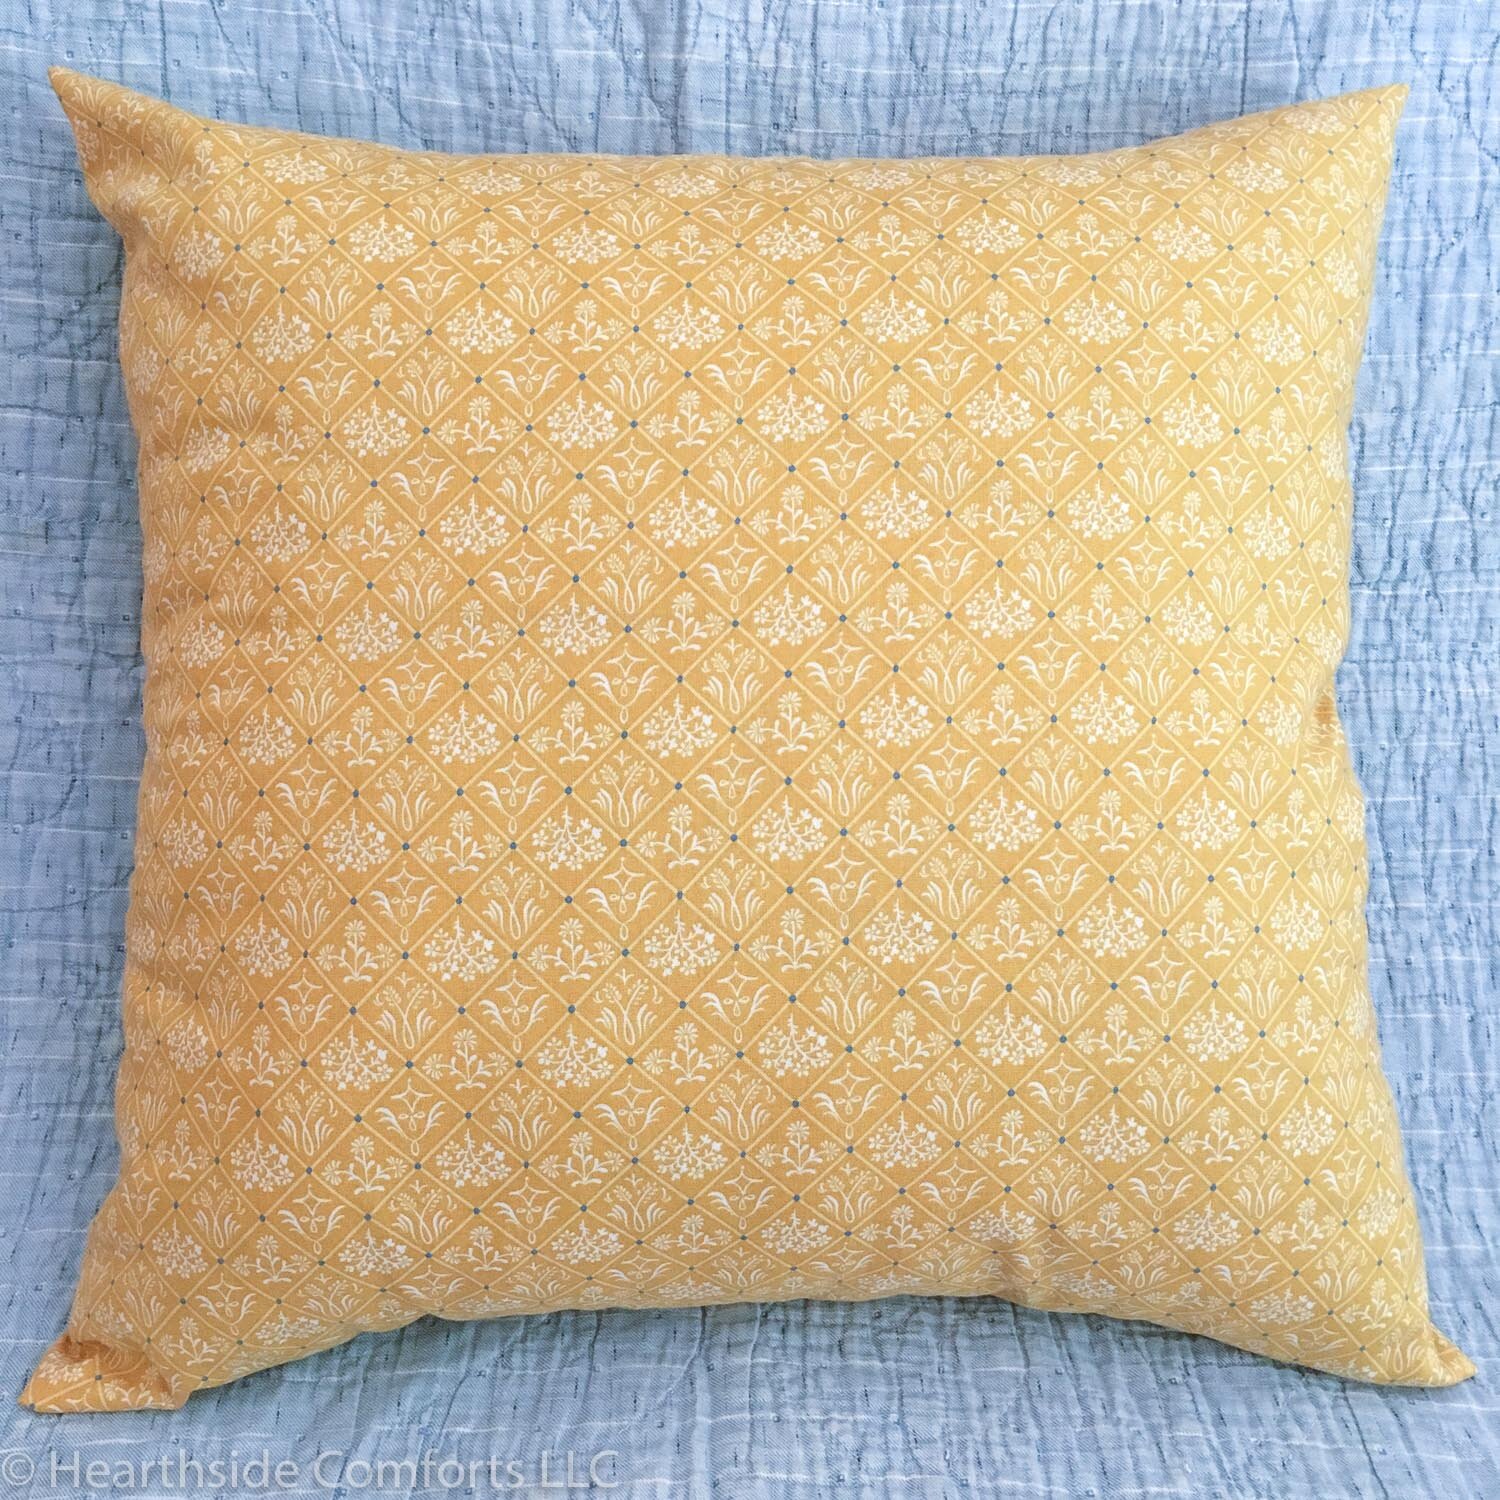
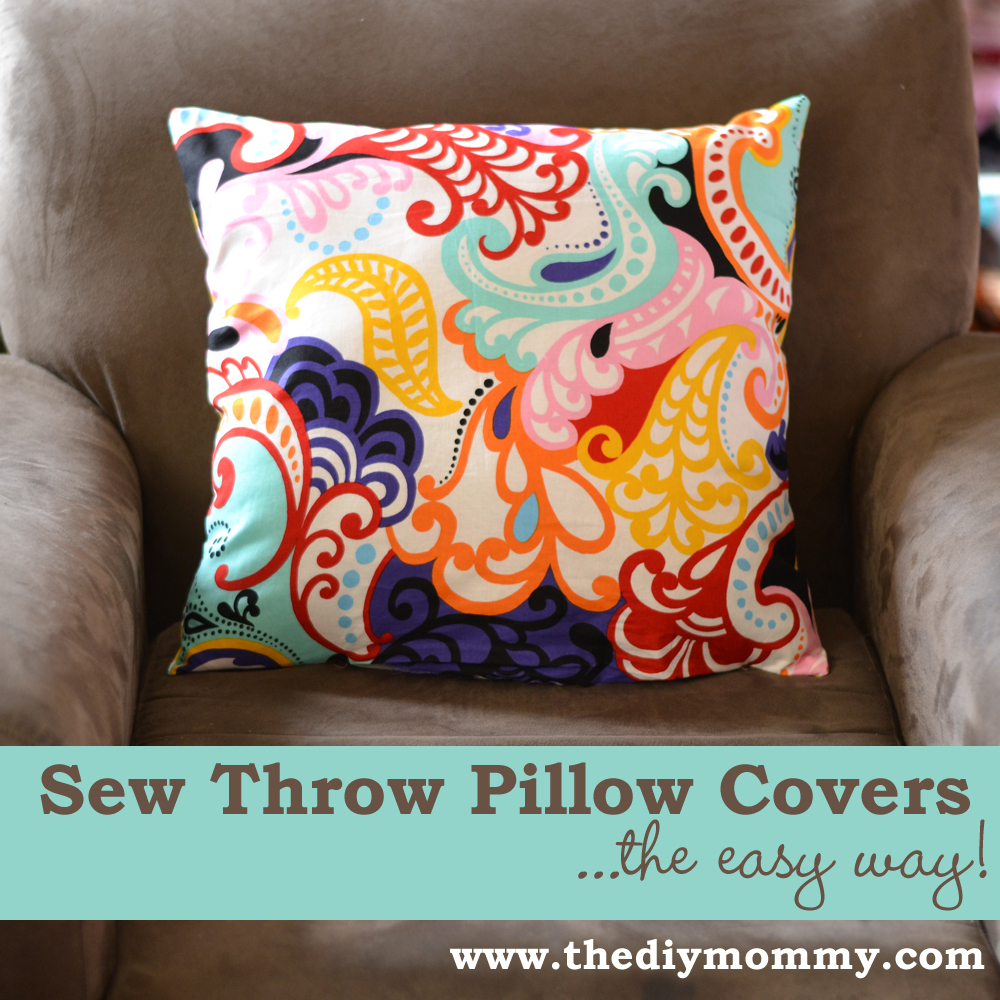
How To Make A Pillow Cover
Fabric scraps piling up? Transform them into stylish pillow covers in an afternoon!
This guide provides a streamlined method for creating custom pillow covers, adding a personal touch to your home decor without breaking the bank.
Essential Materials: Gather Before You Start
Fabric: Choose durable materials like cotton, linen, or upholstery fabric.
Consider pre-washing your fabric to prevent shrinkage later.
Sewing Machine: A basic sewing machine is essential for this project.
Thread: Select a thread color that complements or matches your fabric.
Scissors or Rotary Cutter: Sharp tools are crucial for precise fabric cutting.
Measuring Tape: Accurate measurements are key to a well-fitting pillow cover.
Pins: Use pins to hold fabric pieces together before sewing.
Iron and Ironing Board: Ironing seams creates a professional finish.
Pillow Insert: The size of your pillow insert determines the dimensions of your fabric.
Cutting the Fabric: Precision is Paramount
Determine the size of your pillow insert. Add 1 inch to both the length and width for seam allowance.
For an 18x18 inch pillow, cut two fabric squares measuring 19x19 inches.
Ensure your cuts are straight and even for a symmetrical pillow cover.
Sewing the Seams: A Step-by-Step Guide
Place the two fabric squares right sides together. Pin along all four edges.
Using a ½ inch seam allowance, sew around three sides of the square.
Leave one side completely open for inserting the pillow.
Finishing the Edges: Preventing Fraying
Overcast stitch or zigzag stitch around all raw edges. This will prevent the fabric from fraying.
Alternatively, use a serger for a more professional and durable finish.
Trim any excess fabric or loose threads after finishing the edges.
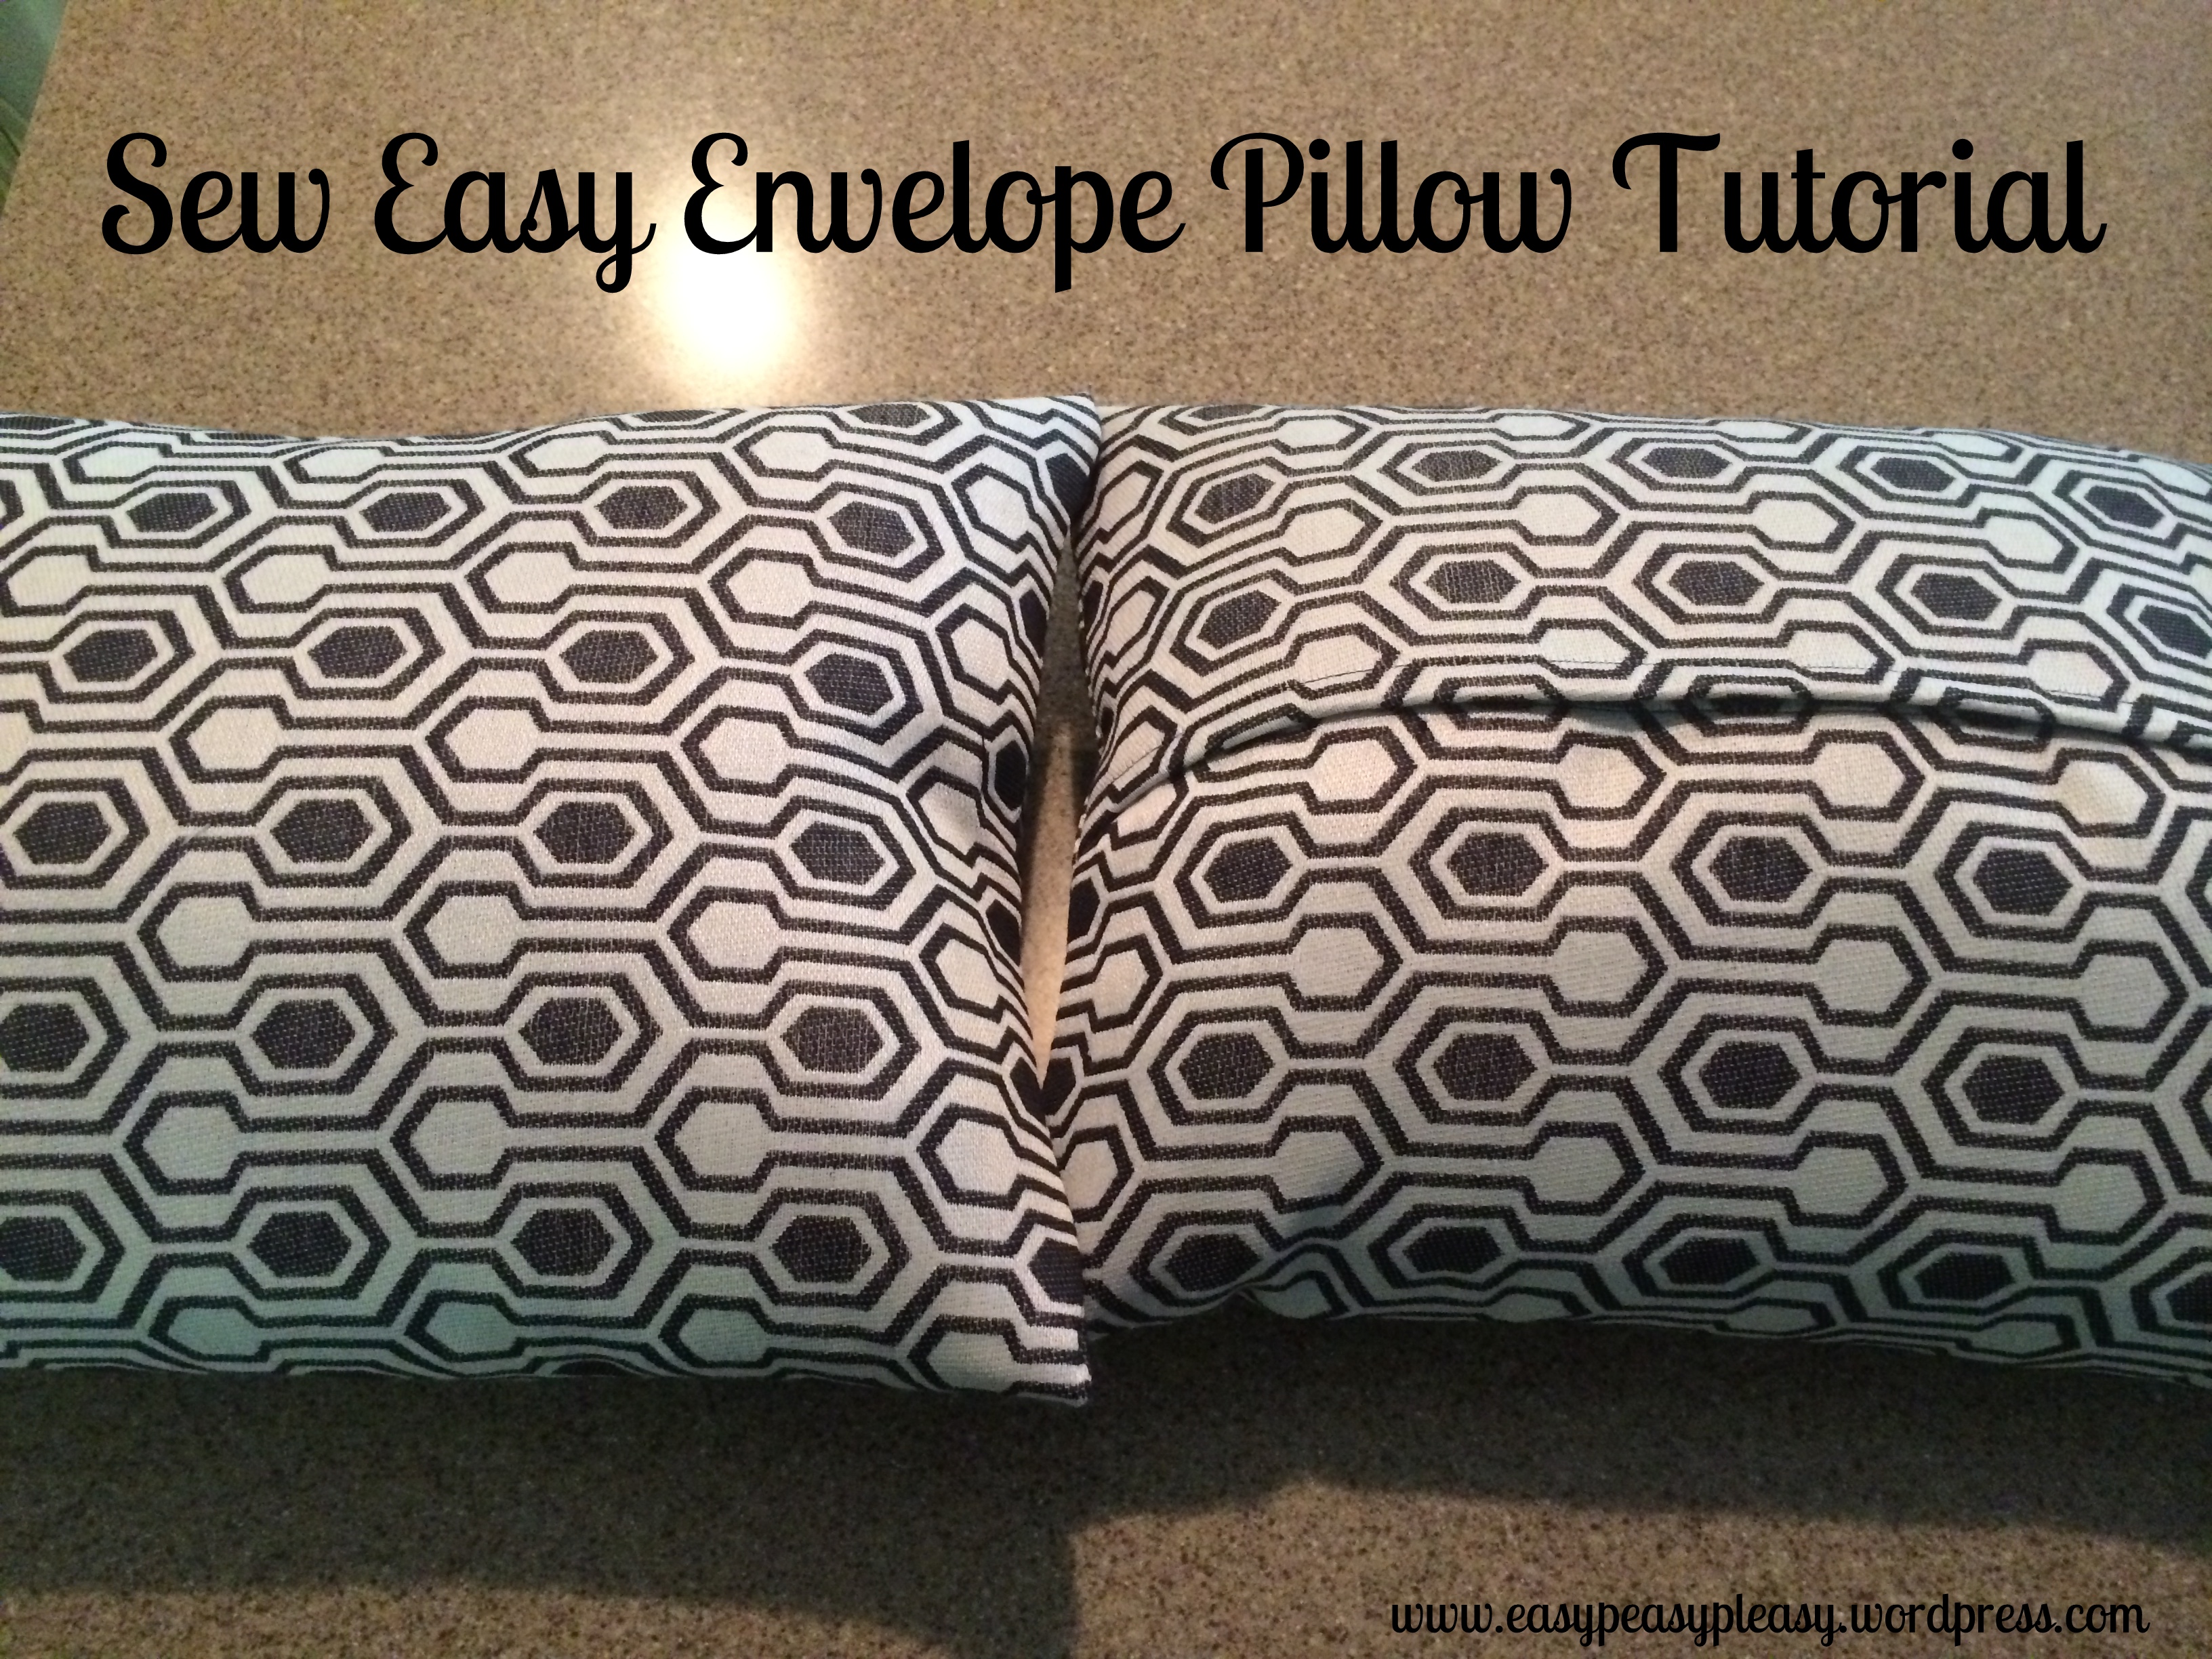
Creating the Closure: Options for Every Skill Level
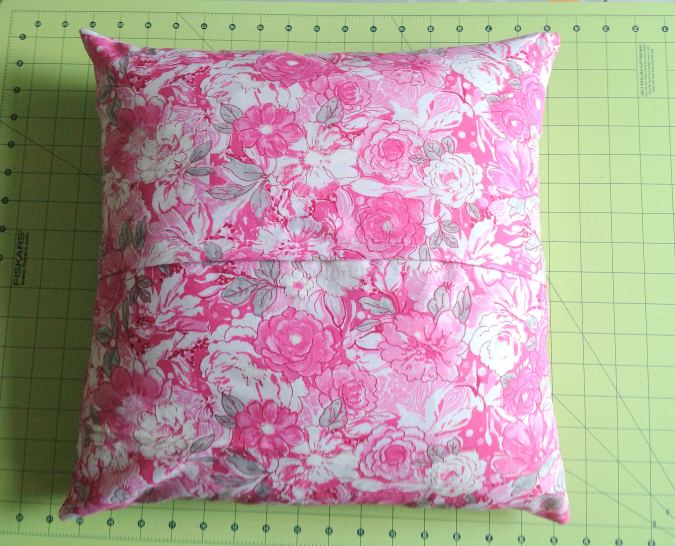
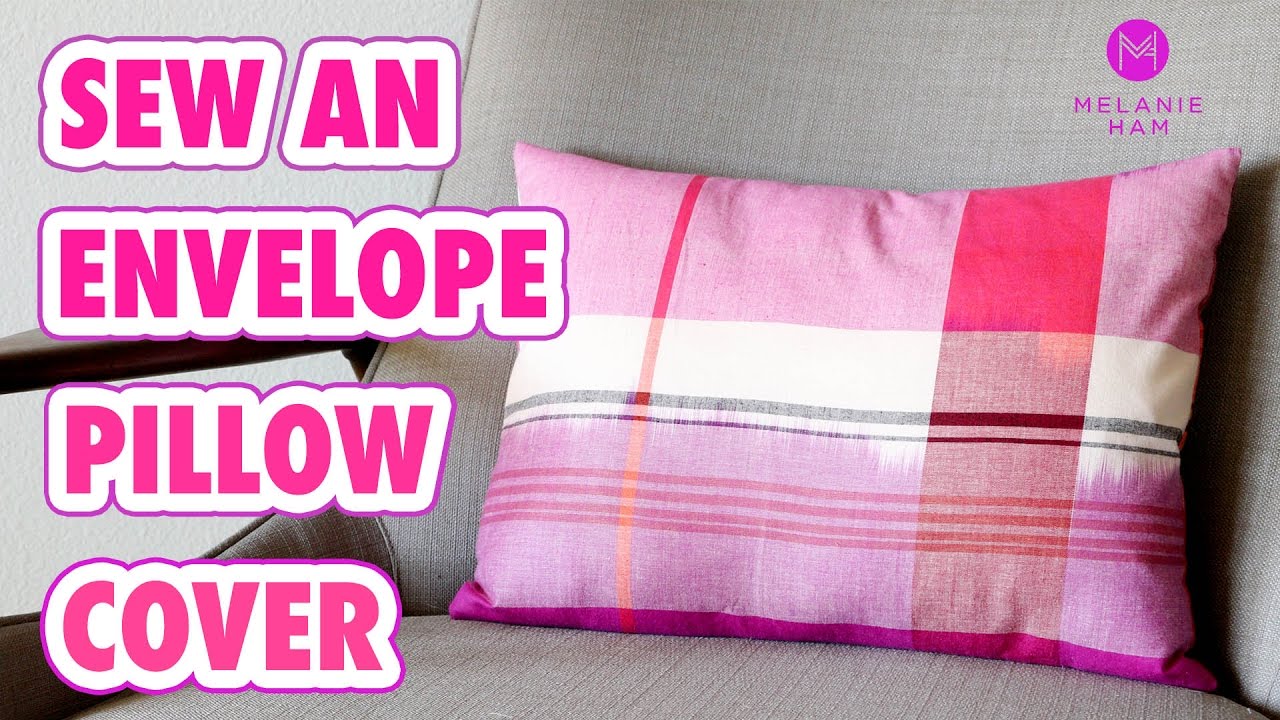
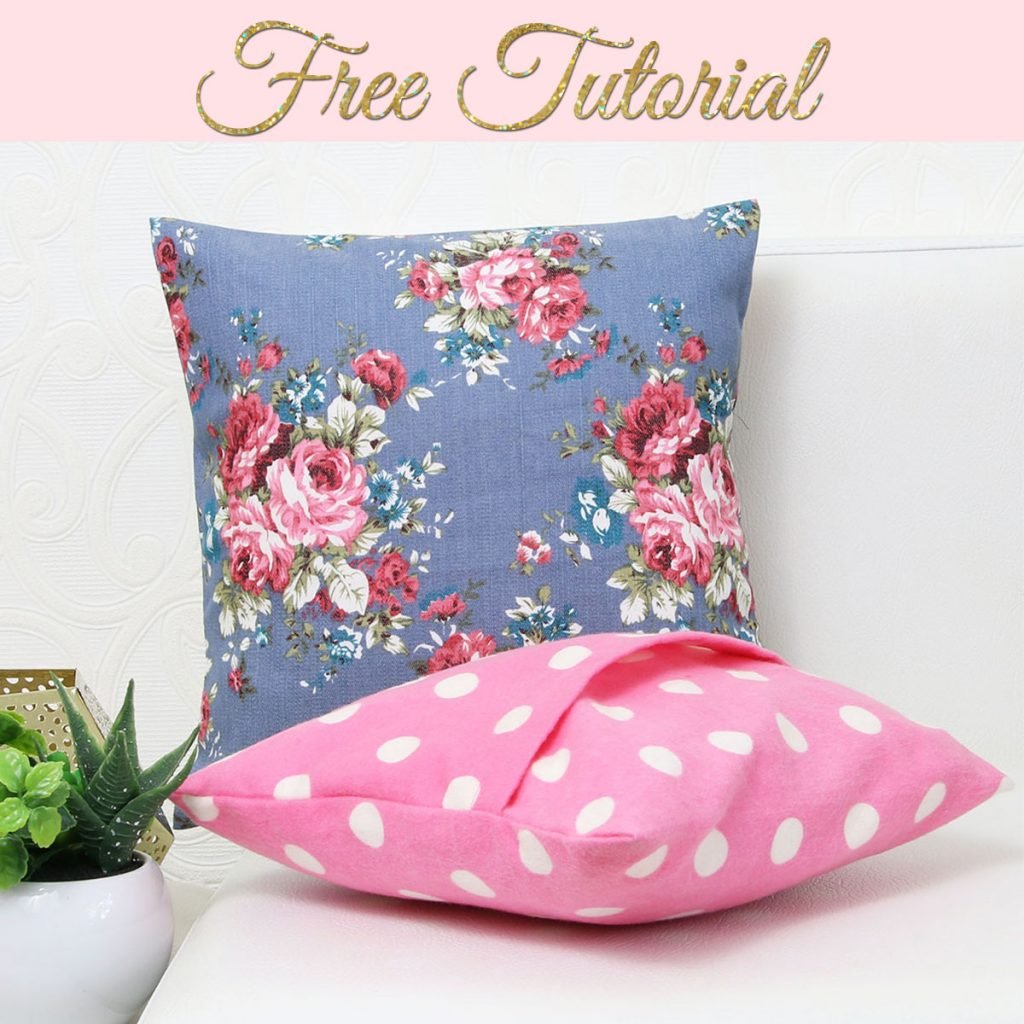
Envelope Closure: Cut two pieces of fabric that overlap at the back.
Sew the edges of the overlap to create a clean finish, then sew the panel to the front.
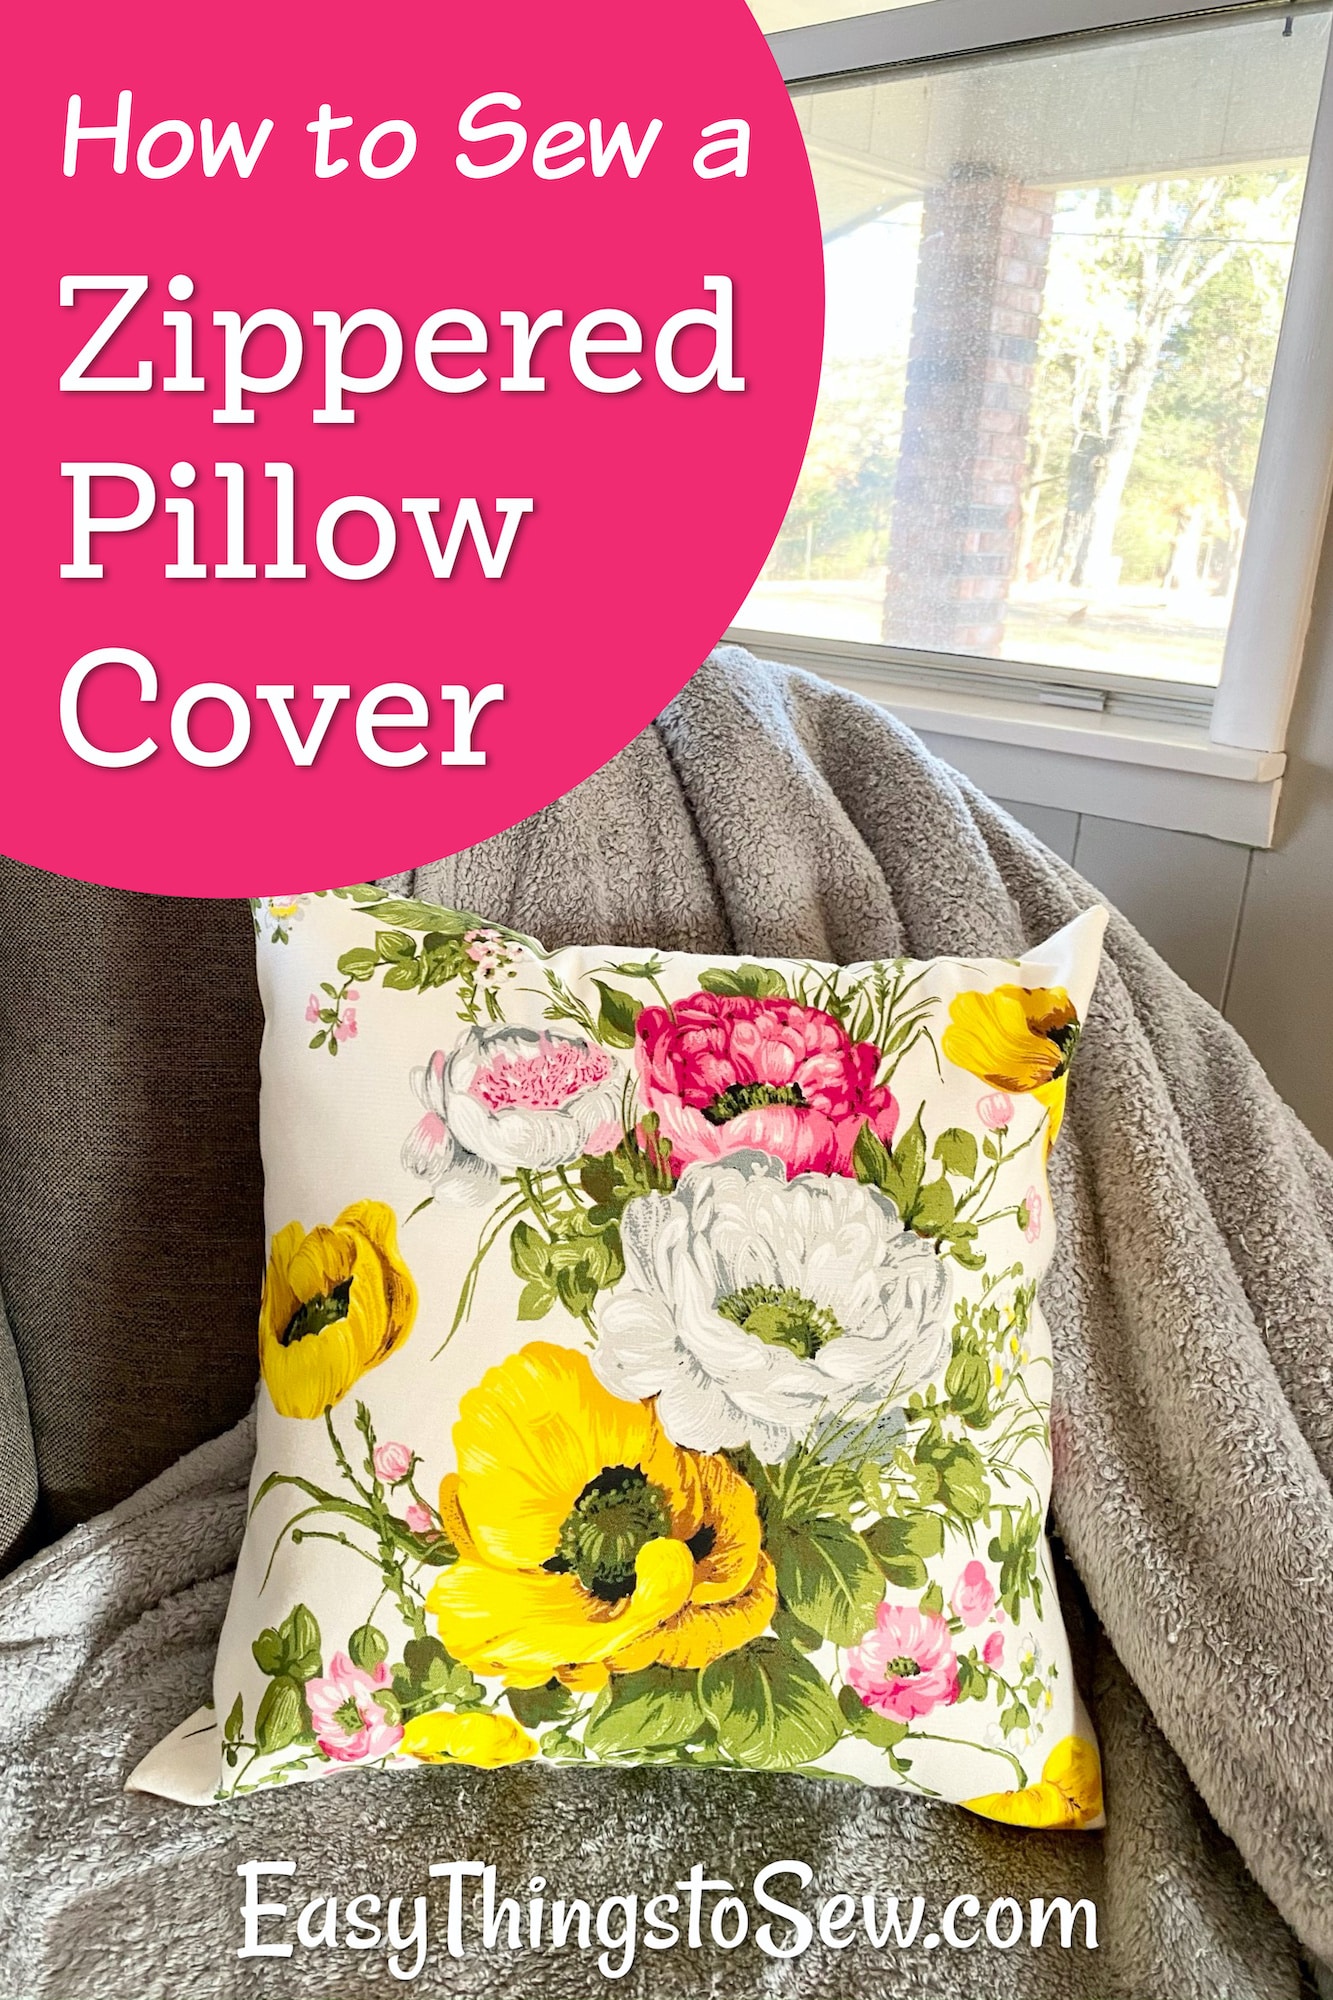
Zipper Closure: Insert a zipper into the opening using a zipper foot on your sewing machine.
This provides a secure and invisible closure, a detail of the highest quality.
Button Closure: Create a button placket and sew buttons onto the back of the cover.
Turning and Inserting: The Final Touches
Turn the pillow cover right side out. Use a point turner or blunt object to push out the corners.
Iron the seams flat for a crisp, professional look.
Insert the pillow insert into the cover.
Advanced Techniques: Elevating Your Pillow Cover
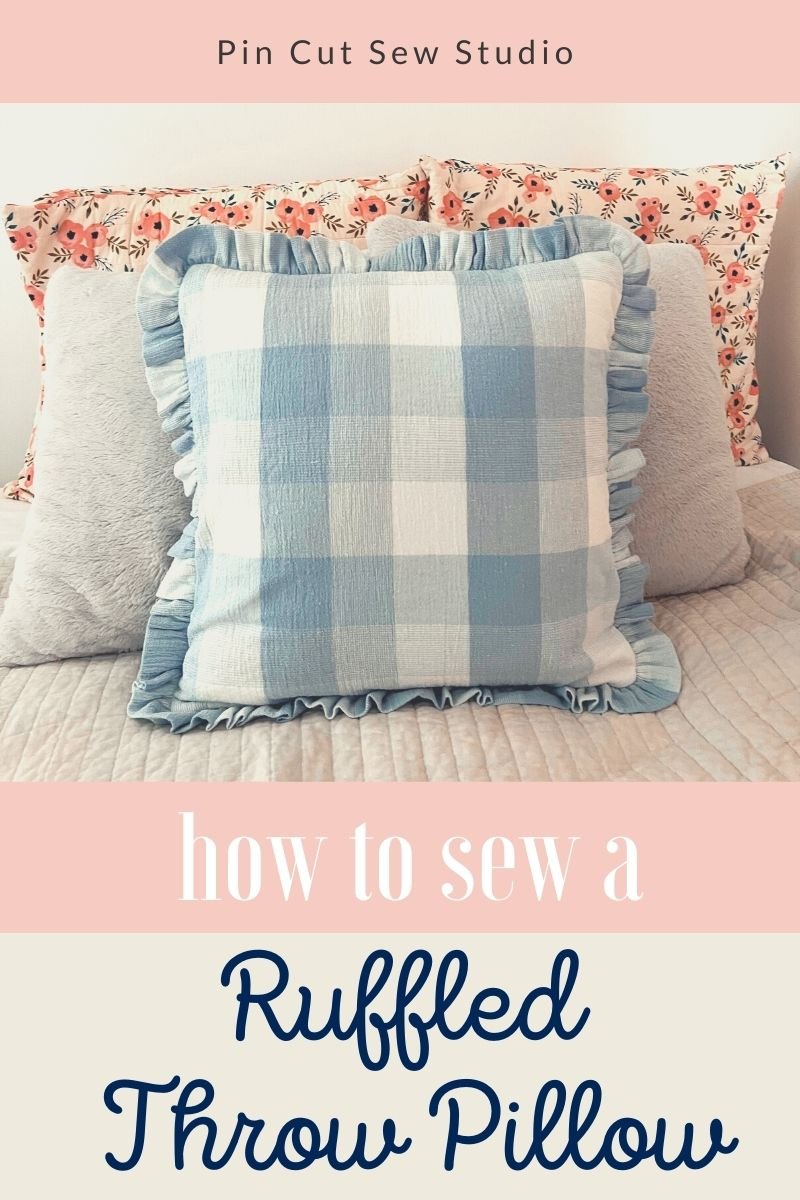
Piping: Add piping along the edges for a decorative touch.
Appliqué: Sew fabric shapes or designs onto the pillow cover for personalization.
Quilting: Quilt the fabric before constructing the pillow cover for added texture and dimension.
Embroidery: Personalize the pillow with embroidered designs or monograms.
Troubleshooting: Common Issues and Solutions
Uneven Seams: Use a seam ripper to remove stitches and re-sew with more care.
Puckering: Reduce tension on your sewing machine or try using a walking foot.
Zipper Issues: Ensure the zipper is properly aligned and the zipper foot is correctly positioned.
Care Instructions: Maintaining Your Creation
Check the care instructions for your chosen fabric. Spot clean or hand wash for delicate materials.
Machine wash on a gentle cycle for durable fabrics like cotton or linen.
Air dry or tumble dry on low to prevent shrinkage.
Next Steps: Experiment and Personalize
Try different fabric combinations, embellishments, and closure techniques.
Share your creations online and inspire others to get creative.
Consider taking a sewing class to further develop your skills.


.jpg)