How To Make Gummies With Gelatin
Breaking: A nationwide surge in homemade edibles prompts immediate guidance on crafting gummies with gelatin. Ensure safety and optimal results with this essential guide.
The increasing popularity of homemade edibles necessitates clear, concise instructions for safe and effective preparation, specifically focusing on gelatin-based gummies.
Essential Ingredients: What You Need
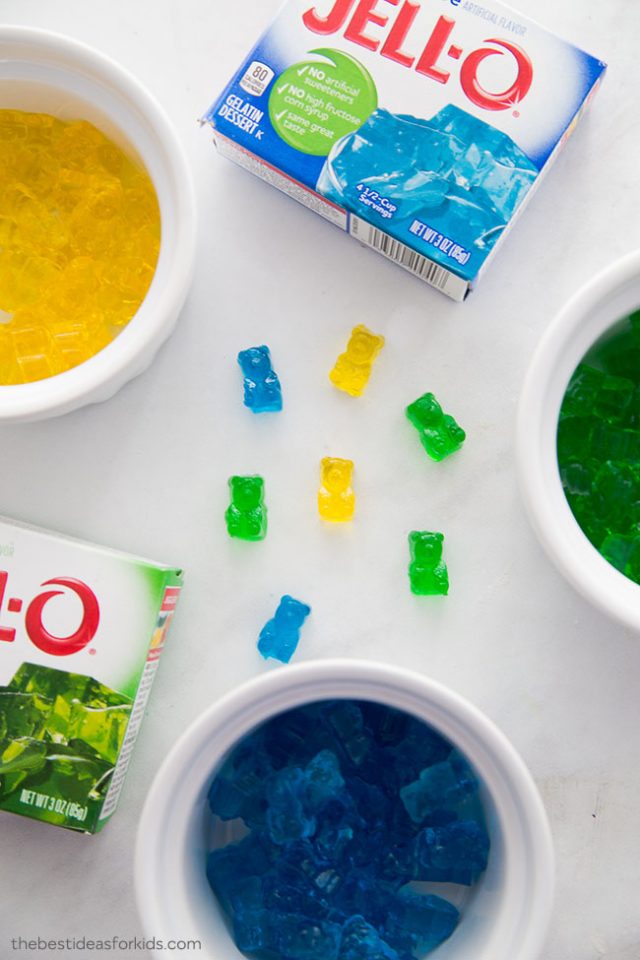
Gather your materials. You'll need unflavored gelatin, flavored gelatin (like Jell-O), water, a sweetener (sugar, honey, or corn syrup), and any desired flavoring or coloring.
A silicone gummy mold is crucial for shaping the gummies. You'll also need a saucepan and a whisk.
Step-by-Step Instructions: The Process
Step 1: Bloom the Gelatin
In a saucepan, combine the unflavored gelatin with cold water. The general ratio is 2 tablespoons of unflavored gelatin per cup of liquid.
Let it sit for 5-10 minutes to "bloom," allowing the gelatin to absorb the water and create a thick paste.
Step 2: Combine Ingredients
Add the flavored gelatin, sweetener, and any additional flavoring or coloring to the bloomed gelatin mixture. The amount of sweetener depends on your taste preference.
Start with about 1/4 cup of sweetener per cup of liquid and adjust accordingly.
Step 3: Heat and Dissolve
Place the saucepan over low heat. Stir constantly with a whisk until all the gelatin and sweetener are completely dissolved.
Do not boil the mixture, as this can affect the gelling properties of the gelatin.
Step 4: Pour into Molds
Carefully pour the liquid mixture into your silicone gummy molds. Avoid overfilling the molds to prevent uneven gummies.
Use a dropper or small spoon for precise filling, especially for intricate mold shapes.
Step 5: Chill and Set
Place the filled molds in the refrigerator for at least 2-3 hours, or until the gummies are firm and set. This allows the gelatin to fully solidify.
Chilling longer, even overnight, can improve the texture.
Step 6: Remove and Store
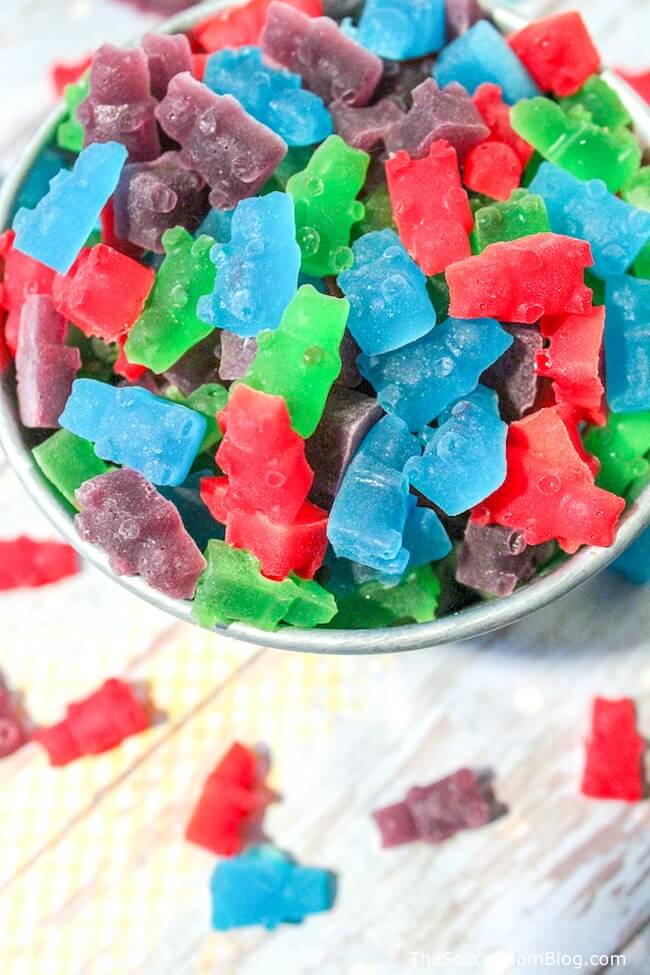
Once the gummies are firm, gently remove them from the molds. Flex the molds to loosen the edges and pop the gummies out.
Store the gummies in an airtight container in the refrigerator for up to 2 weeks. This prevents them from becoming sticky or melting.
Troubleshooting: Addressing Common Issues
Gummies not setting: Ensure the gelatin is properly bloomed and fully dissolved. Also, verify the correct gelatin-to-liquid ratio.
Gummies too sticky: Use a higher gelatin-to-liquid ratio or store them in the refrigerator for a longer period.
Gummies too tough: Reduce the amount of unflavored gelatin or avoid boiling the mixture.
Important Safety Considerations
Always supervise children when making gummies. Hot liquids and stovetops can pose a burn risk.
Proper storage is critical to prevent spoilage. Keep gummies refrigerated and consume within the recommended timeframe.
Be mindful of dosage if incorporating medicinal ingredients. Start with small amounts and adjust carefully.
Understand local regulations regarding edibles. Compliance is essential for legal and responsible consumption.
Avoid cross-contamination. Use clean utensils and surfaces to prevent bacterial growth.
Expert Tips for Enhanced Gummies
For a clearer appearance, strain the gelatin mixture through a fine-mesh sieve before pouring it into the molds. This removes any undissolved particles.
Add citric acid for a tangy flavor. Start with a small amount (about 1/4 teaspoon per cup of liquid) and adjust to taste.
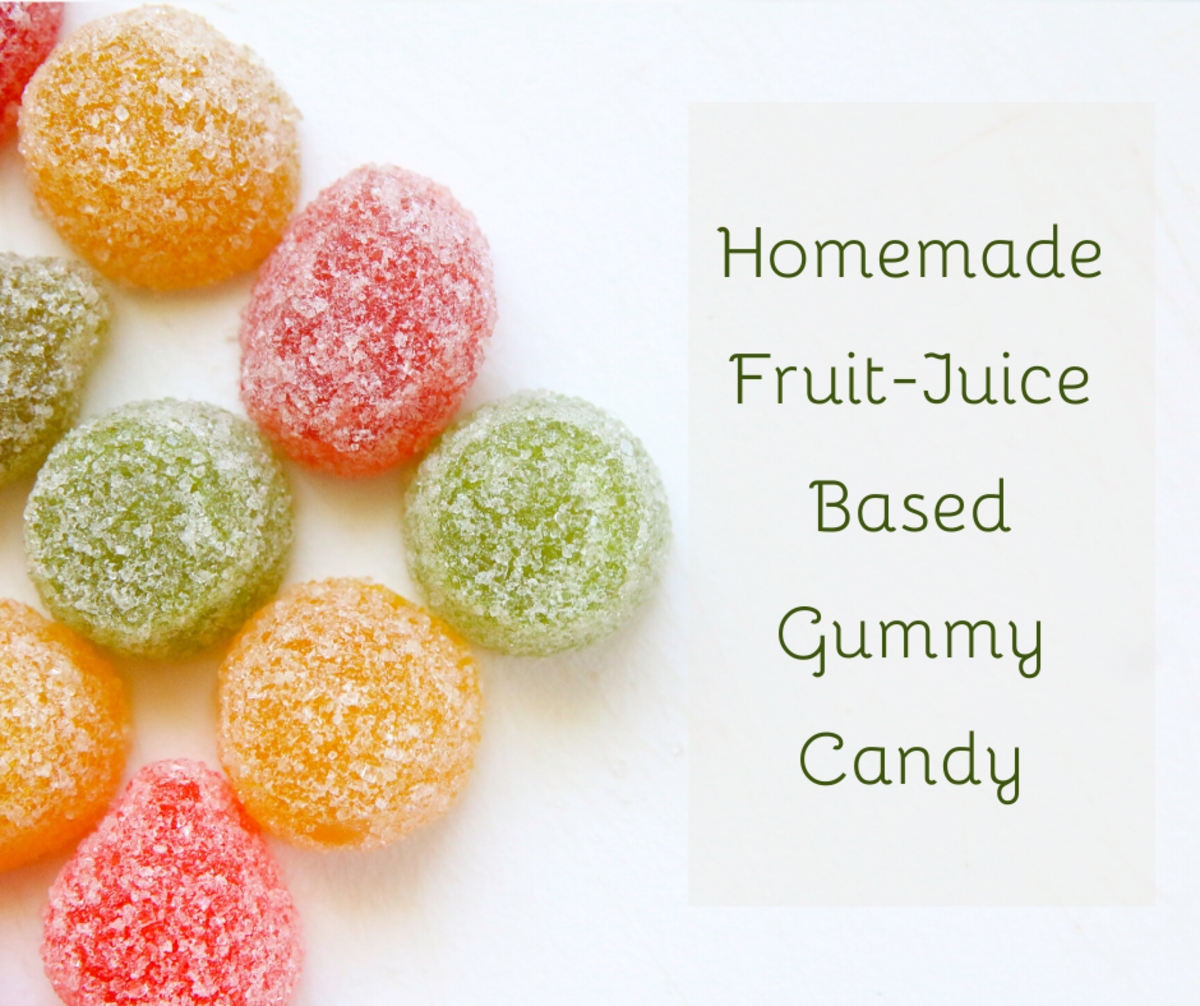
Coat the finished gummies in a mixture of sugar and citric acid for a sour candy effect. This also helps prevent them from sticking together.
Next Steps: Staying Informed
Consult reliable sources for updated guidelines on edible preparation and safety. The FDA and local health departments offer valuable information.
Further research into specific gelatin types and their properties can optimize your gummy-making process. Different gelatins may yield varying textures.
Be aware of evolving regulations surrounding edibles and adjust your practices accordingly to maintain compliance.