How To Make Homemade Manjaro From Scratch
Imagine a world where your operating system isn't just a tool, but a reflection of your digital soul. A world where every click, every command, every line of code resonates with your personal preferences and technological aspirations. This isn't some futuristic fantasy; it's the promise of building your own Manjaro, tailored from the ground up.
This article will guide you through the fascinating journey of creating a Manjaro system from scratch. While it's not a simple task, the reward is a deep understanding of your operating system and a truly personalized computing experience. Get ready to dive into the heart of Linux and unleash your inner system architect.
Understanding the Foundations
Before we begin, it's crucial to understand what we're dealing with. Manjaro is an Arch Linux-based distribution. This means it inherits many of the core principles and functionalities of Arch, including its powerful package management system, pacman.
Arch Linux, known for its "keep it simple, stupid" (KISS) principle, provides a minimal base system upon which users can build their ideal environment. Manjaro builds upon this foundation by providing a more user-friendly installer and pre-configured desktop environments.
The Essential Ingredients
Building a custom Manjaro involves several key components. You'll need an Arch Linux base system, a Manjaro kernel, and the Manjaro tools and configurations.
Don't worry, this isn't as daunting as it sounds! We'll break down each step, providing clear instructions and helpful resources.
Setting Up the Base System
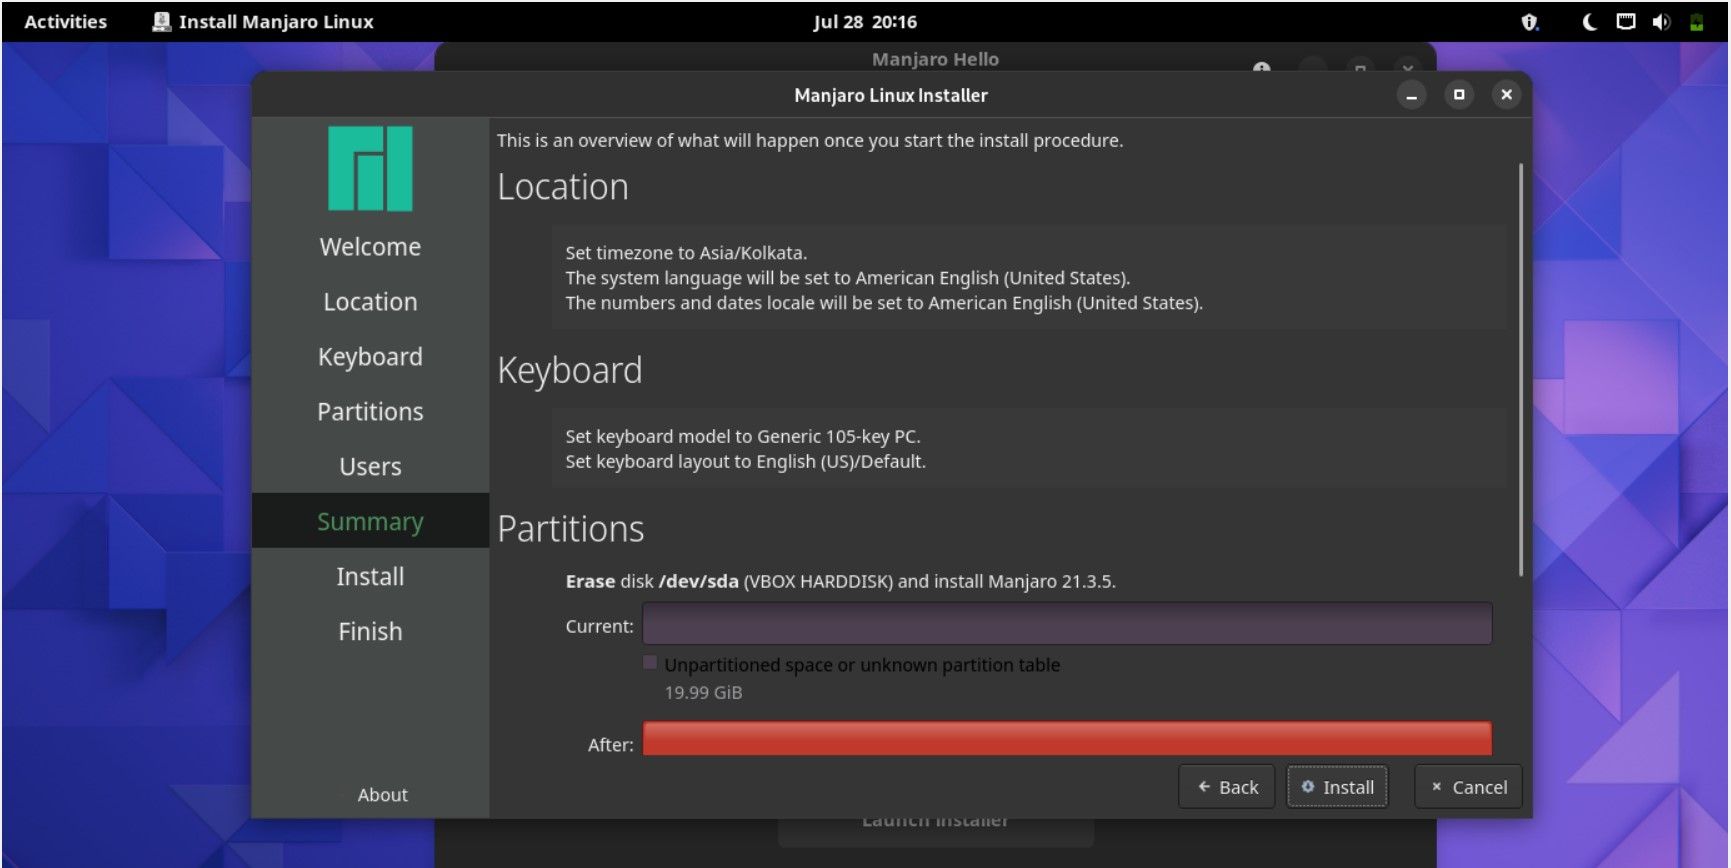
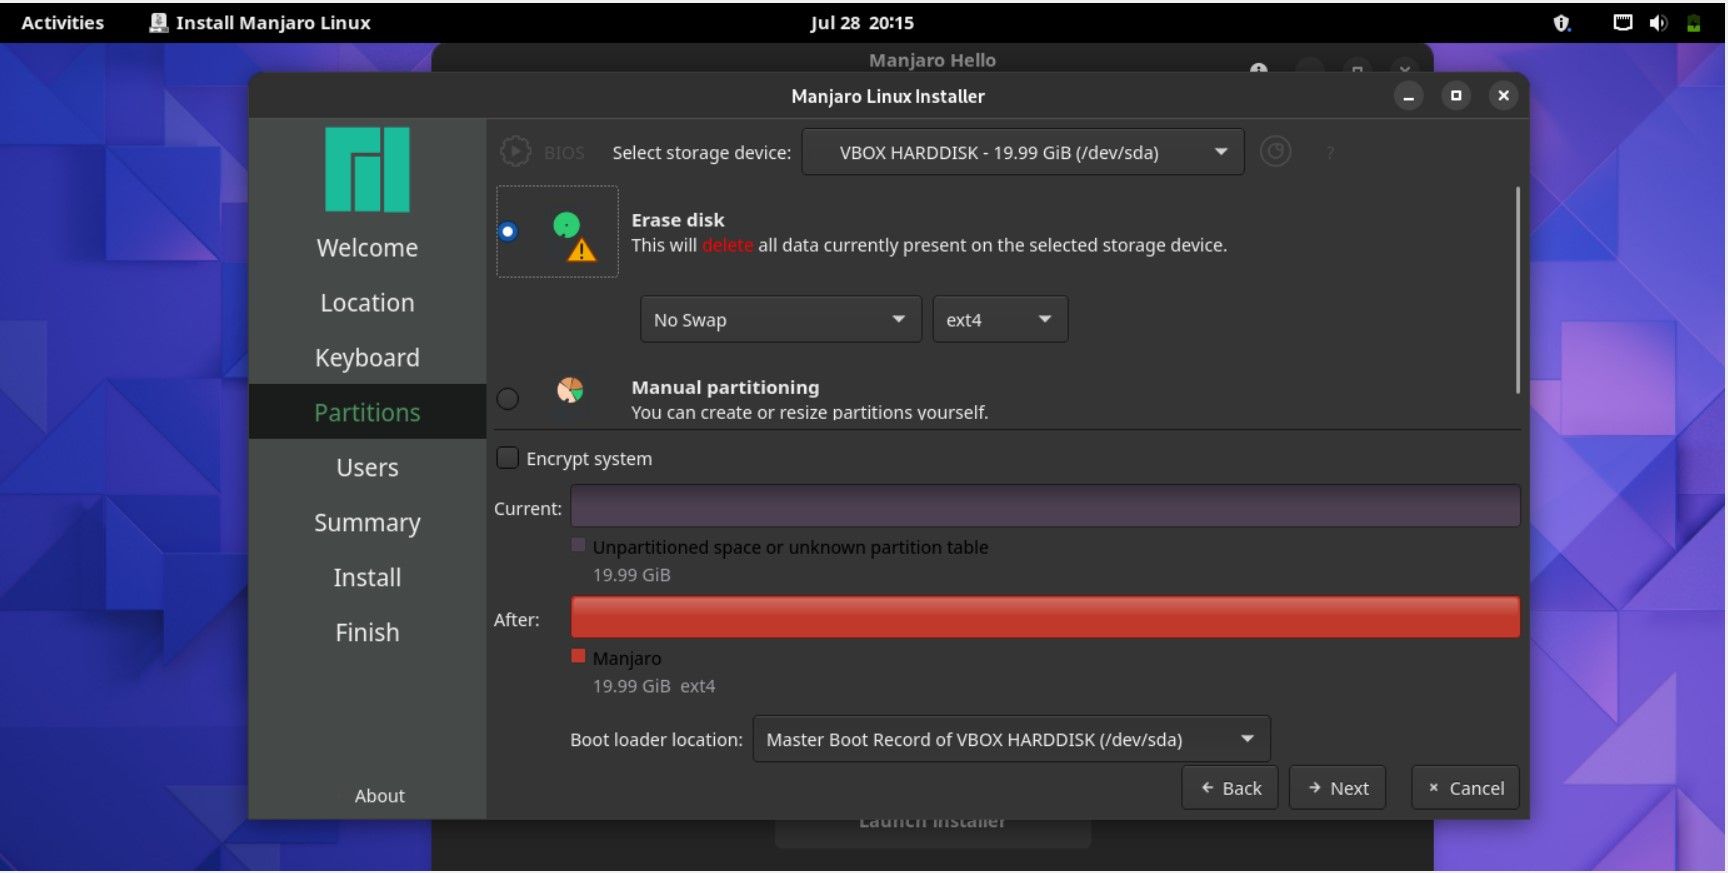
First, you'll need to install a base Arch Linux system. You can find comprehensive instructions on the Arch Linux wiki. This initial installation process is crucial for establishing a stable foundation for your custom Manjaro.
The Arch Linux installation guide will walk you through partitioning your hard drive, installing the base packages, and configuring essential system settings. Be patient and follow the instructions carefully.
Once you've successfully installed the base system, you'll have a command-line interface (CLI) to work with. This is where the real fun begins!
Integrating the Manjaro Kernel
Next, you'll need to install the Manjaro kernel. This kernel is specifically optimized for Manjaro and includes various performance enhancements and hardware support.
You can install the Manjaro kernel using pacman, the Arch Linux package manager. You'll need to configure the Manjaro repositories first, by editing /etc/pacman.conf.
Add the following lines to your pacman.conf file, making sure to uncomment them (remove the '#' symbol at the beginning of each line):
[manjaro] SigLevel = Required TrustAll Server = https://mirror.alpix.eu/manjaro/$repo/$arch
Replace the Server URL with a mirror that's geographically close to you for faster downloads. You can find a list of mirrors on the Manjaro website.
After configuring the repositories, update the package database and install the Manjaro kernel:
sudo pacman -Syy sudo pacman -S linux515
Replace linux515 with the specific kernel version you want to install. Consult the Manjaro website for the latest recommended kernel.
Installing Manjaro Tools
The Manjaro tools are essential for managing your system and providing a Manjaro-like experience. These tools include package management utilities, hardware detection scripts, and configuration tools.
Install the manjaro-tools-base package using pacman:
sudo pacman -S manjaro-tools-base
This package provides the core tools necessary for managing your Manjaro system.
Configuring the System
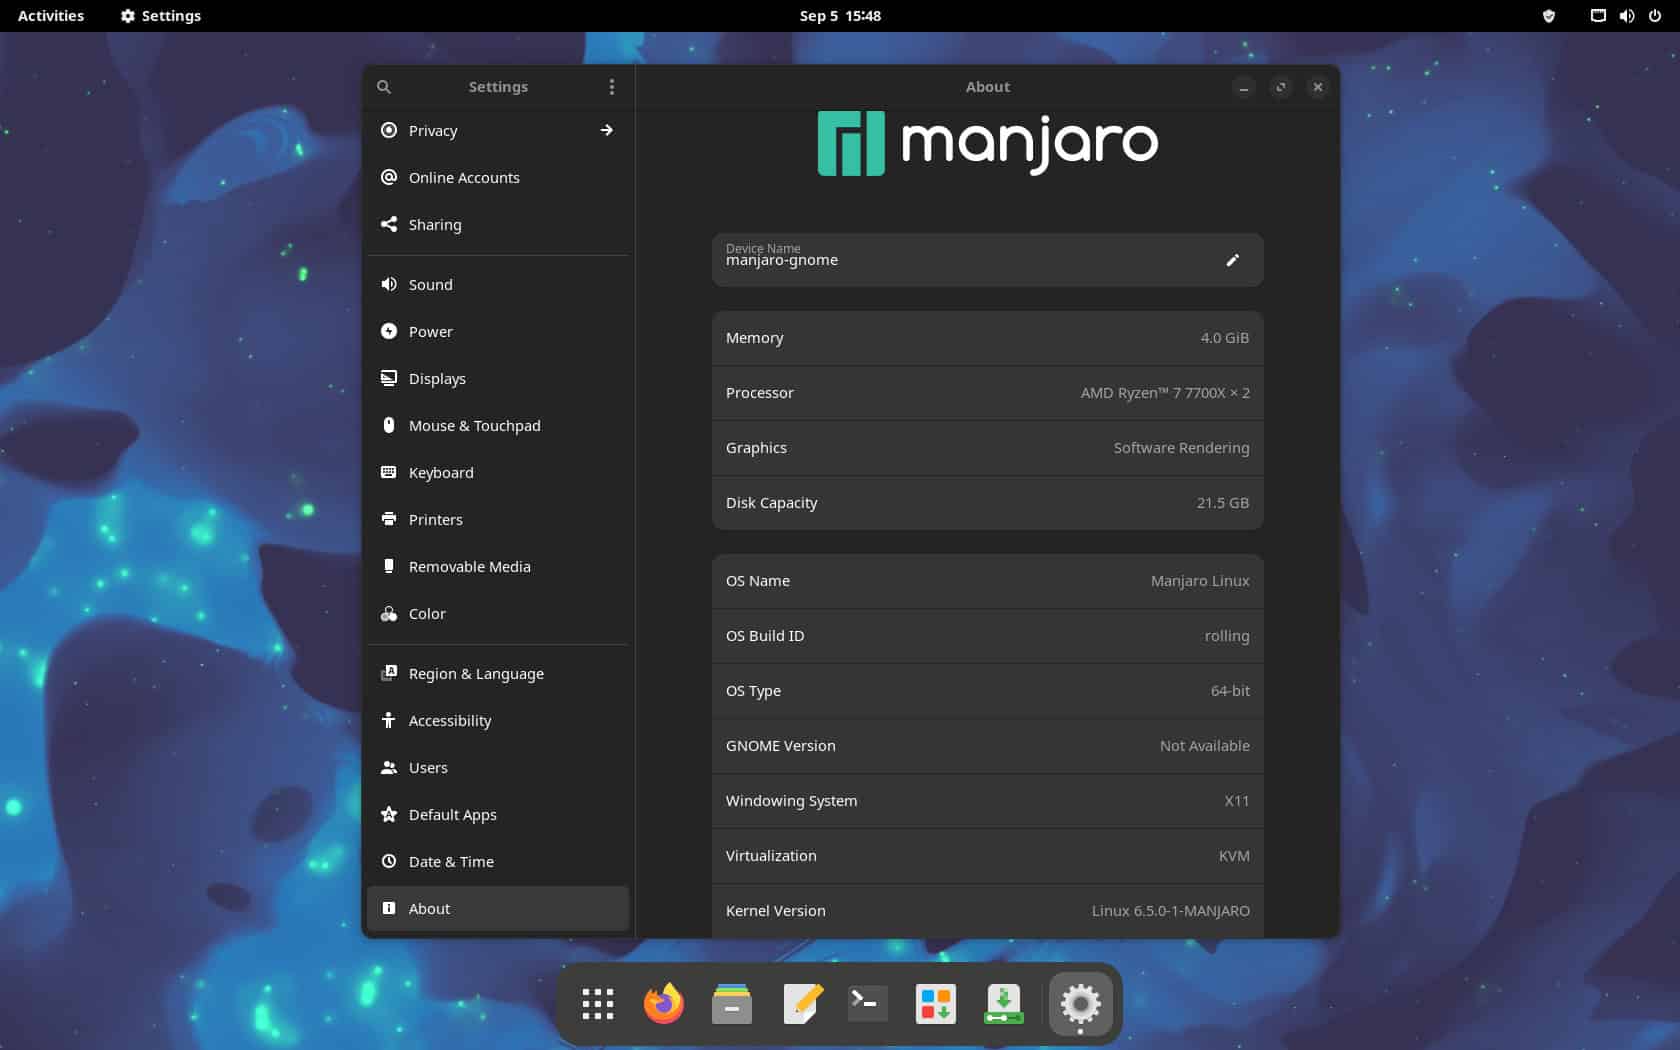
Now, it's time to configure your system to your liking. This includes setting the hostname, configuring the keyboard layout, and setting up a graphical environment.
Use the hostnamectl command to set the hostname:
sudo hostnamectl set-hostname your-hostname
Replace your-hostname with your desired hostname.
Configure the keyboard layout by editing the /etc/vconsole.conf file. Add the following lines:
KEYMAP=us FONT=ter-v16b
Replace us with your desired keyboard layout. You can find a list of available keyboard layouts in the /usr/share/kbd/keymaps directory.
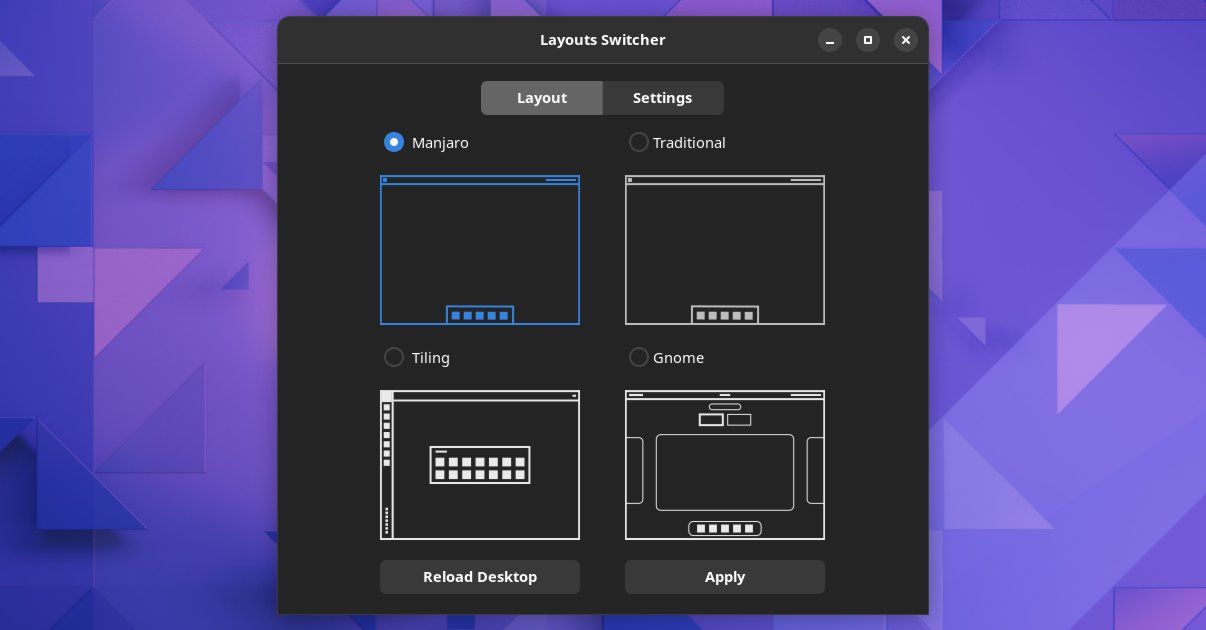
Setting up a Graphical Environment
Finally, it's time to install a graphical environment. Manjaro offers a variety of desktop environments, including XFCE, KDE Plasma, and GNOME.
For this example, let's install XFCE. First, install the Xorg display server:
sudo pacman -S xorg
Then, install XFCE and the lightdm display manager:
sudo pacman -S xfce4 lightdm lightdm-gtk-greeter
Enable the lightdm service:
sudo systemctl enable lightdm
Reboot your system to start the graphical environment.
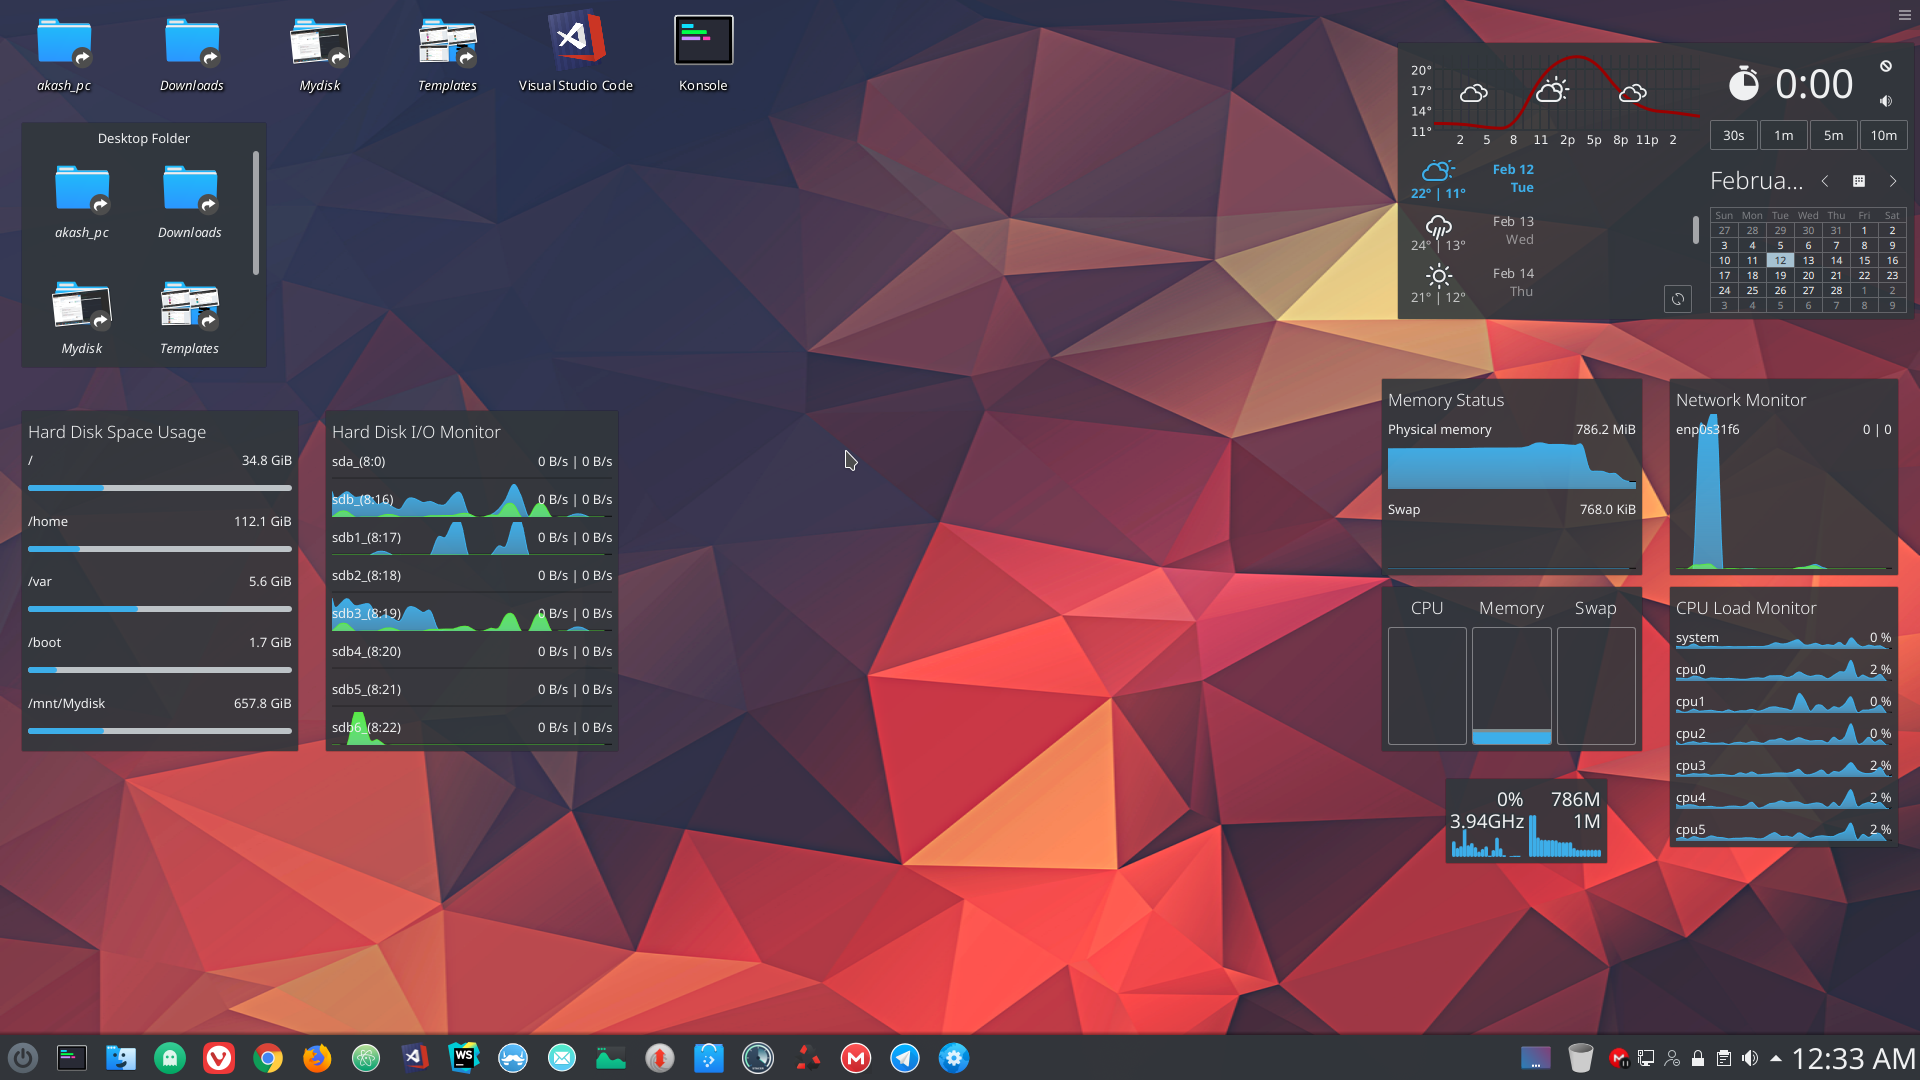
Fine-Tuning and Personalization
Once you've booted into your graphical environment, you can start fine-tuning and personalizing your system. This includes installing additional software, configuring themes, and customizing the desktop environment.
Explore the vast selection of packages available in the Arch User Repository (AUR). This repository contains a wealth of community-maintained software packages.
Remember to install an AUR helper like yay or paru to simplify the installation of packages from the AUR.
The Journey is the Reward
Building a custom Manjaro from scratch is a challenging but rewarding experience. It requires patience, perseverance, and a willingness to learn.
The knowledge you gain along the way will deepen your understanding of Linux and empower you to create a truly personalized computing environment.
This journey is not just about creating an operating system; it's about empowering yourself with the knowledge and skills to control your digital destiny. Embrace the challenge, and enjoy the process!