How To Make Screen Flash In Premiere Pro
Imagine your audience, eyes glued to the screen, the tension building. A pivotal moment arrives – a sudden explosion, a psychic revelation, a glitch in the Matrix. How do you punctuate that dramatic beat? The answer, quite often, lies in a simple, yet powerful visual effect: the screen flash.
This isn't about simple brightness adjustments; it's about that instantaneous burst of light, a visual exclamation point that grabs attention and drives home the impact of a specific moment. Let's dive into how to achieve this striking effect in Adobe Premiere Pro.
Understanding the Power of a Screen Flash
The screen flash is a staple in filmmaking and video editing. It's used to signify a variety of events, ranging from explosions and impacts to moments of realization or dramatic reveals.
When used correctly, it can heighten the emotional impact of a scene and add a layer of visual dynamism. Think of films like *Fight Club* or *Requiem for a Dream*; these films use flashing to symbolize character emotion changes.
Creating the Screen Flash Effect in Premiere Pro
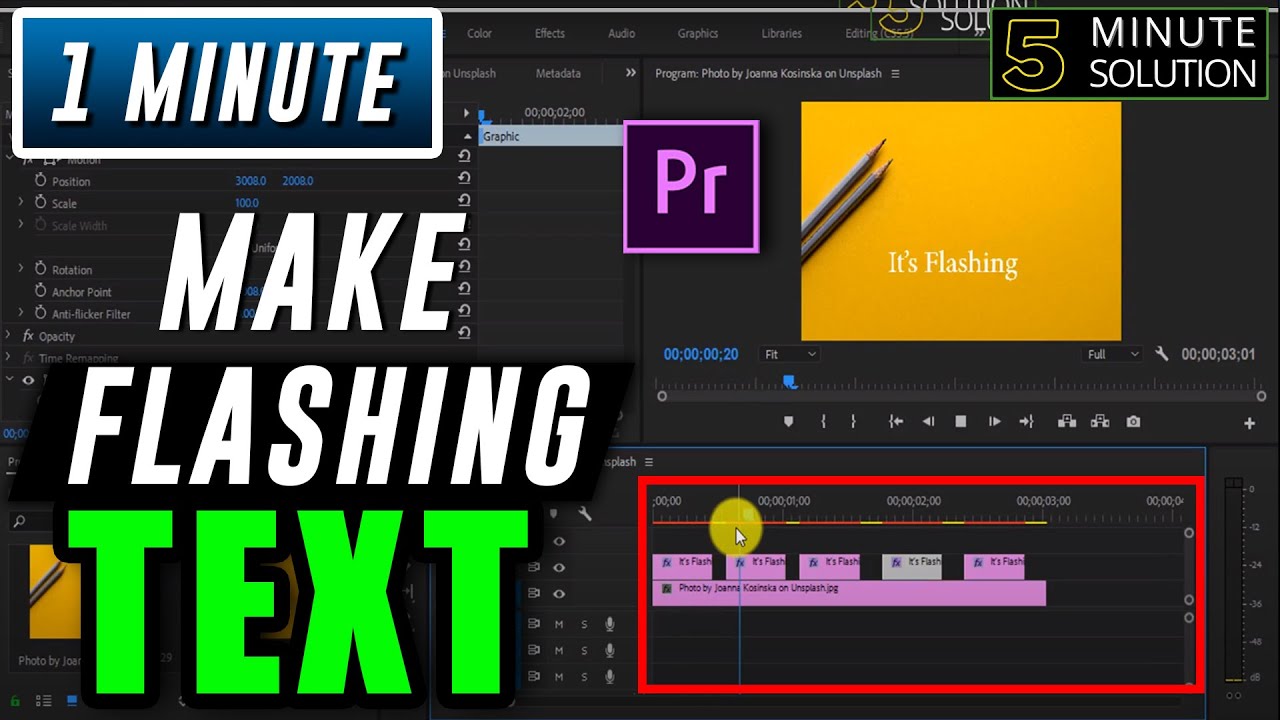
Premiere Pro offers a simple and effective method to create a screen flash. Here's a step-by-step guide to incorporating this effect into your video projects.
Method 1: Using Adjustment Layers
The most common and flexible method involves utilizing adjustment layers. These layers allow you to apply effects without directly altering your original footage.
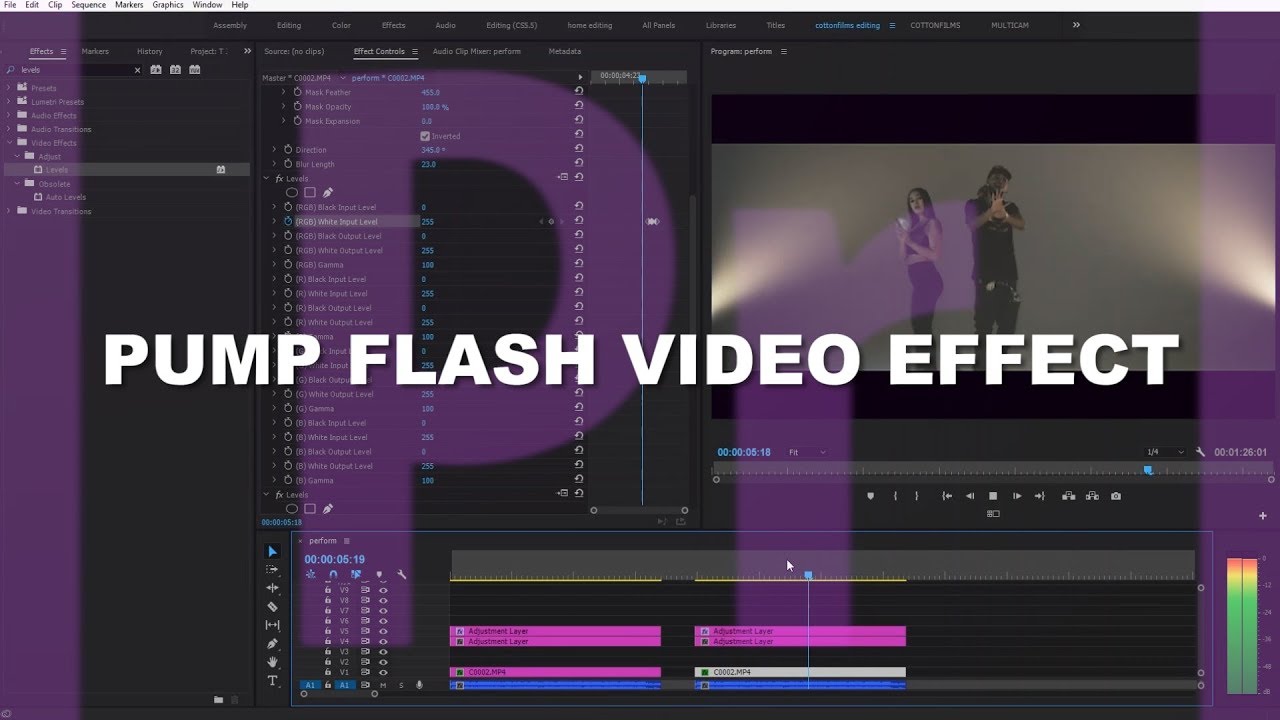
First, create a new adjustment layer by navigating to File > New > Adjustment Layer. Place the adjustment layer above the video clip where you want the flash to occur on the timeline.
Next, trim the adjustment layer to the precise duration of your desired flash. Generally, a flash lasts only a few frames, often just one or two, depending on the desired intensity.
Now, apply the Brightness & Contrast effect to the adjustment layer. You can find this in the Effects panel (Window > Effects) under the Video Effects > Adjust folder.
Increase the Brightness value to create the flash. Experiment with values ranging from 100 to 300, depending on how intense you want the flash to be.
For a more natural look, consider adding a very slight Gaussian Blur. Apply this blur effect to your adjustment layer to soften the edges of the flash slightly. It can be found within the "Blur & Sharpen" video effects folder.
Method 2: Using Color Matte
An alternative method is to use a color matte. This offers a slightly different workflow with similar results.
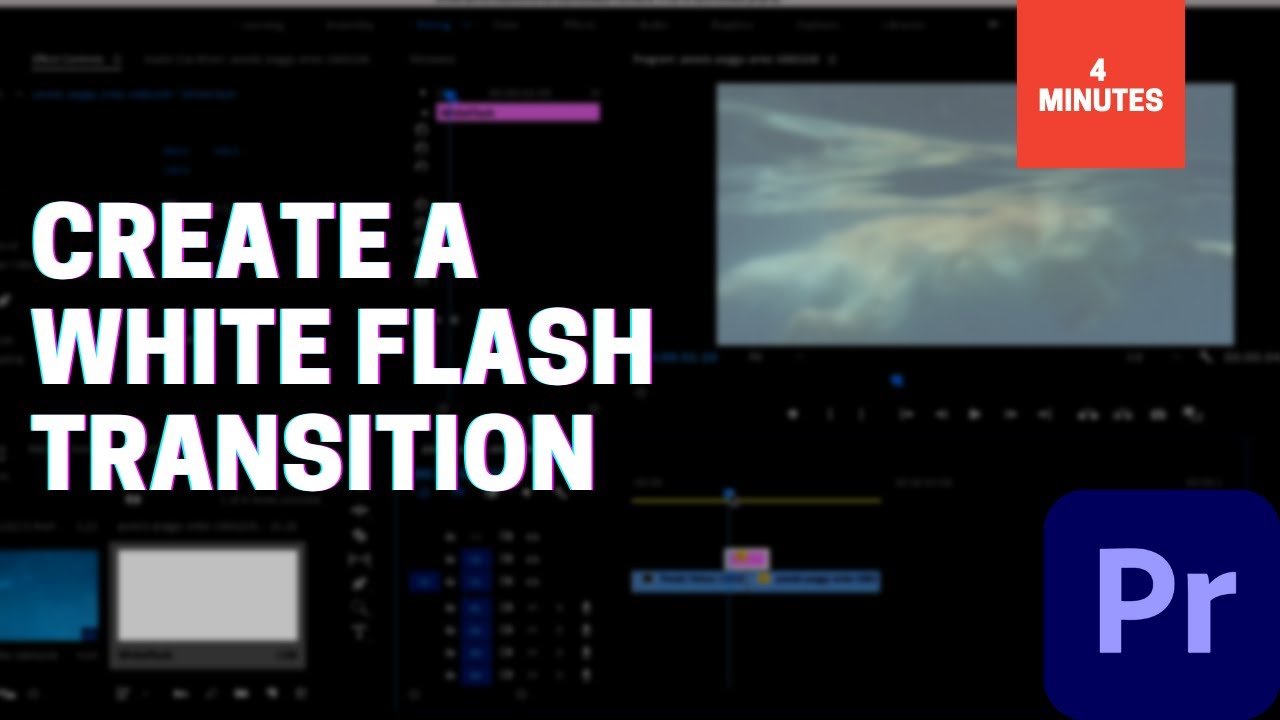
Create a new color matte by going to File > New > Color Matte. Choose white as the color. White is often used to create the flash but you can change it if you want.
Place the color matte above the desired clip on the timeline and shorten its duration to the required flash length, just like with the adjustment layer.
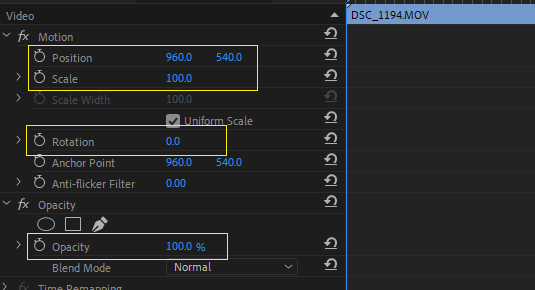
Adjust the opacity of the color matte to control the intensity of the flash. Reduce the opacity to make the flash more subtle.
Fine-Tuning Your Flash
Experimentation is key. Adjust the brightness, contrast, duration, and blur of your flash to achieve the desired effect.
Consider the context of the scene. A subtle flash might be appropriate for a psychic revelation, while a more intense flash might suit an explosion.
Conclusion
The screen flash is a powerful tool that can significantly enhance your video projects. By mastering these simple techniques in Premiere Pro, you can add a dynamic and visually engaging element to your storytelling.
Ultimately, the effectiveness of a screen flash lies in its precise application. By paying attention to the context and fine-tuning the effect, you can create moments that truly resonate with your audience.
